How to Make an Origami 3D Penguin
Step by Step Tutorials
Step 1
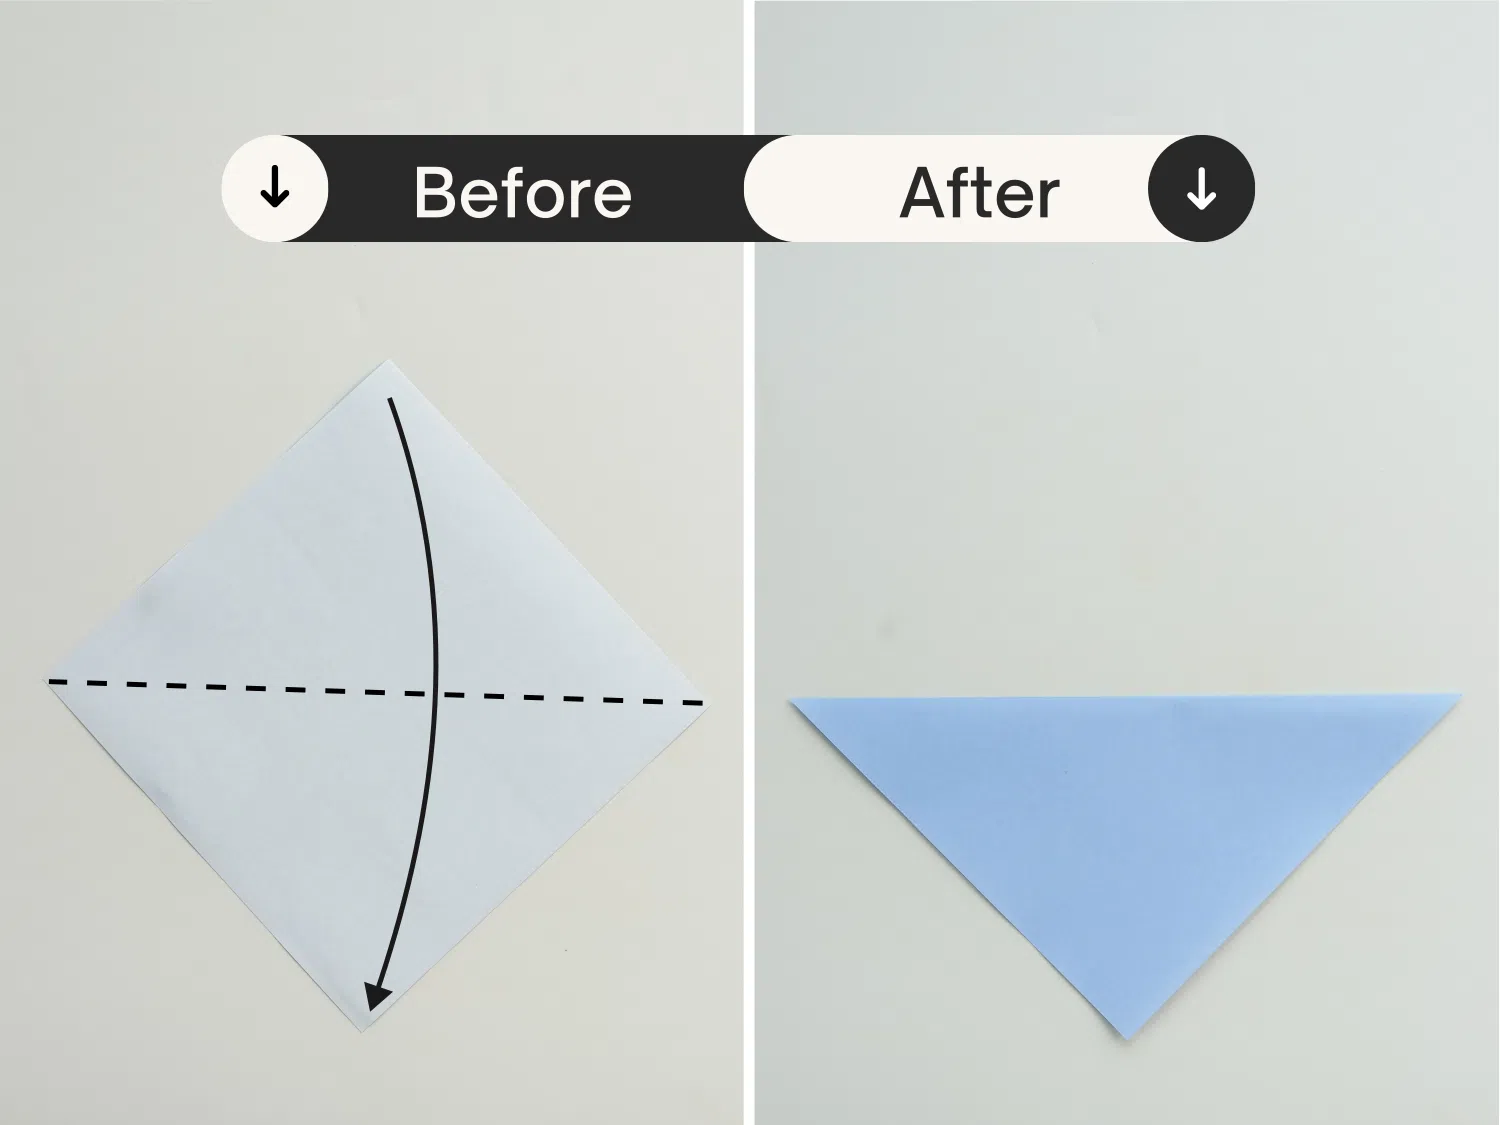
Start with the white side of the paper facing up and fold it in half diagonally.
Step 2
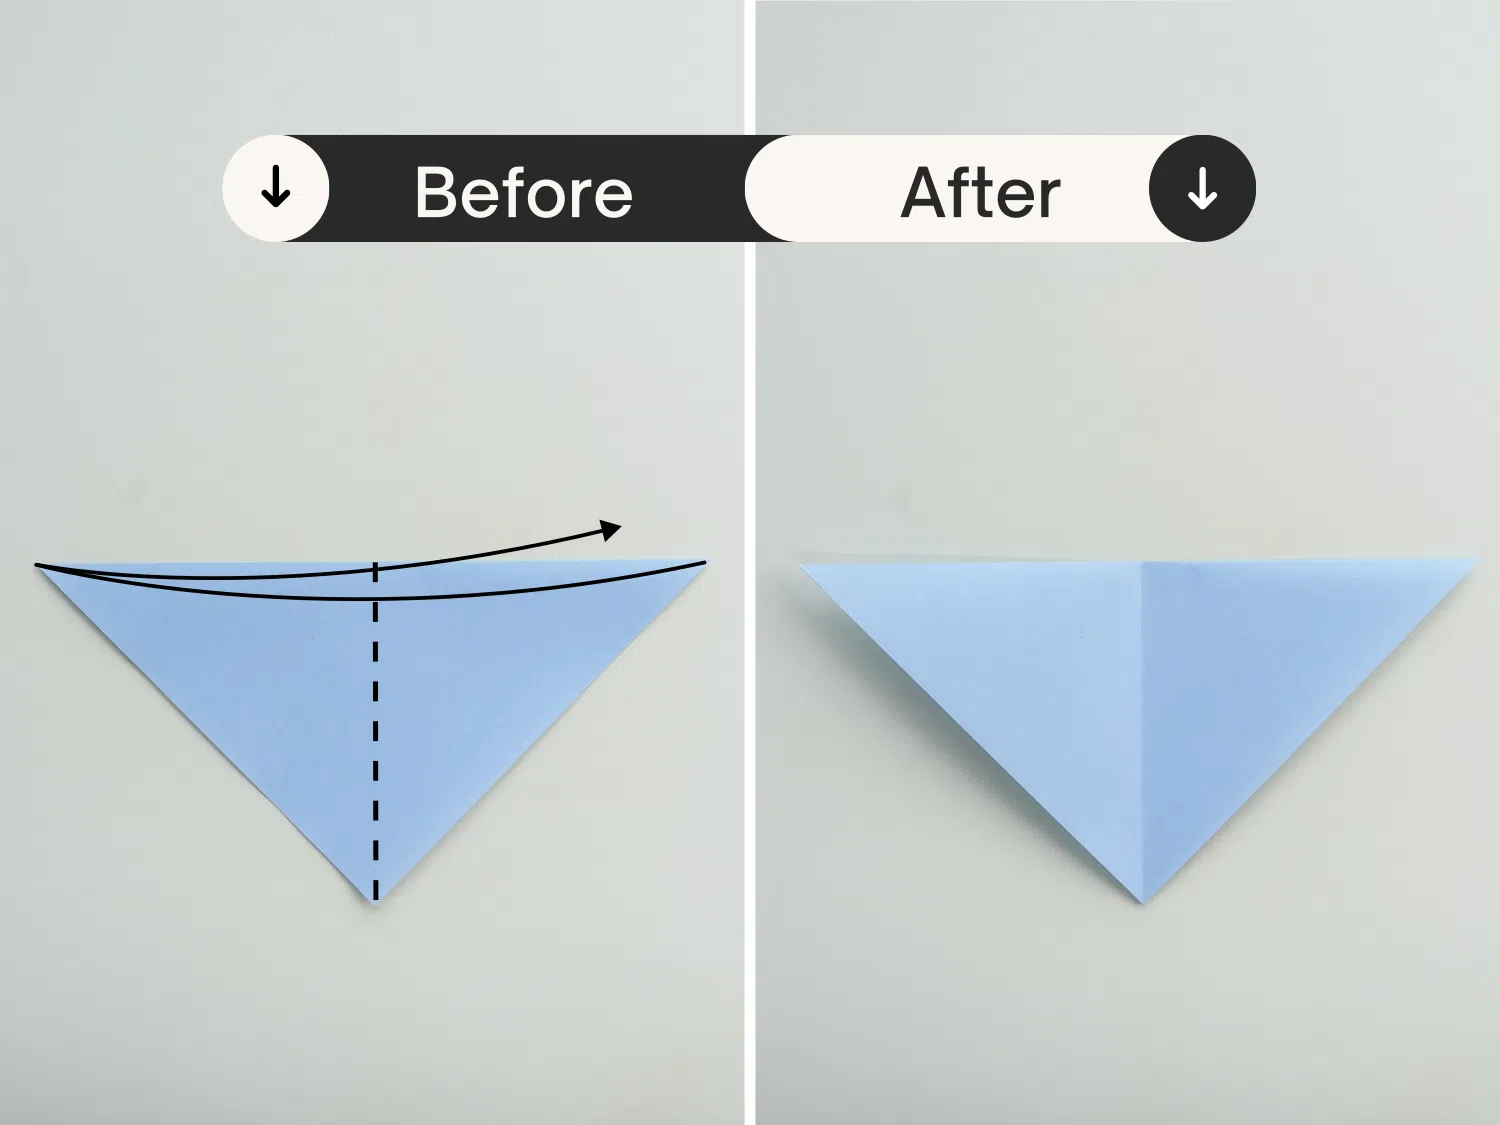
Fold the left corner to the right diagonally, crease it well then unfold it.
Step 3
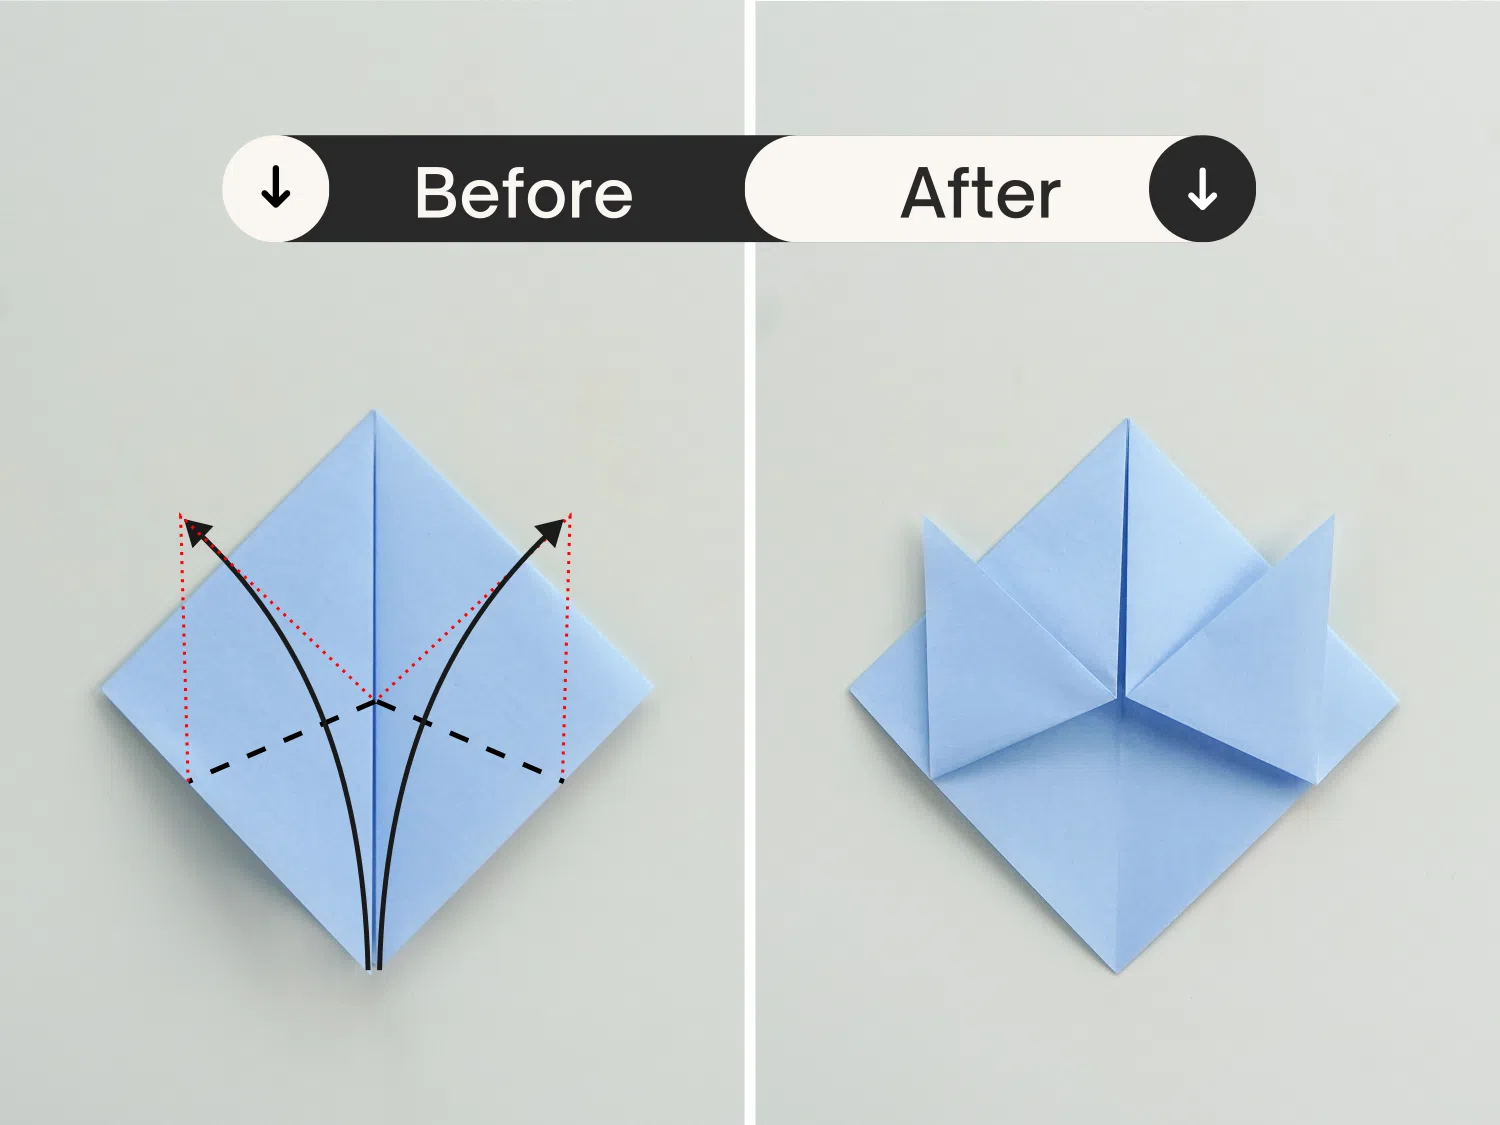
Fold both left and right corners to meet the bottom corner.

Step 4
Then fold them up along the black dotted line respectively.
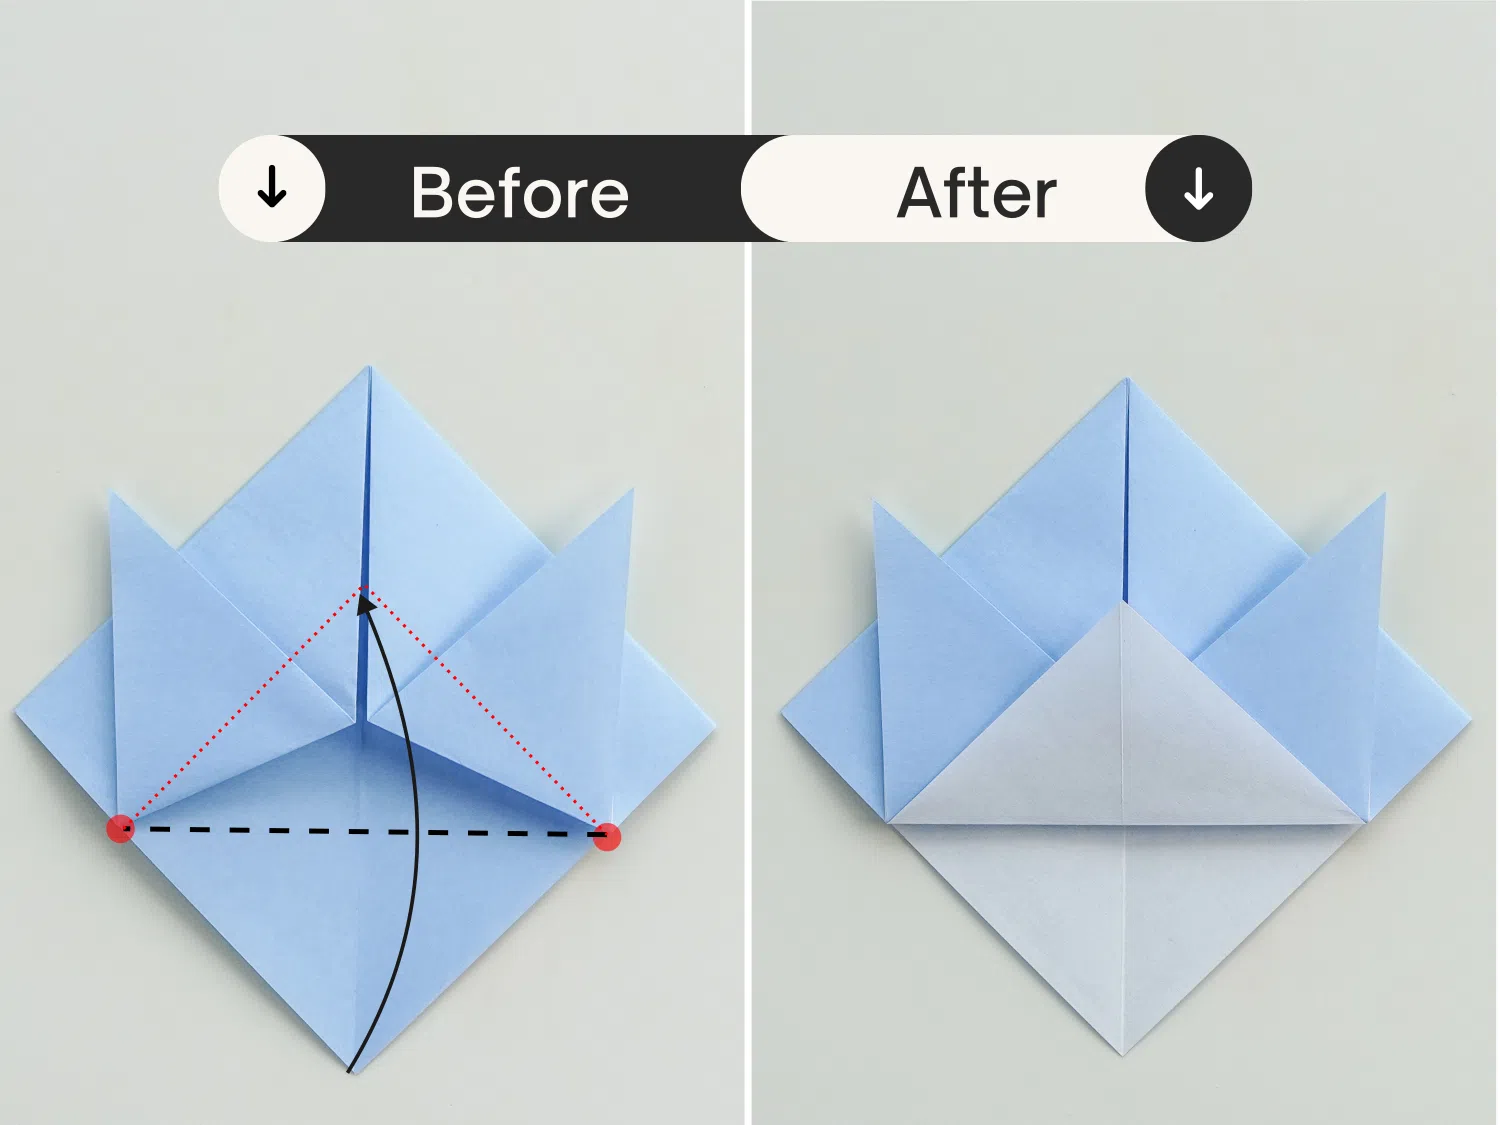
Step 5
Fold the bottom corner of the top layer up along the black dotted line.
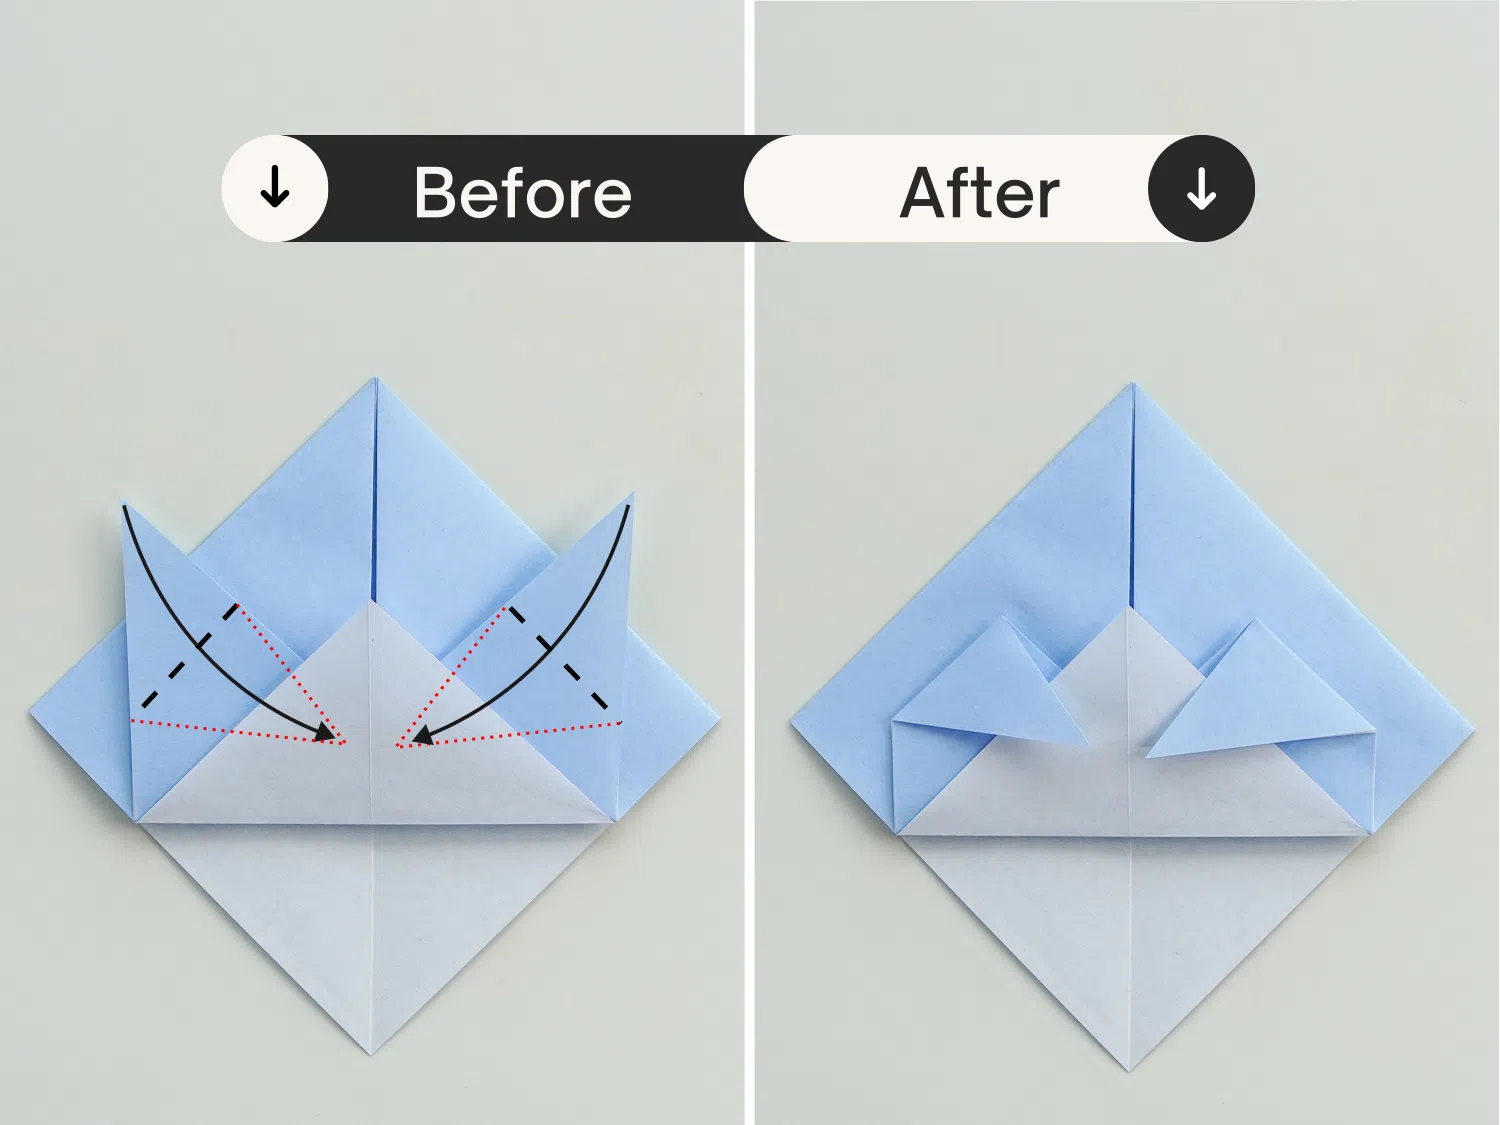
Step 6
Then fold the left and right corners that you just folded to the center.
Step 7
Fold the top corner down a little along the black dotted line, crease it well then unfold it.
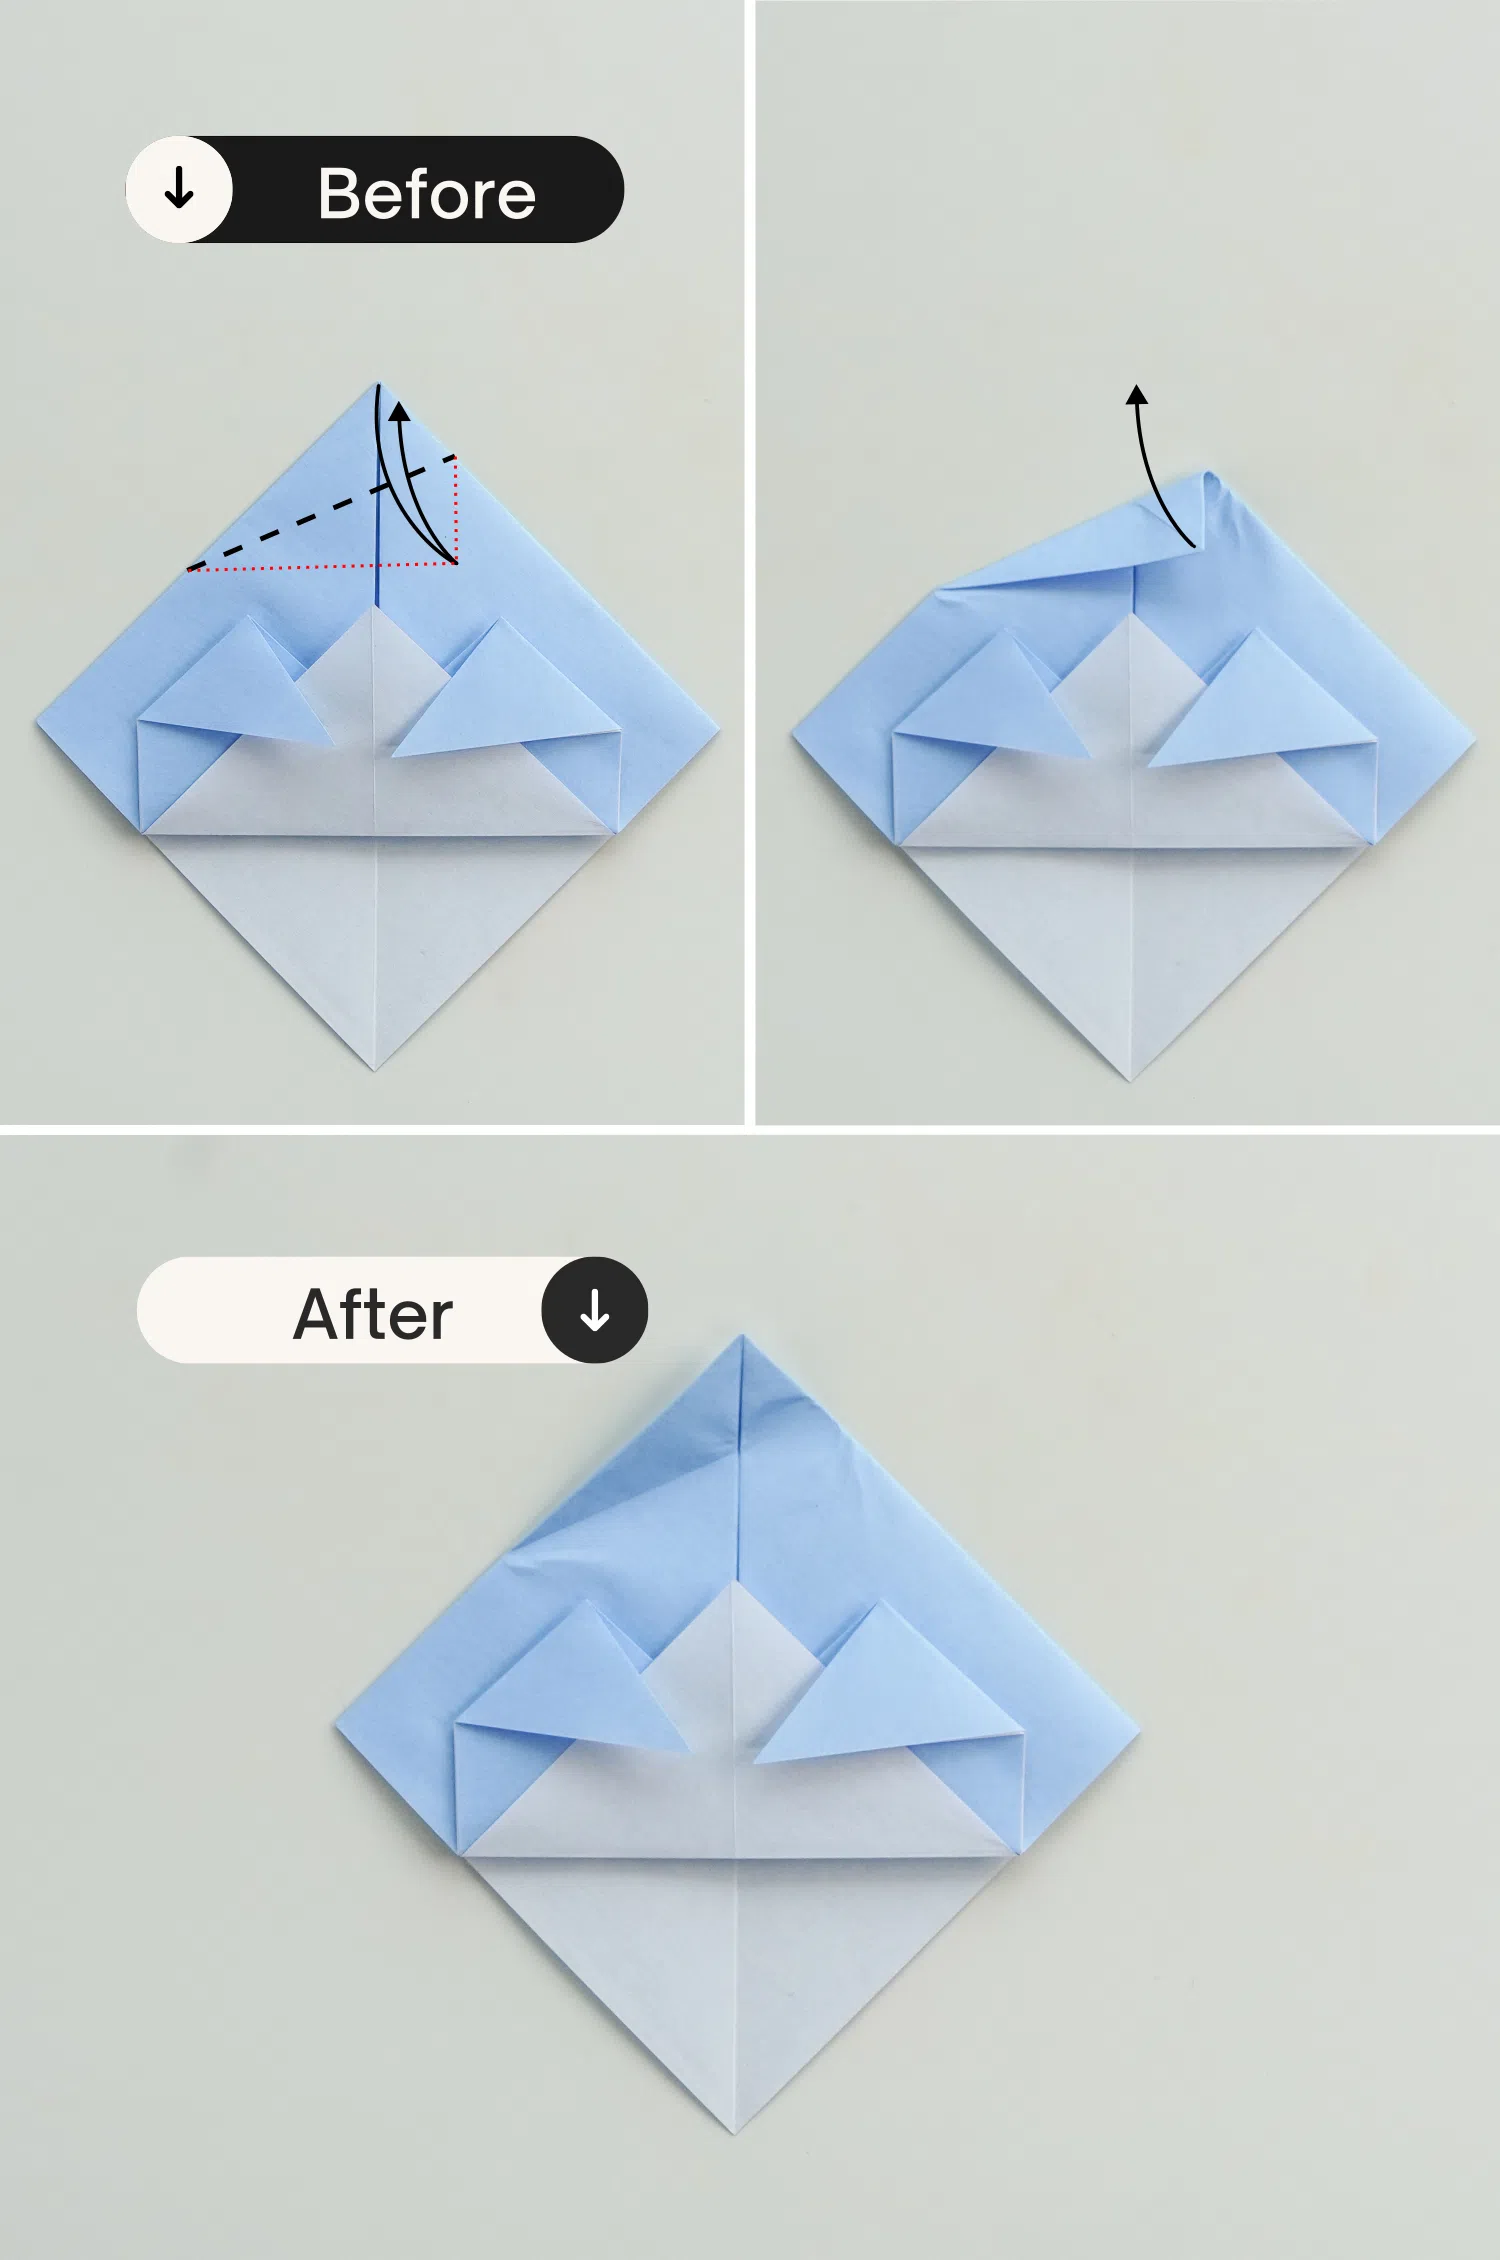
Step 8
Repeat this from the right side.

Step 9
Pinch the top little corner, and press it down along the existing creases on both sides.
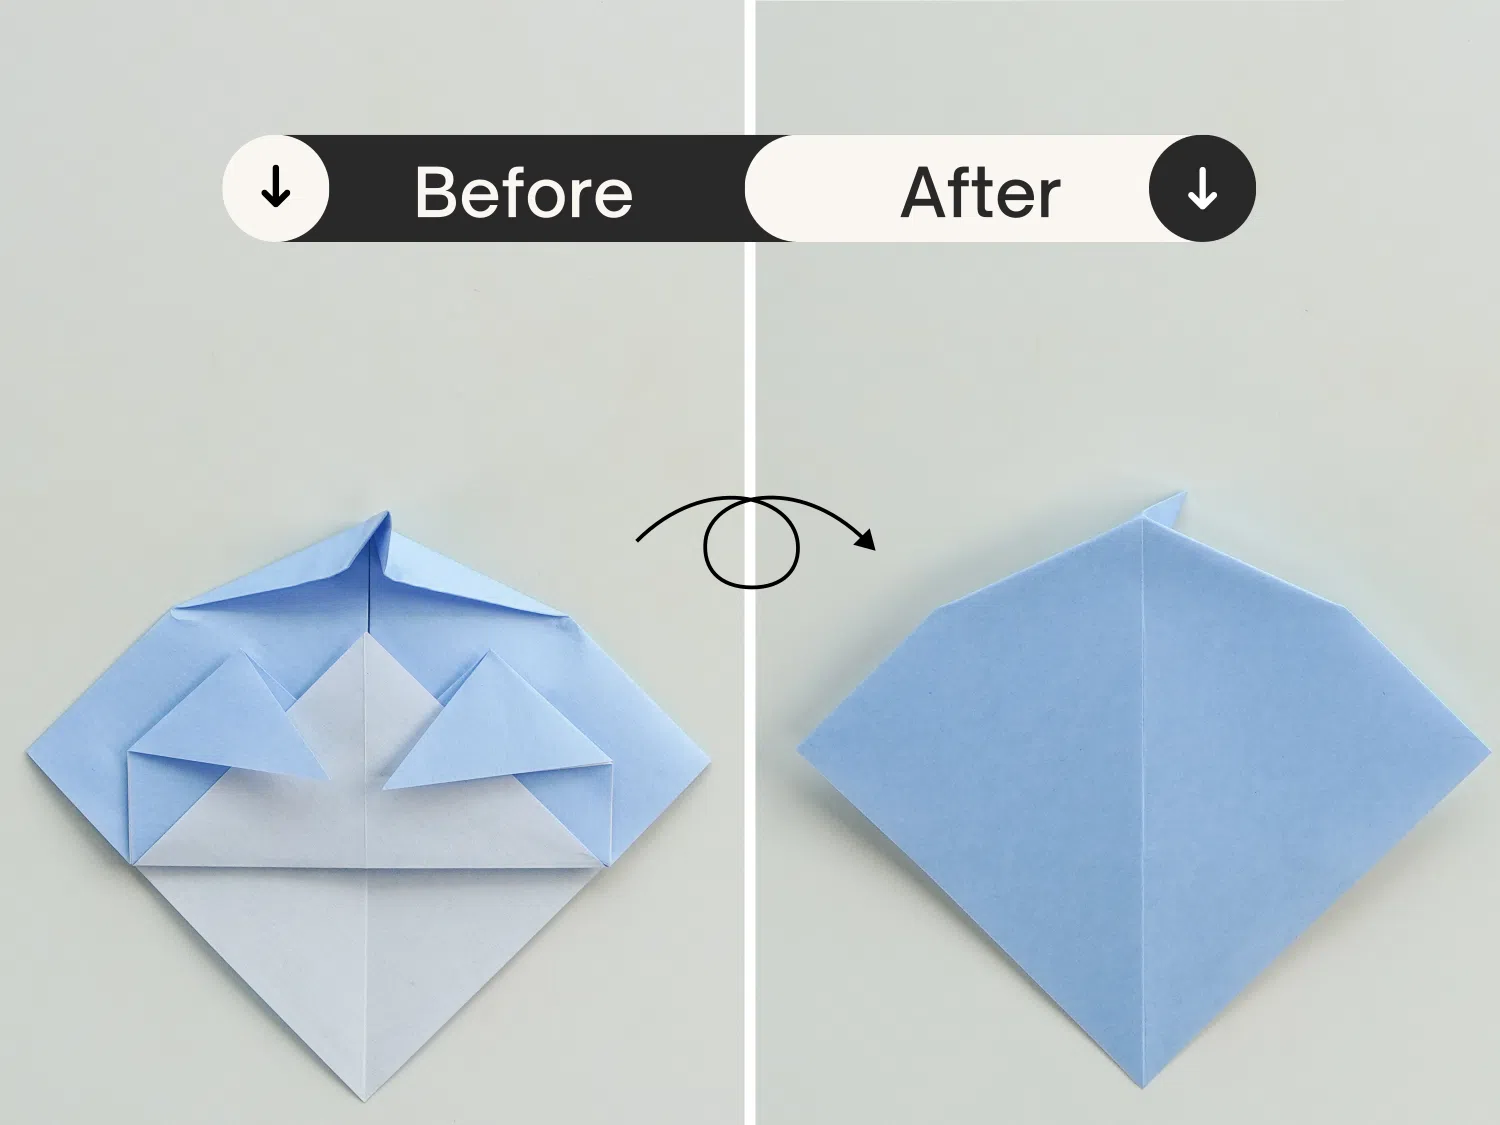
Step 10
Flip it over.
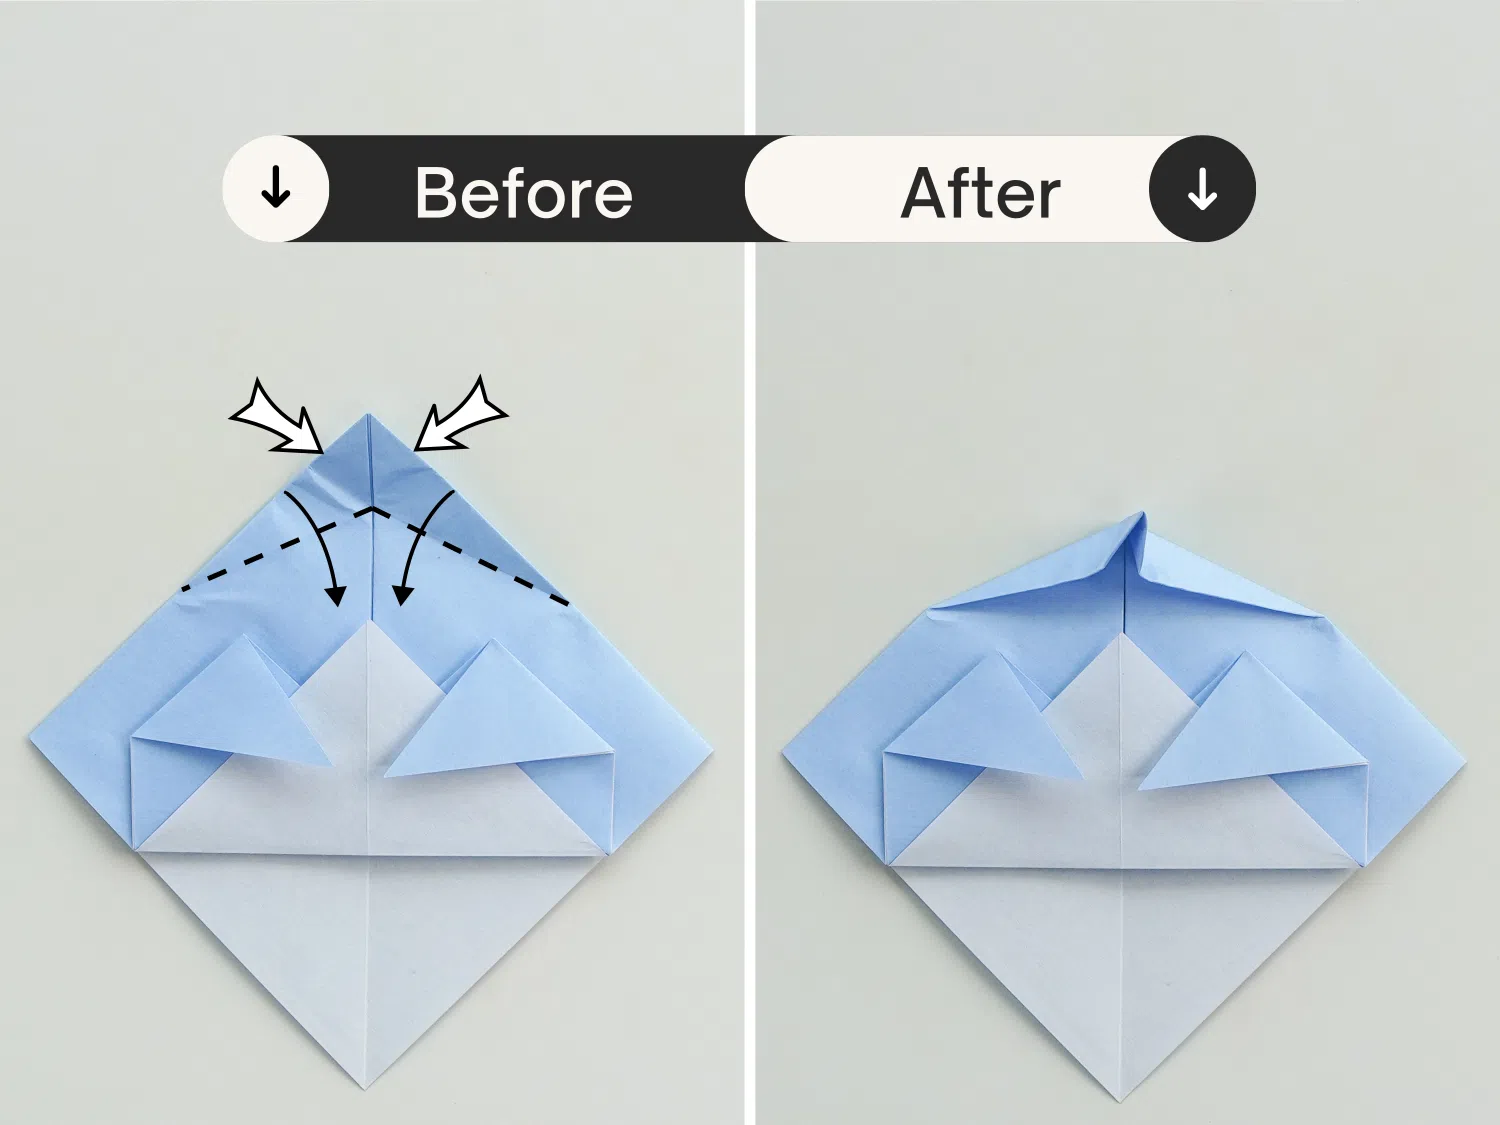
Step 11
Fold both left and right edges to meet the central crease.

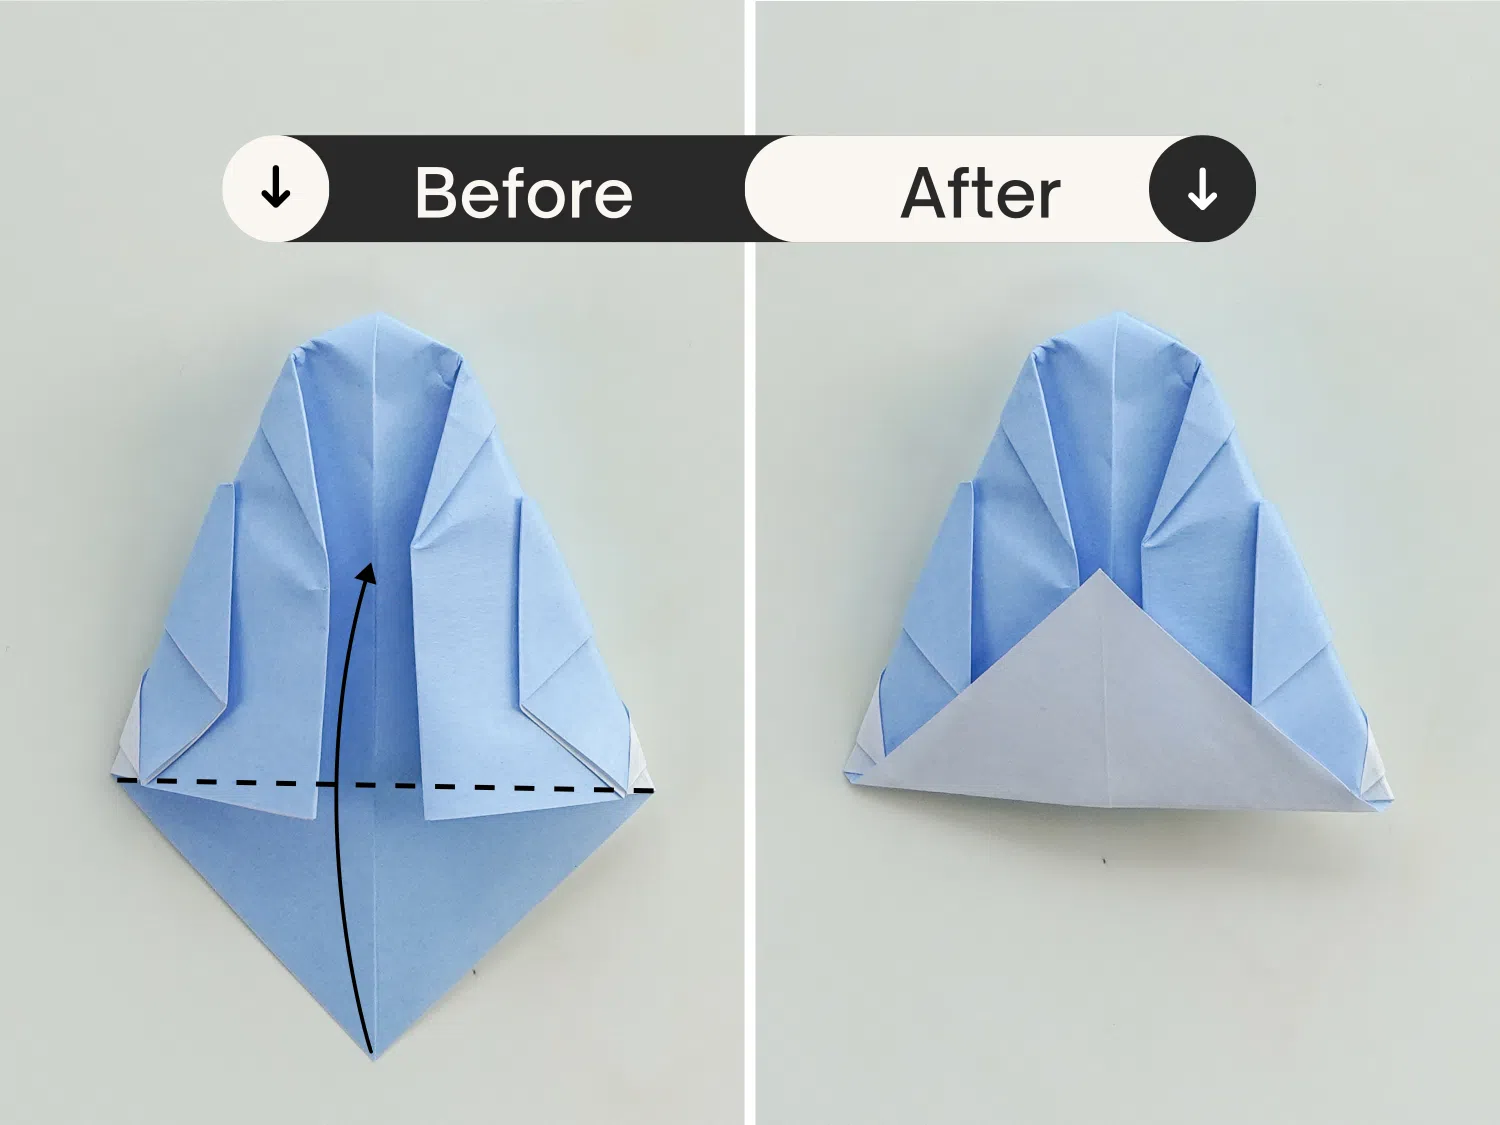
Step 12
Fold the bottom corner up along the dotted line.
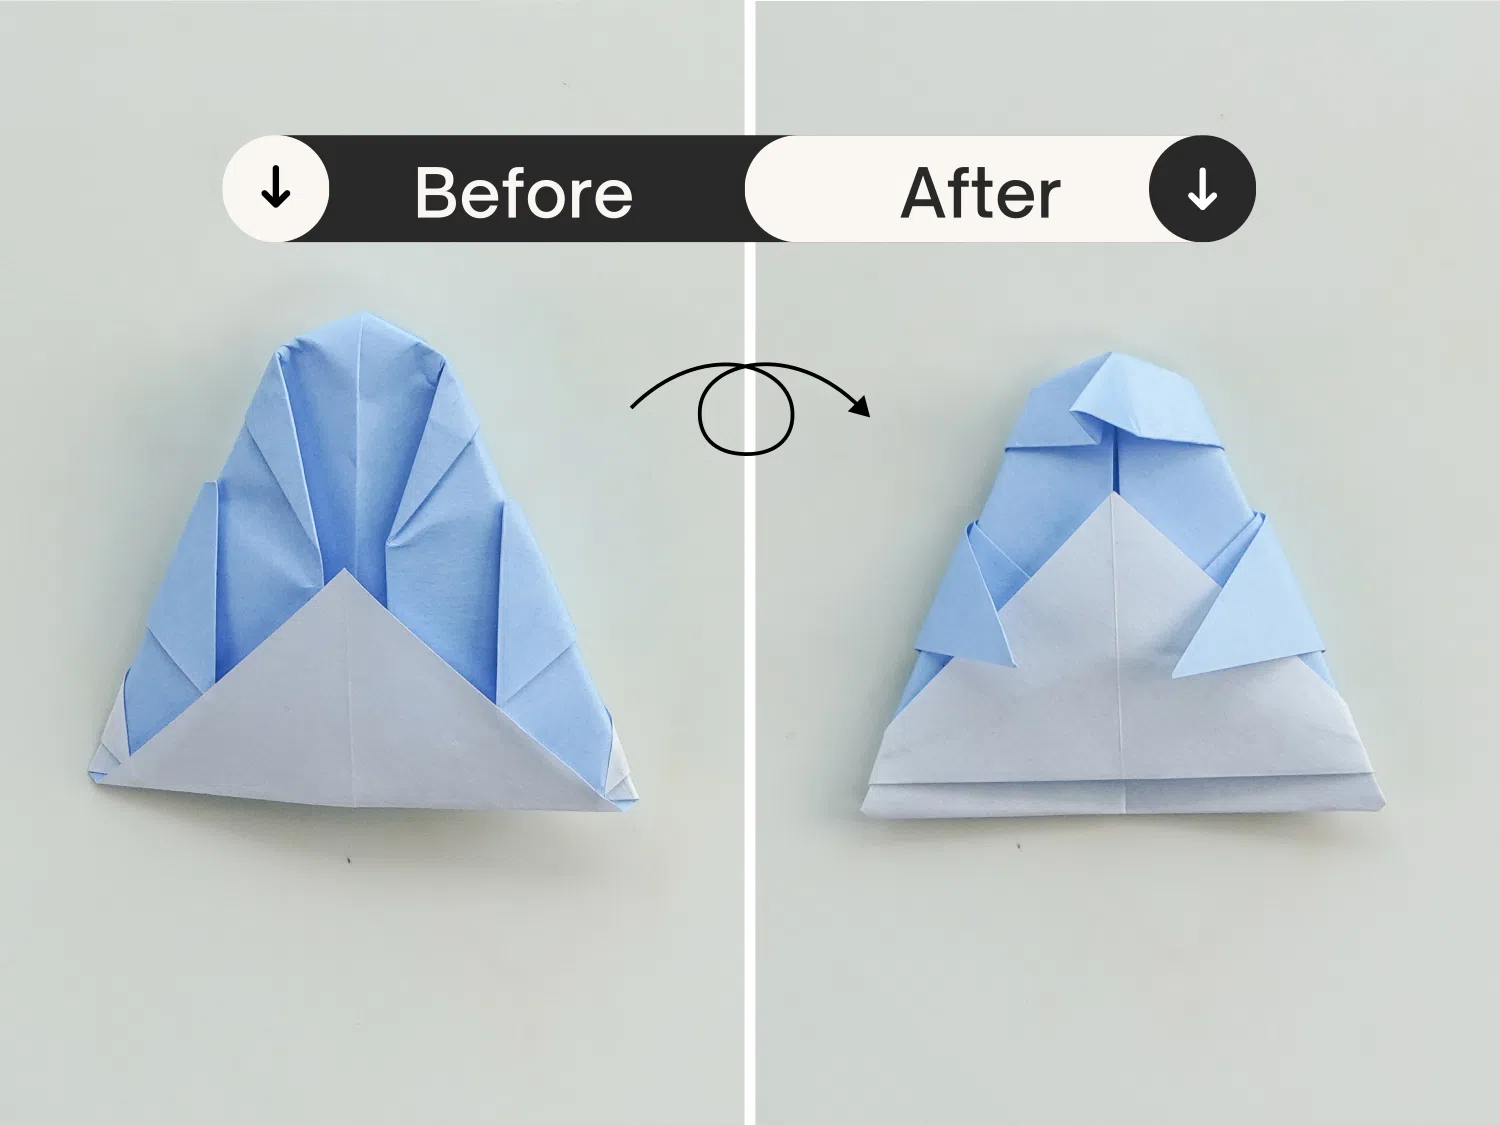
Step 13
Flip the paper over again.
Step 14
Open it from the bottom slightly.
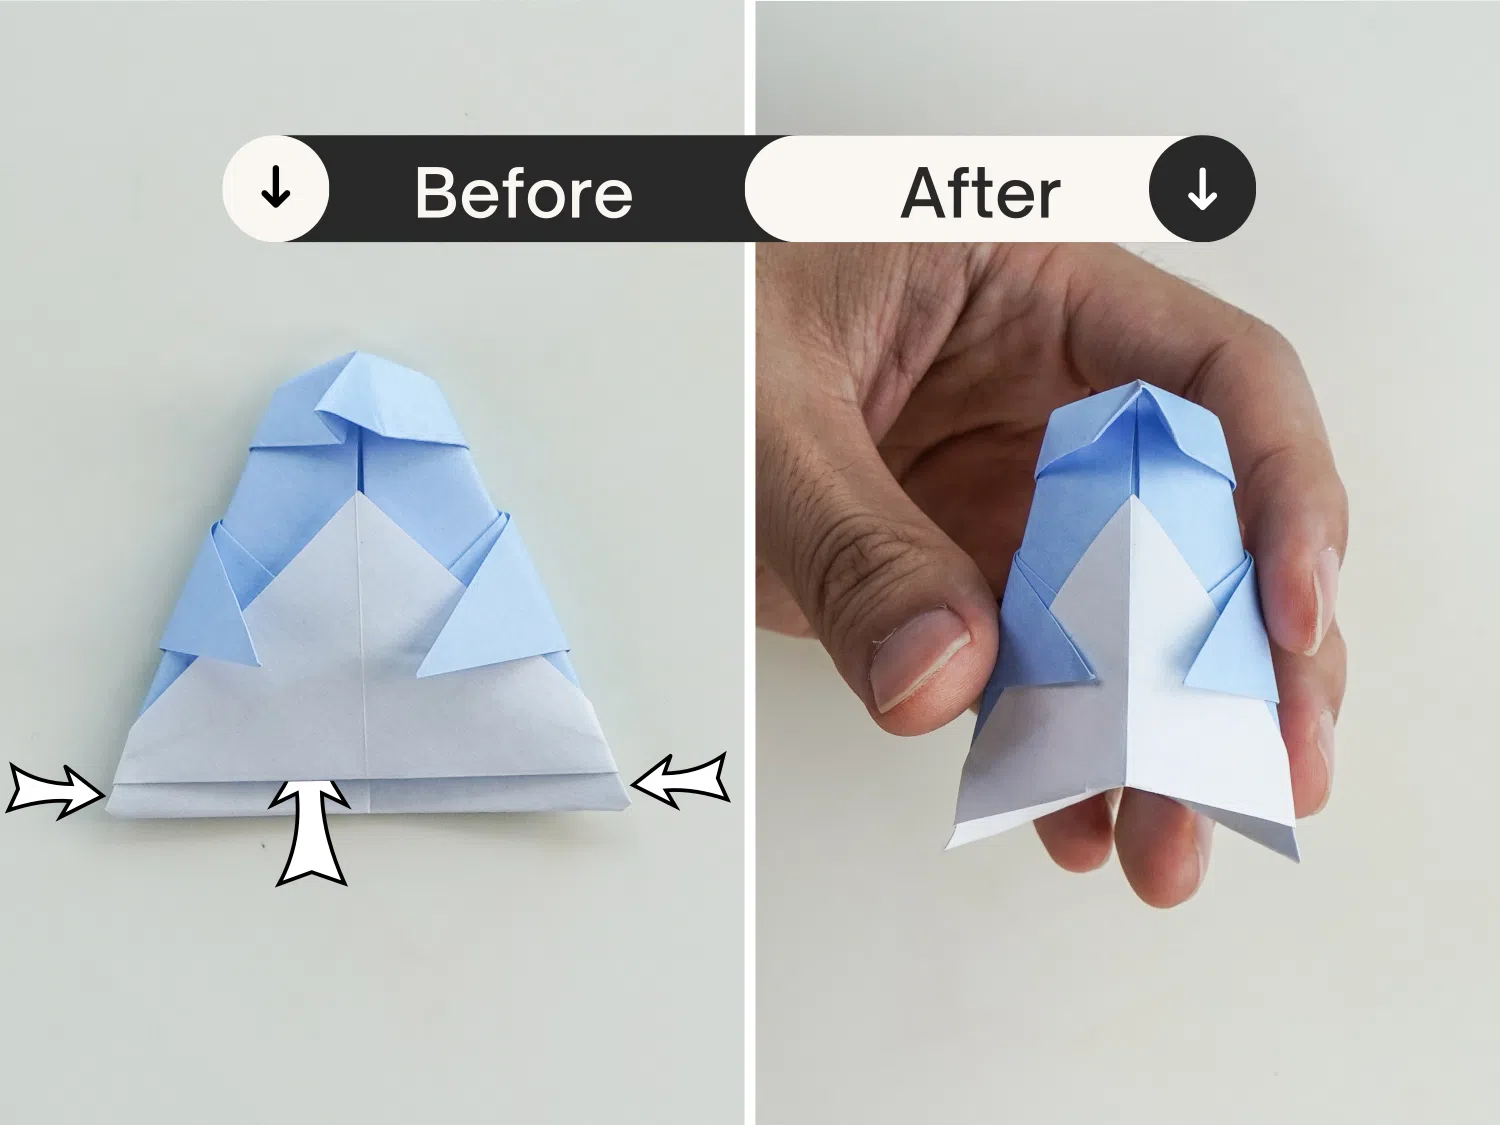
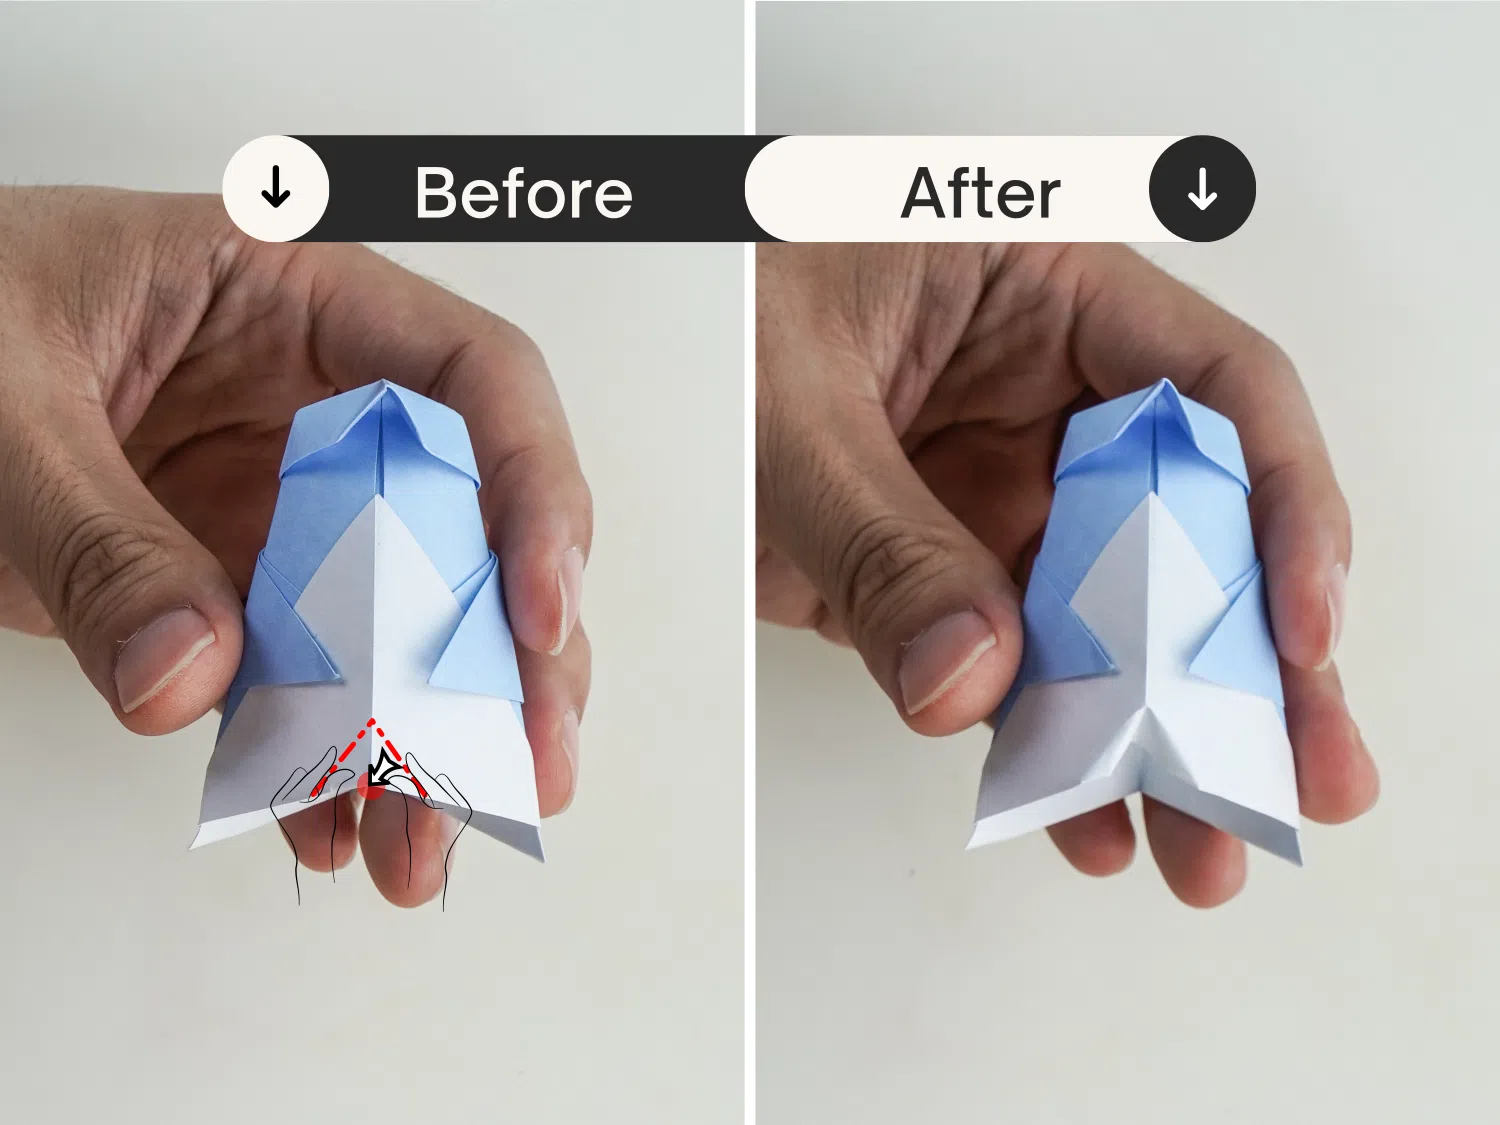
Step 15
Fold the midpoint of the bottom edge of its belly inward a little bit. Now you can wear it on your finger from the bottom hole.