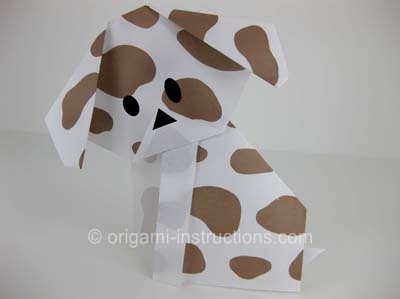
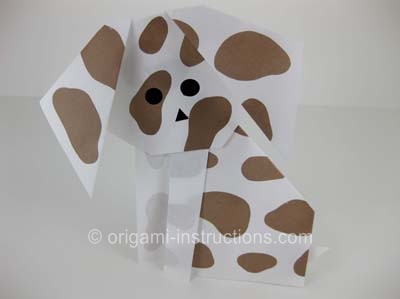
Origami Dog
Origami Dog Step 1: Then follow the instructions below to fold the "body".
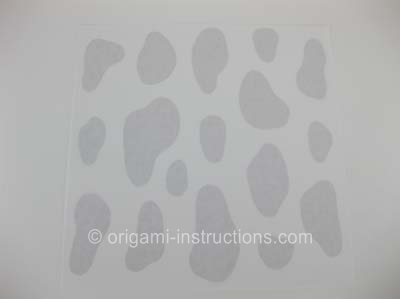
Origami Dog Step 2: Make a fold on the diagonal, bringing the top right corner to meet the bottom left corner.
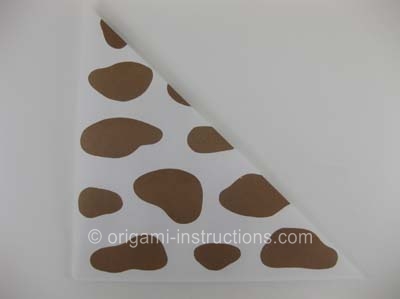
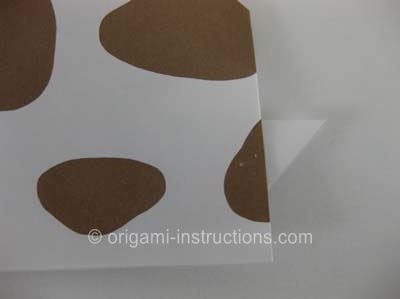
Origami Dog Step 3: Make a fold on the dash line shown below. Crease well.
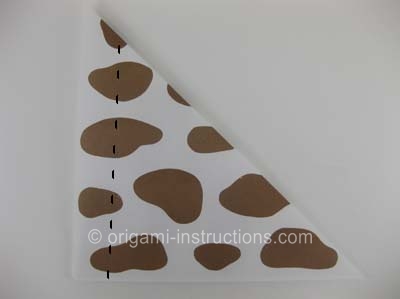
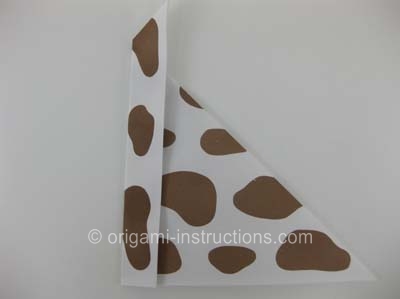
Origami Dog Step 4: Open up the paper slightly and make a squash fold.
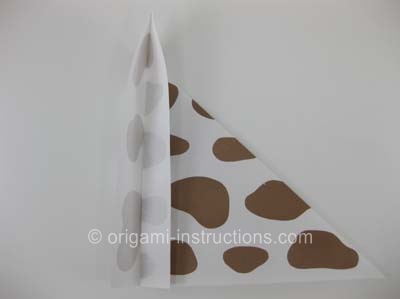
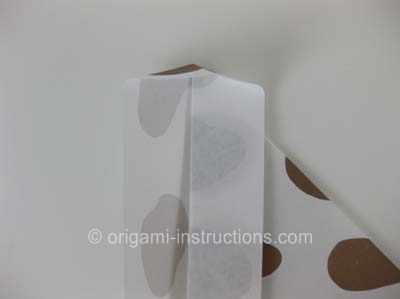
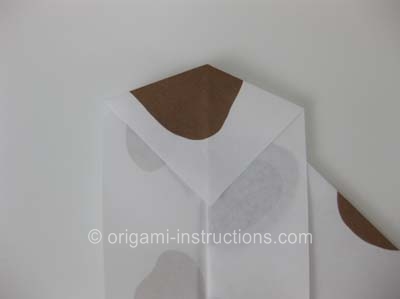
Origami Dog Step 5: Now we need to concentrate on the "tail" end. We need to make 2 folds at approximately the dash lines shown below. Crease well.
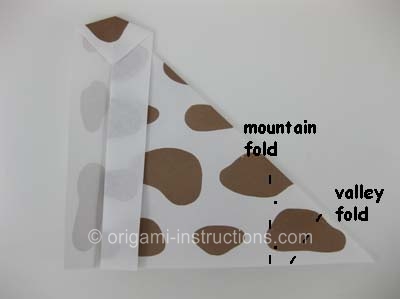
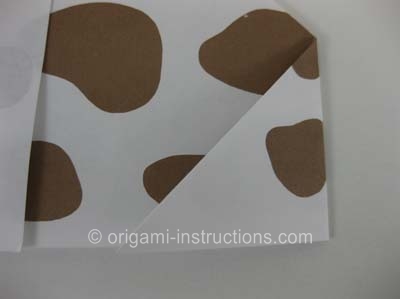
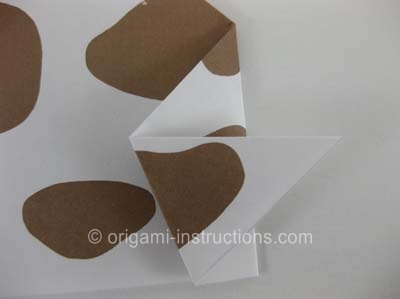
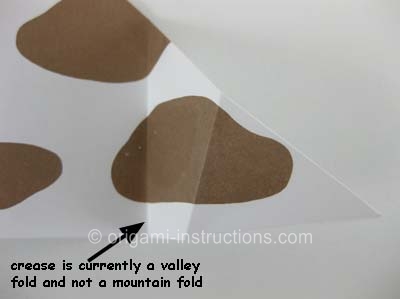
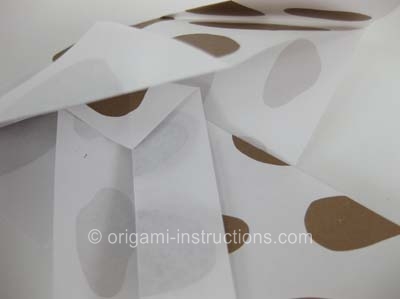
Origami Dog Step 6: If you noticed in Step 5, one of the lines was represented by "-.-." meaning that it should be a mountain fold. A mountain fold is when the crease is at the top. So pinch the paper at the crease so that the crease is upward as shown by the photo below.
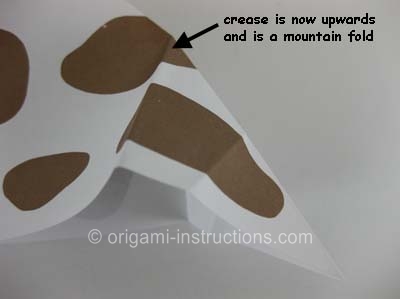
Origami Dog Step 7: The other crease should be a valley fold so pinch the paper at the crease so that the crease is downward. Once you do that, the paper just moves very naturally into an inverse reverse fold which is what we're aiming to do.
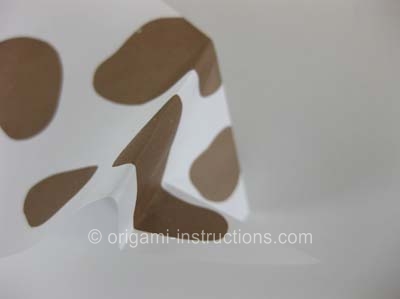
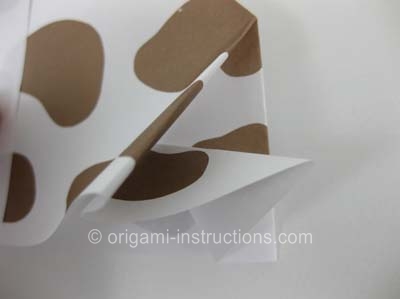
and your origami dog's body is complete!
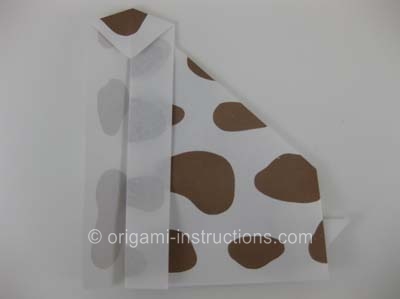
Now we just have to attach the head to the body with double-sided tape or glue.
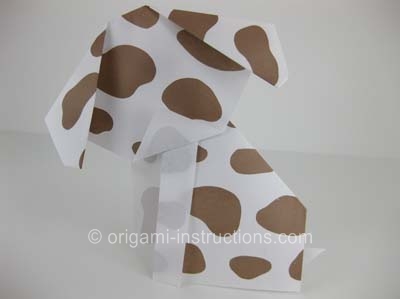
Depending on which dog face you made, you can get one of the following very cute origami dog!
