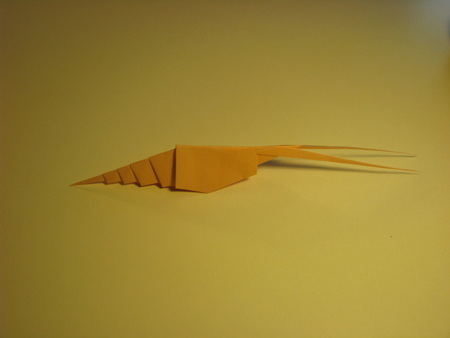
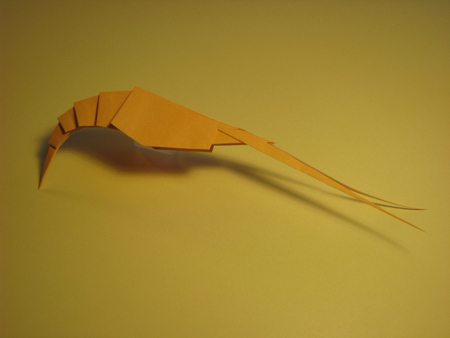
Origami Shrimp Folding Instructions
Fold a piece of square origami paper along the diagonal, as shown below, then unfold.
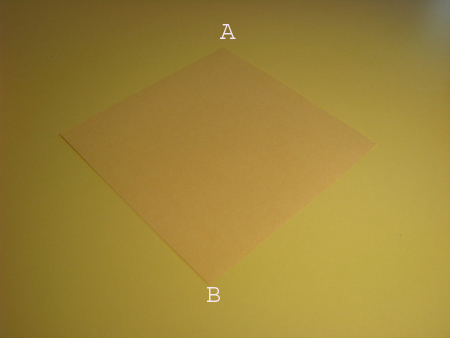
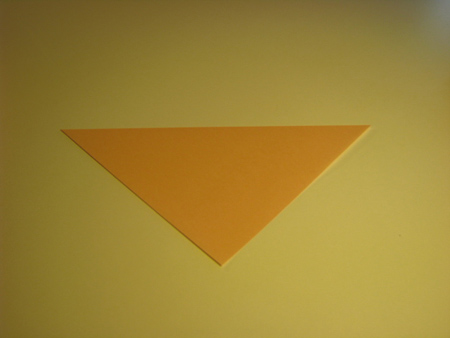
Now fold the corners A and B to the centerline, resulting in a kite:
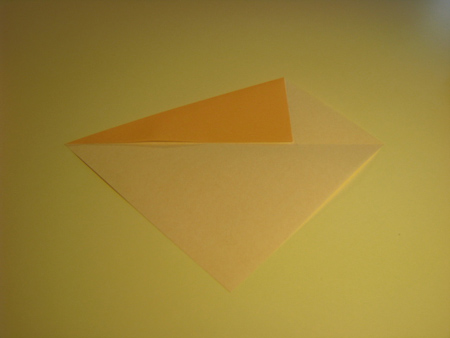
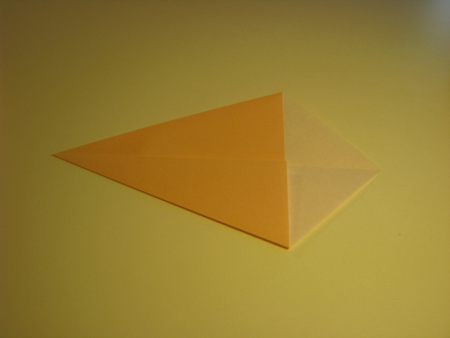
Next fold the long edges of the kite towards the centerline.
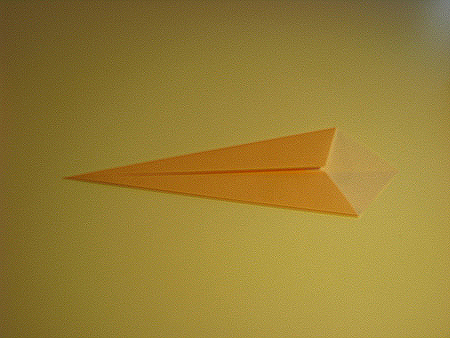
Then fold the short edges to the centerline. Next fold corner C over...
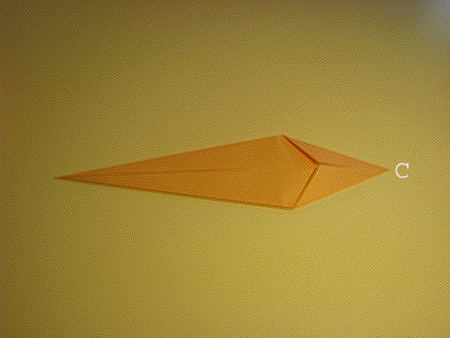
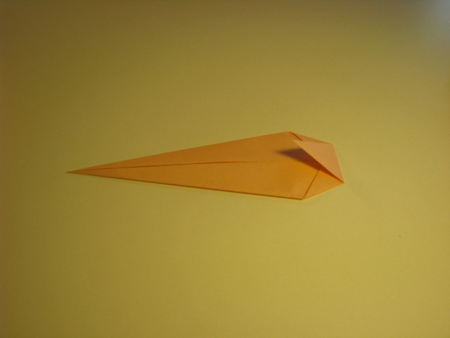
...and back again, to form a simple pleat fold. Flip the model over, and cut a small hole where shown:
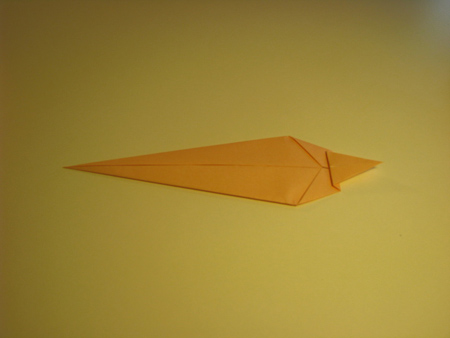
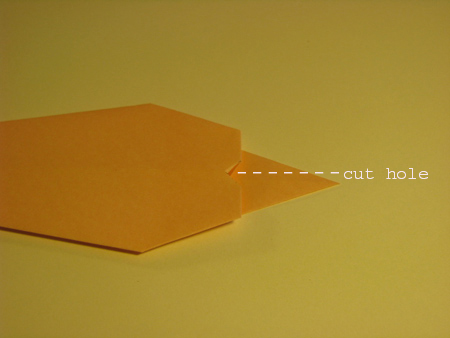
Flip the model over again, and unfold back to the kite. Now cut narrow triangular strips, part-way up the kite as shown below. These strips form the shrimp's antennae (feelers).
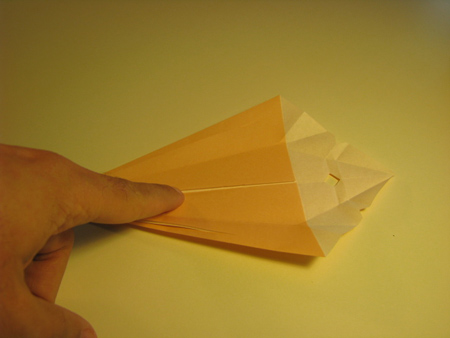
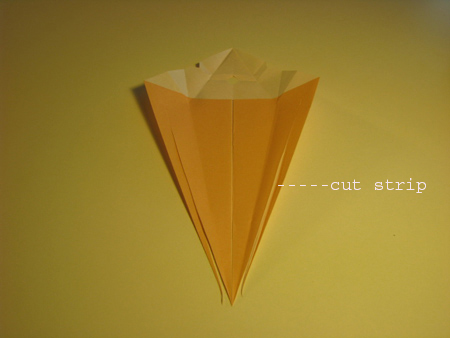
Now re-fold the shrimp, and slip the ends of the feelers through the hole.
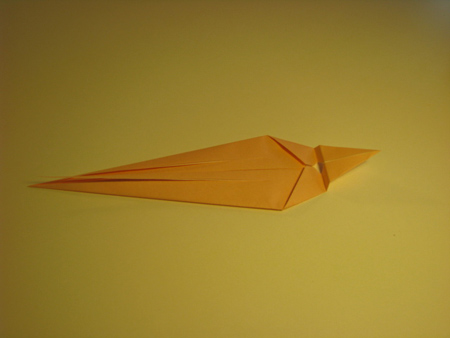
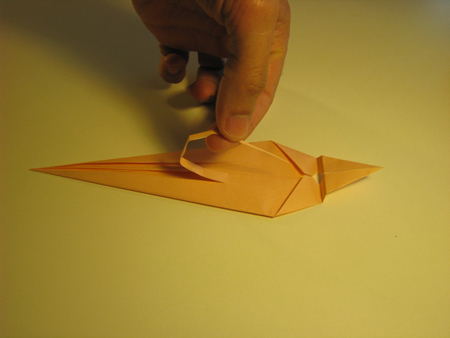
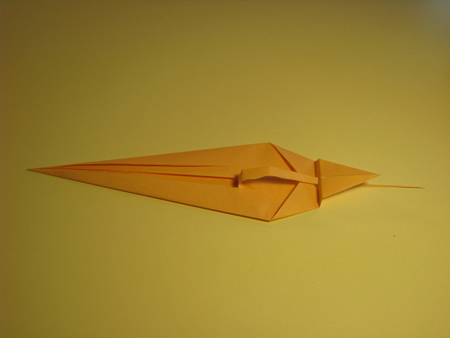
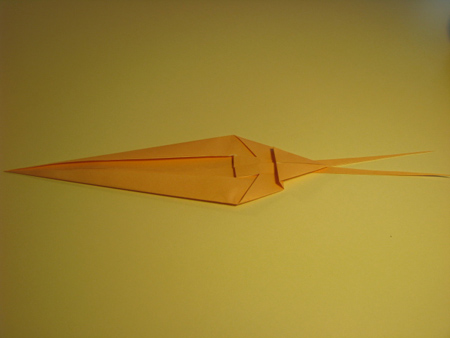
Now make another pleat fold in the body of the shrimp:
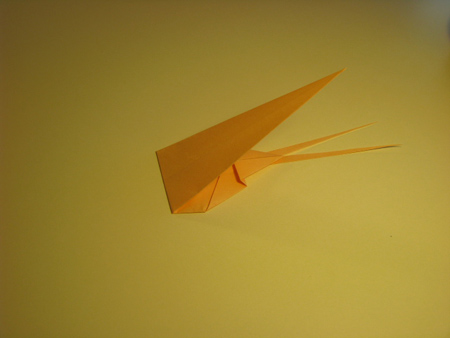
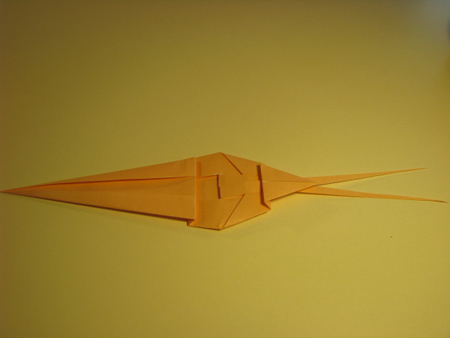
Do four (4) more pleat folds as shown. The fold the shrimp in half lengthwise:
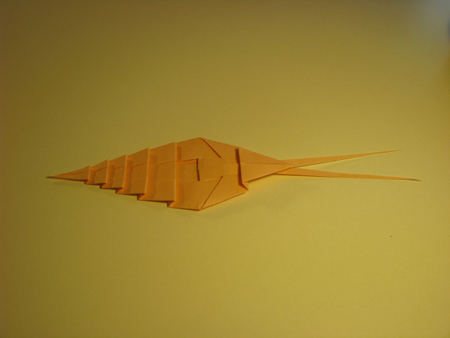
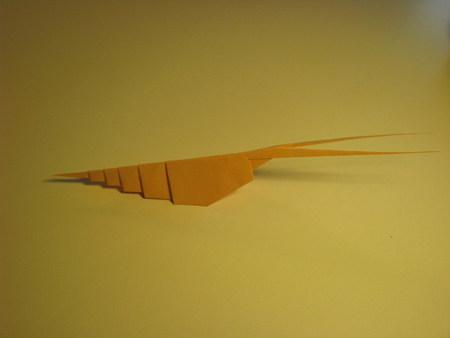
At each pleat fold, re-crease the fold as shown, to create a curve in the body. Now your origami shrimp (or lobster) is ready for the ocean!
