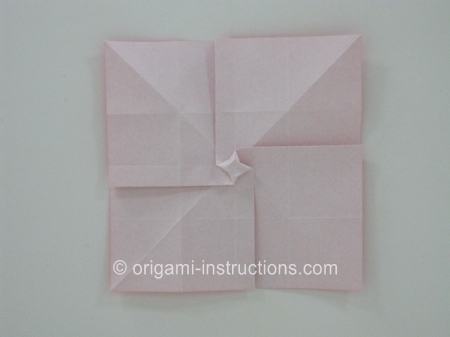
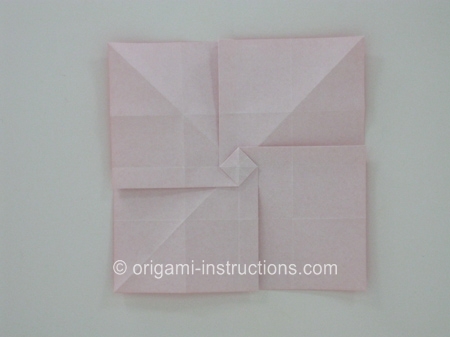
Origami Kawasaki Rose
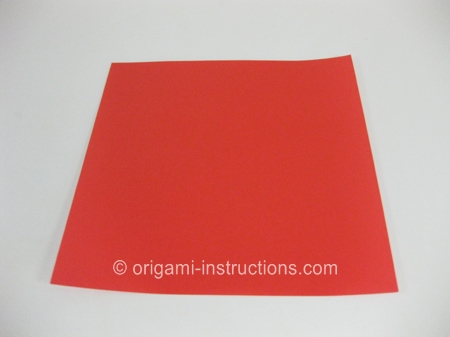
Start with a square of origami paper, colored side up:
Make a valley fold along the east-west axis as shown:
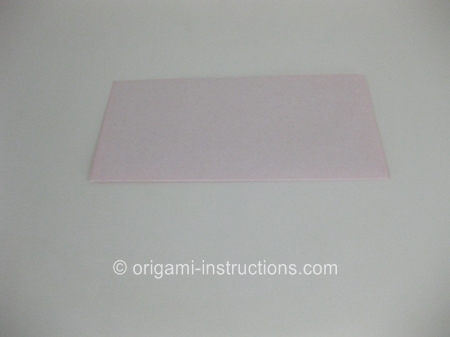
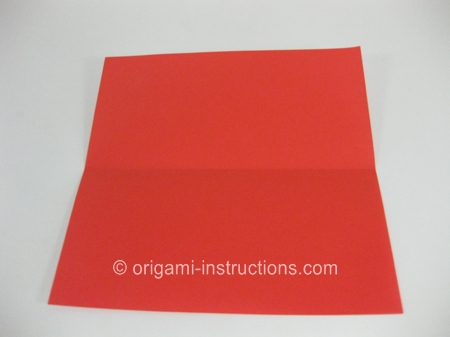
Now make another valley fold along the north-south axis:
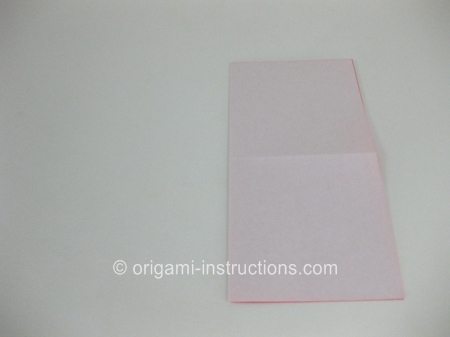
Rotate the paper 90 degrees:
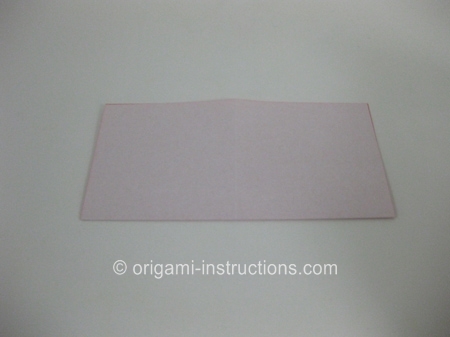
Next fold in half again, and unfold:
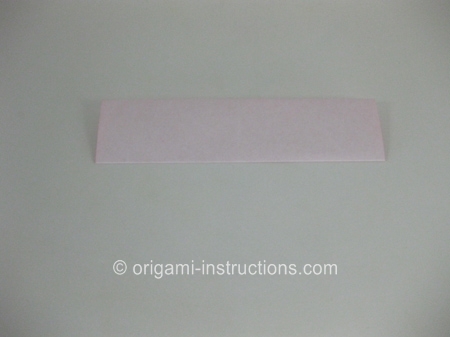
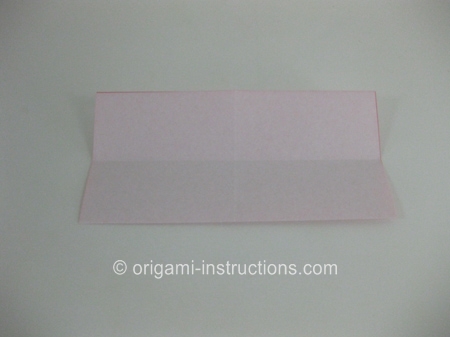
Fold the bottom edge of the paper one-third of the way to the centerline, then unfold the paper:
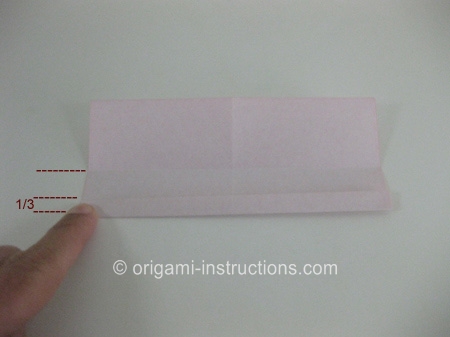
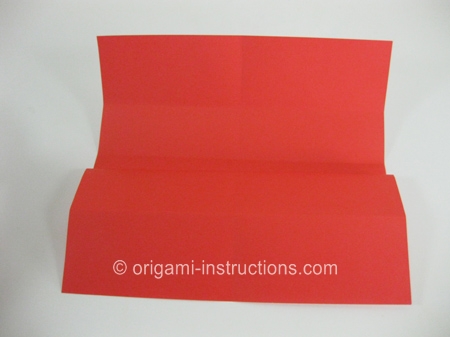
Fold the paper left to right and rotate 90 degrees. Then repeat the last four (4) steps.
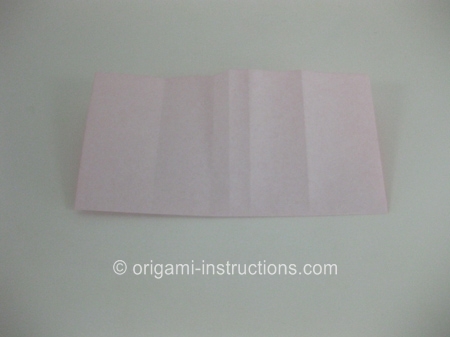
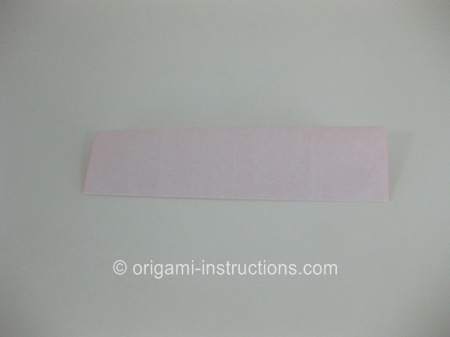
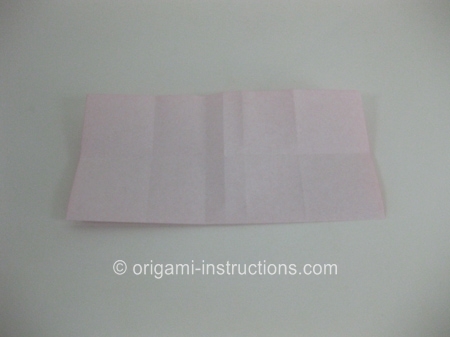
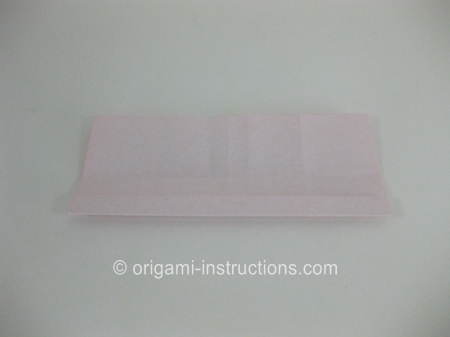
Now your origami paper should look like this, with two (2) pairs of creases near the centerlines, and two (2) pairs of creases further from the centerlines.
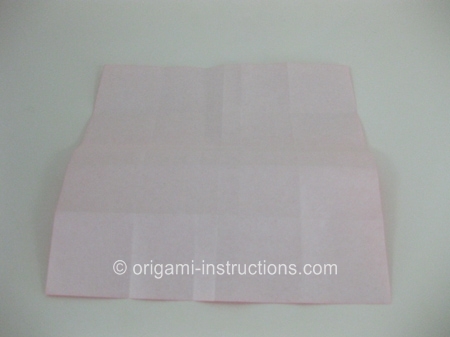
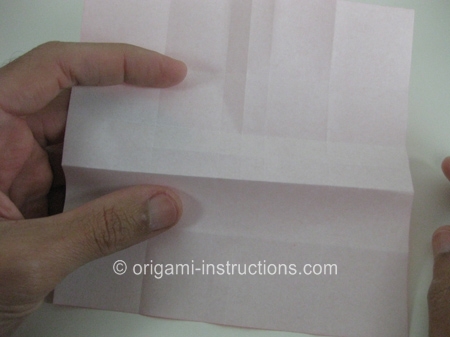
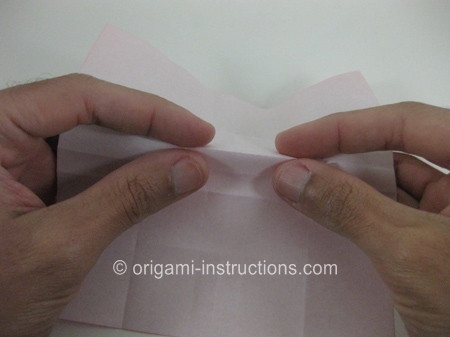
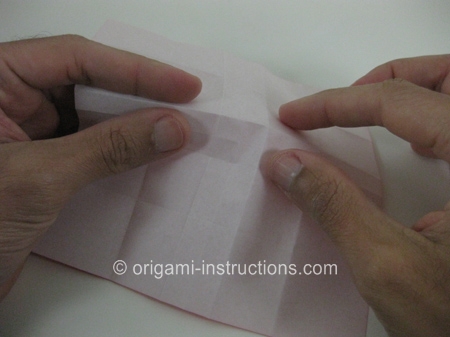
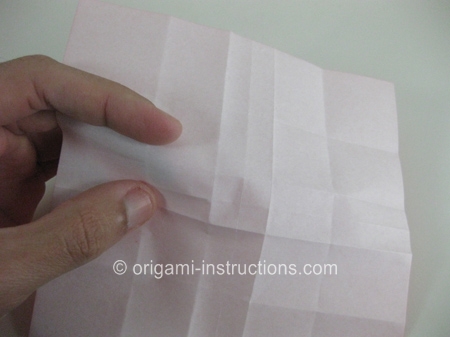
Next, re-fold the four (4) creases furthest from the centerline, to valley folds (2 of them are already valley folds). The mountain (M) and valley (V) fold layout should look like this:
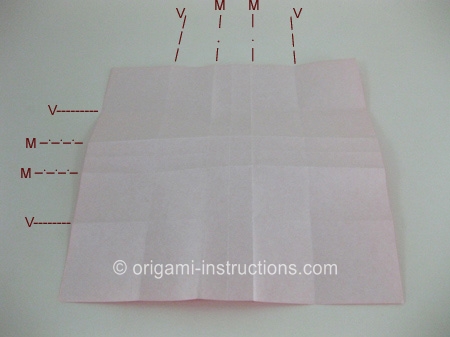
Then, make folds along each diagonal as shown:
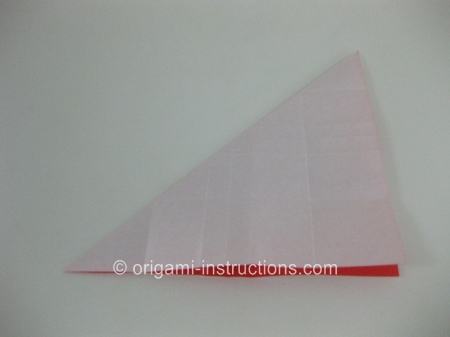
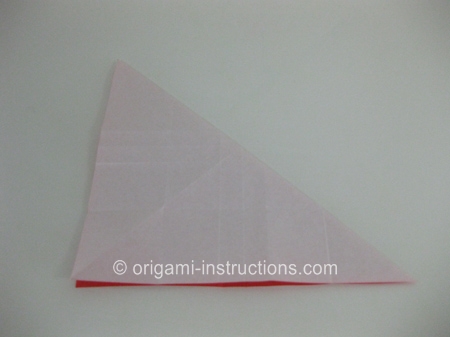
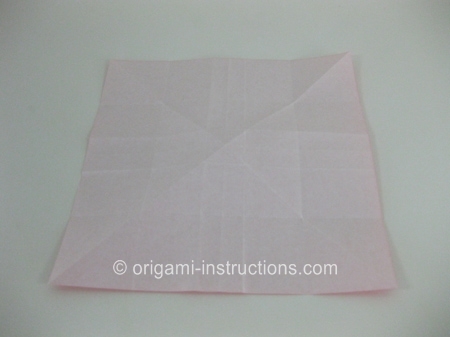
Partially fold the along the centerline creases so that they stick up somewhat from the paper, as shown in the next four (4) photos.
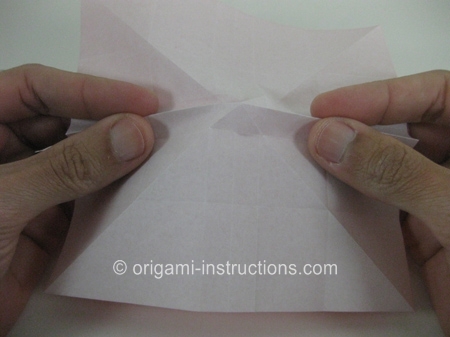
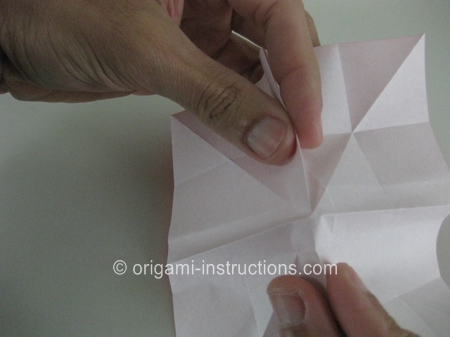
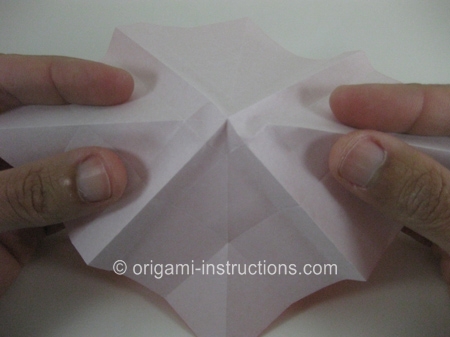
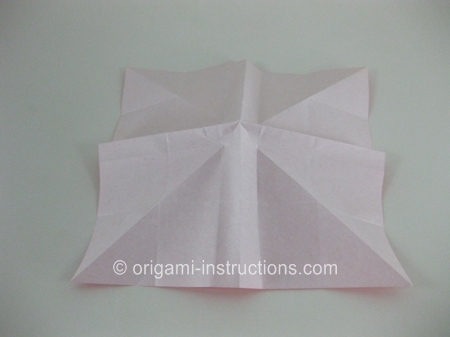
Now use your fingers to move the centerline creases in opposite directions.....
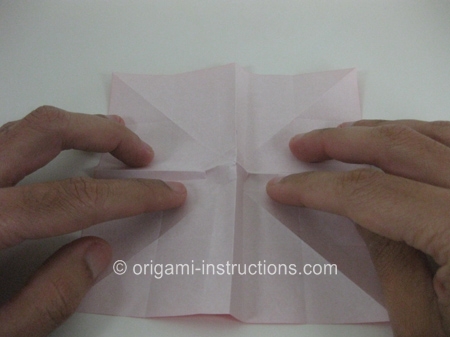
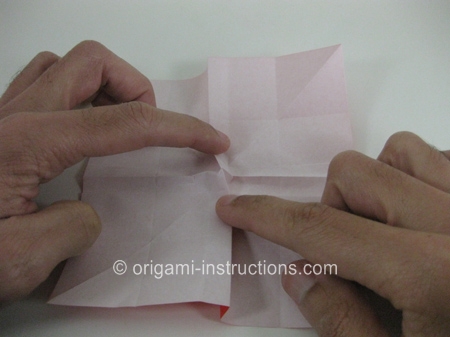
...which will result in a pinwheel shape:
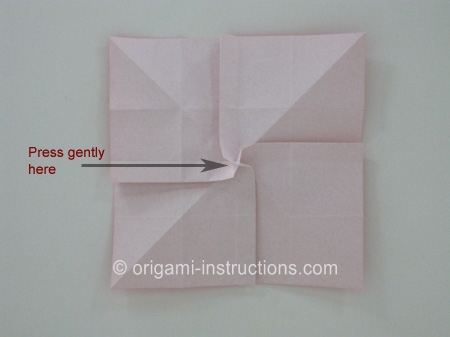
Press down gently with one finger on top of the pinwheel. Work slowly until the point flattens into a diamond in the middle of the paper:
