Origami Kusudama Flower Folding Instructions
You can watch our origami kusudama flower video instructions, or check out the step-by-step photos below.
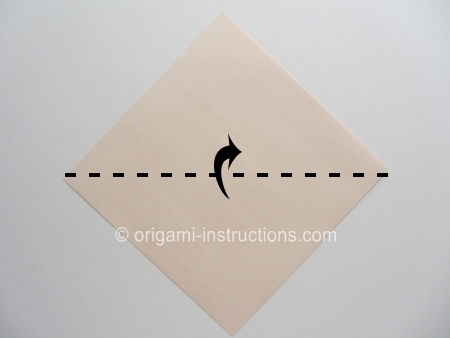
Origami Kusudama Flower Step 1: Start with a 6 inch x 6 inch (15cm x 15cm) square origami paper, color side down.
Fold paper in half on the horizontal diagonal axis. Crease well.
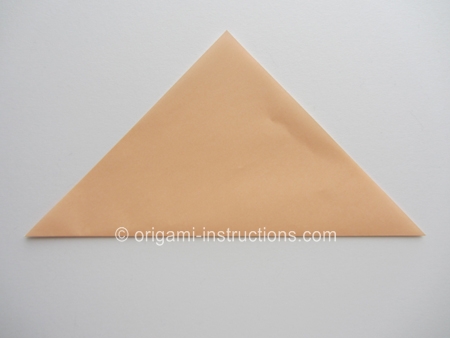
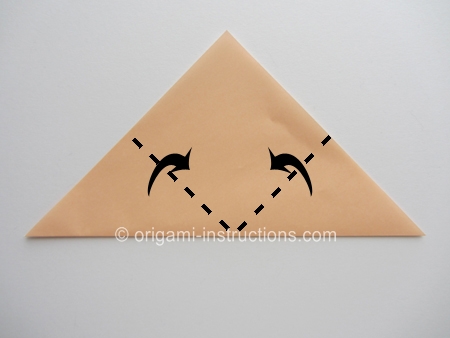
Origami Kusudama Flower Step 2: Now fold both the right and left corners to the top.
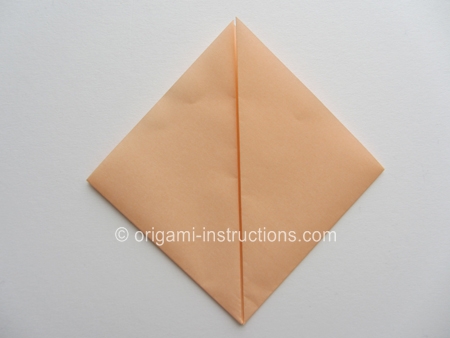
Origami Kusudama Flower Step 3: Now fold the edge BD onto the edge DE.
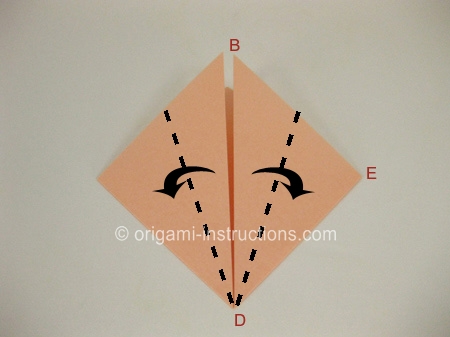
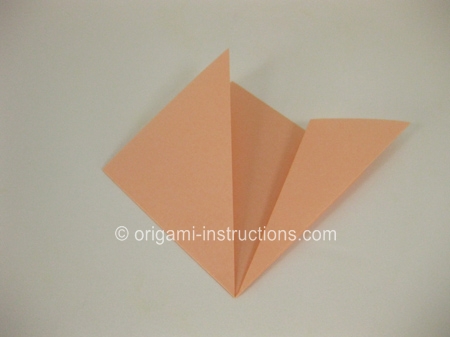
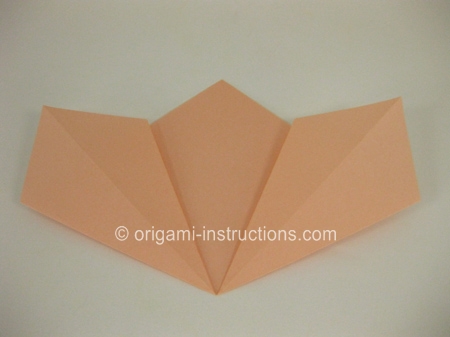
Repeat on the left side:

Origami Kusudama Flower Step 4: Place your finger in one of the outer pockets, and make a squash fold as shown in the next three photos.


Repeat the squash fold on the left side:
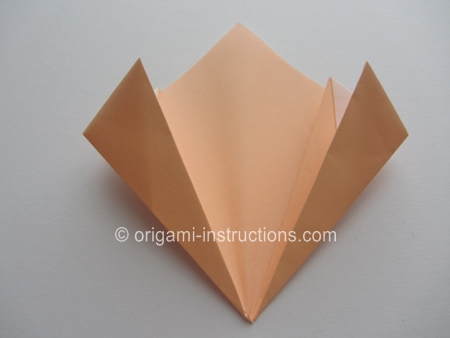
Origami Kusudama Flower Step 5: Fold down both tips.
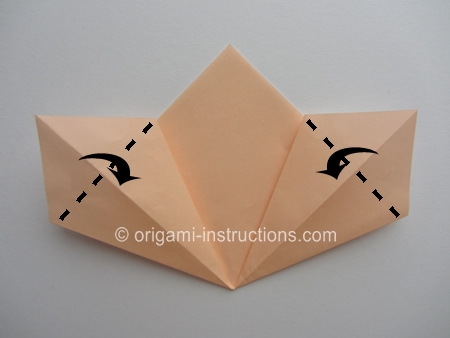

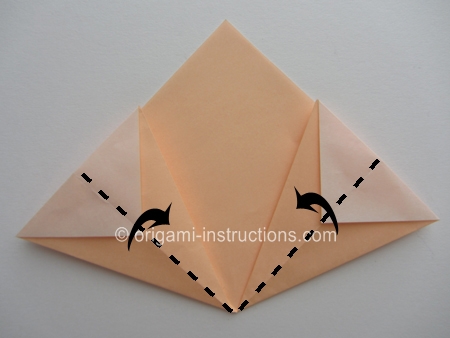
Origami Kusudama Flower Step 6: Make the 2 diagonal folds as indicated below.
Origami Kusudama Flower Step 7: Next, we need to glue the two surfaces shown together. We used glue dots, but regular white glue will do just fine.

After applying the glue, fold the surface together as shown, and hold in place till the glue dries.


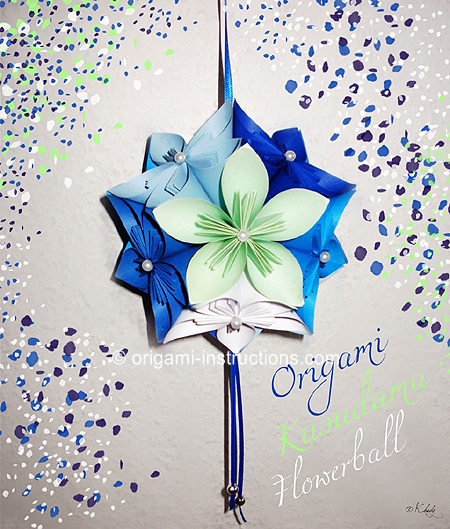
Origami Kusudama Flower Step 8: Repeat Steps 1 to 7 to make a total of 5 units. Glue them all together, and you have an origami kusudama flower!

You can make 12 of these flowers and glue them together to make an actual kusudama ball. Here is a beautiful one made by Khady in Hannover:
Check out the origami kusudama flower as folded and submitted by our readers!
Page 2 (more recent)


