How to Make an Origami Stress Ball
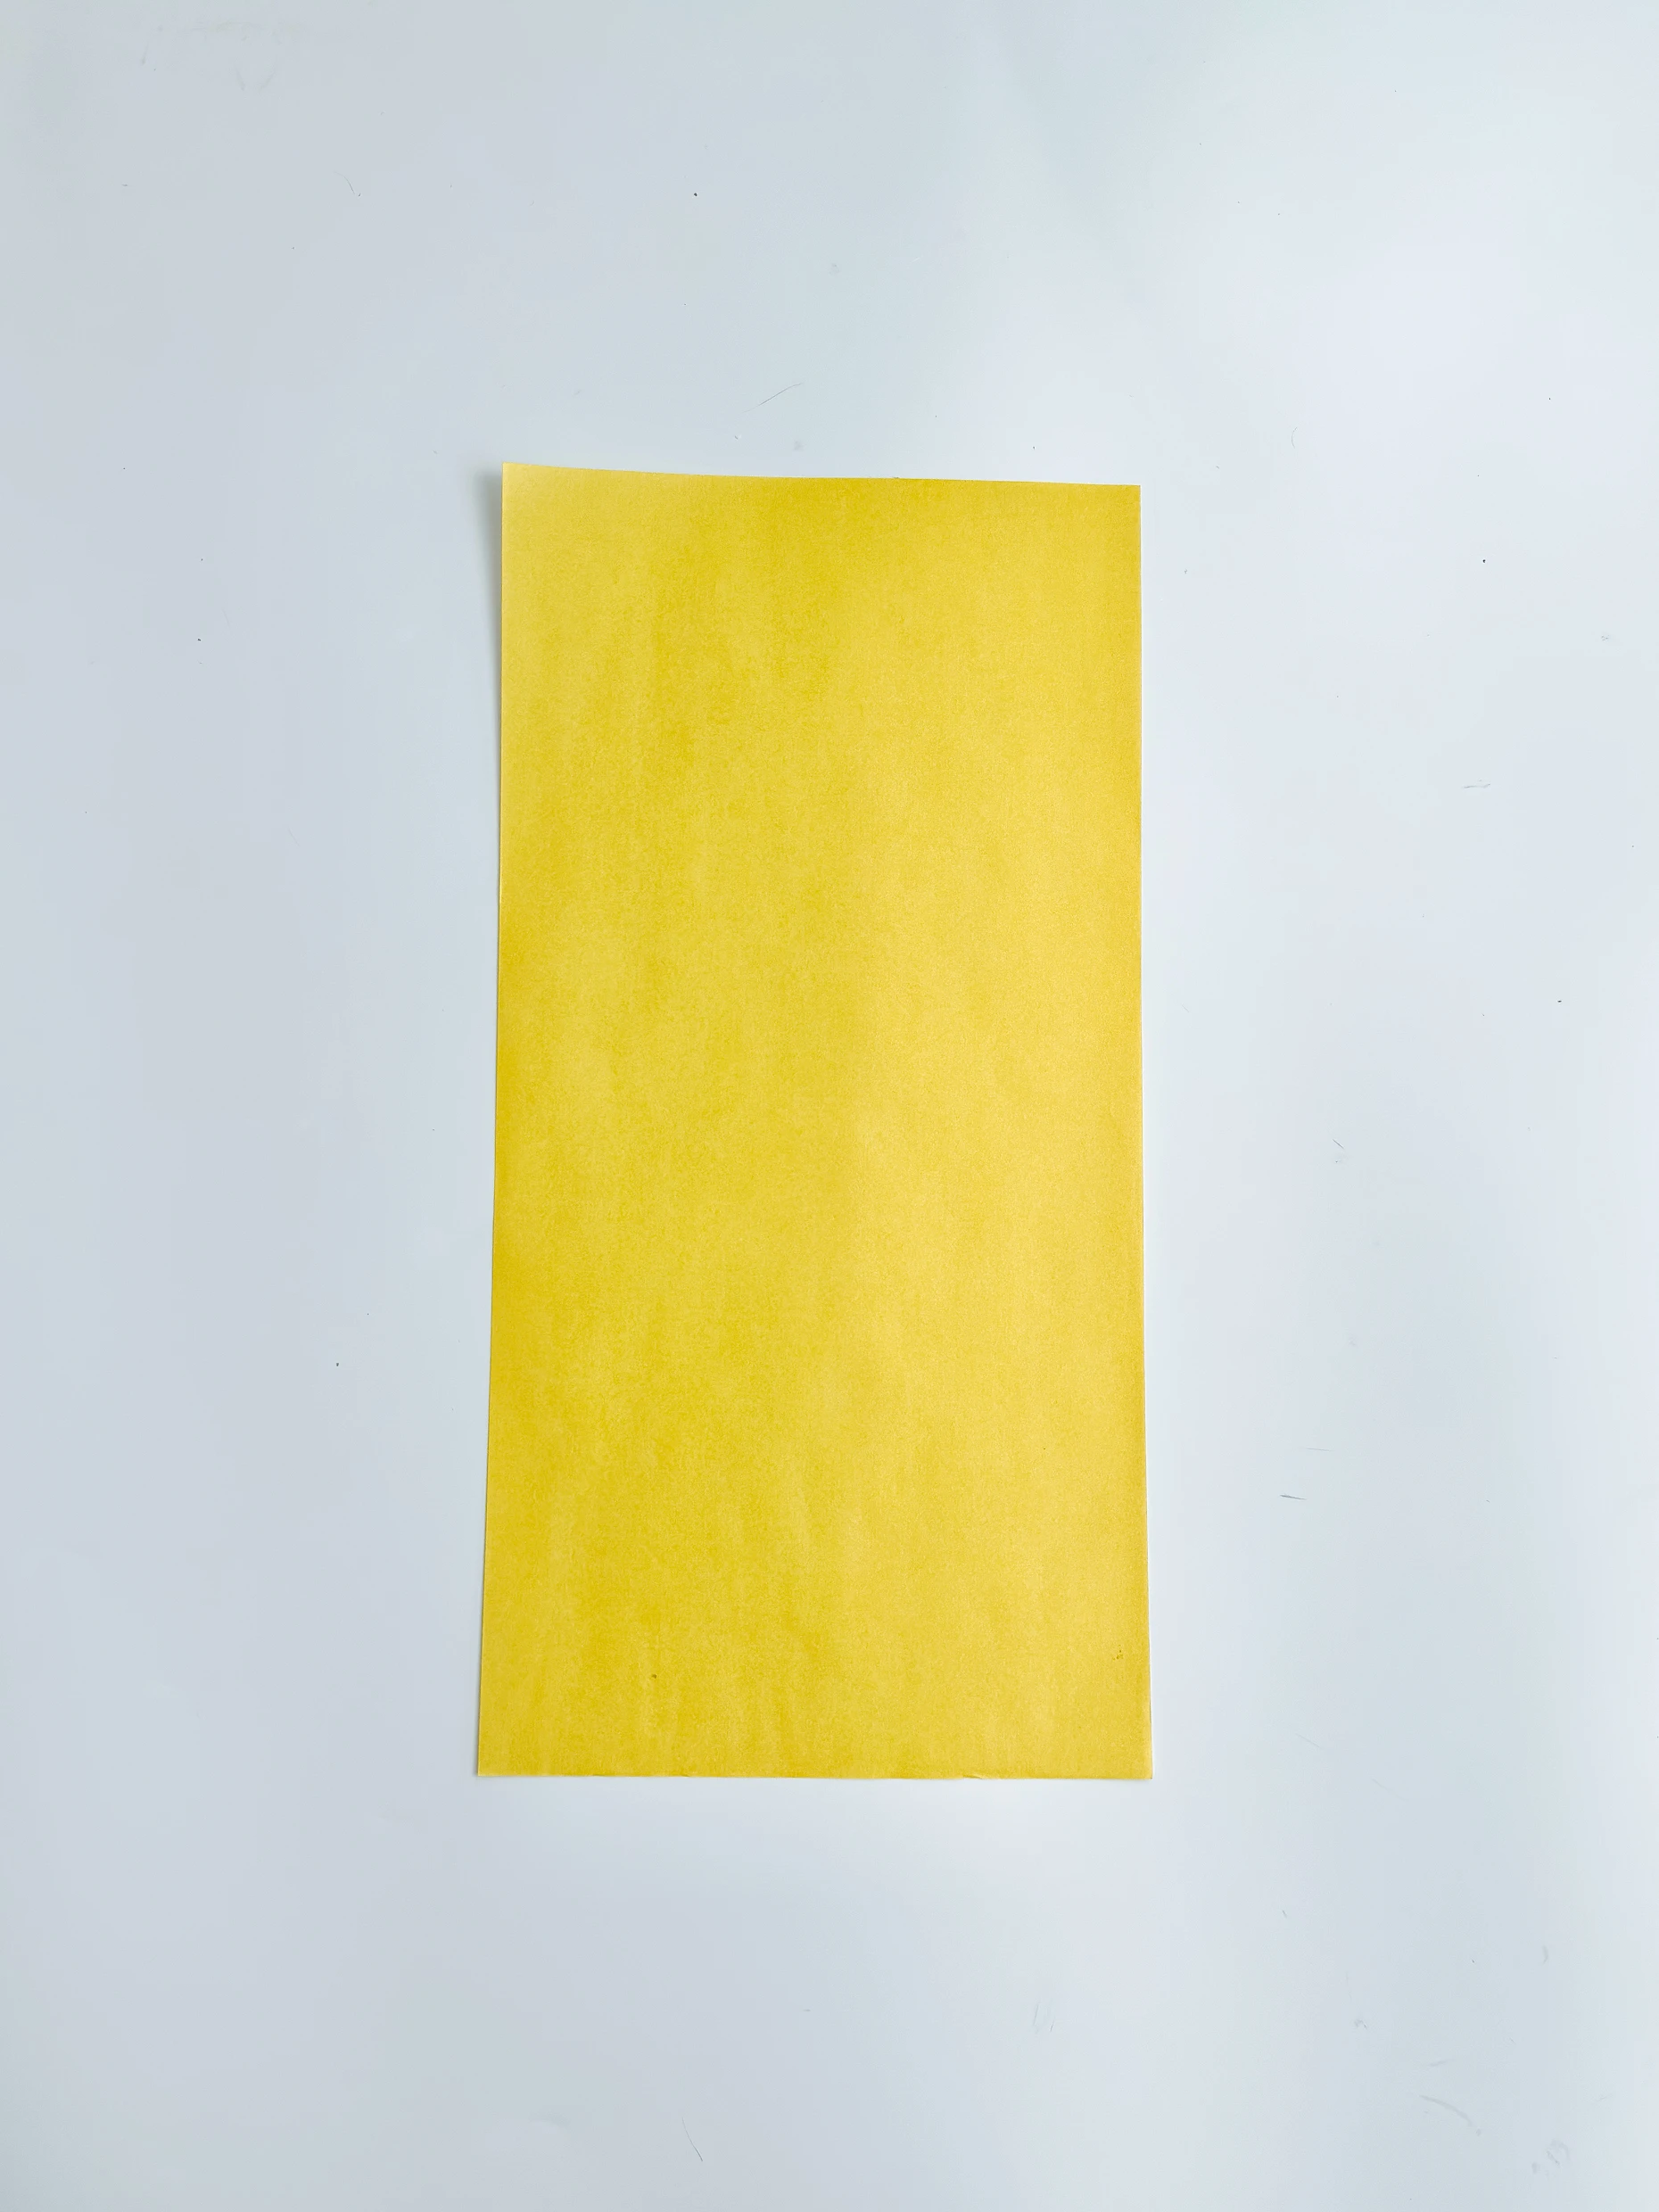
Step 1
Start with the colored side of the paper facing up, and place the paper vertically.
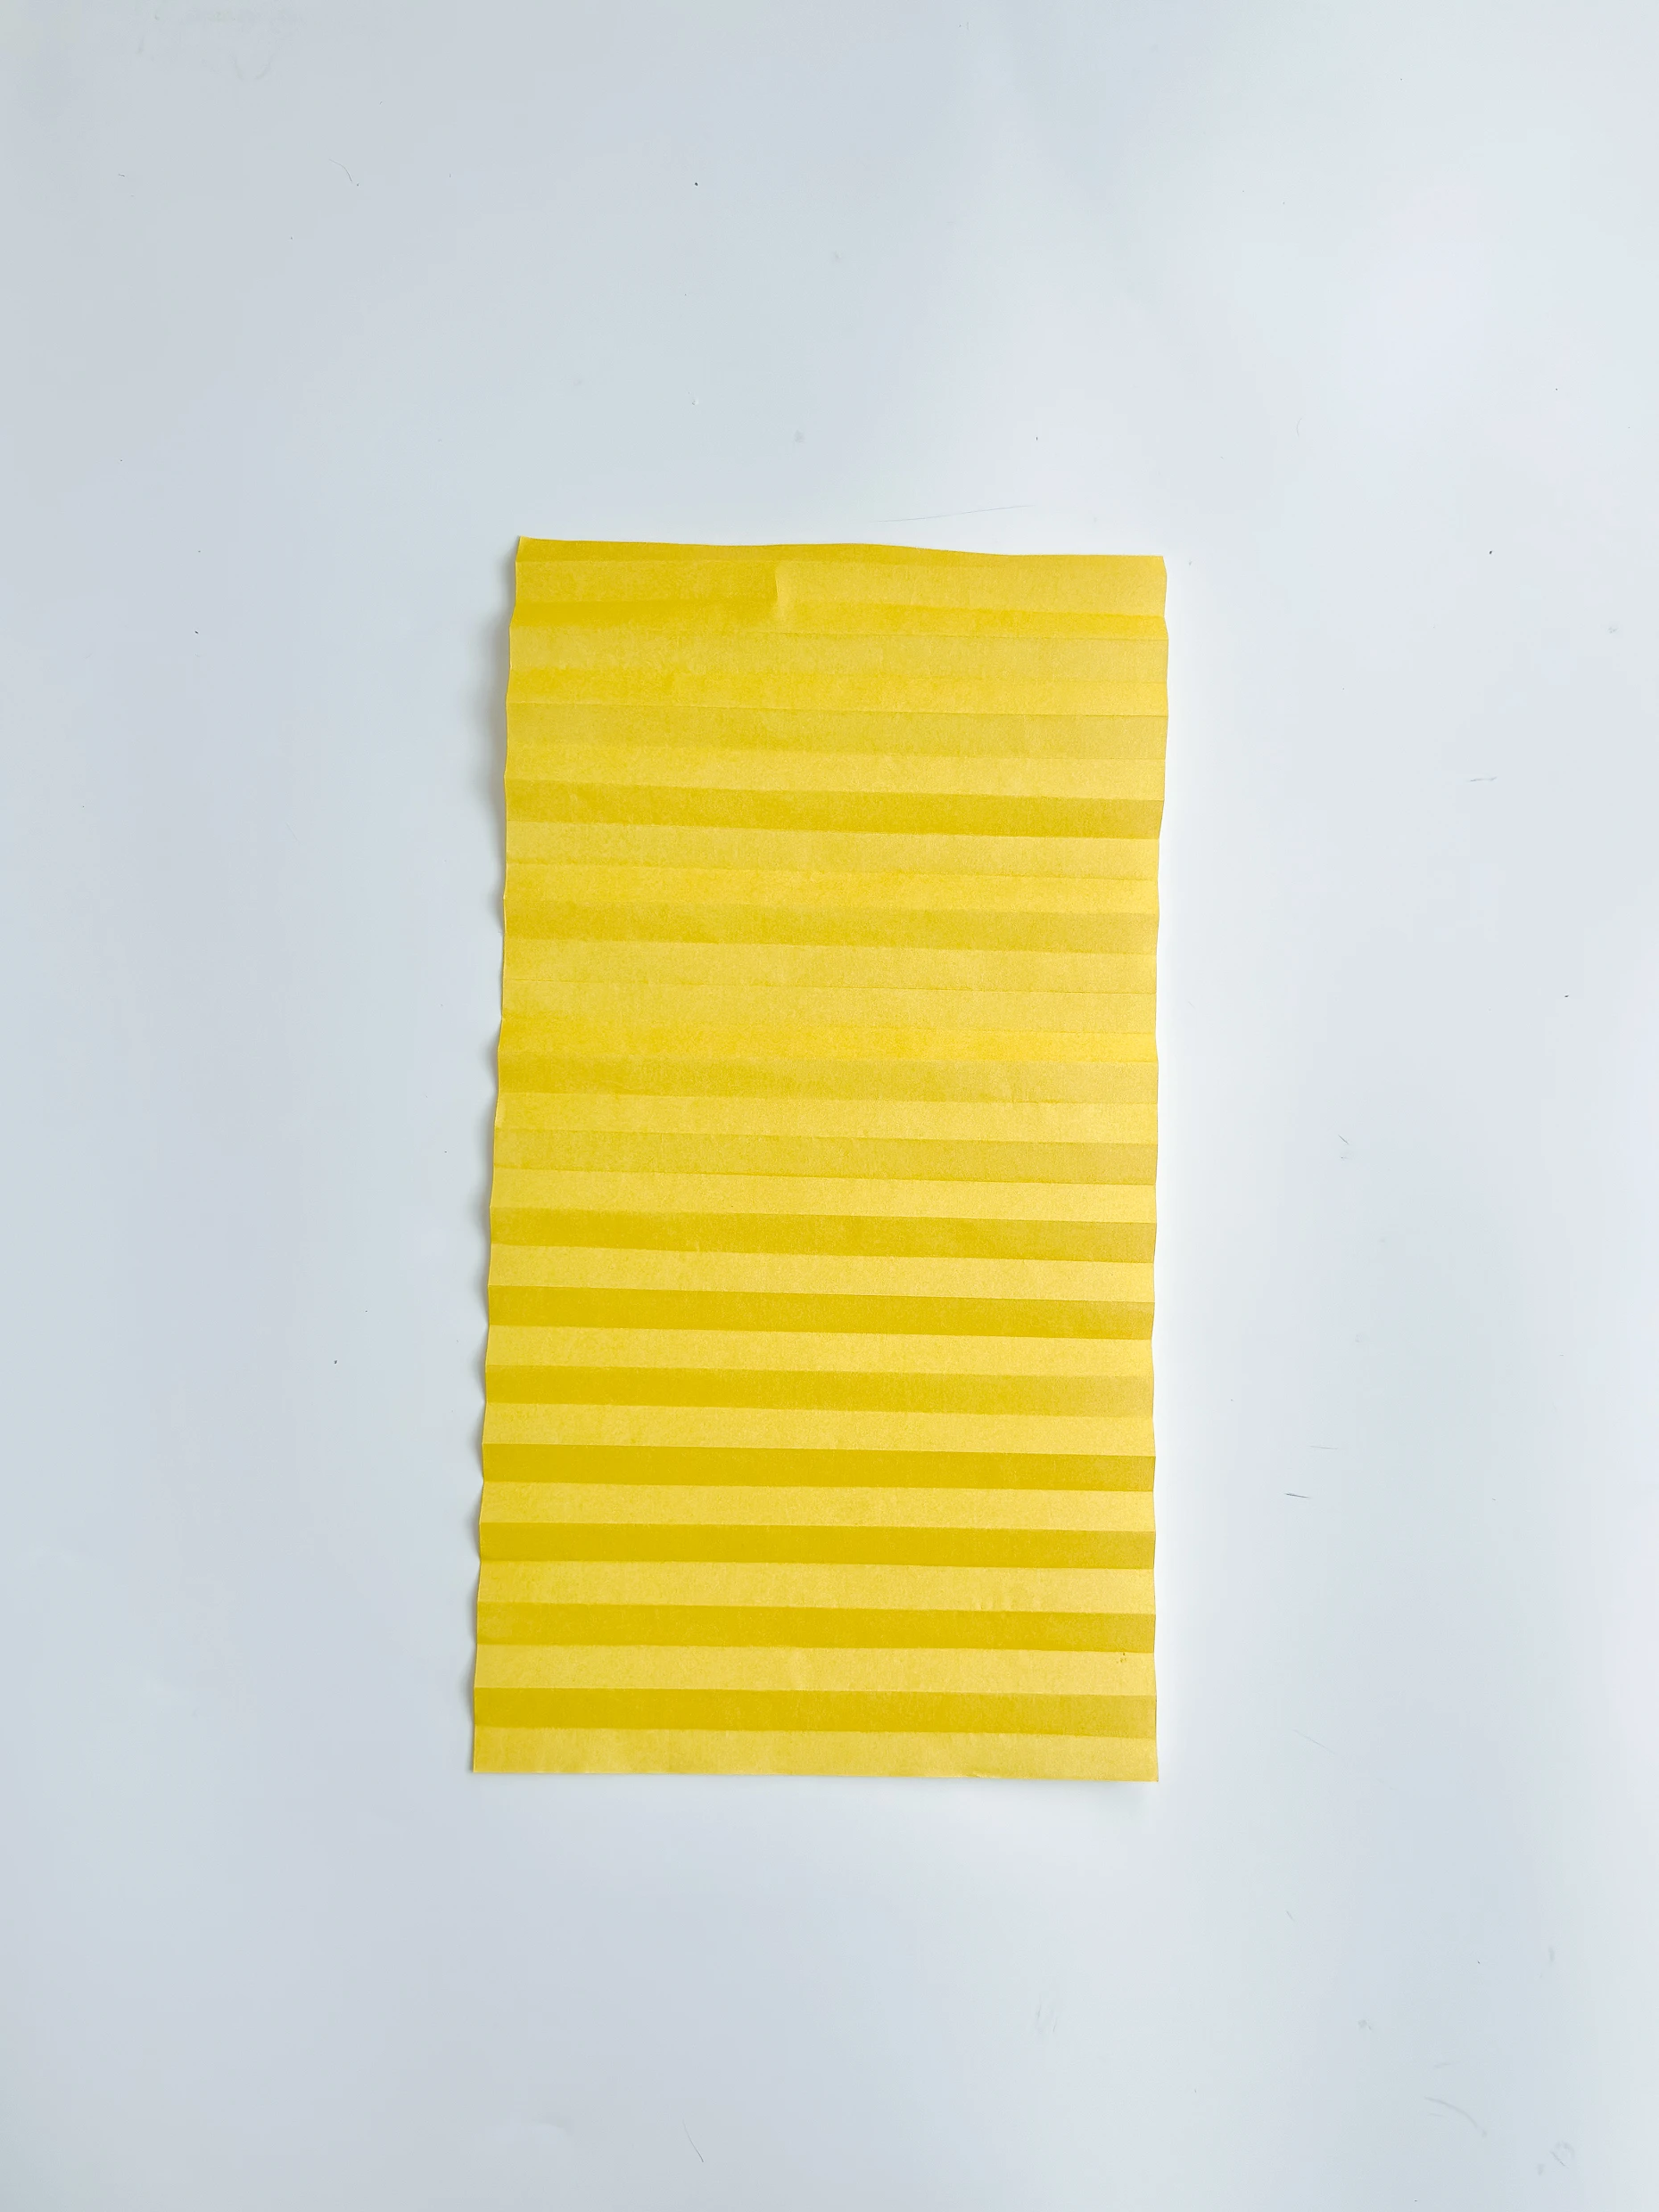
Step 2
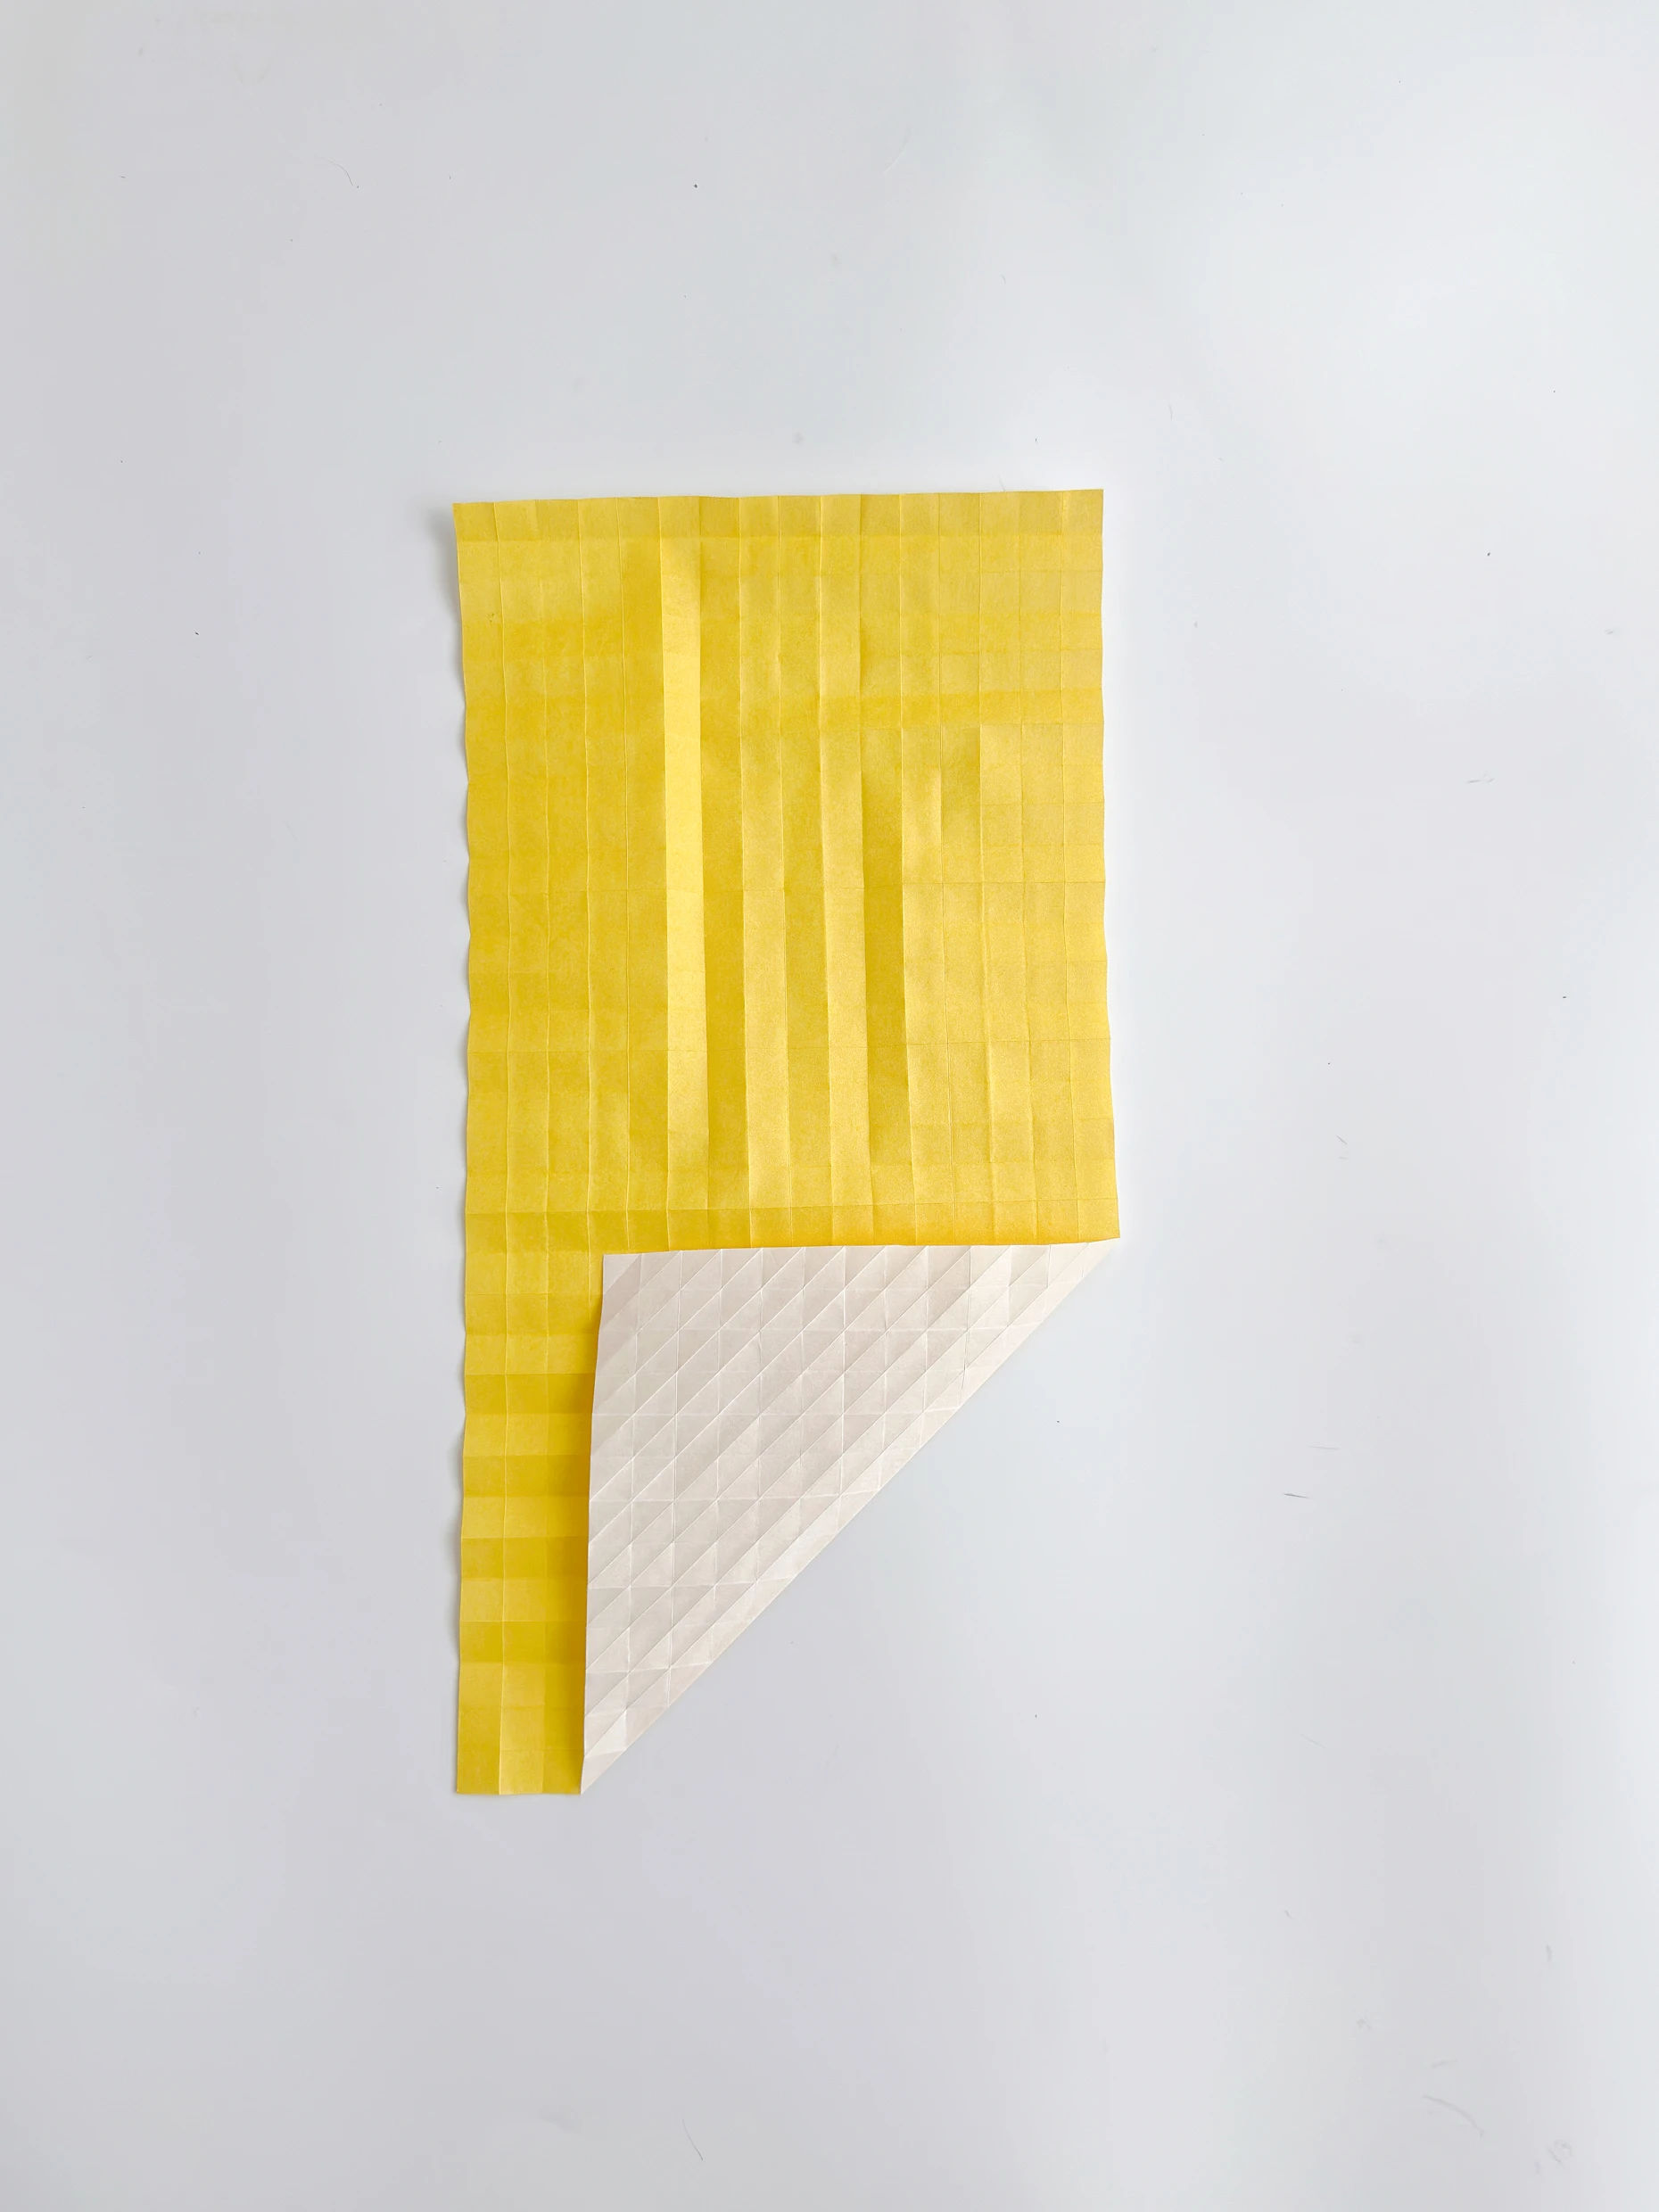
Fold it horizontally five times, and then unfold the paper, creating 32 evenly spaced creases.
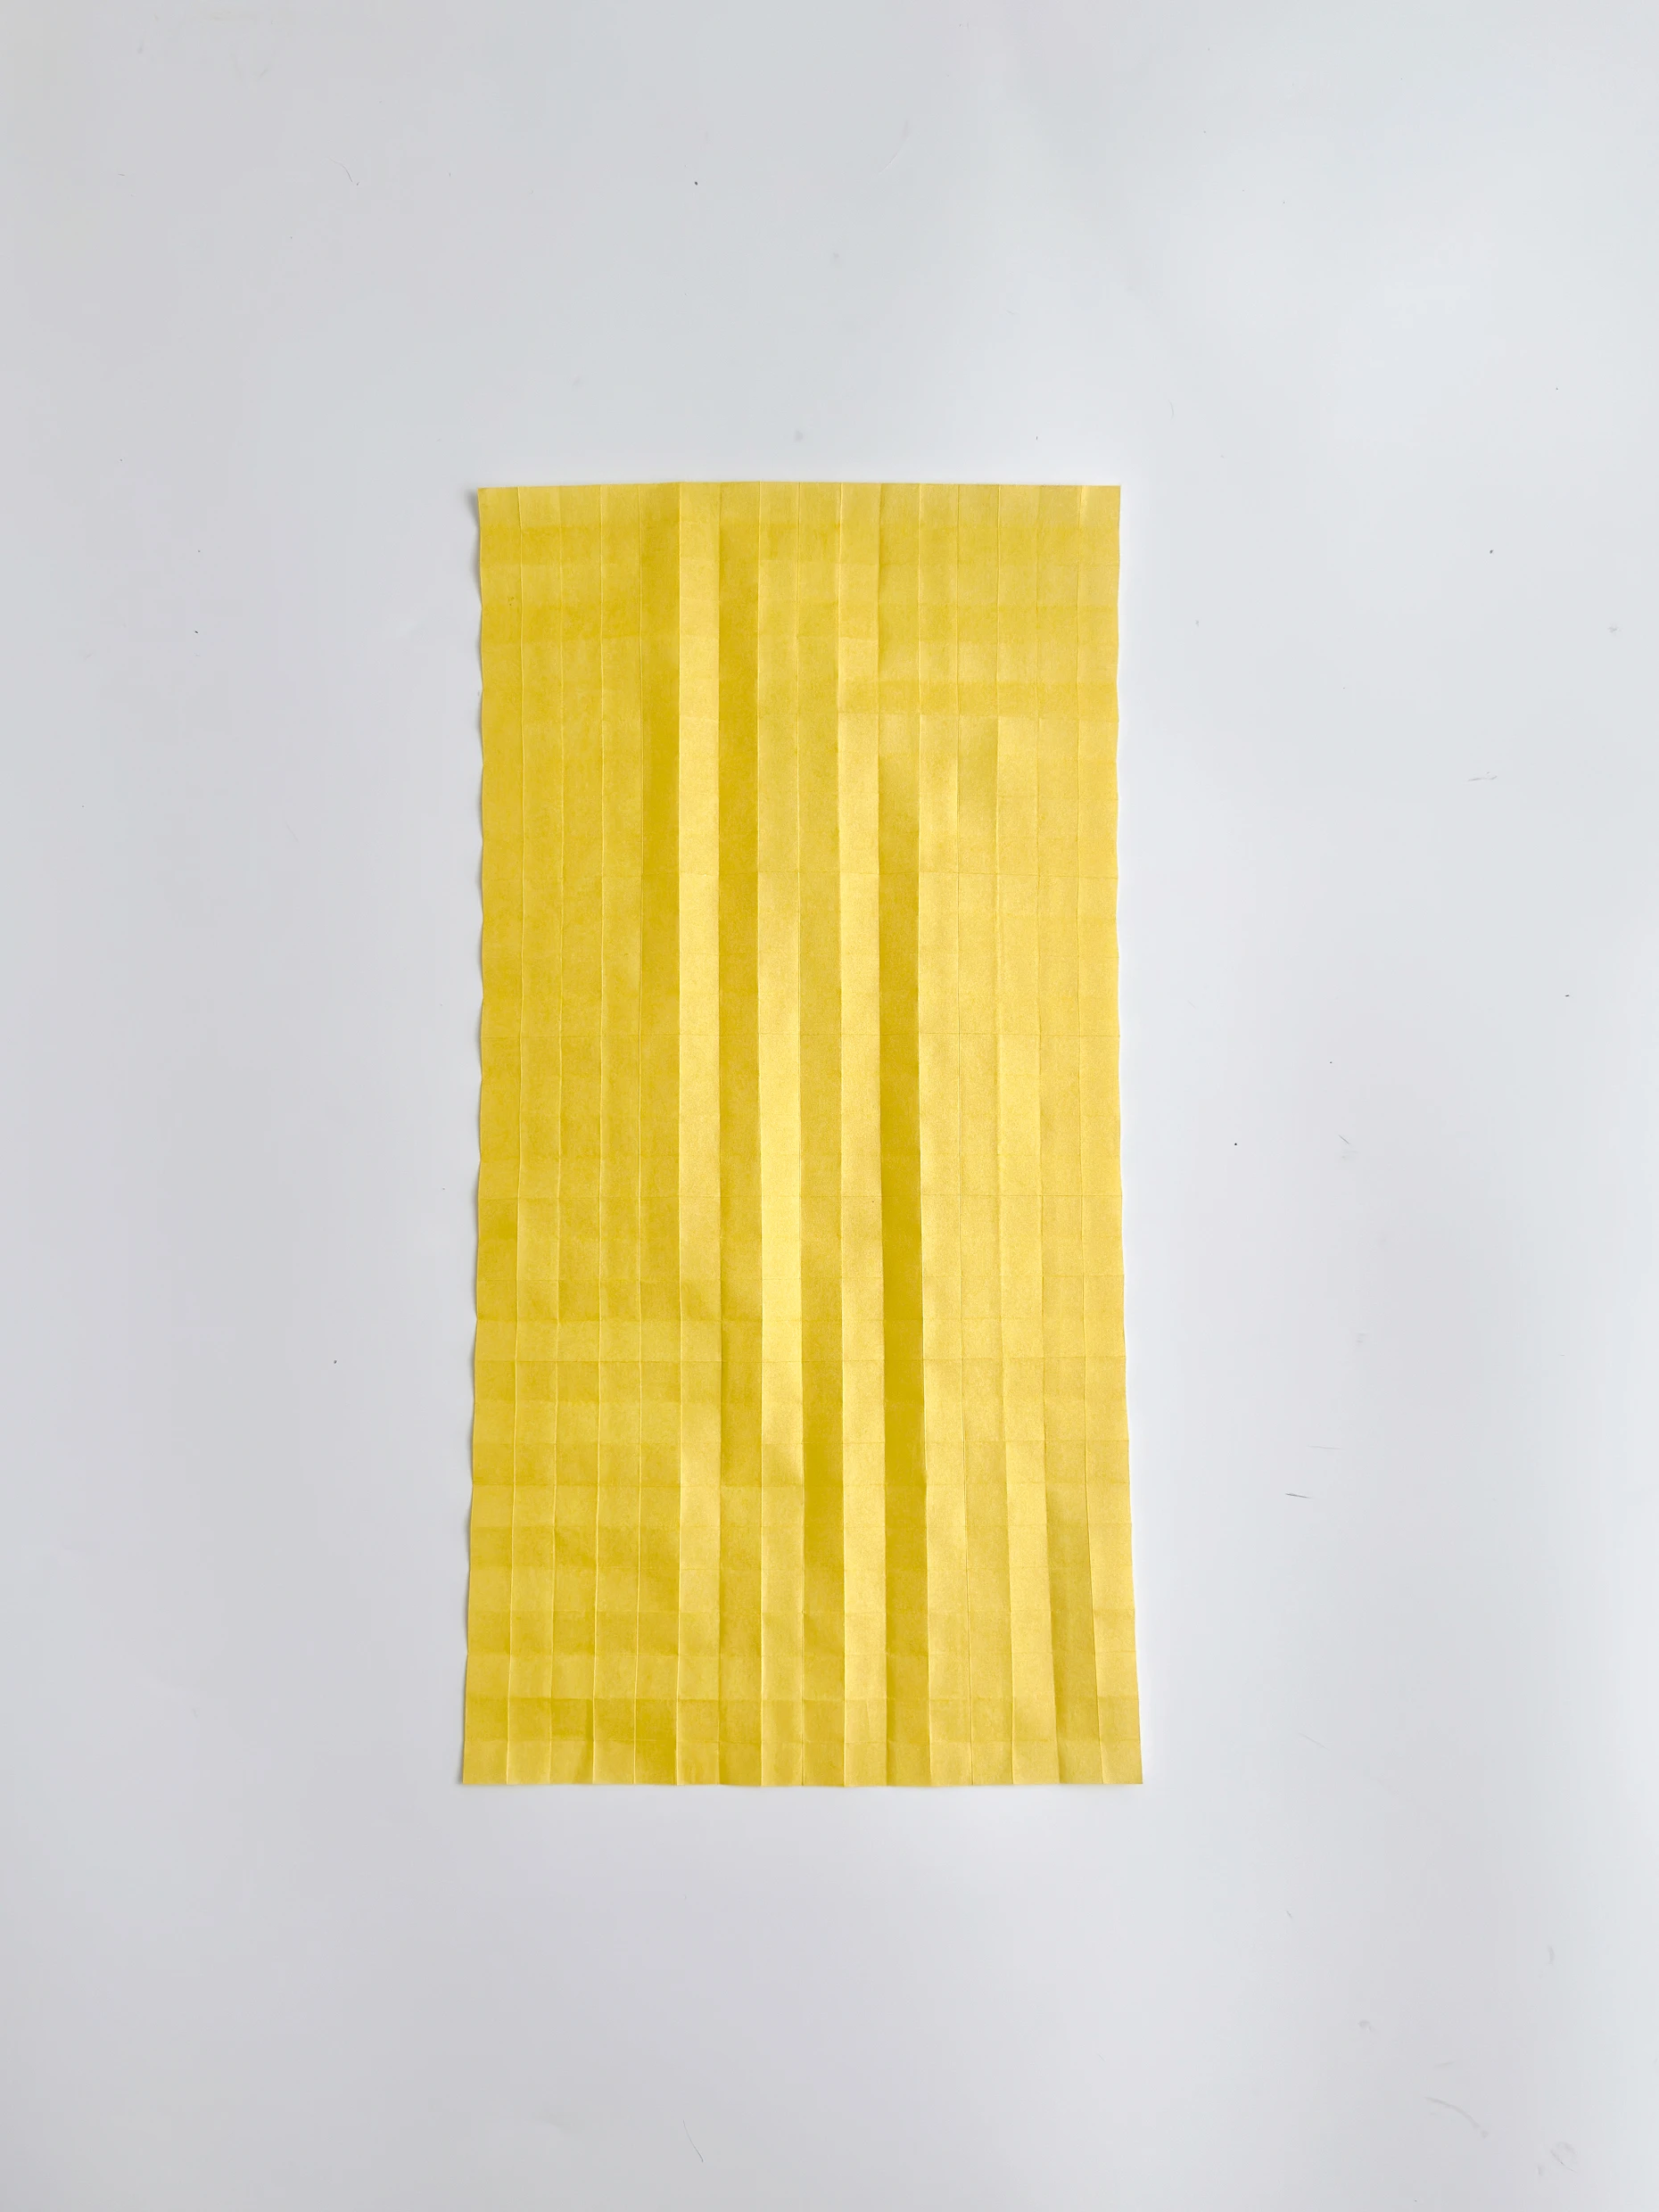
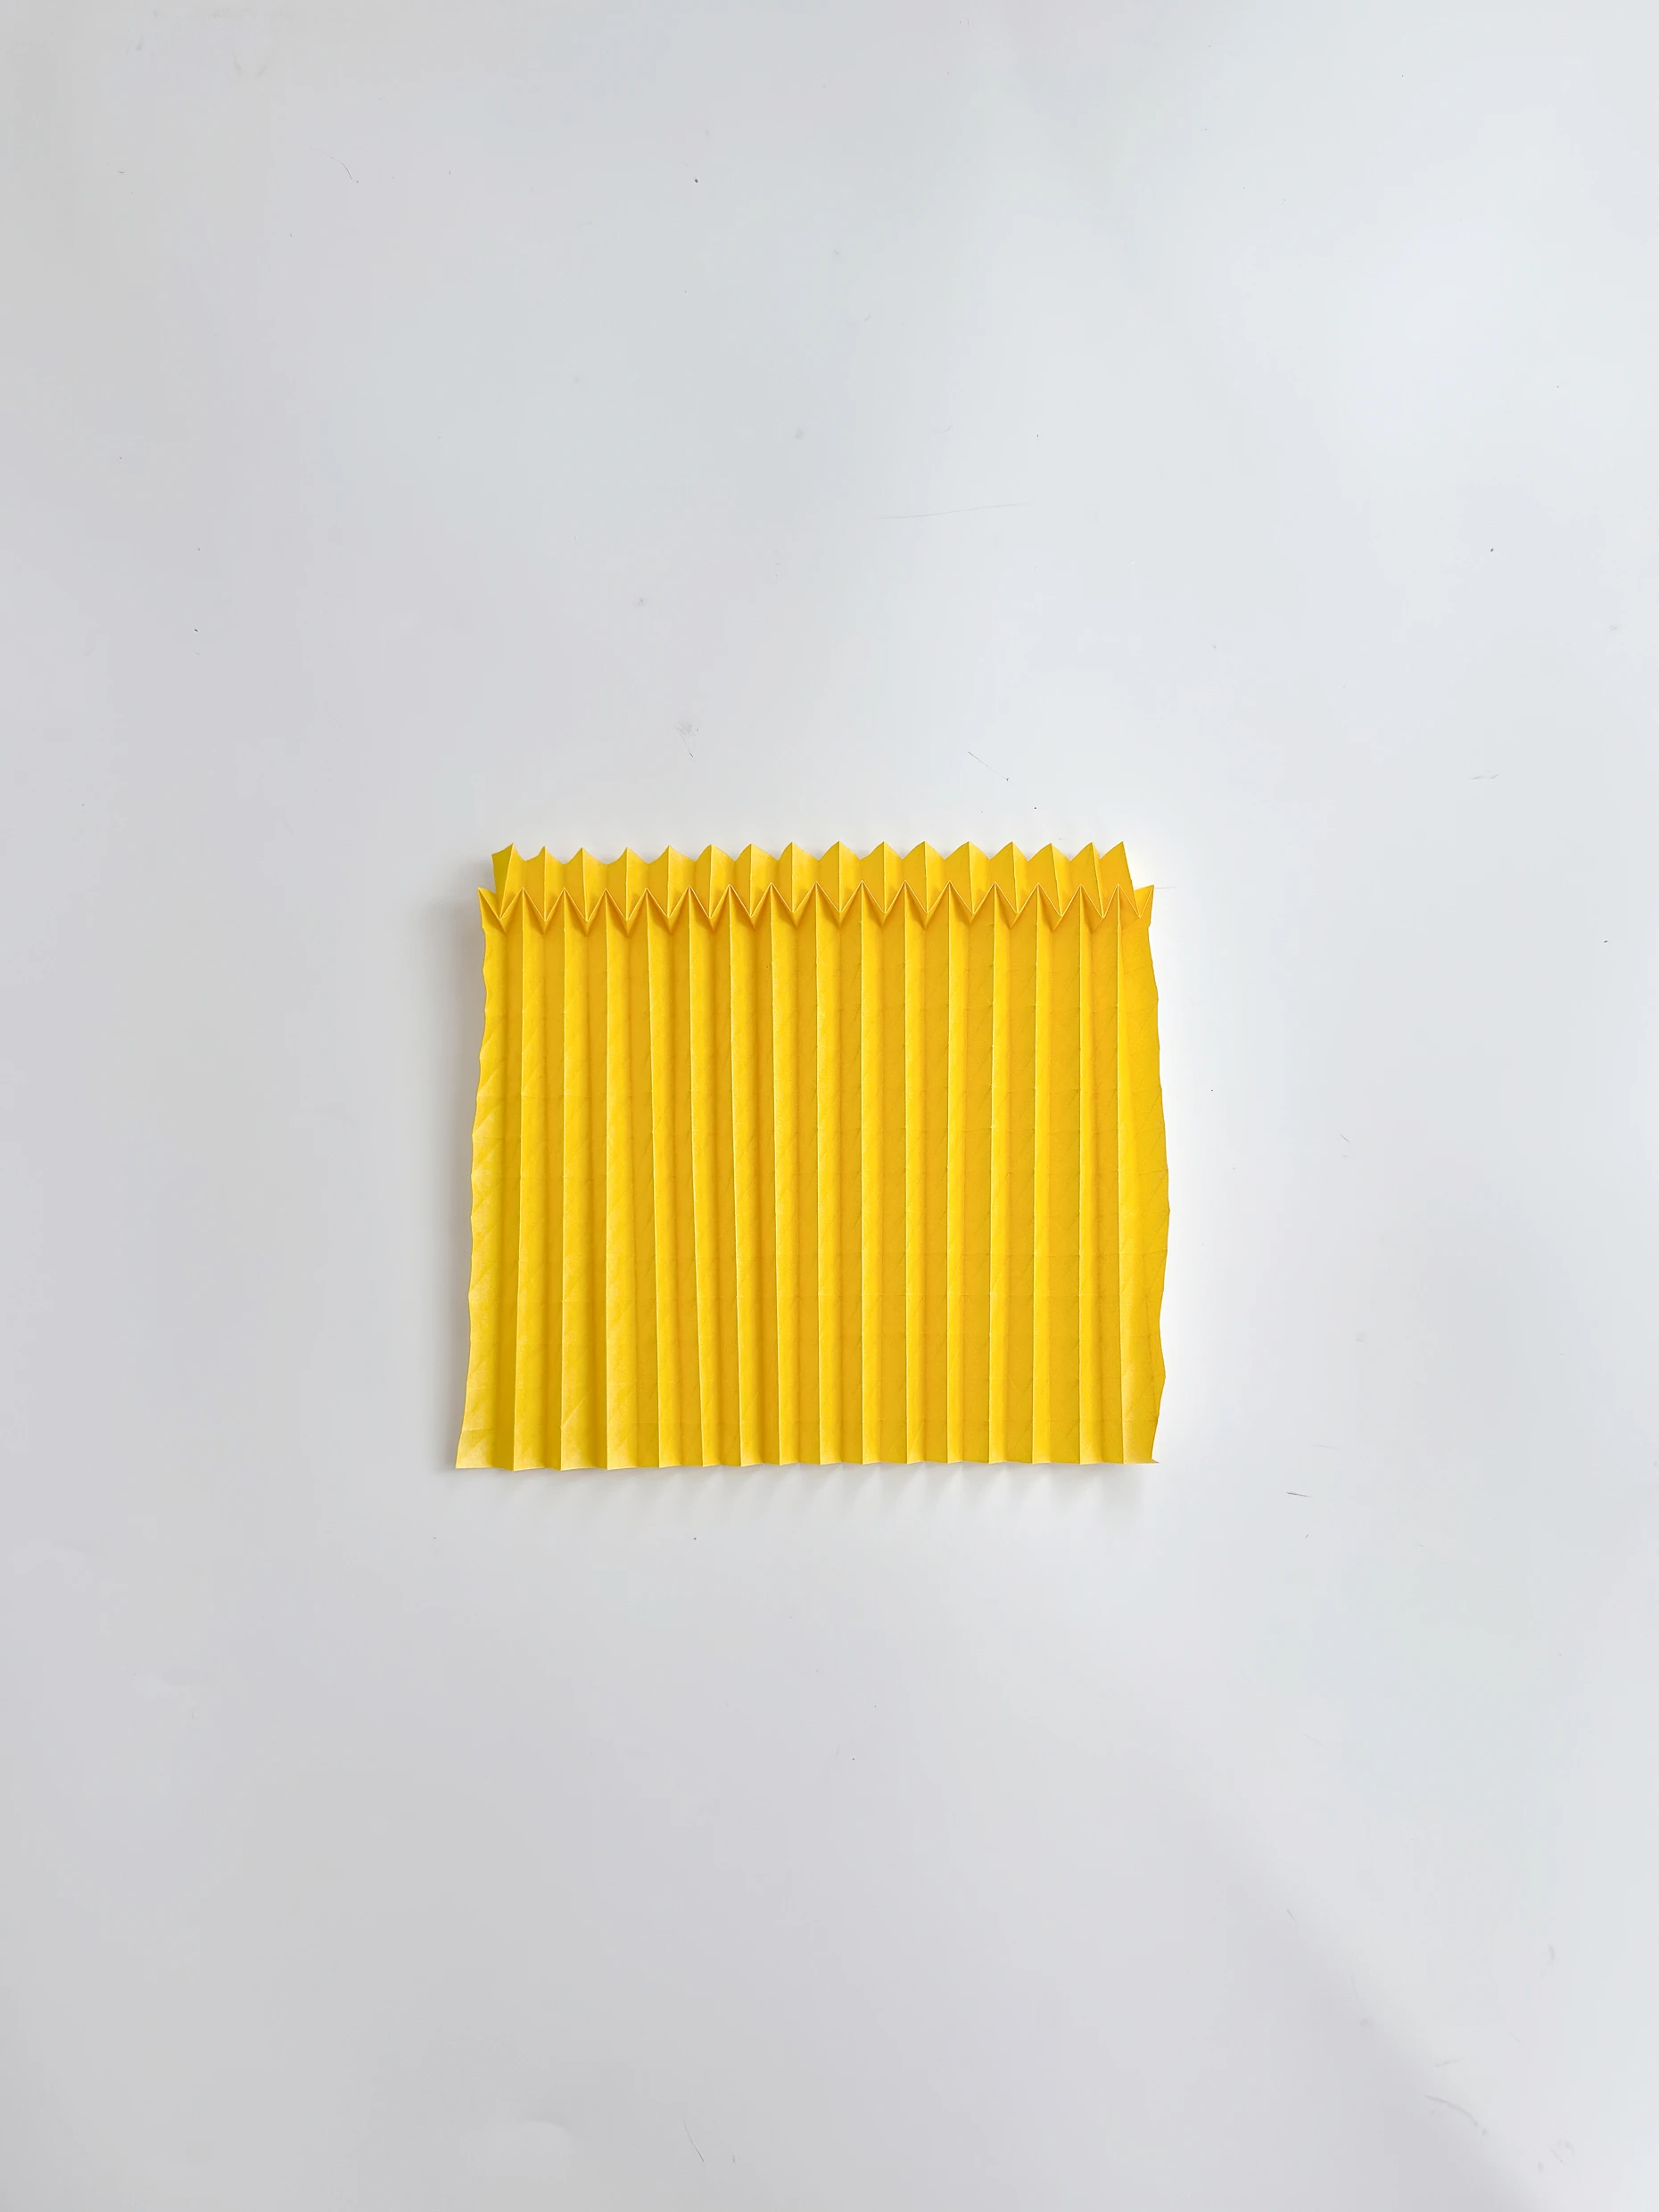
Step 3
Next, fold it in half vertically four times, and then unfold, getting 16 vertical creases.
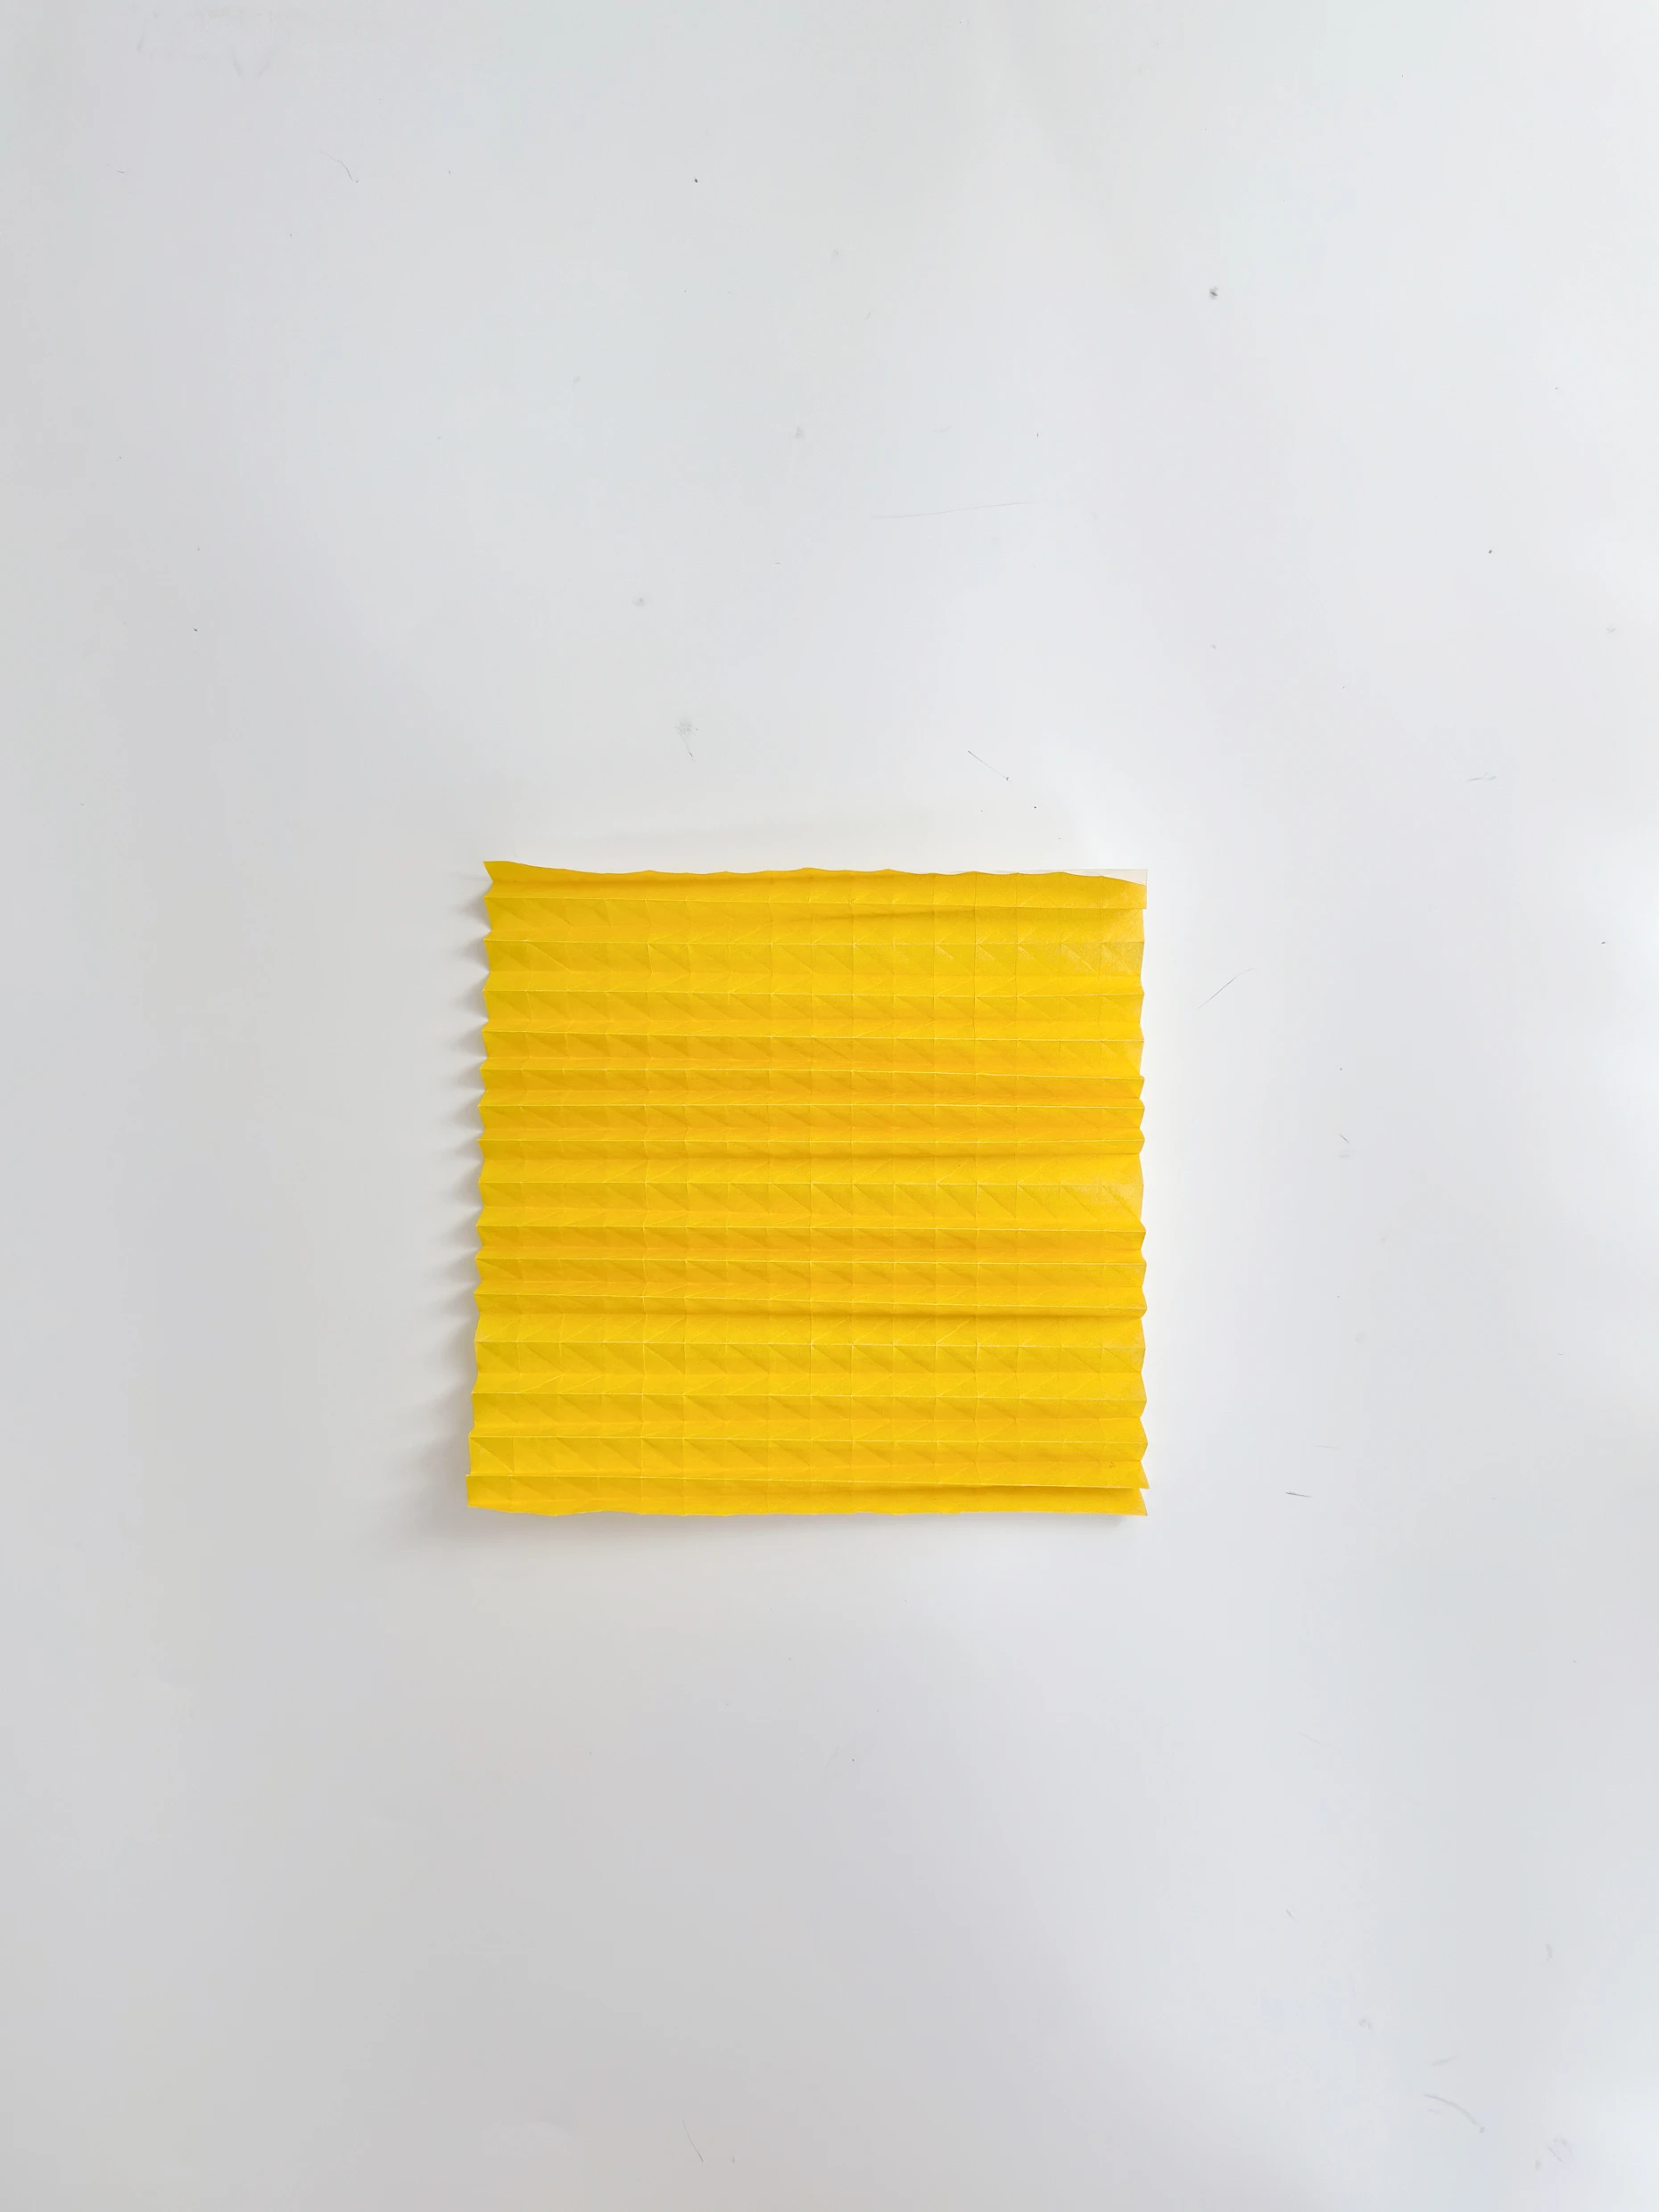
Step 4
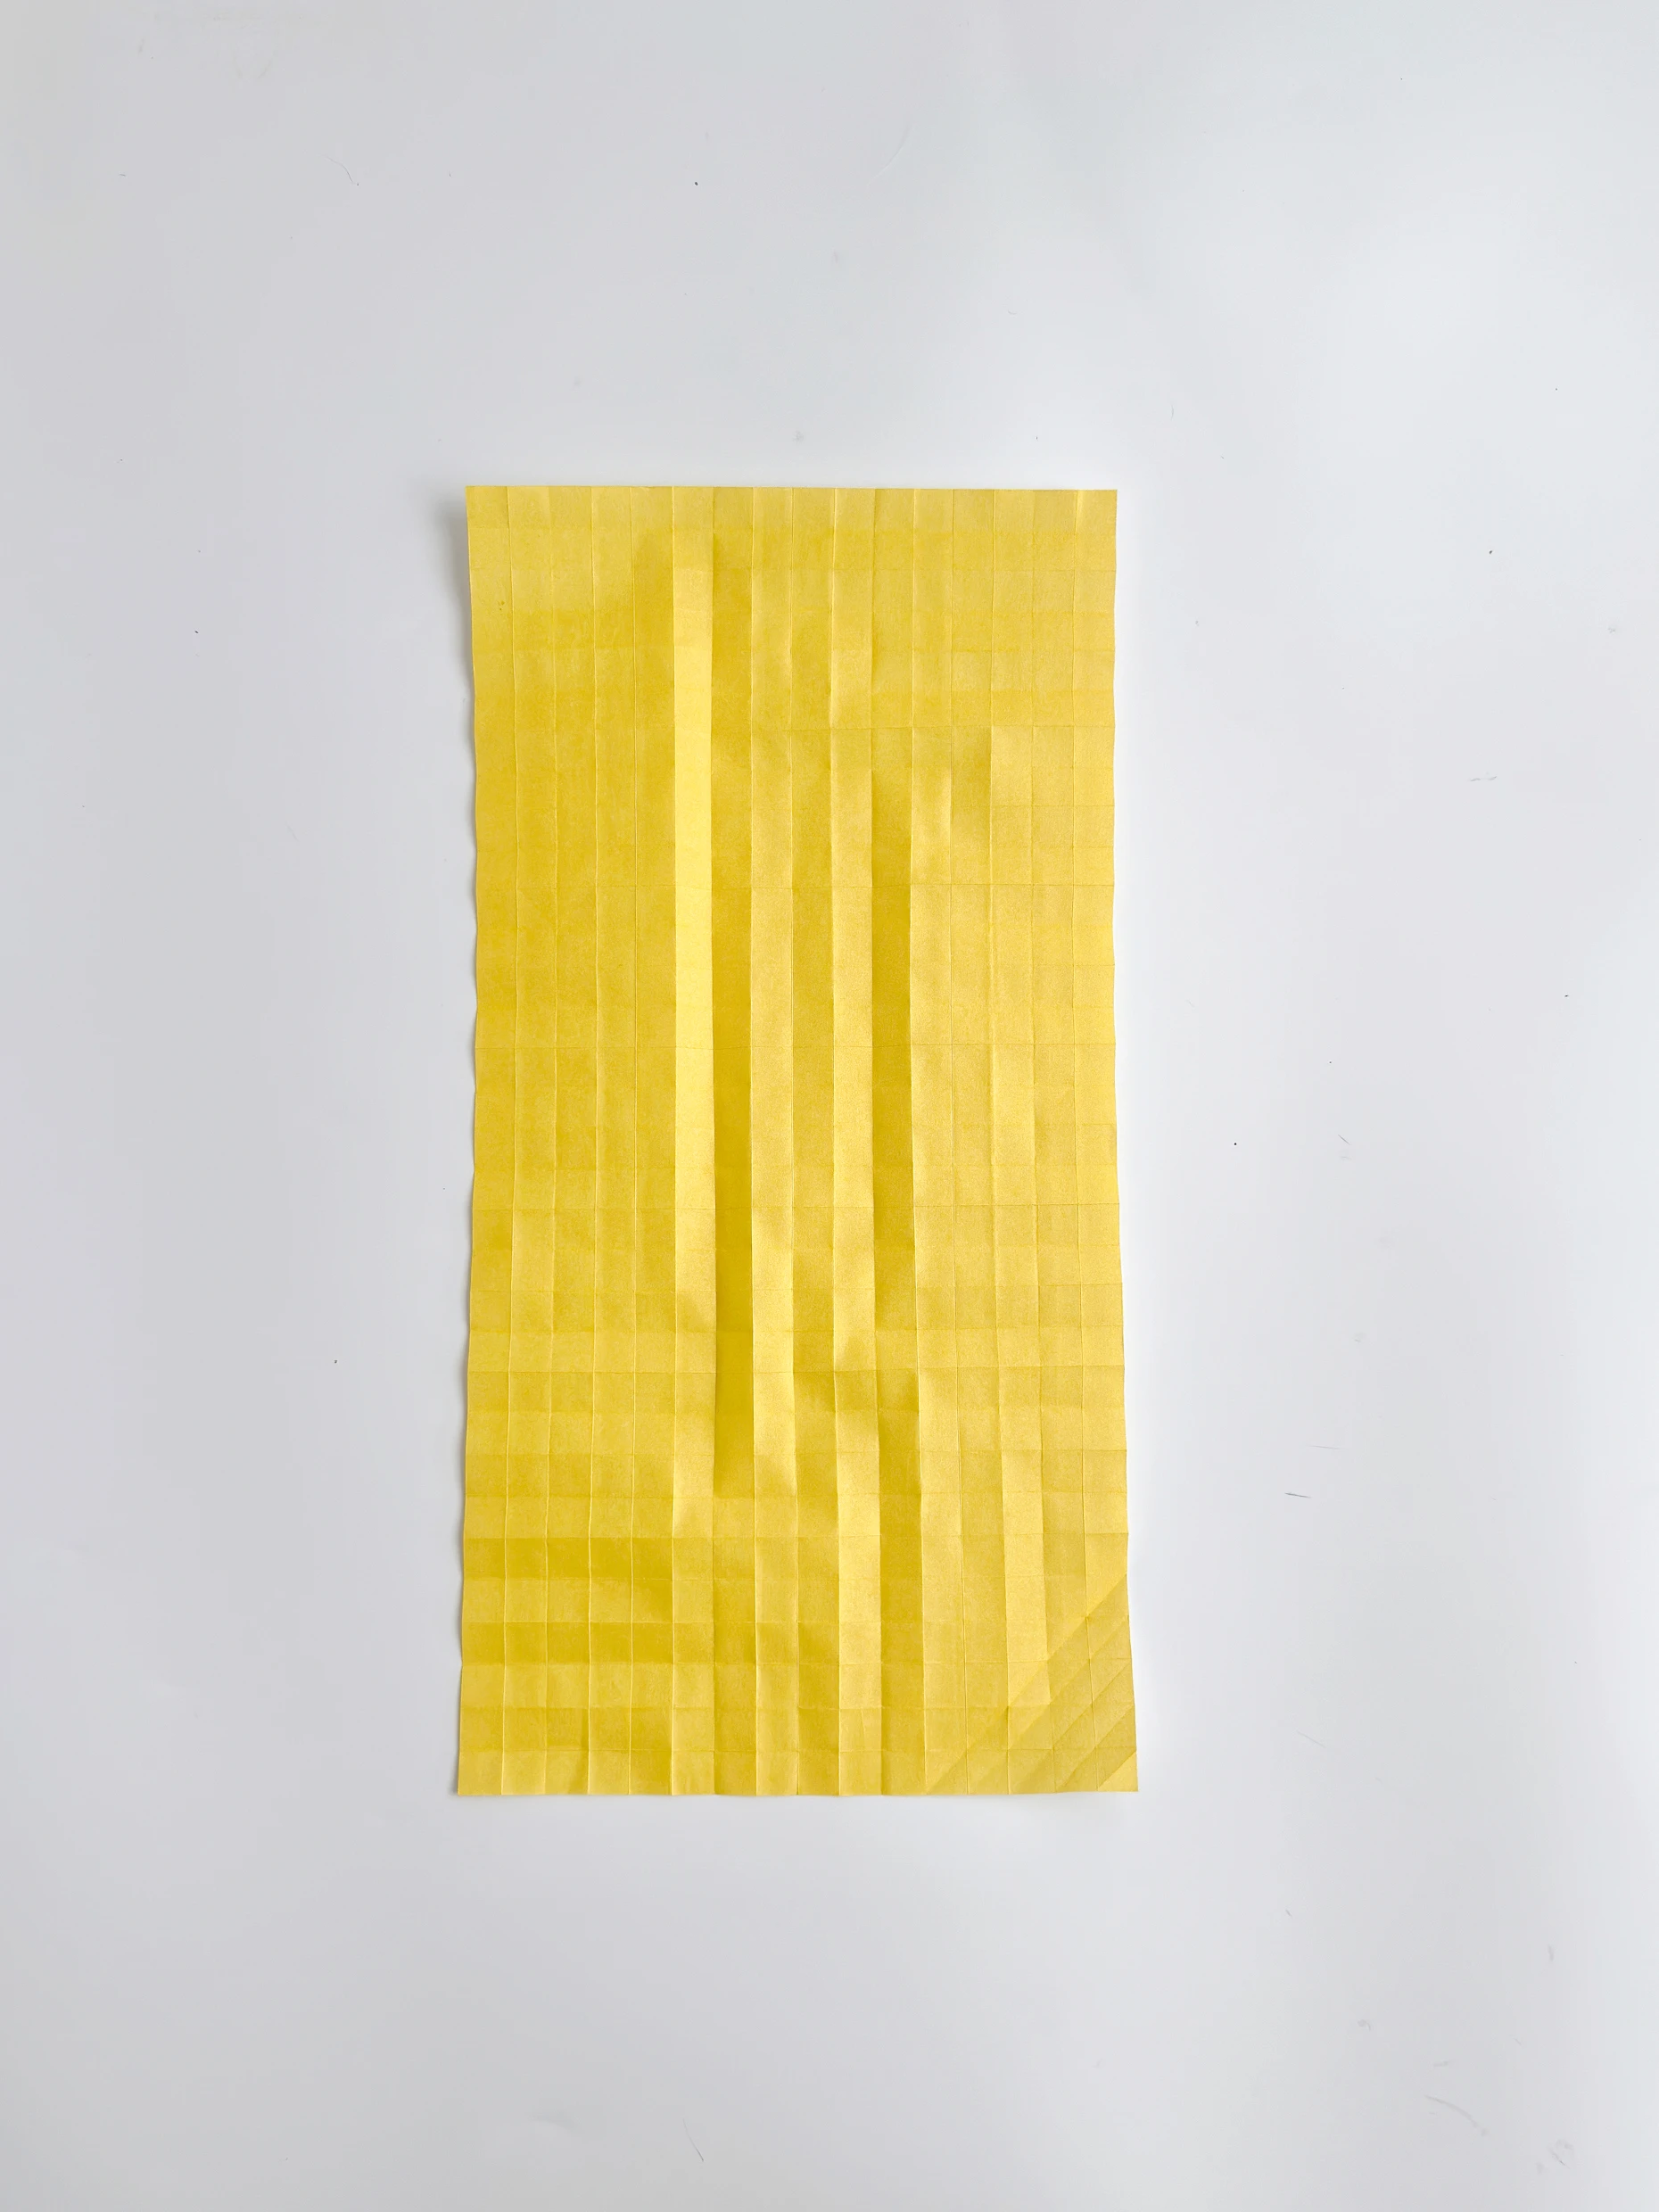
Step 5
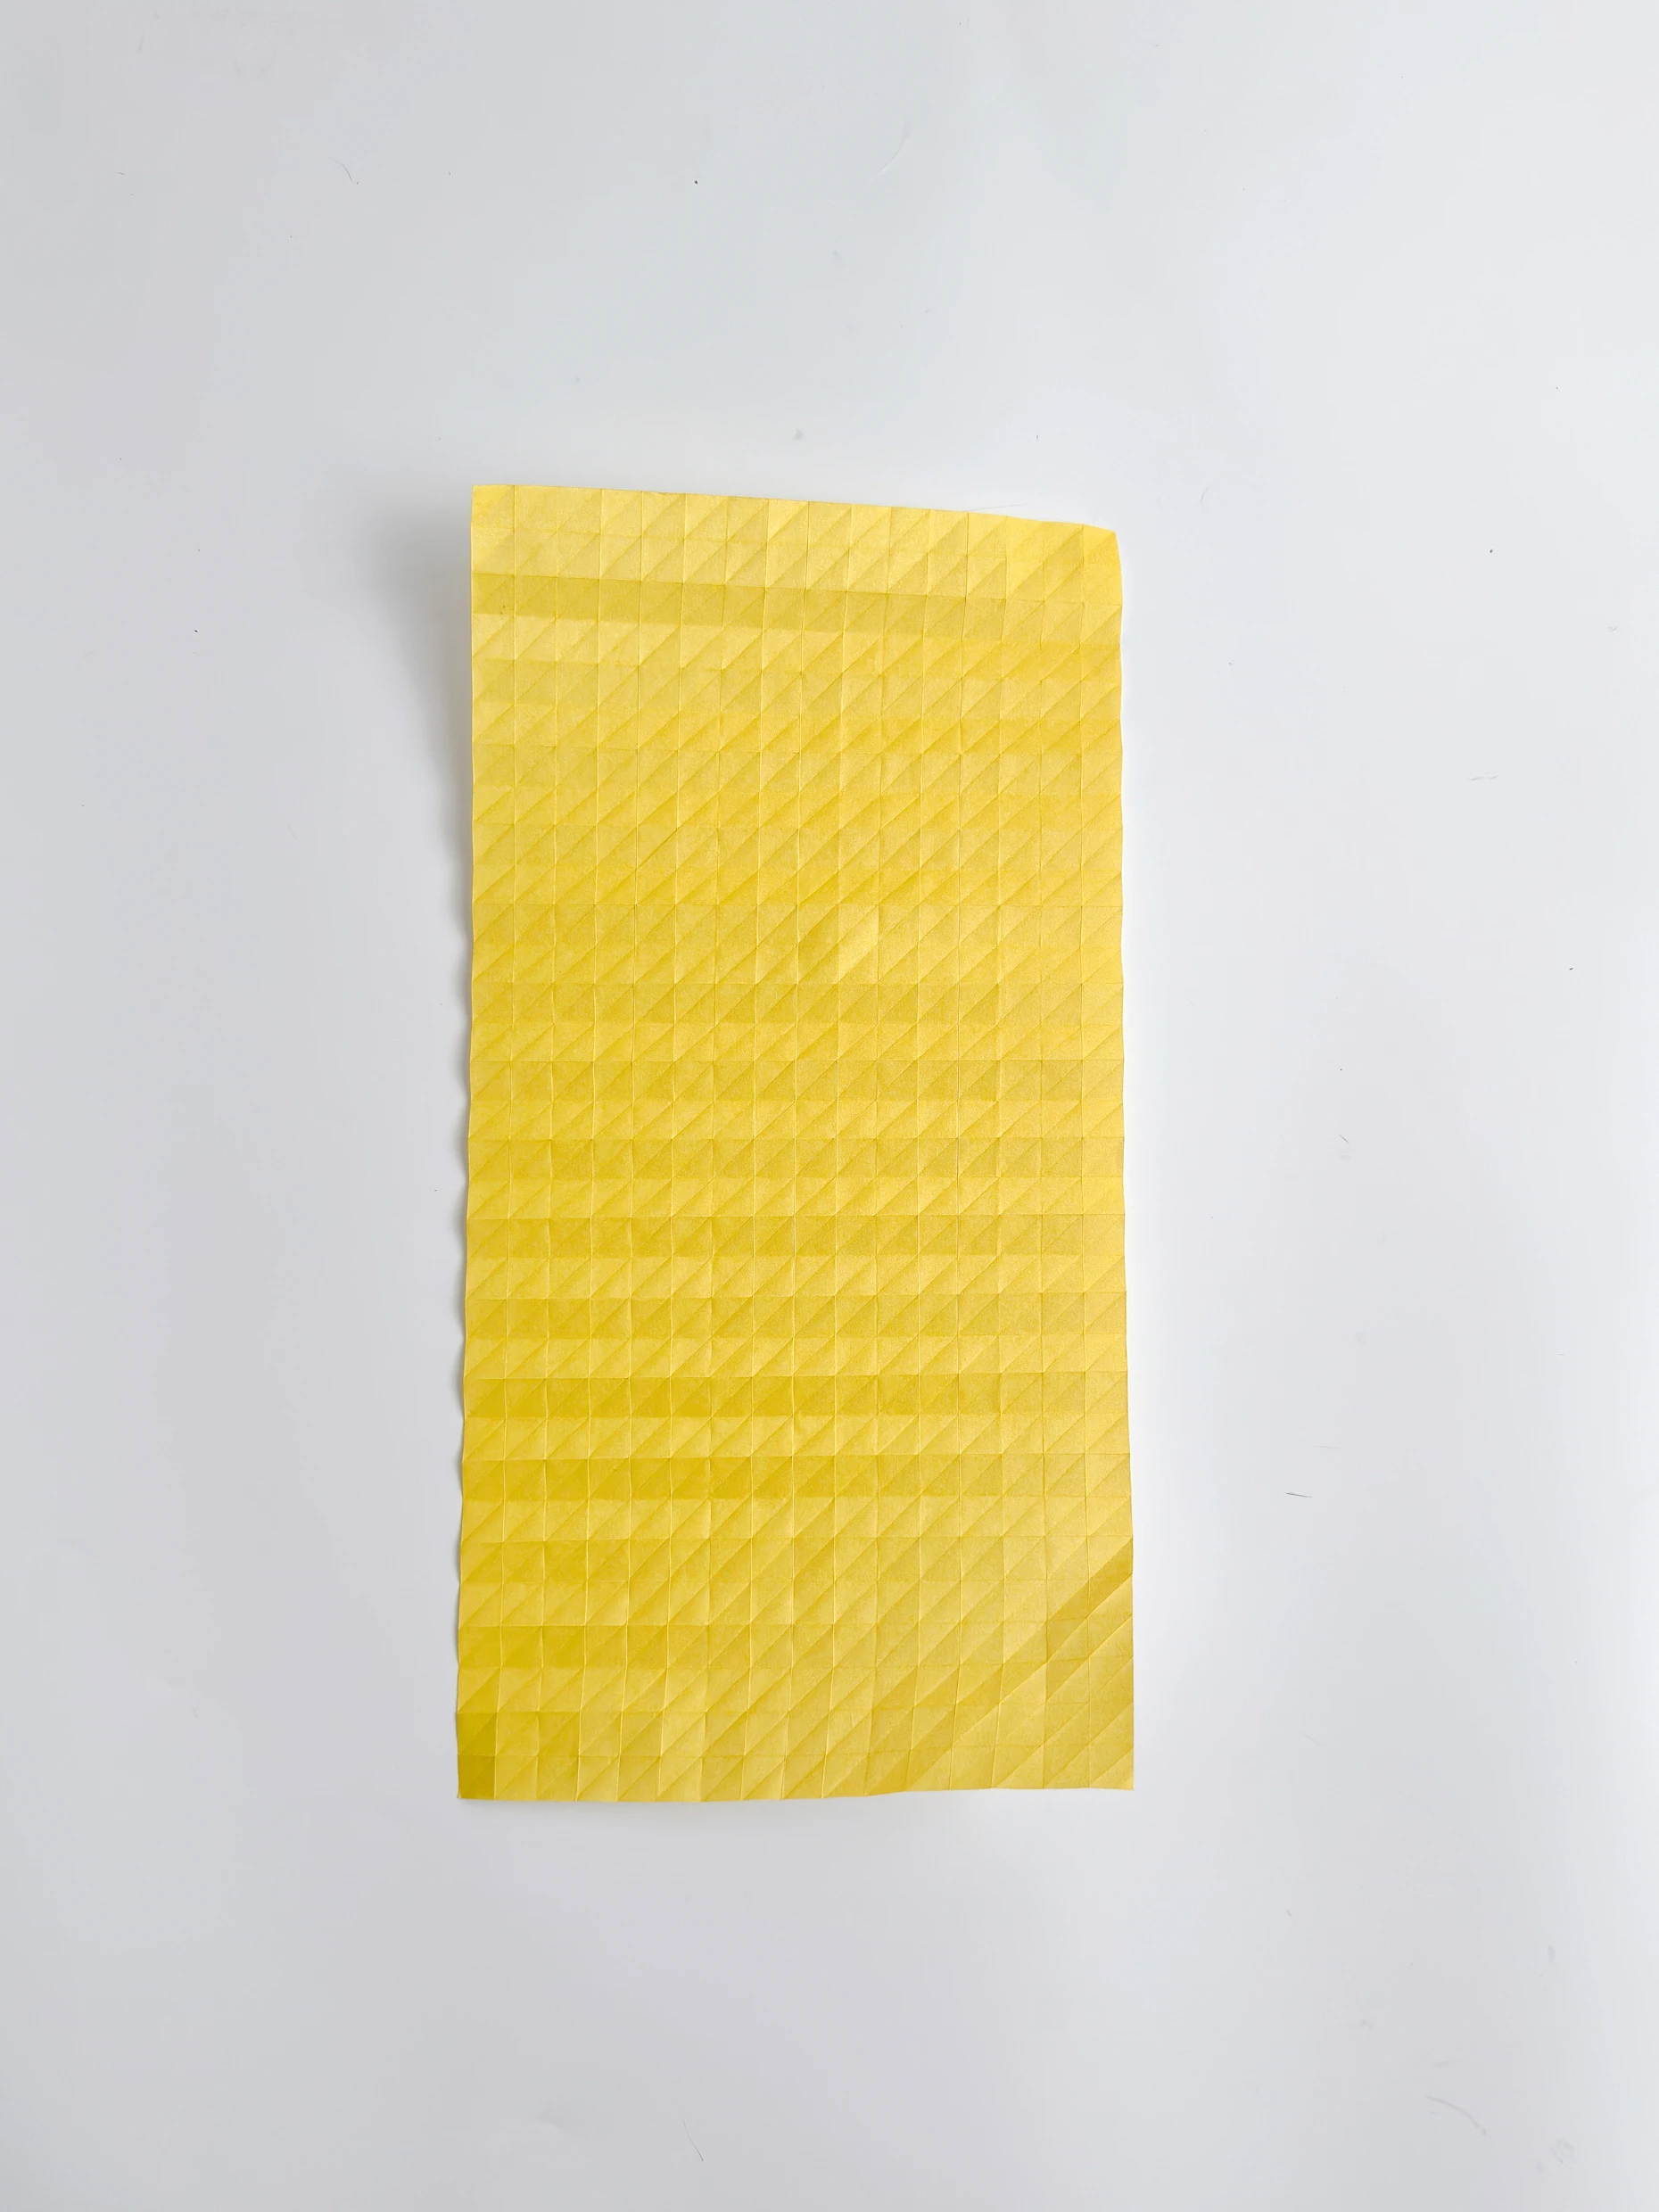
Fold the bottom right point up diagonally to meet each of the diagonal intersection points, or fold the top edge of the folded white triangle to align with each of the horizontal creases. Each fold needs to be unfolded, leaving a crease.
When meet the top edge of the paper, you can start from the top left point, until the paper is evenly distributed with diagonal creases.
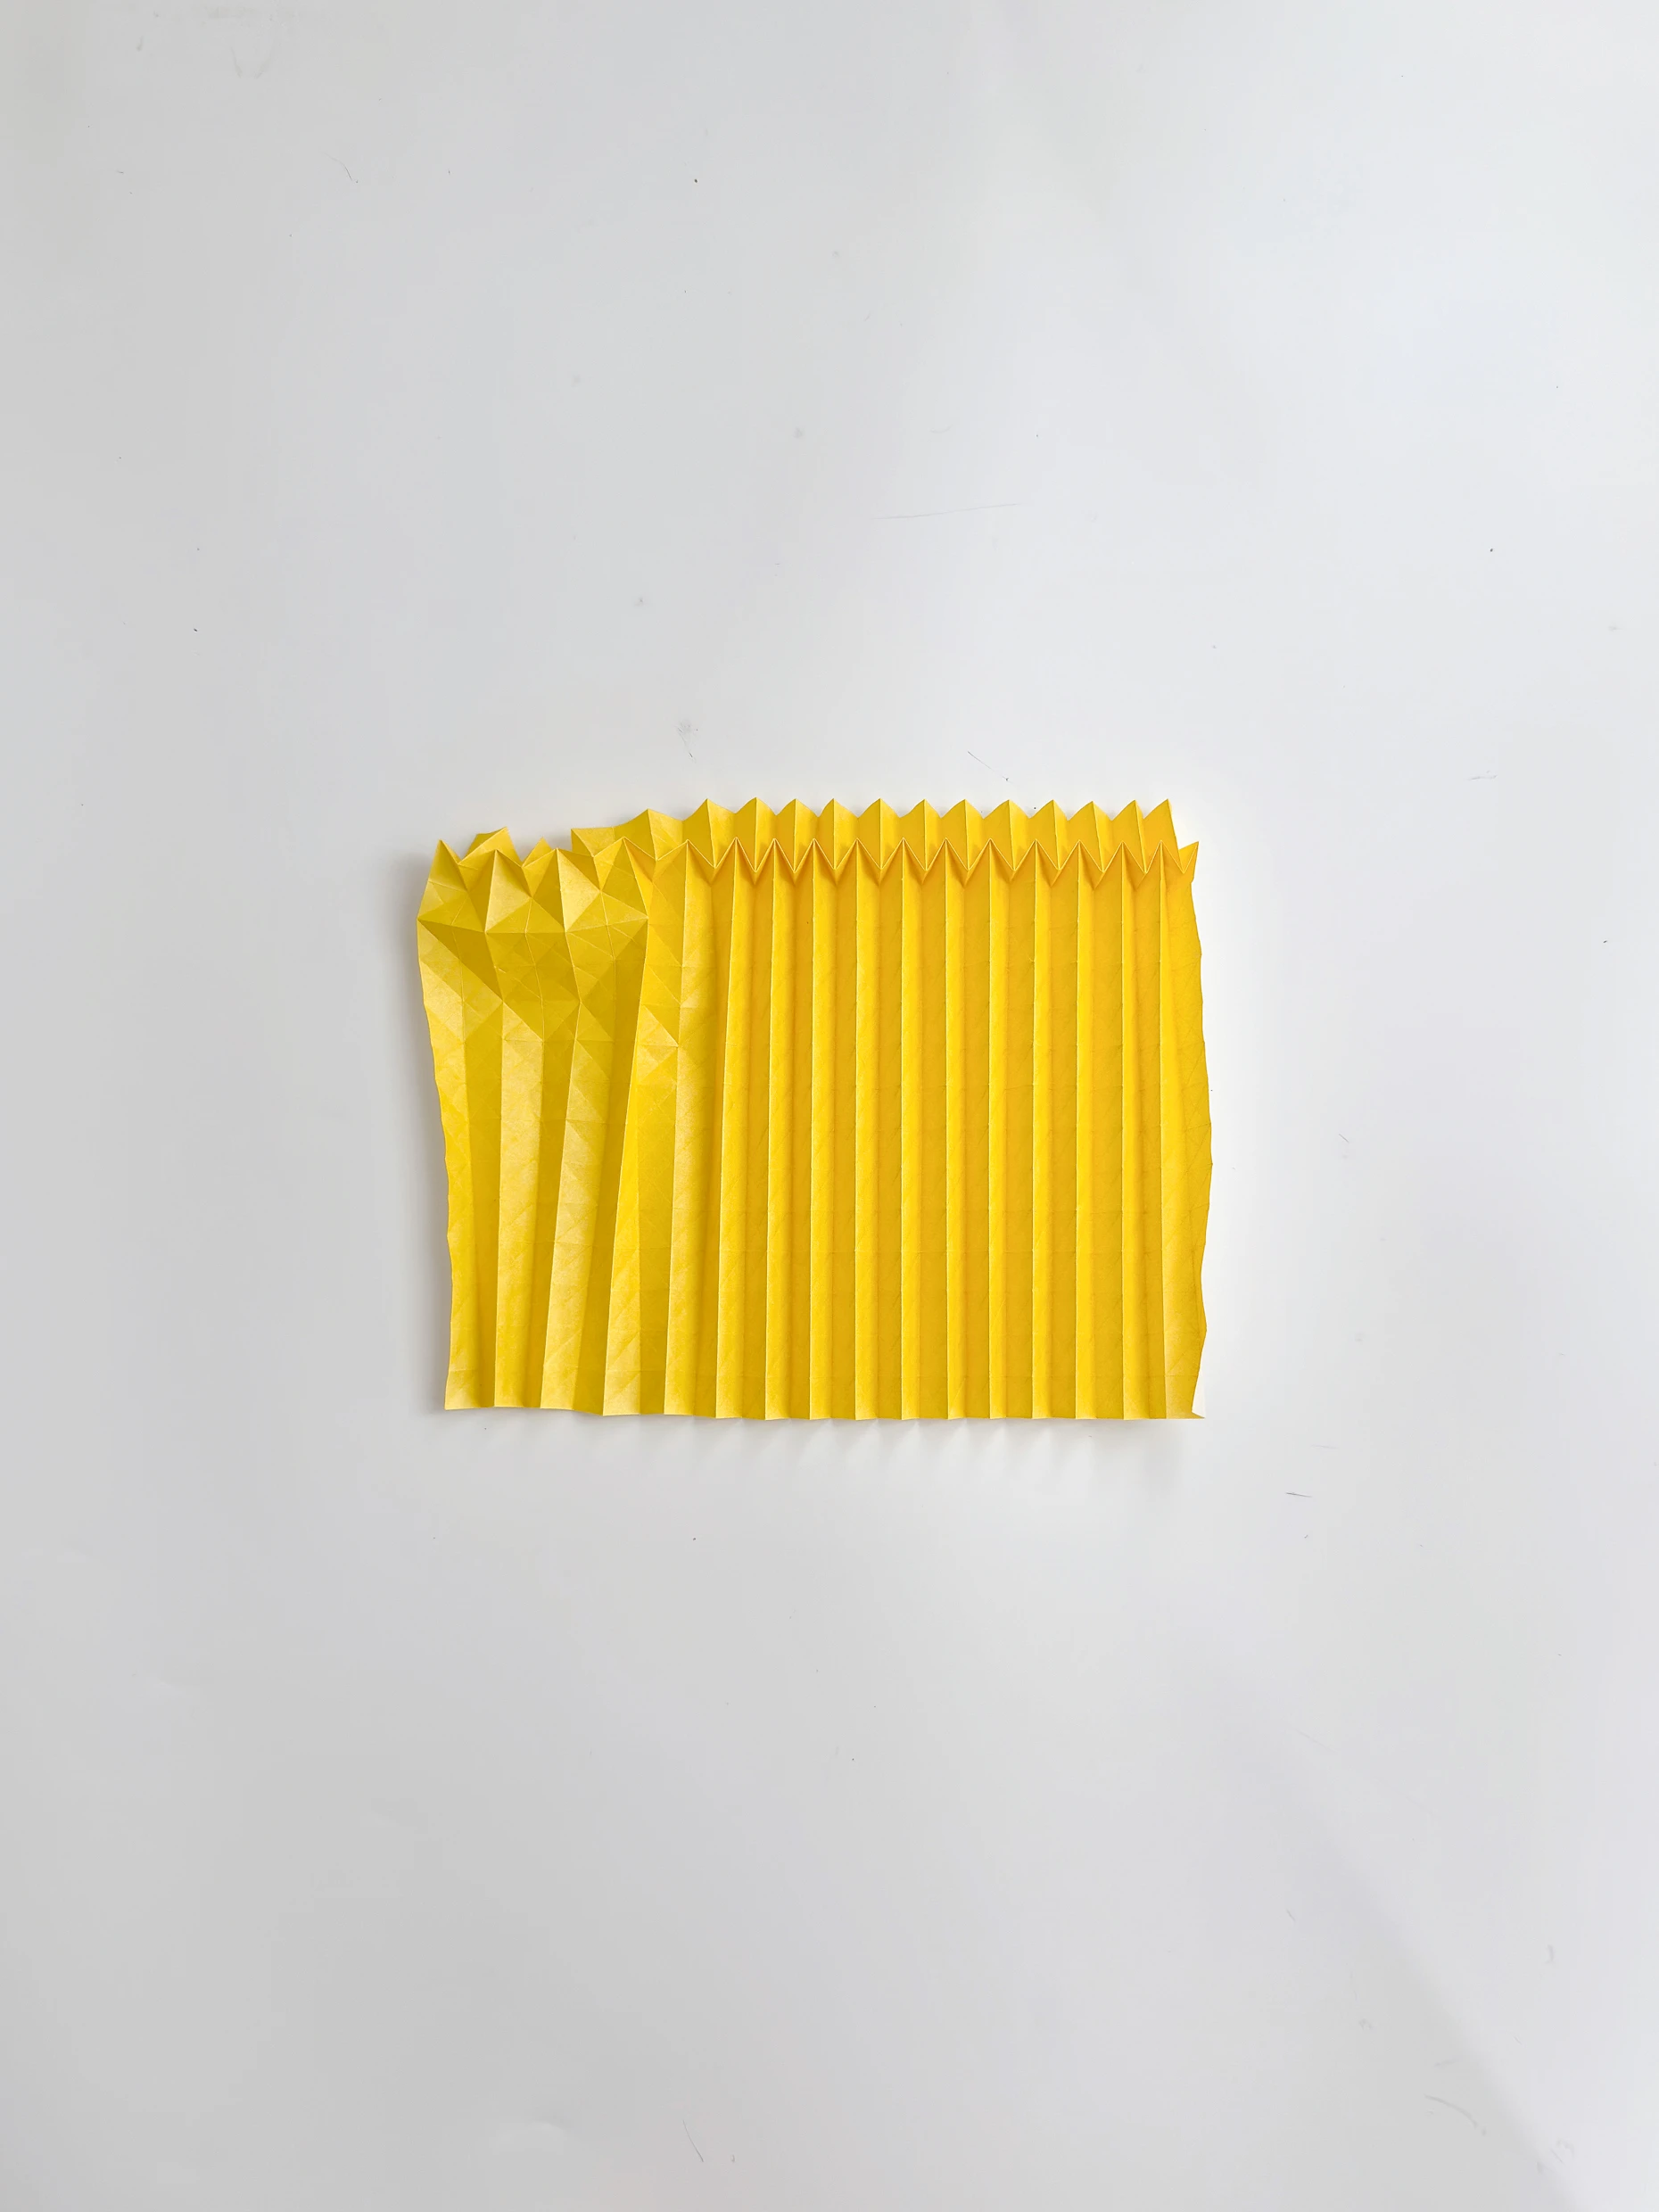
Step 6
The paper is evenly distributed with diagonal creases.
Step 7
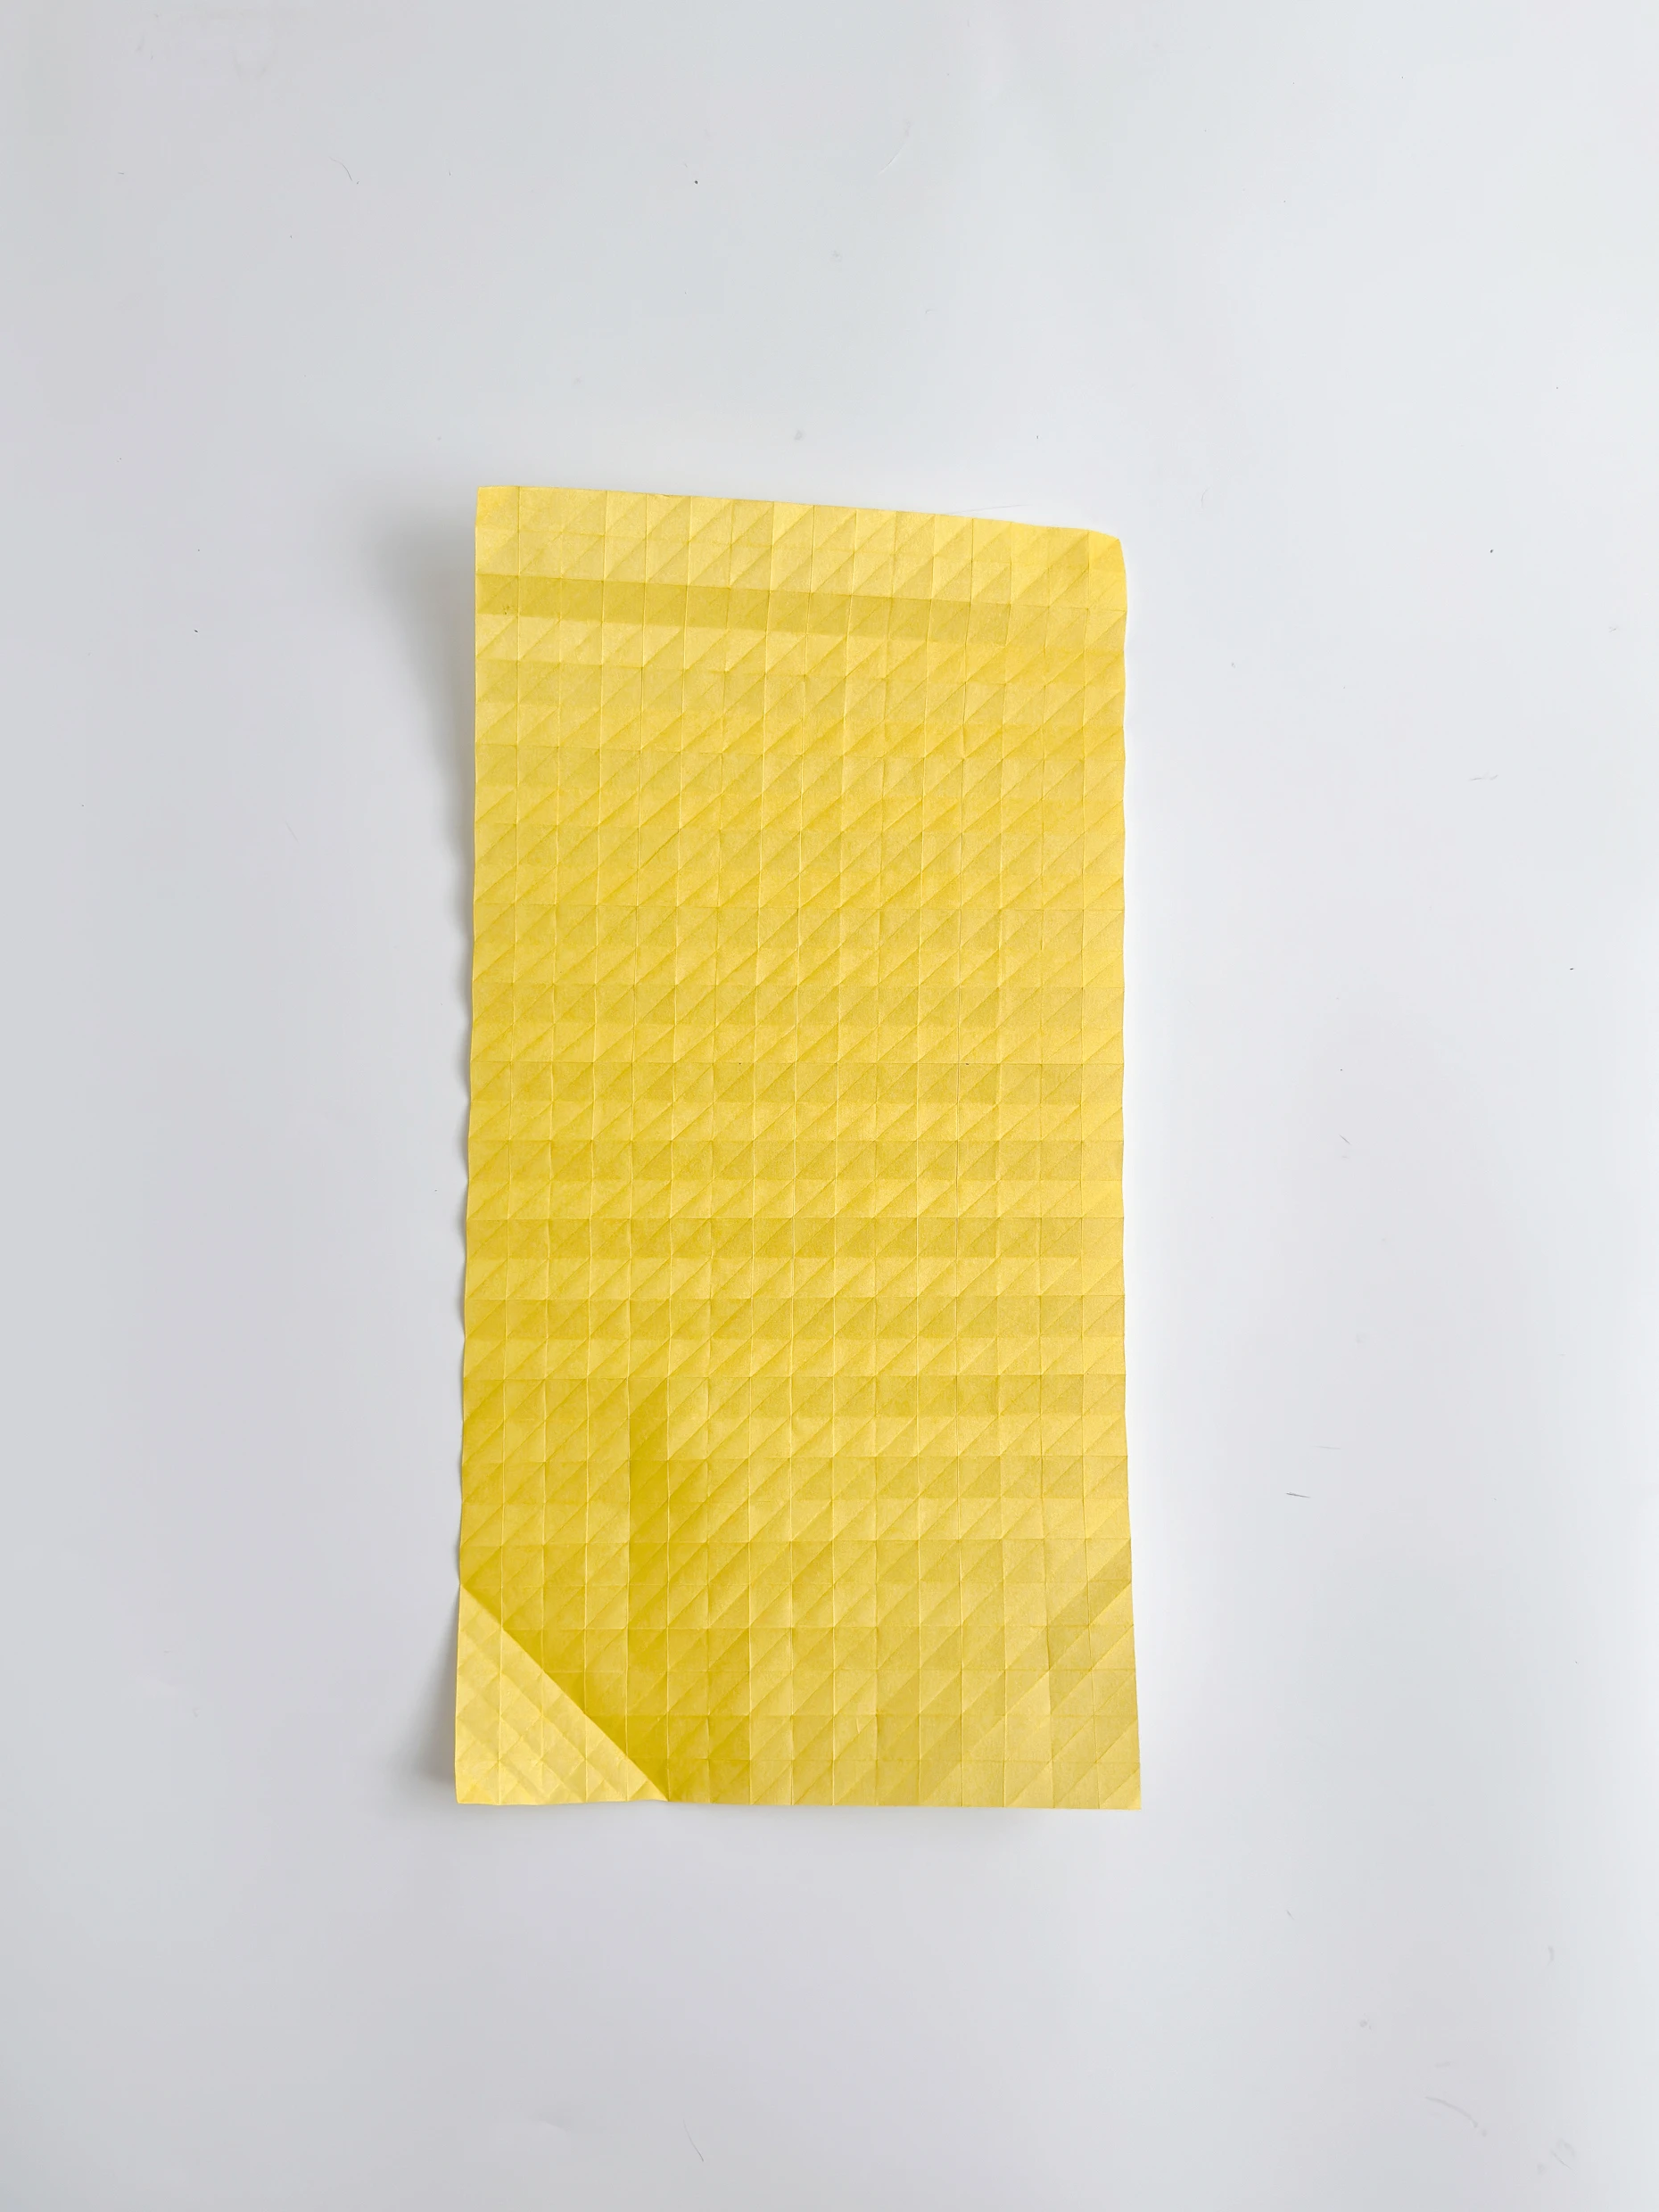
Repeat this from the bottom left point.
Step 8
Until the paper is evenly distributed with diagonal creases in the opposite direction.
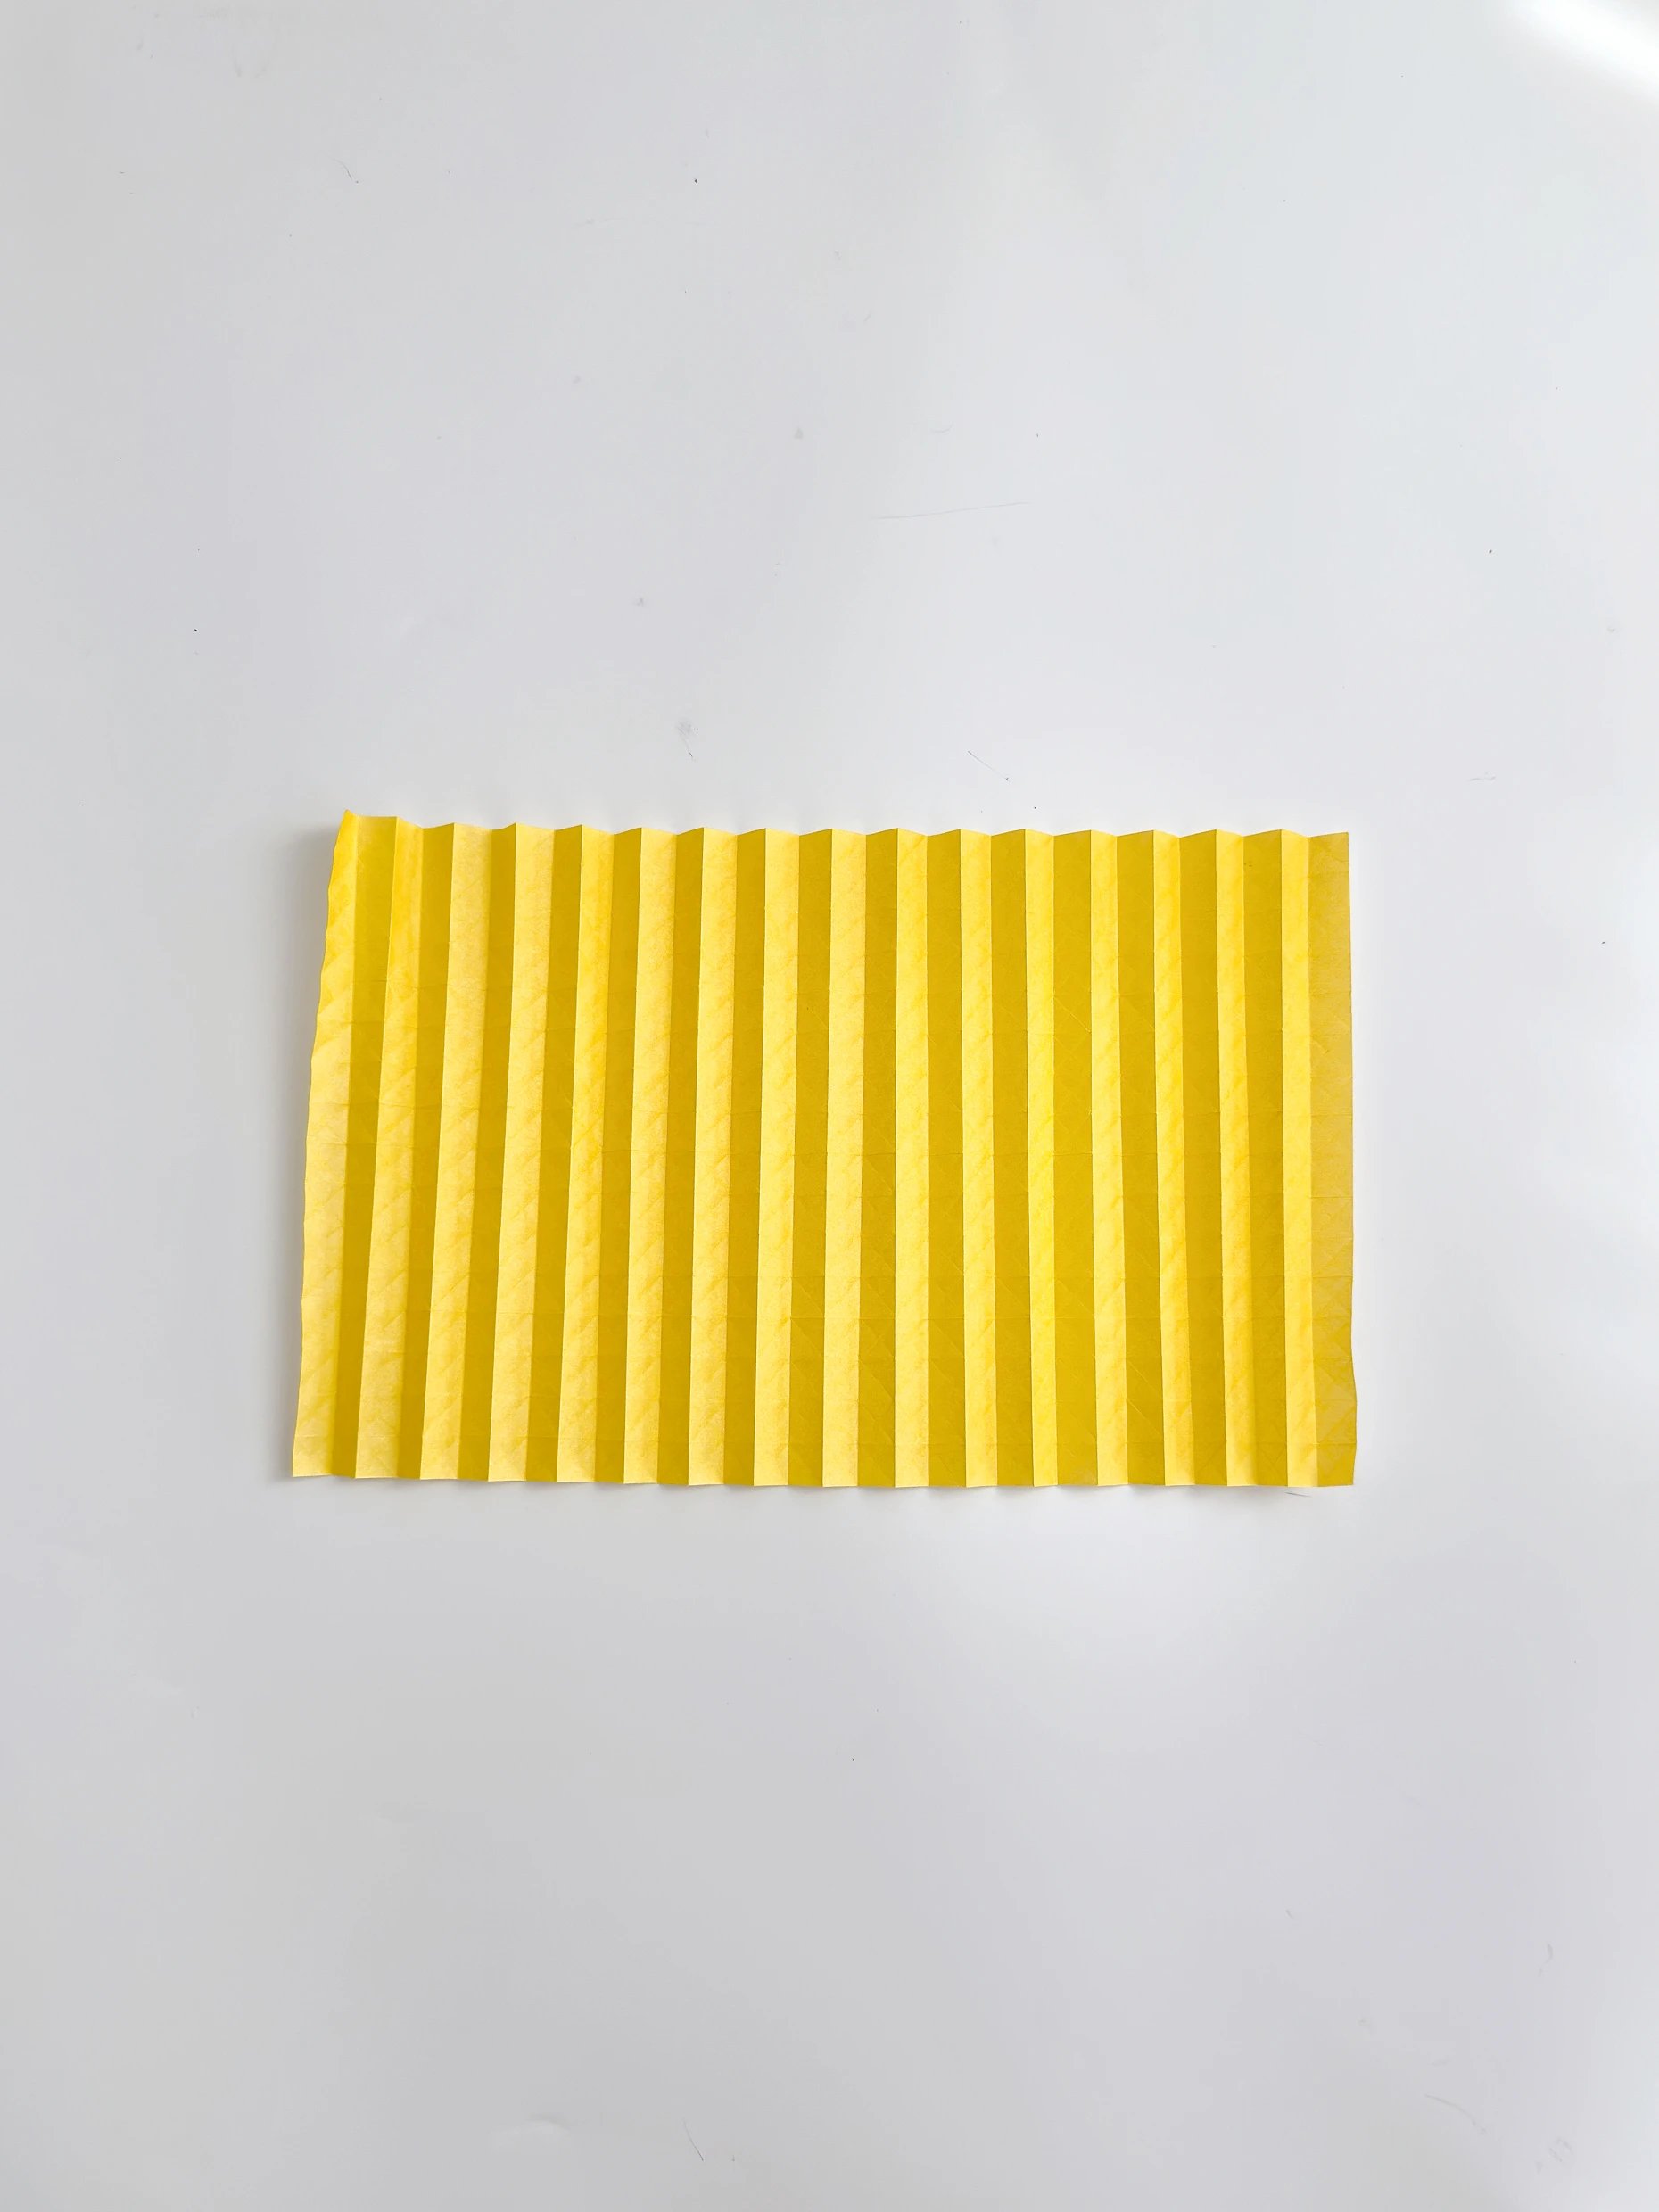
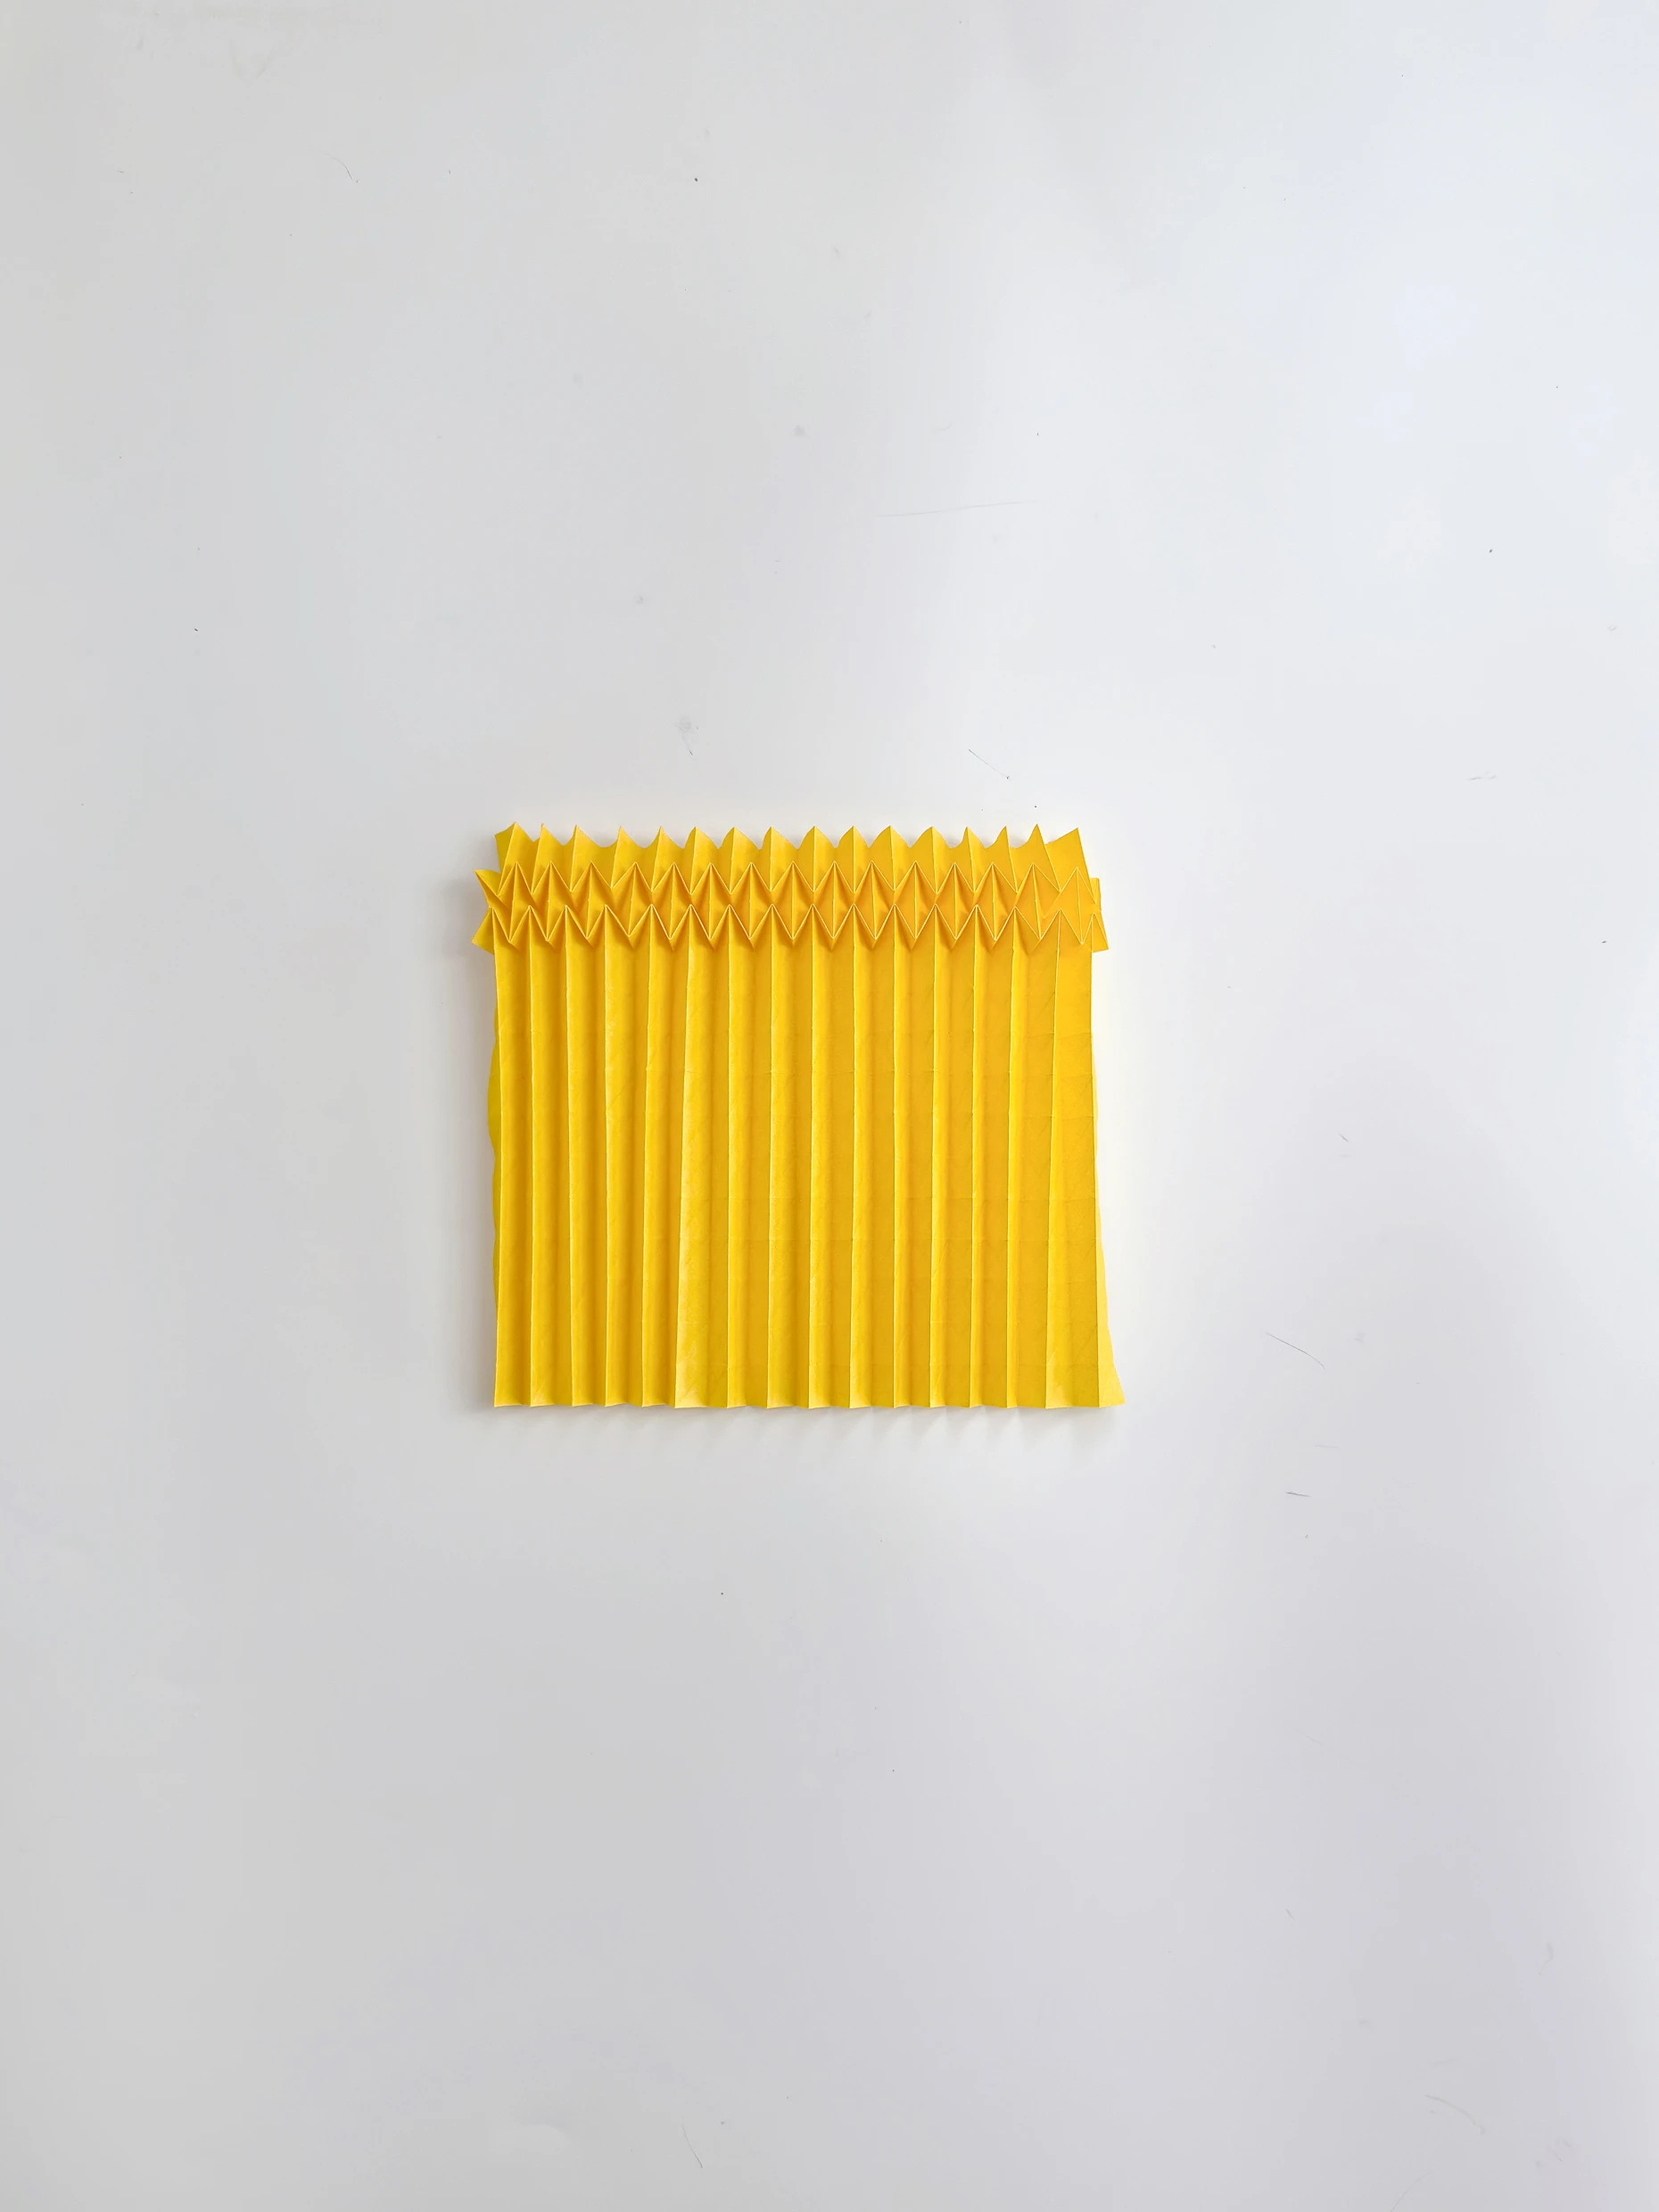
Step 9
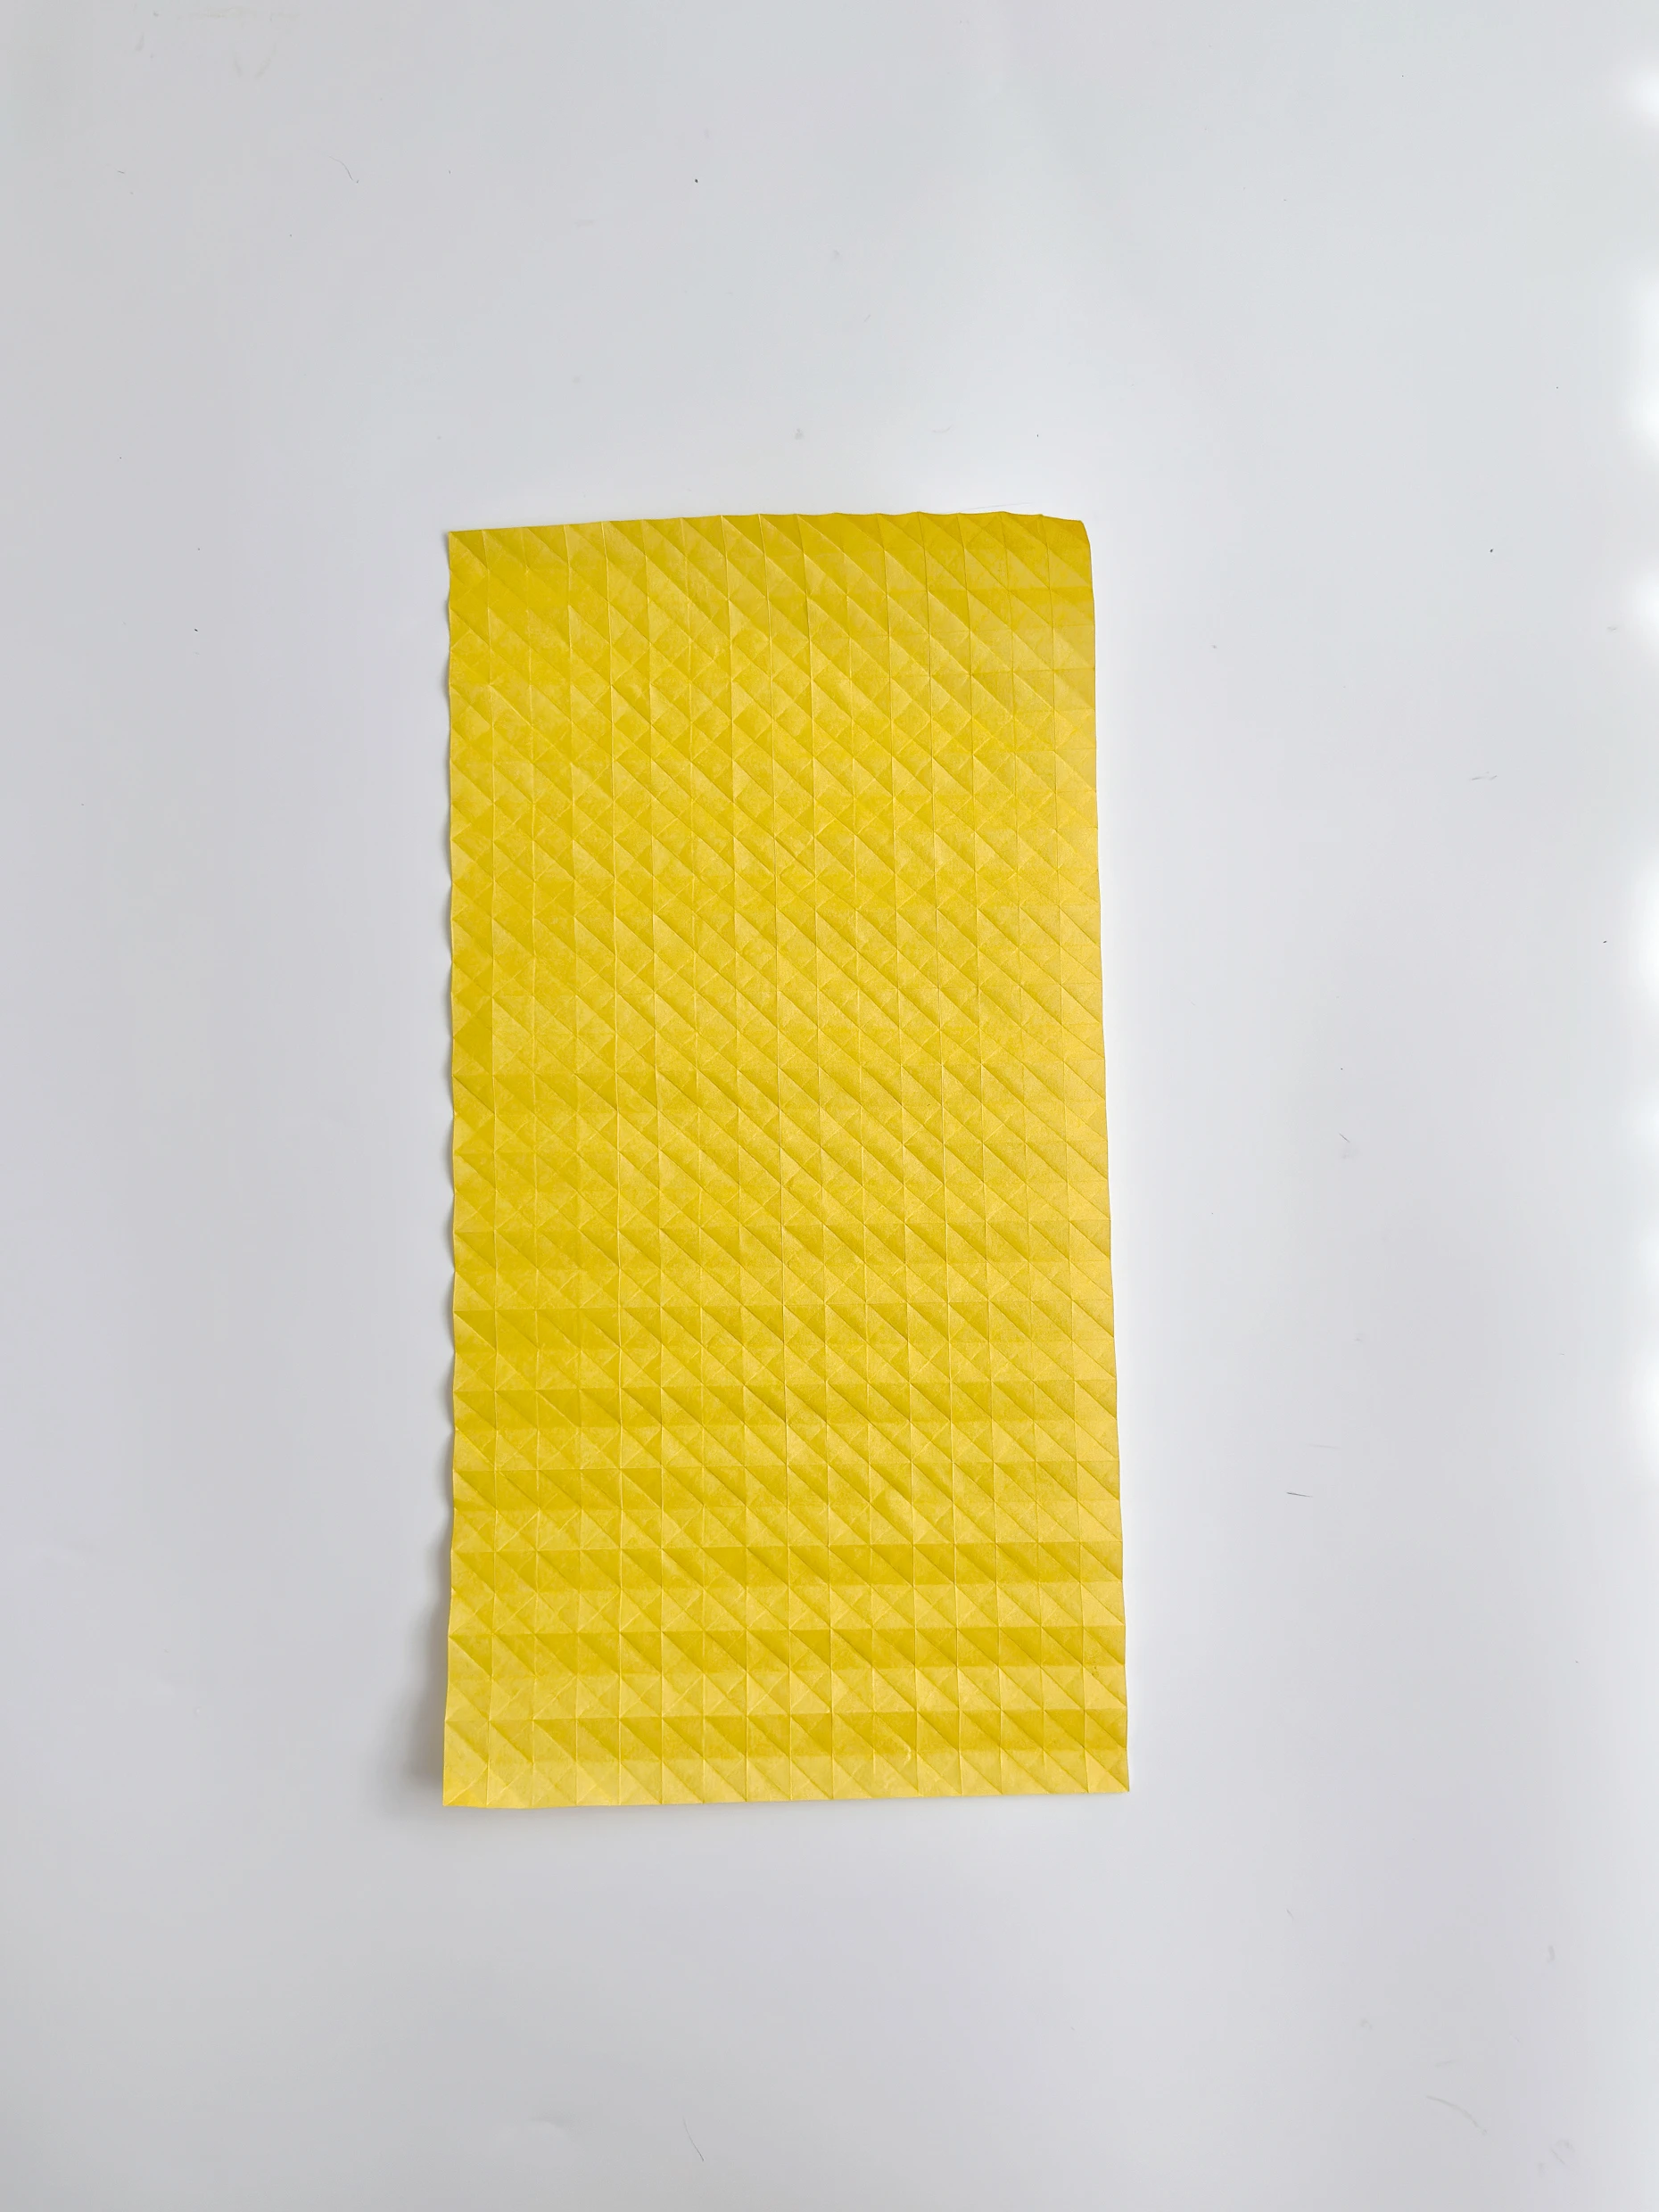
Fold these horizontal creases again, in the order of one valley fold and one mountain fold.
Step 10
Rotate it 90 degrees.
Step 11
Start from the top left.
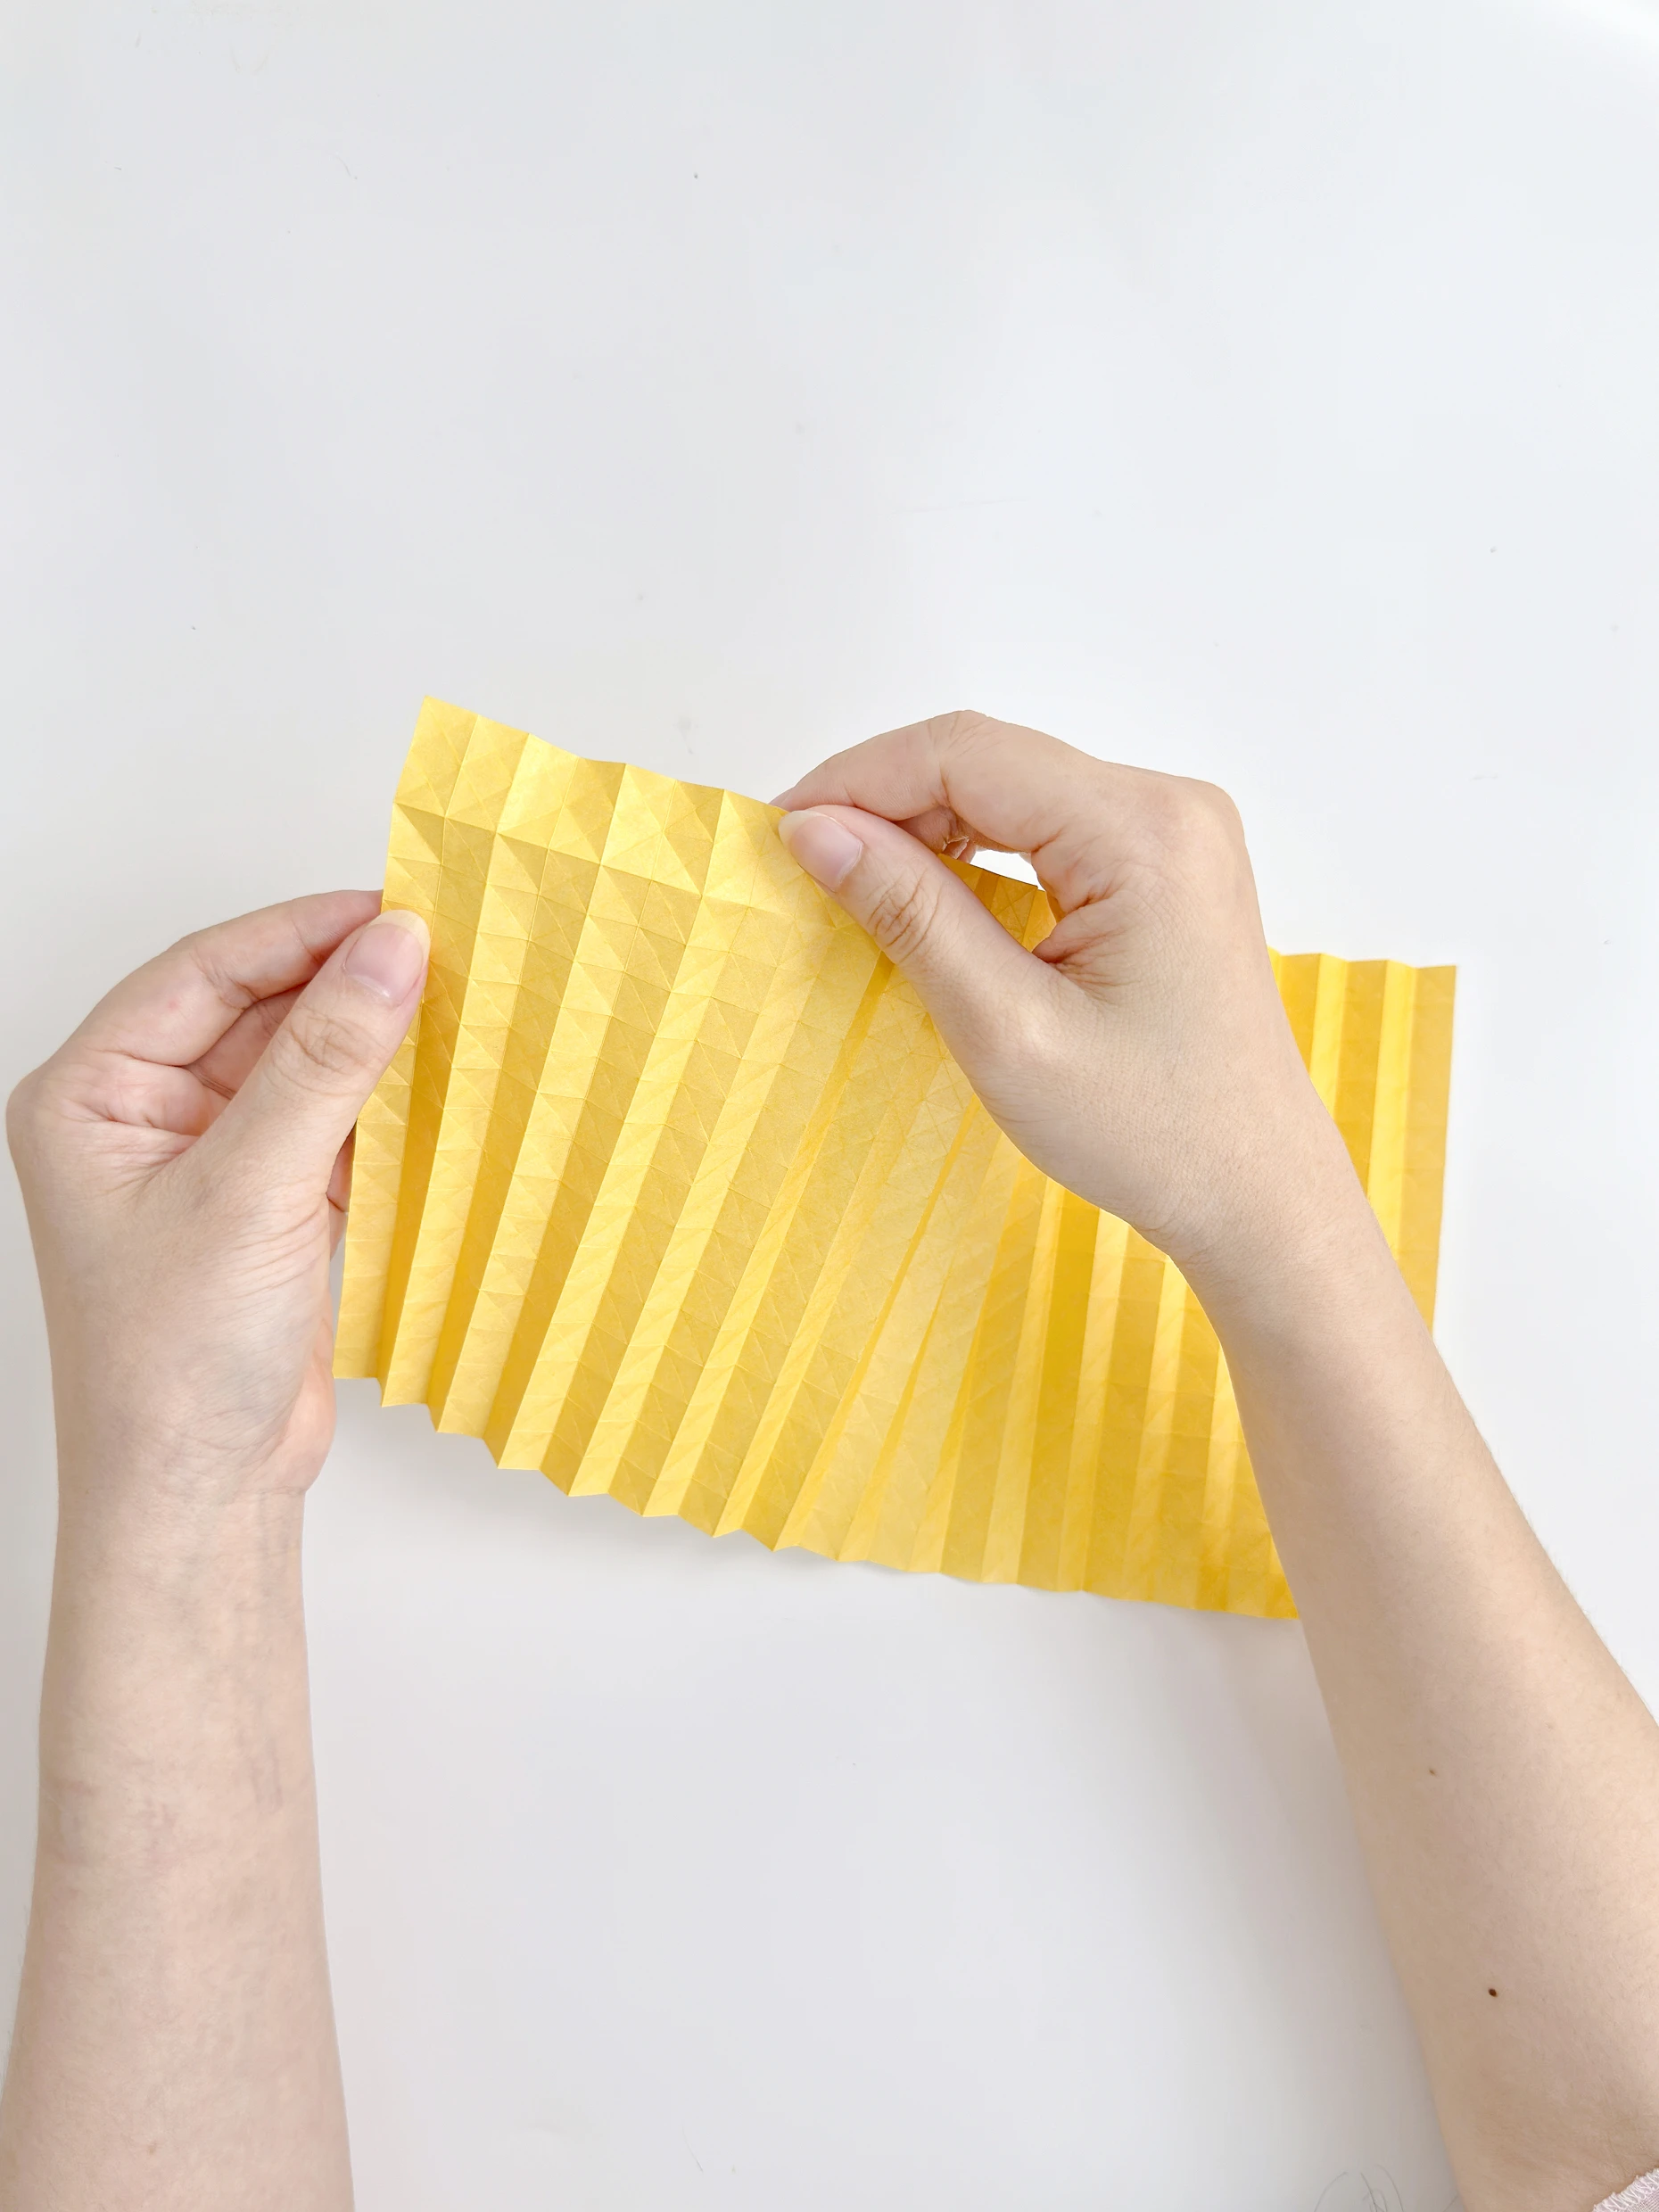
Step 12
Fold downward-facing arrow shapes in turn as shown.
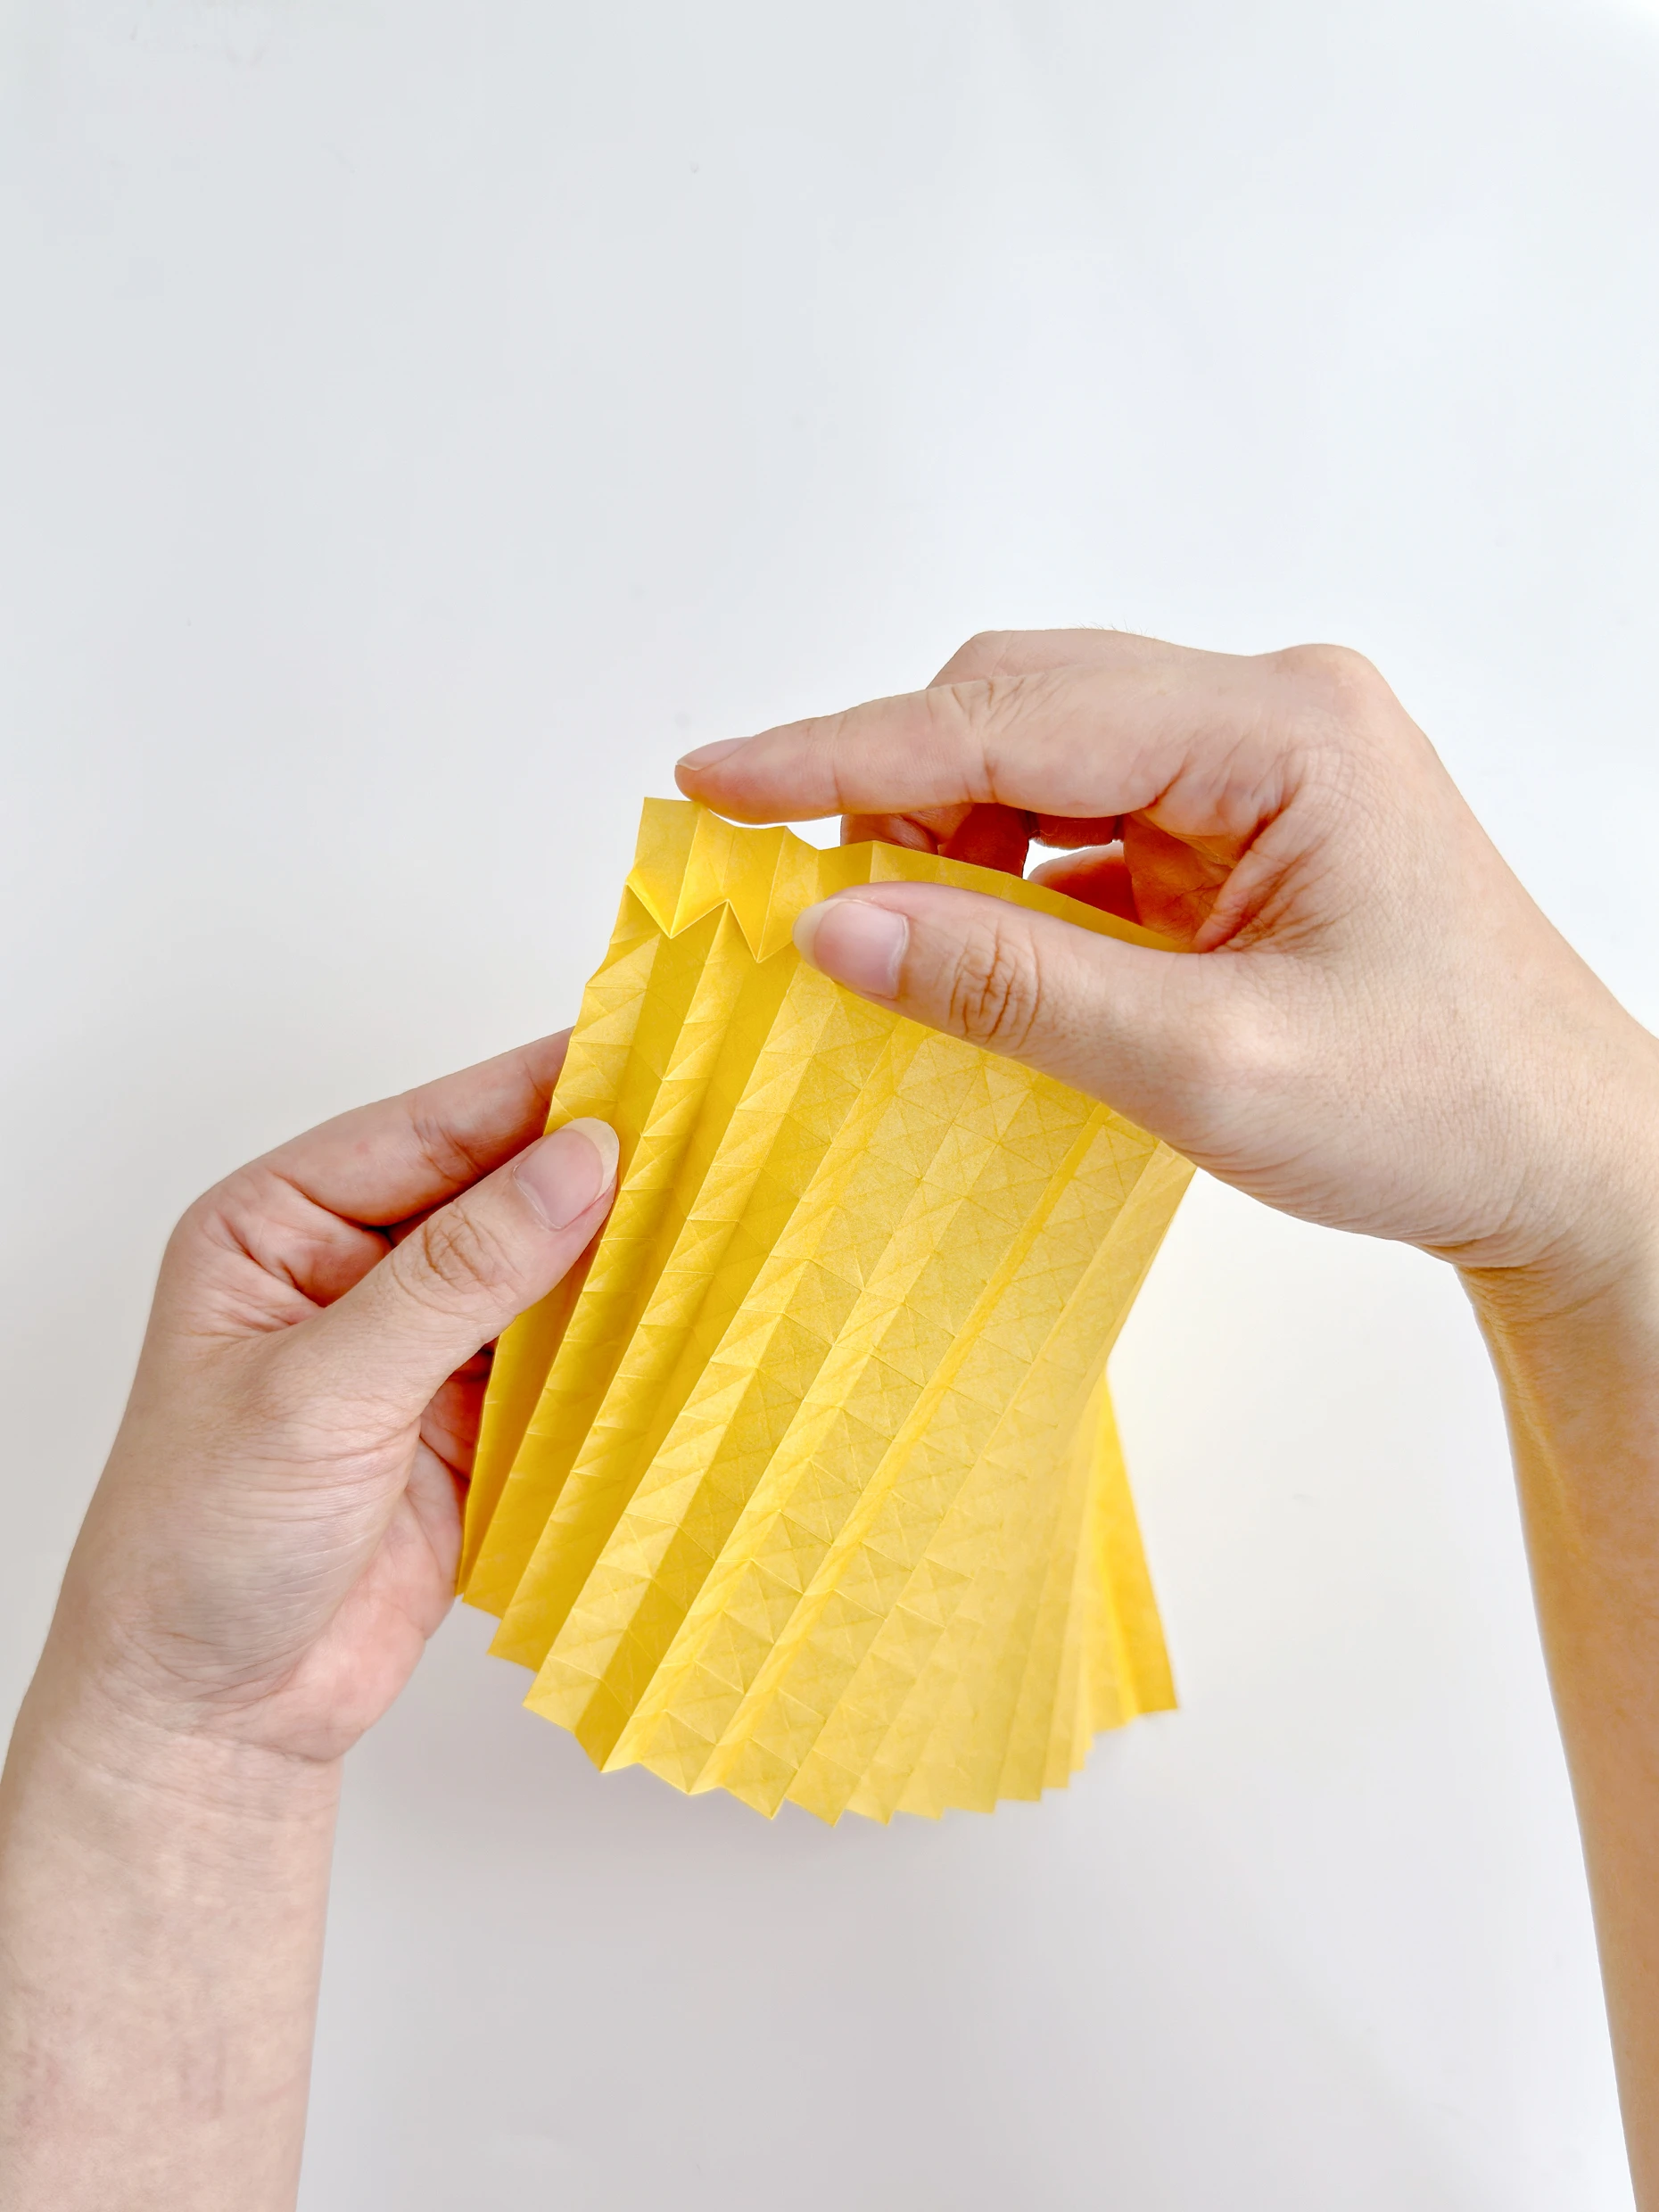
Step 13
Until the first row is completed.
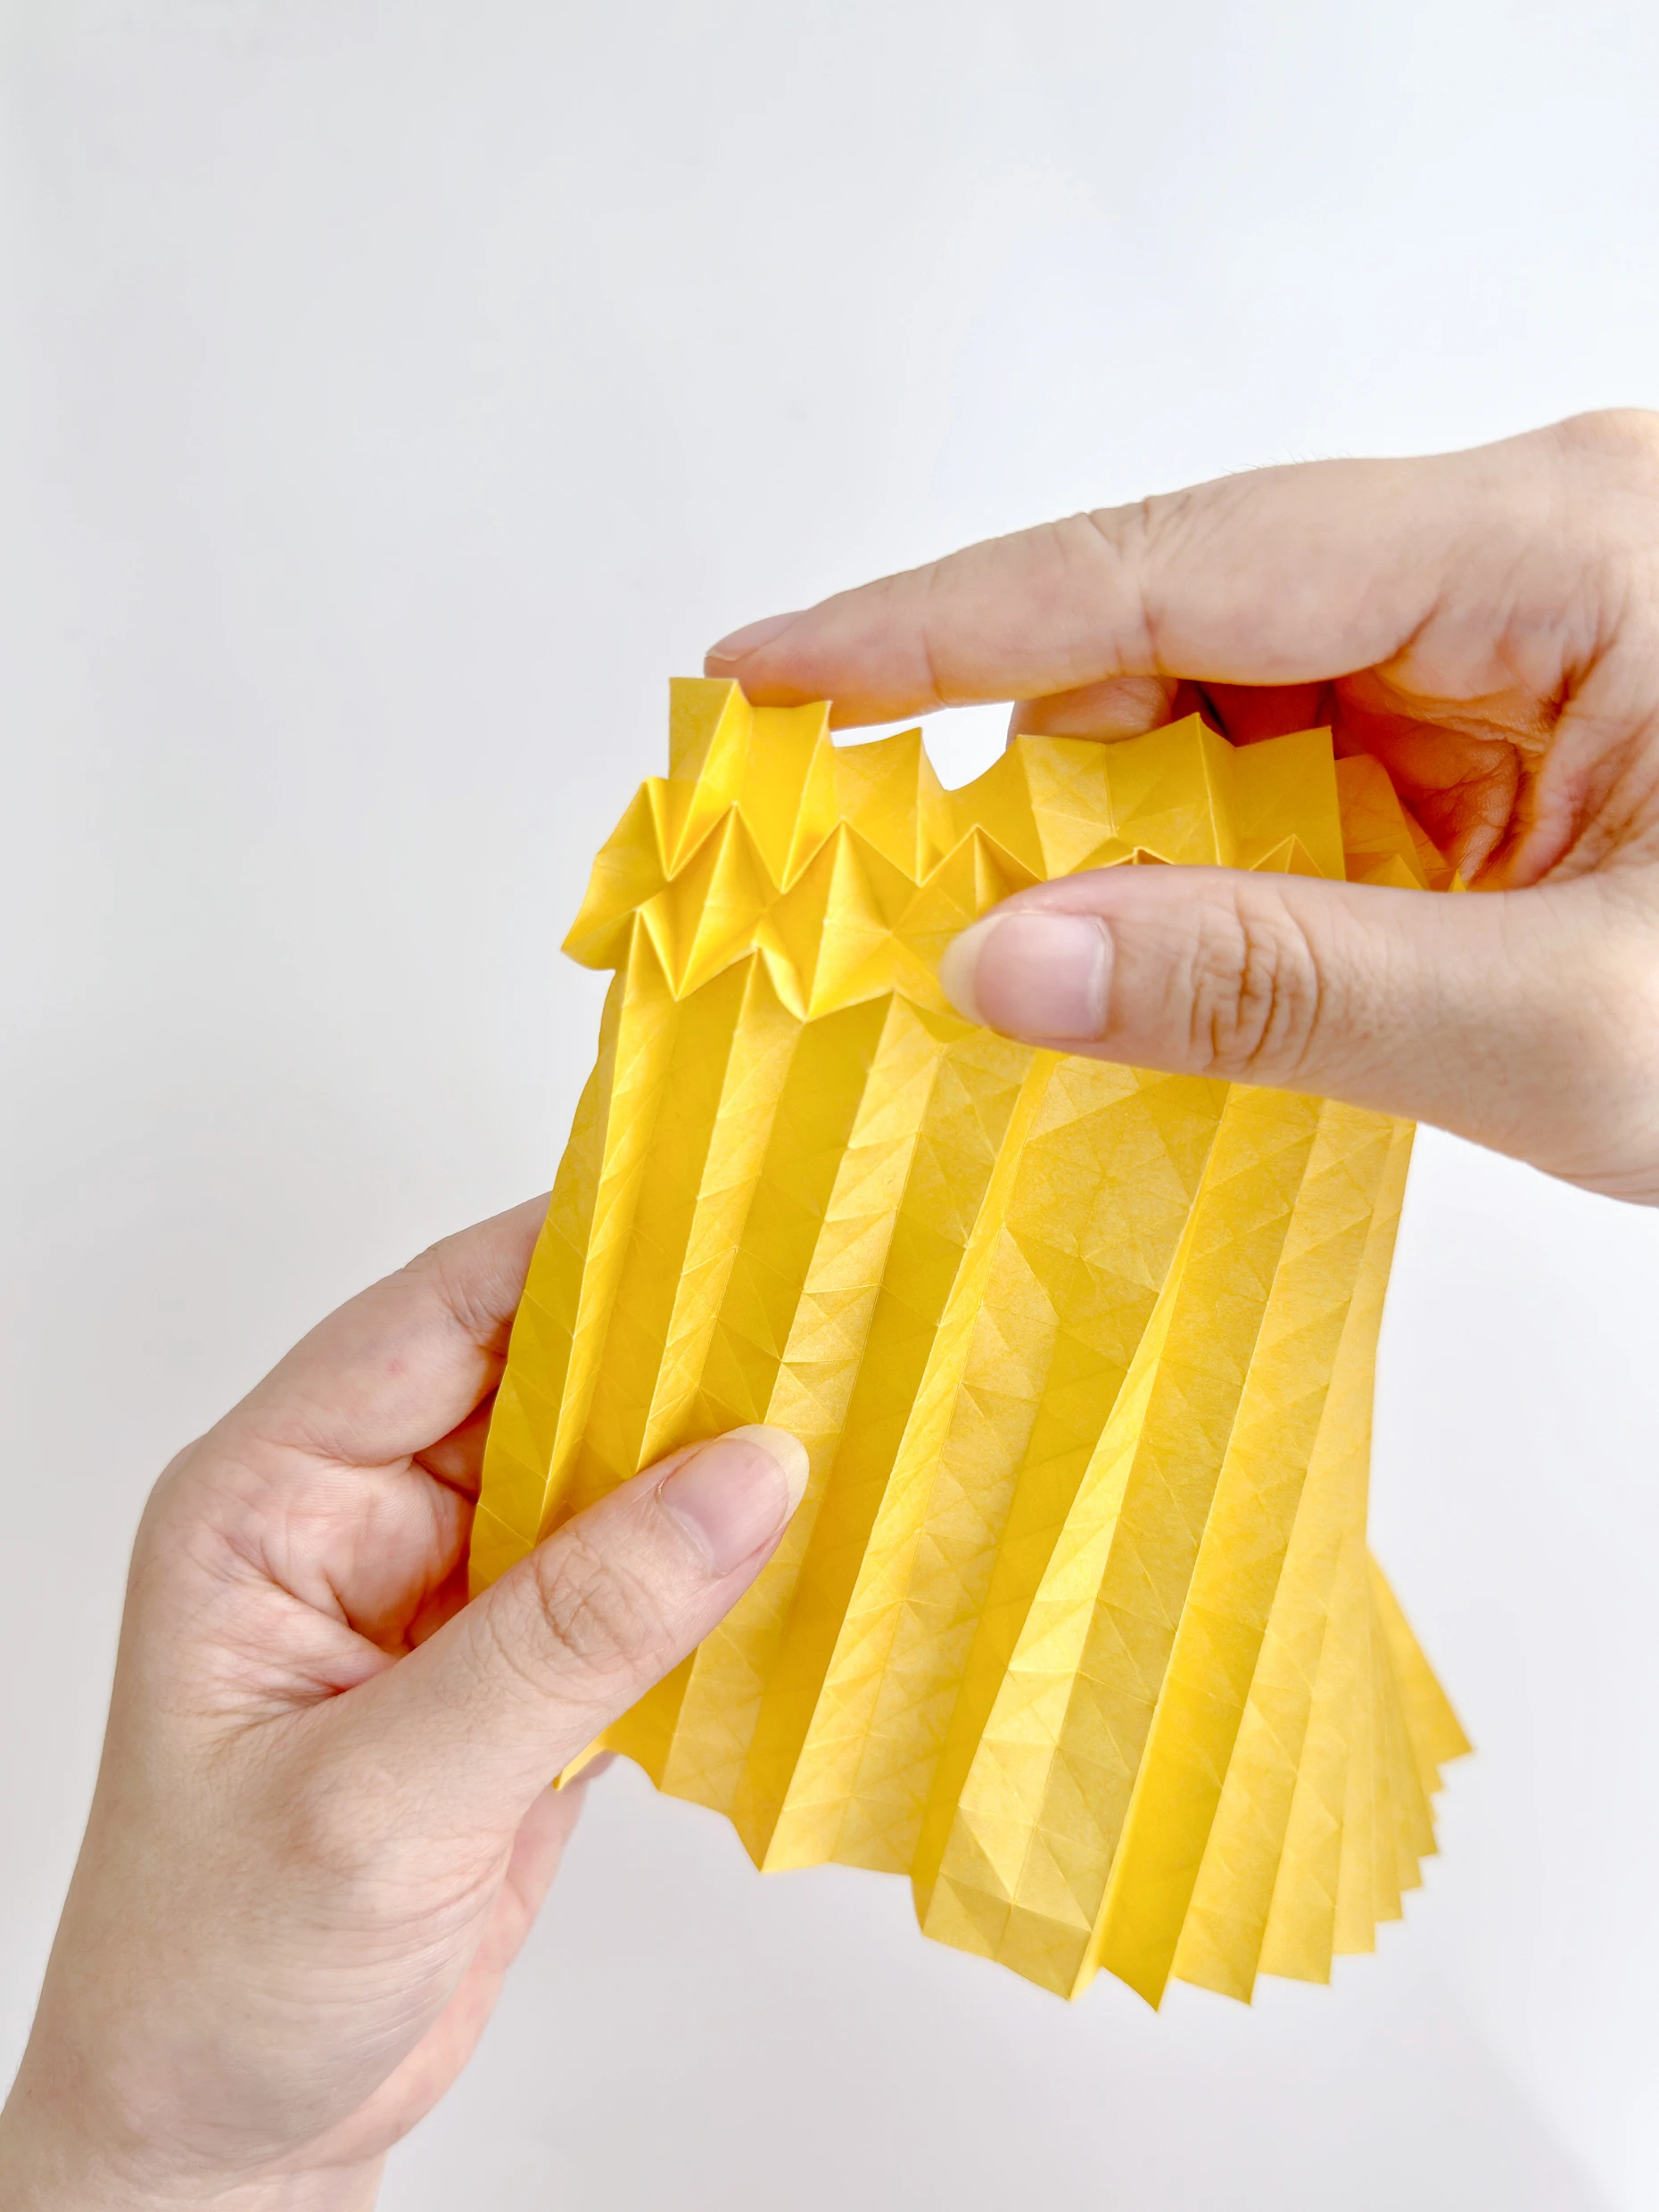
Step 14
Slightly unfold the paper.
Step 15
Shape the creases, separately, and fold an upward-facing arrow shape under every arrow in the first row.

Step 16
Adjust them well.
Step 17
Until the second row is completed.
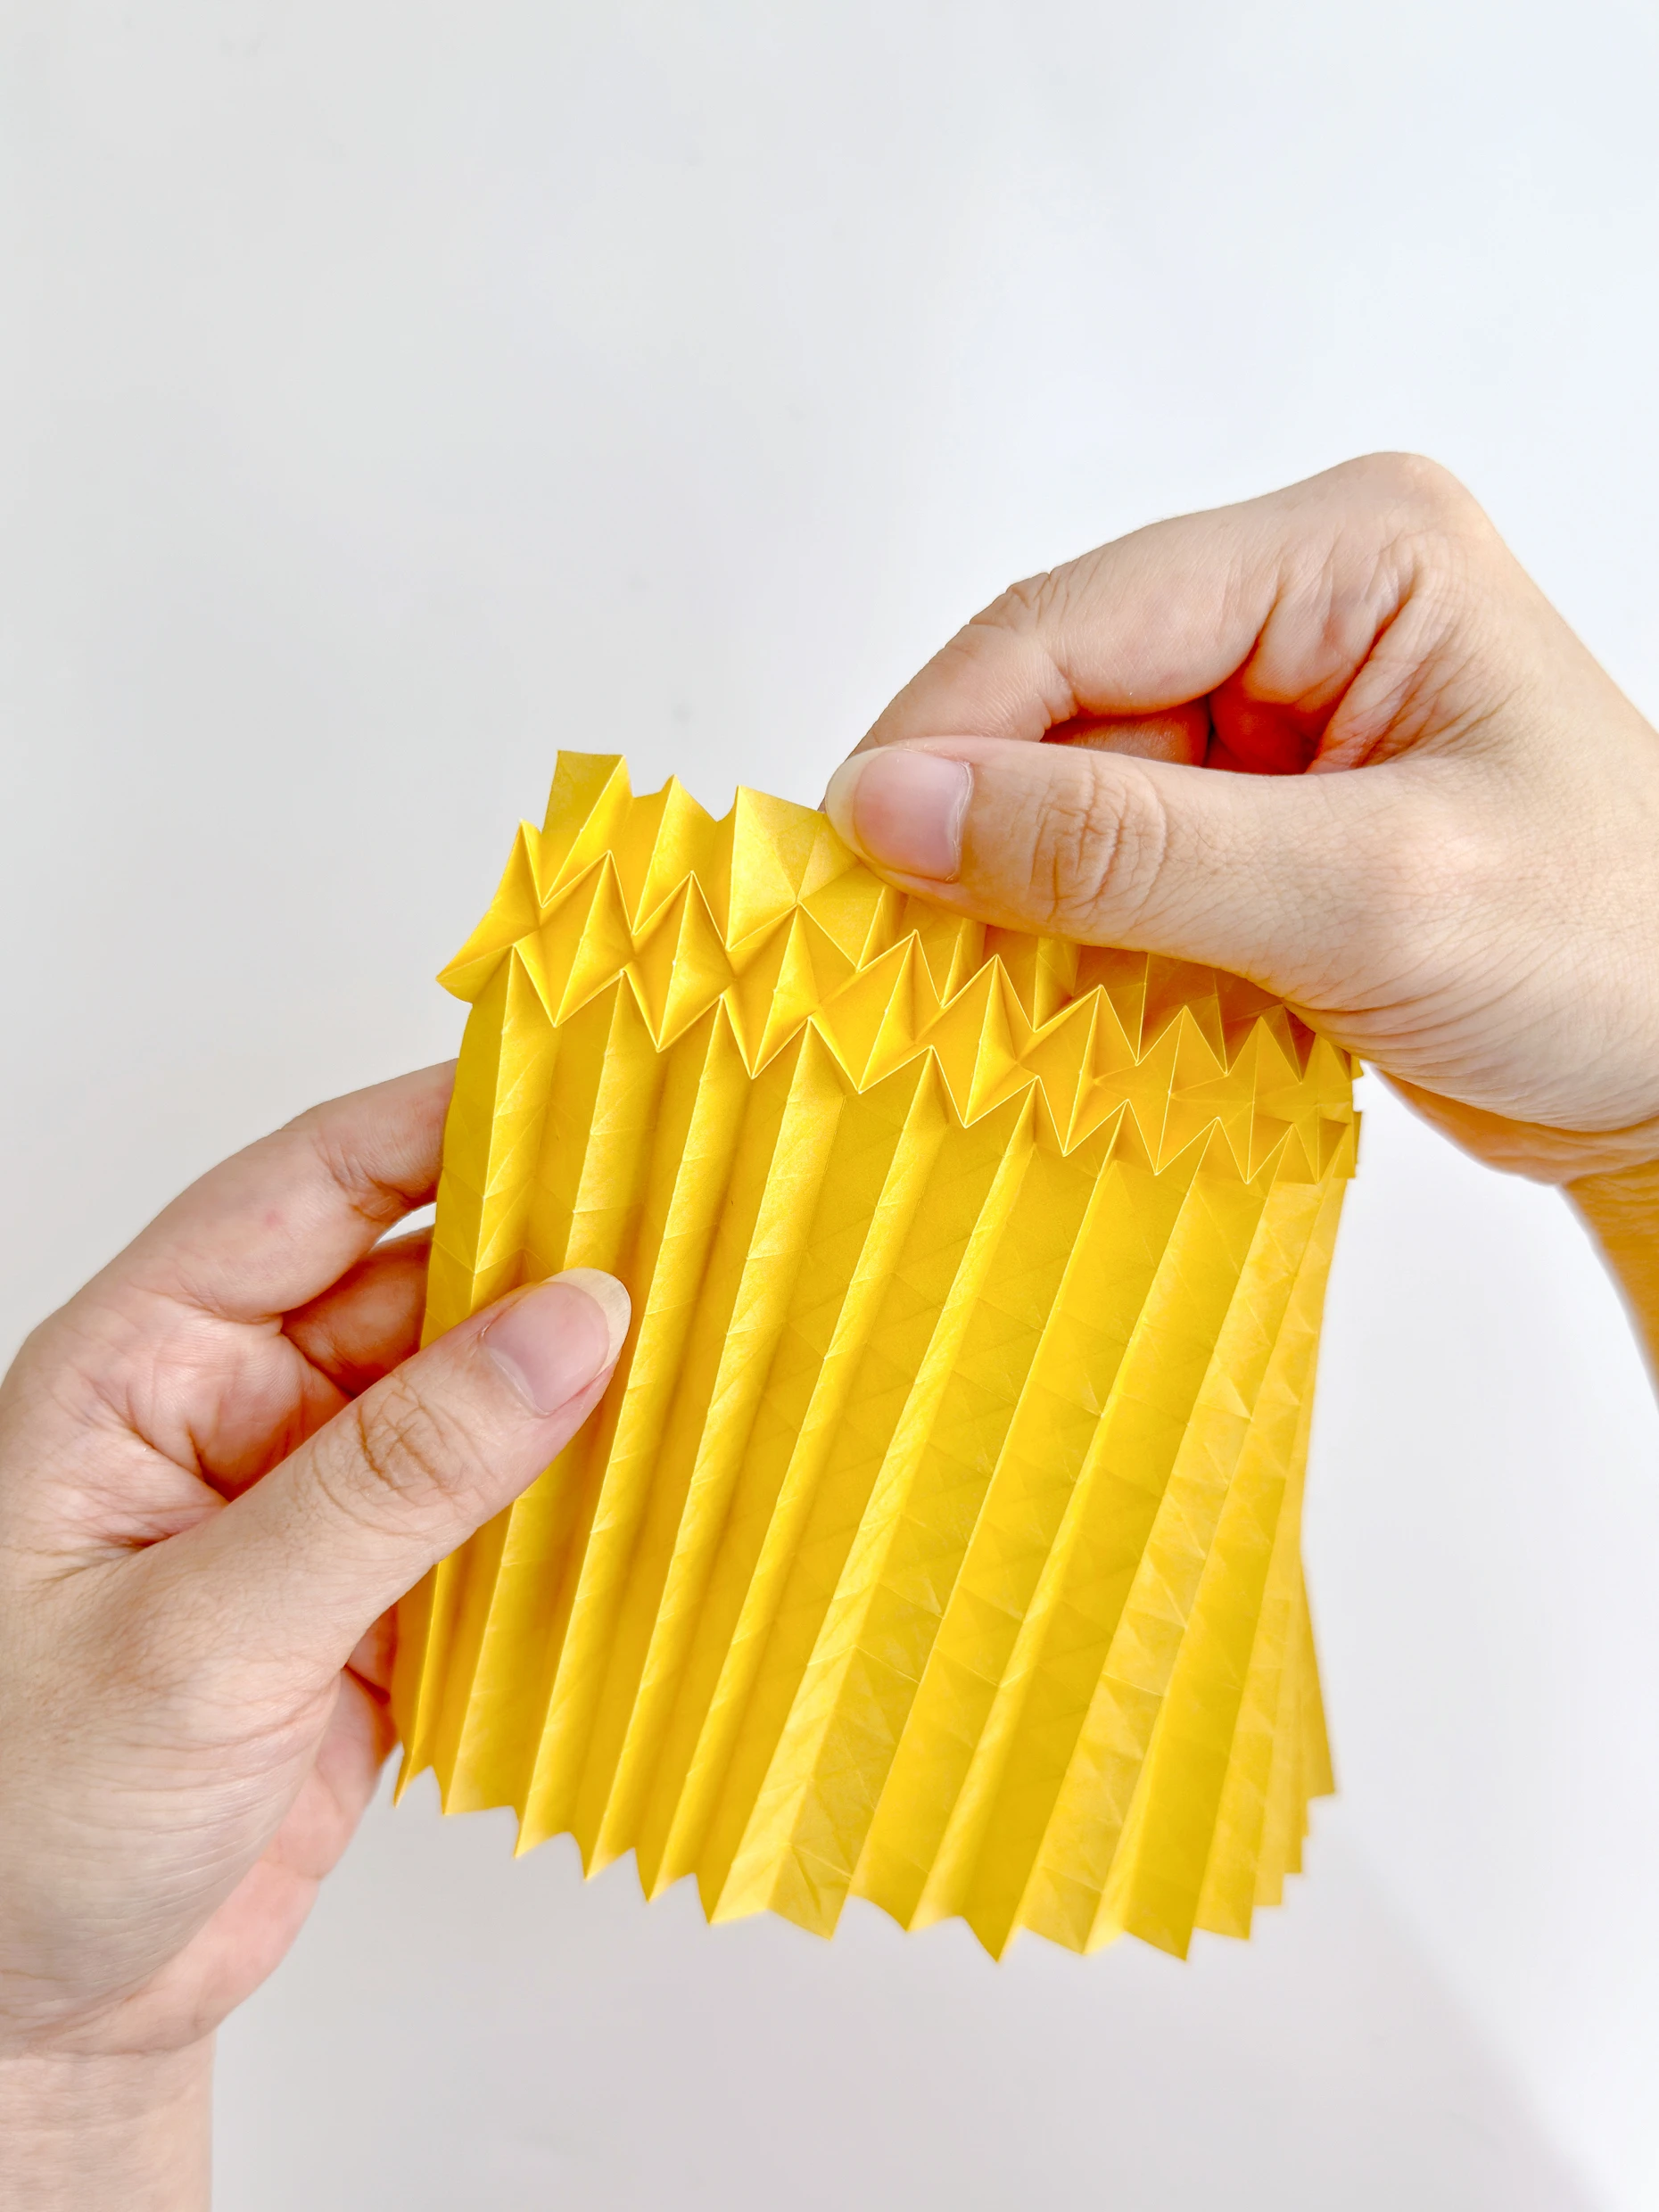
Step 18
A completed view when you finish the second row.
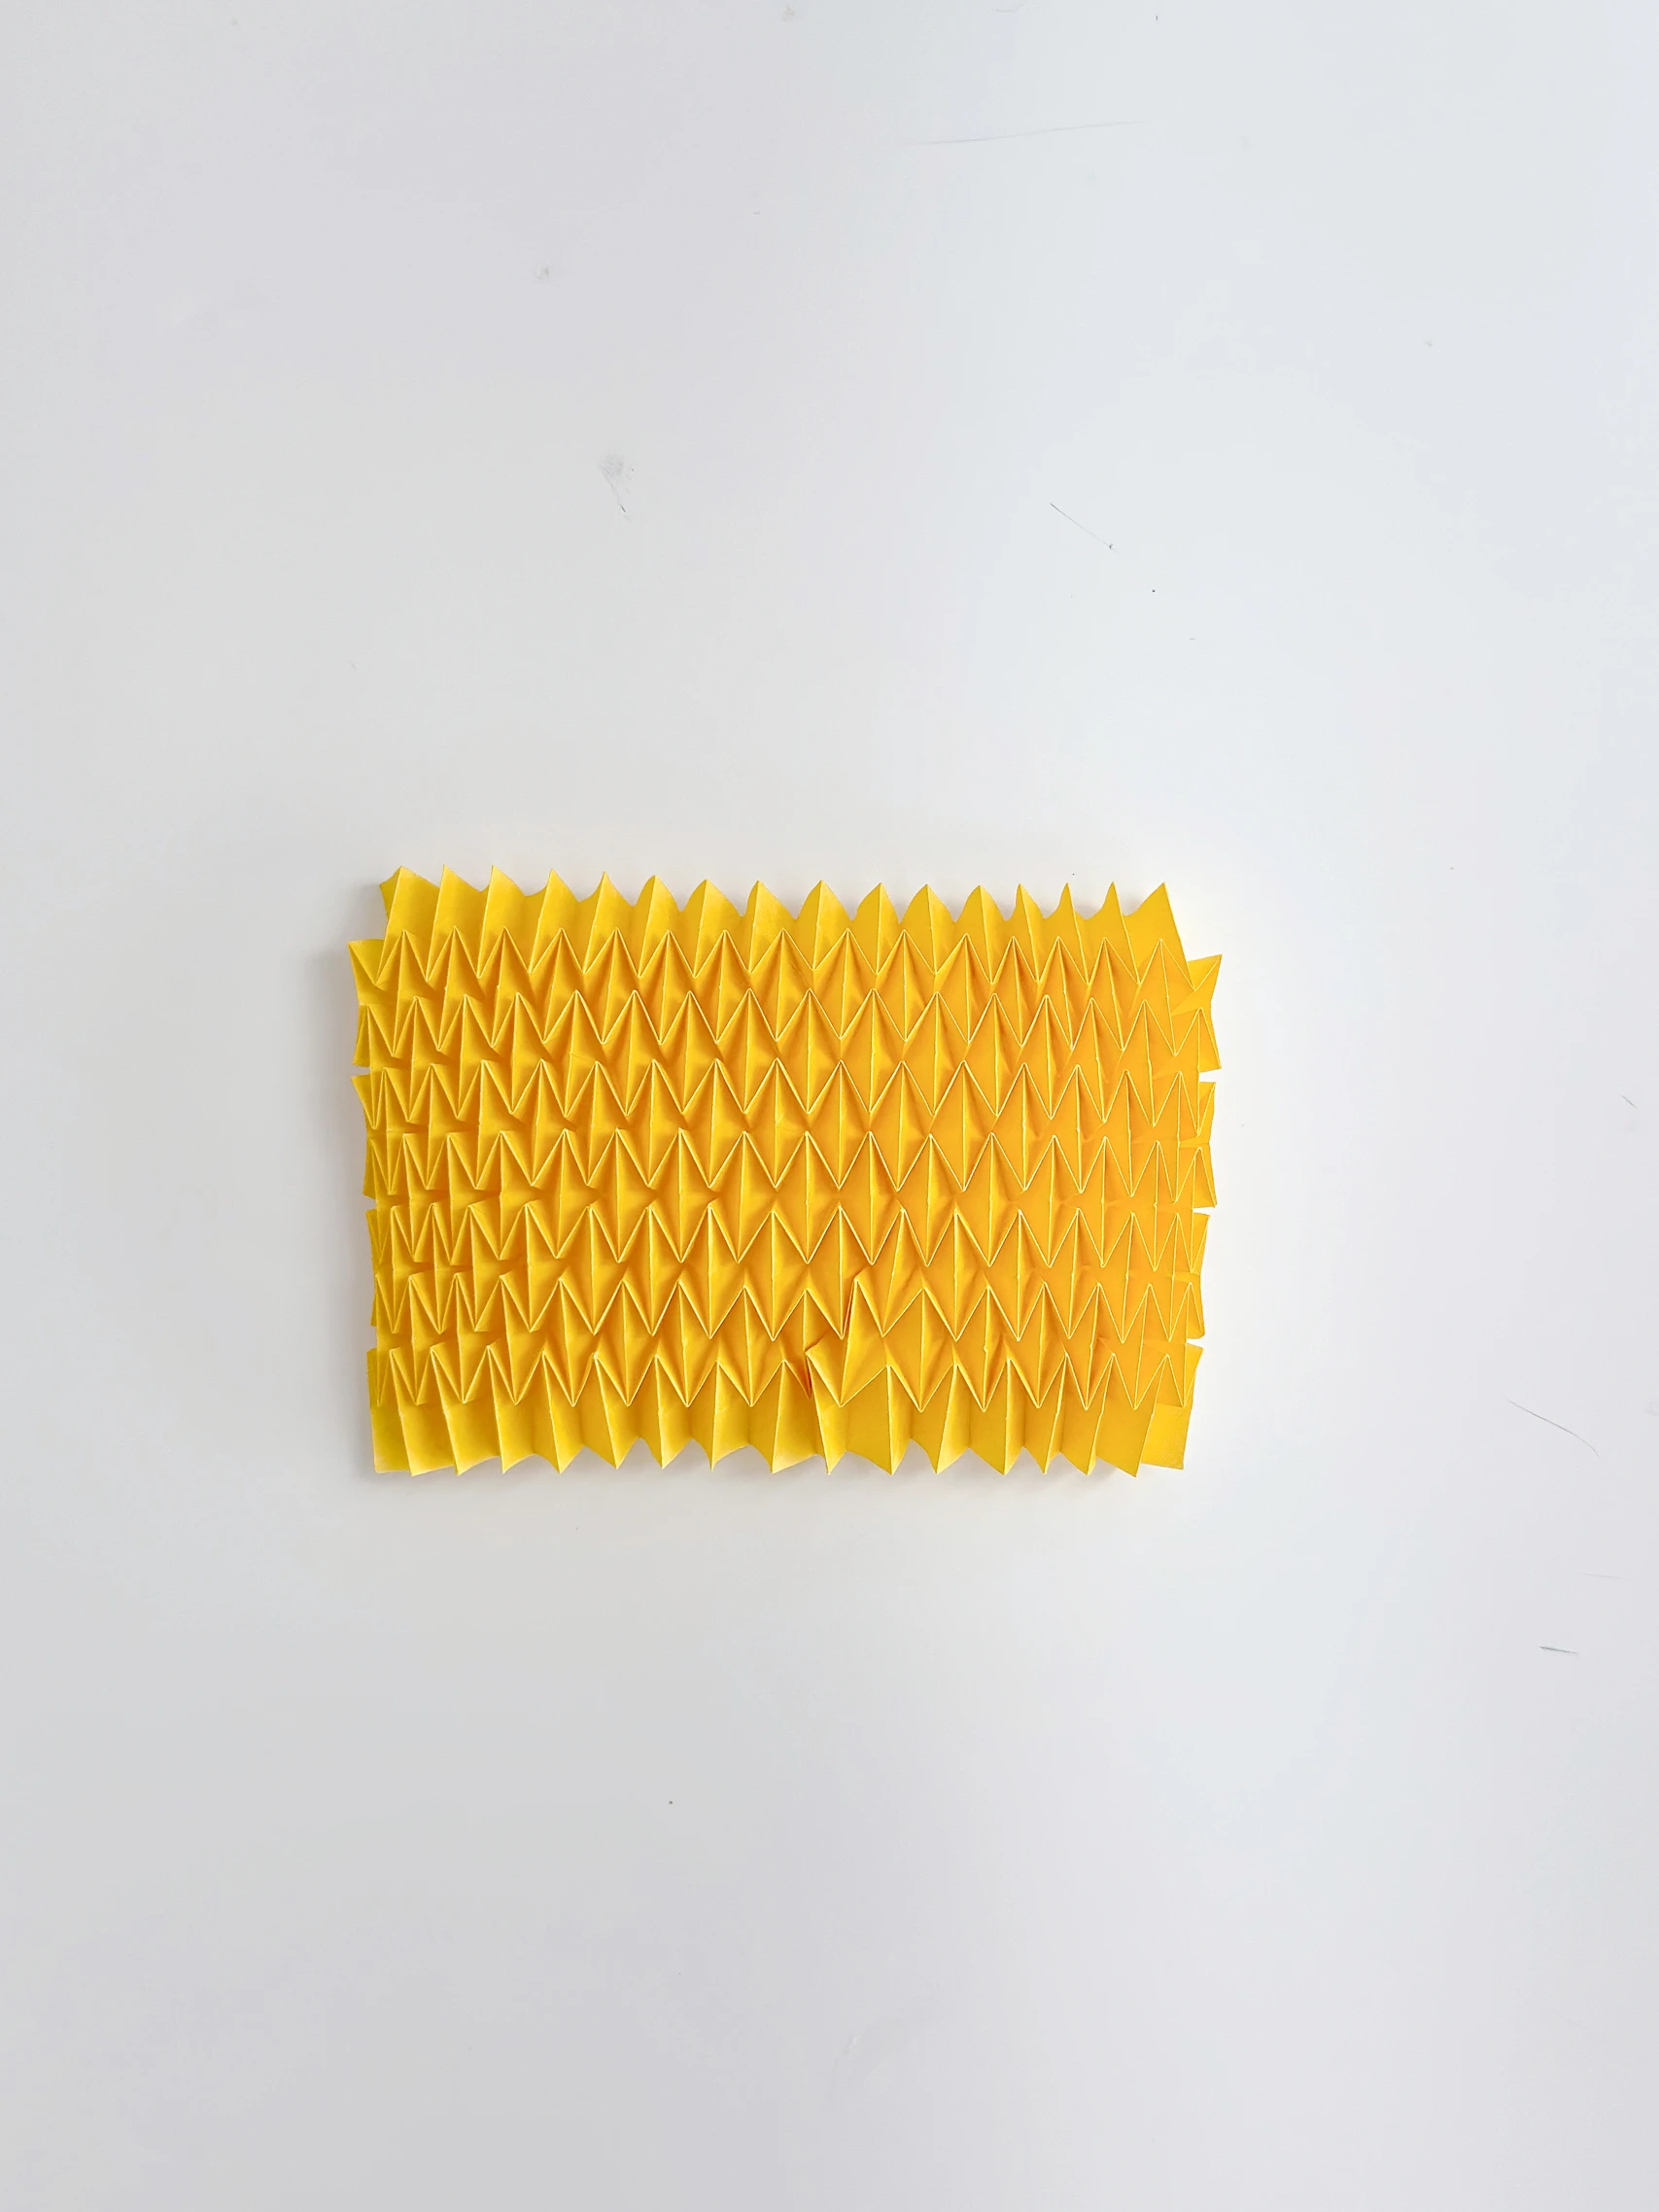
Step 19
Complete the remaining rows using the same folding manner as the first and second rows.
Step 20
Now focus on the top edge.

Step 21
Shape these two diagonal creases on either side of the vertical line of the first arrow.
Step 22
Then shape the two diagonal creases on the sides of the second and third arrow.
Step 23
Fold the top and bottom edges in this manner.
Step 24
The pictures below will show you the shape of the bottom edge.
Step 25
Then you will get a shape like the following picture shows.
Step 26
Slightly unfold the left and right edges.
Step 27
Take the right edge.
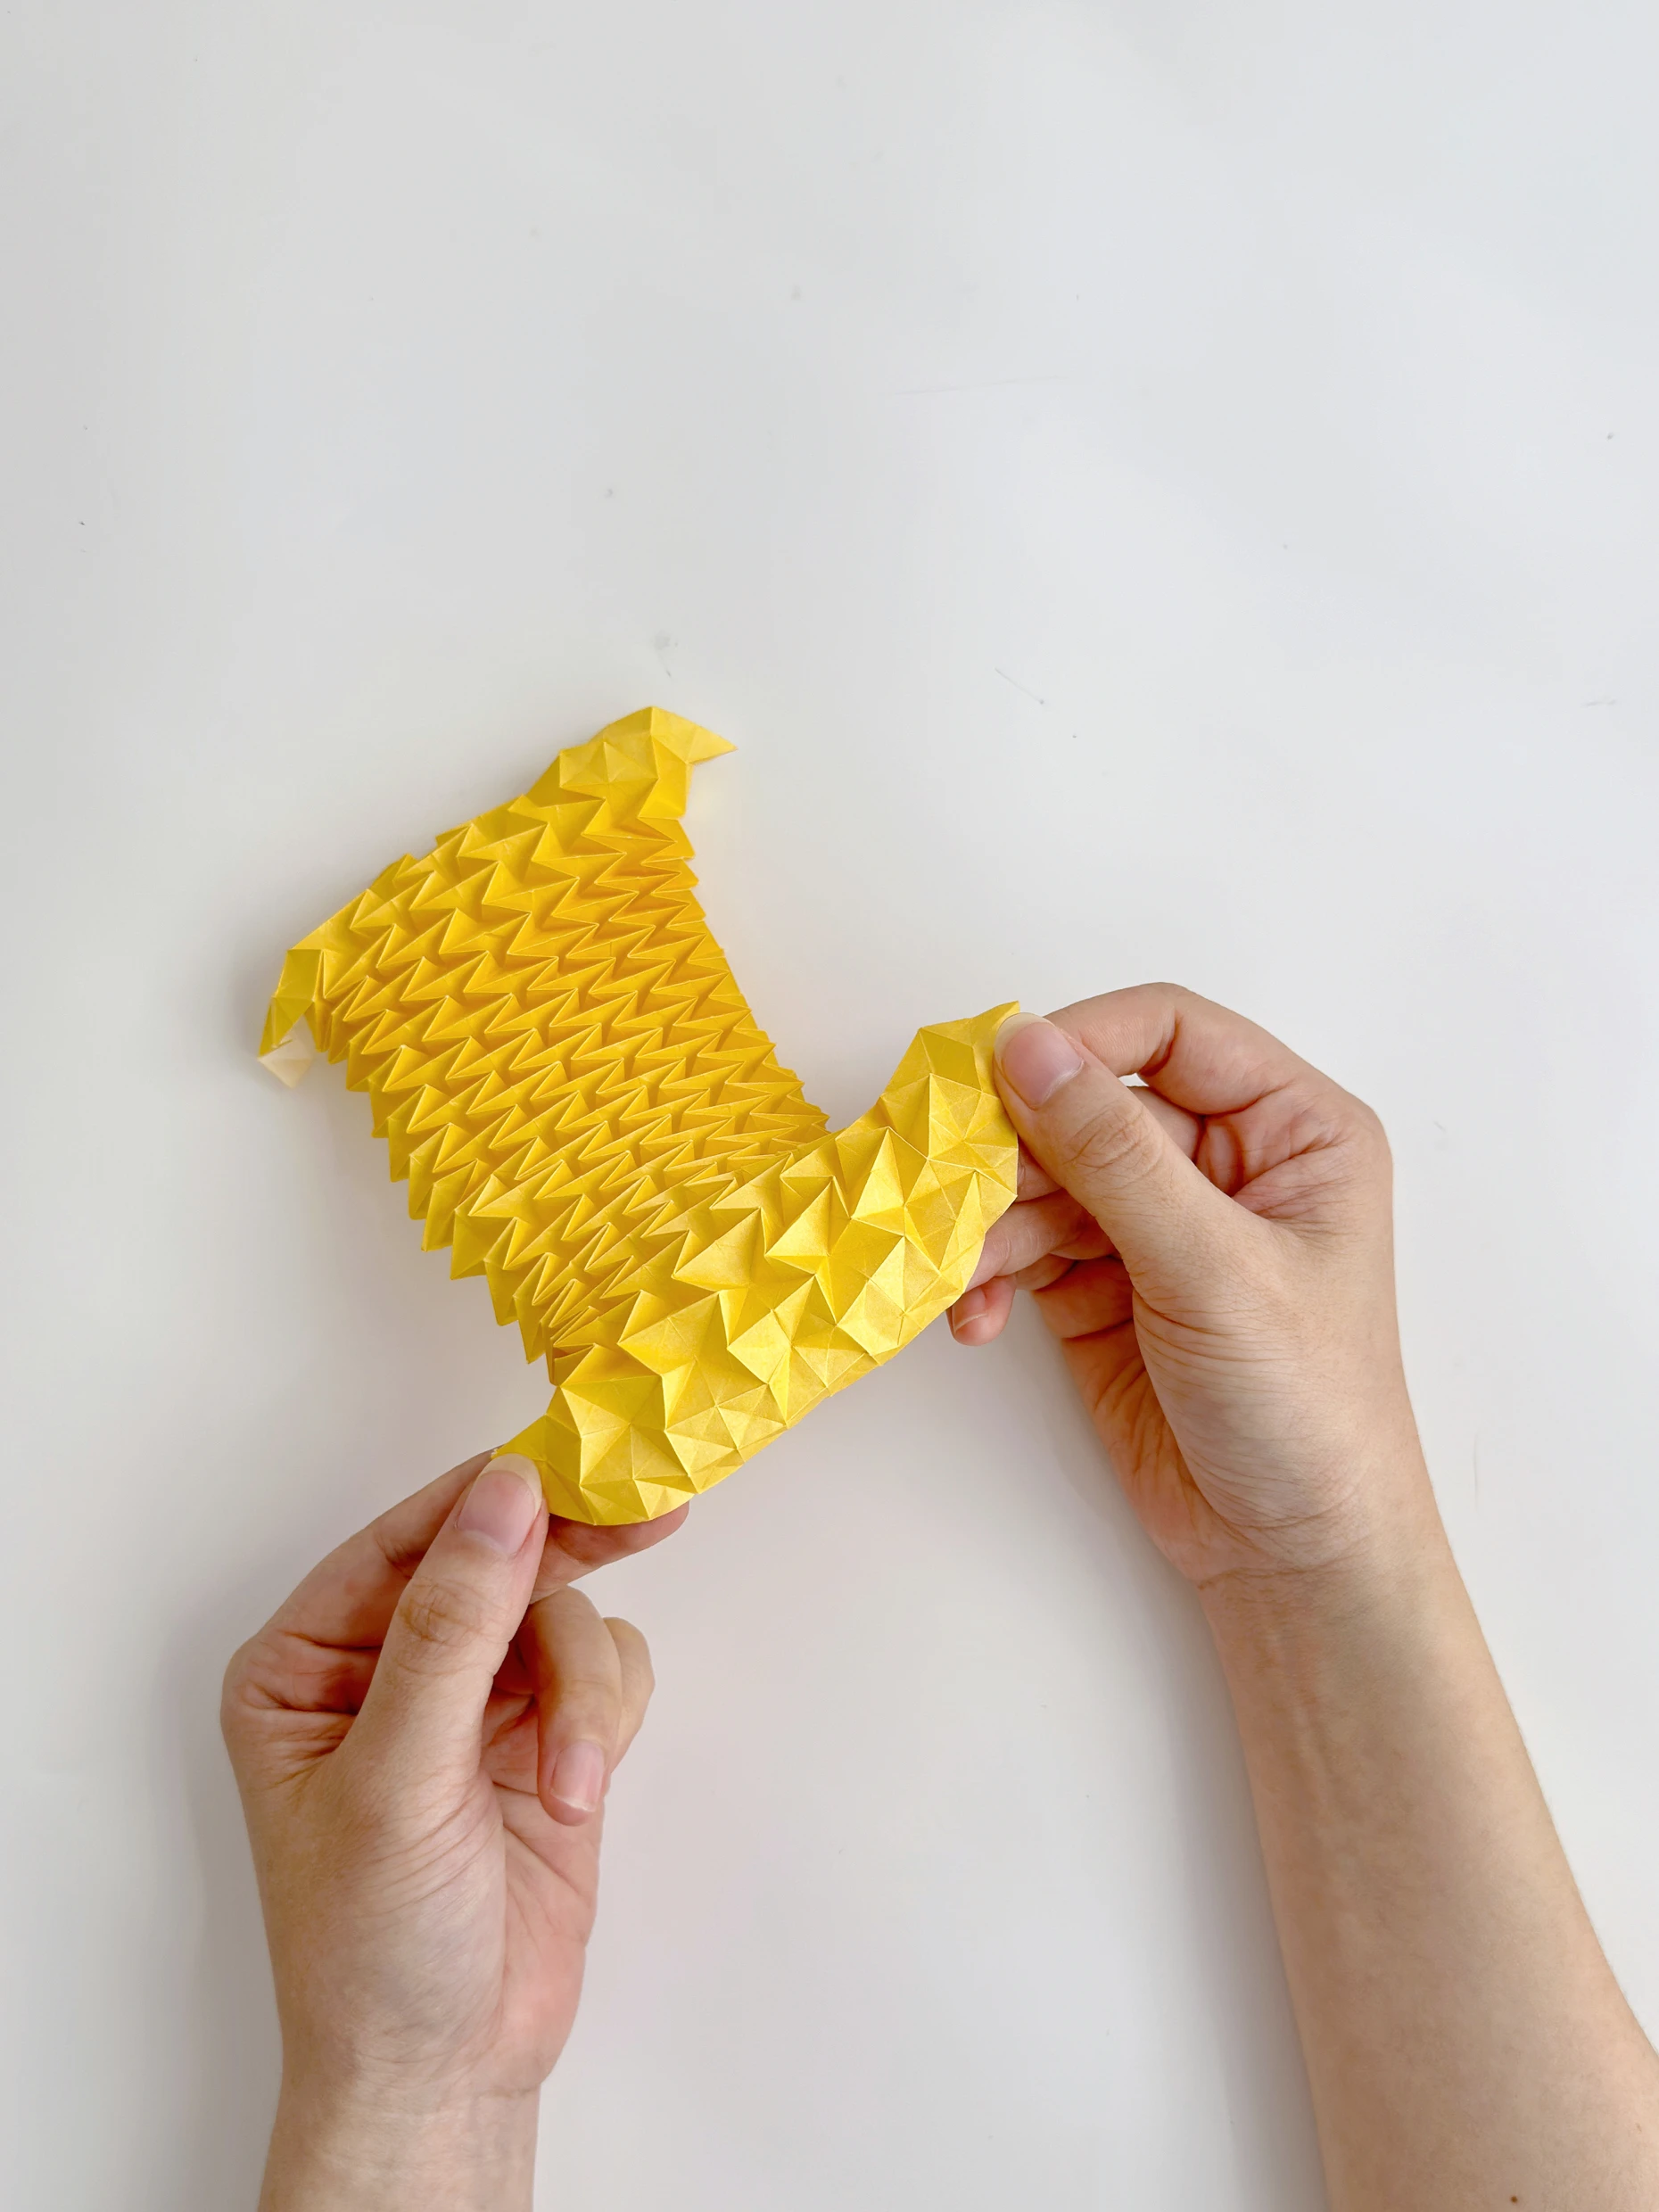
Step 28
Apply glue on this edge.
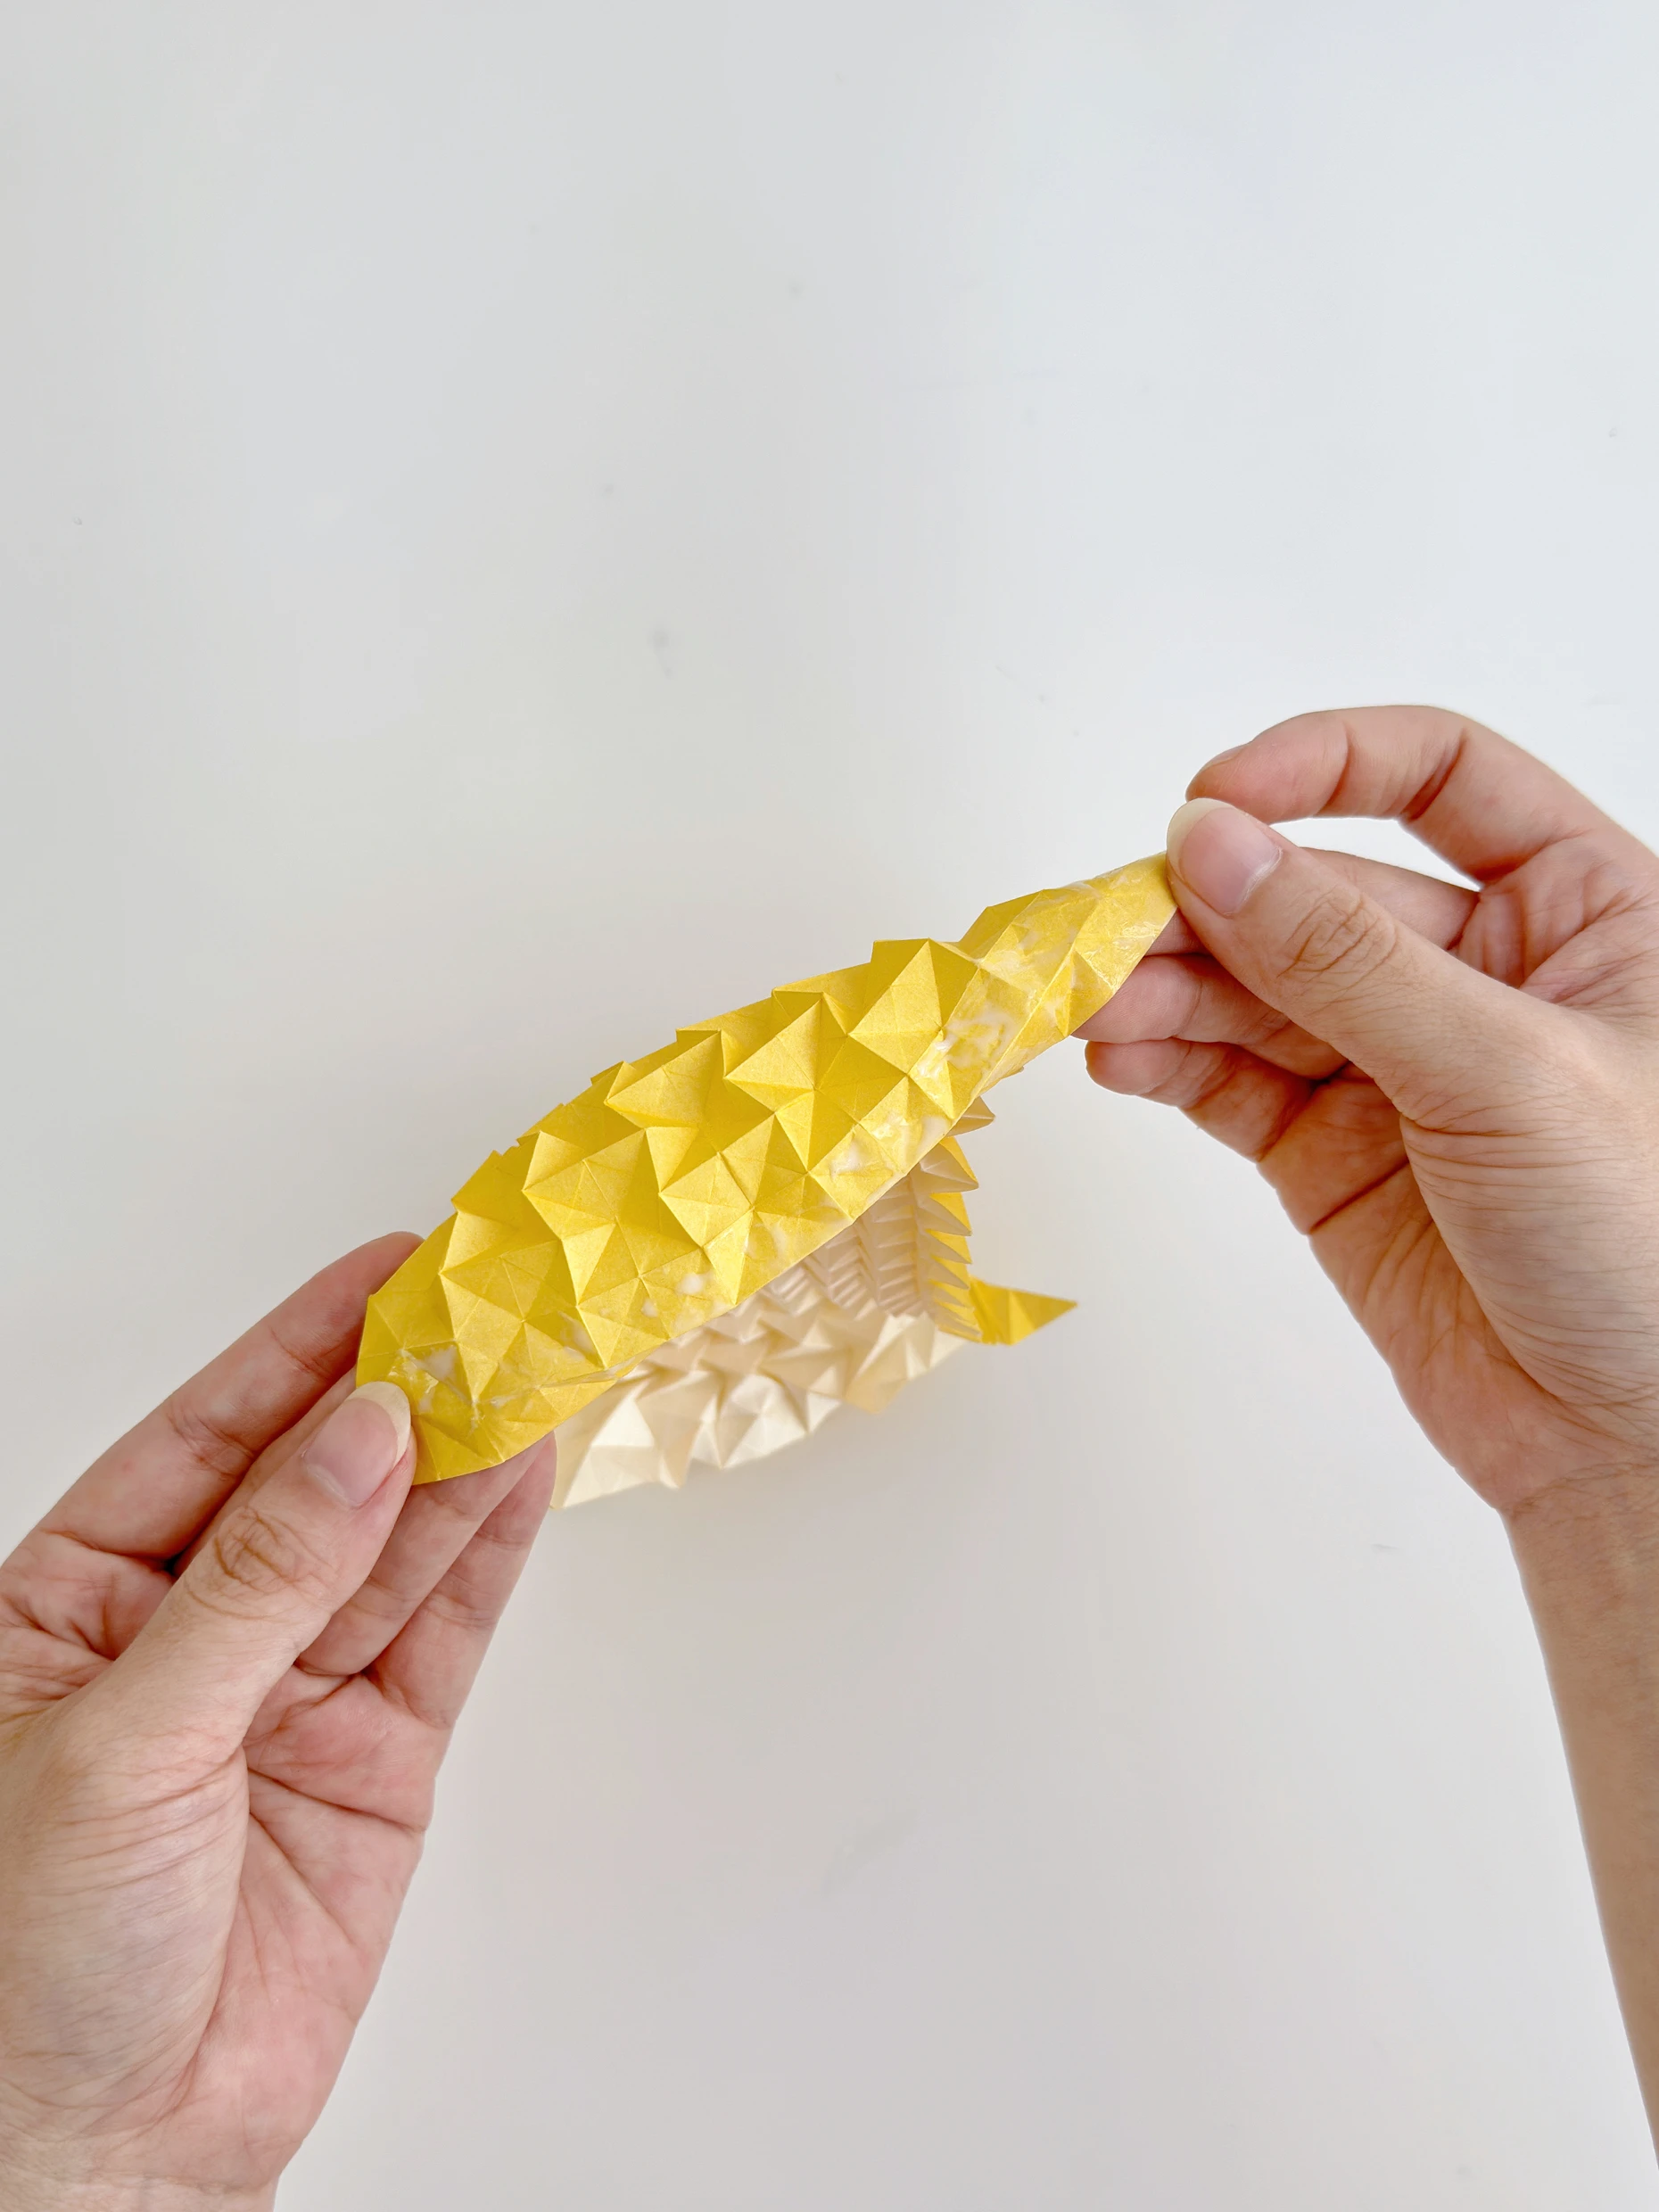
Step 29
Then take the other edge.
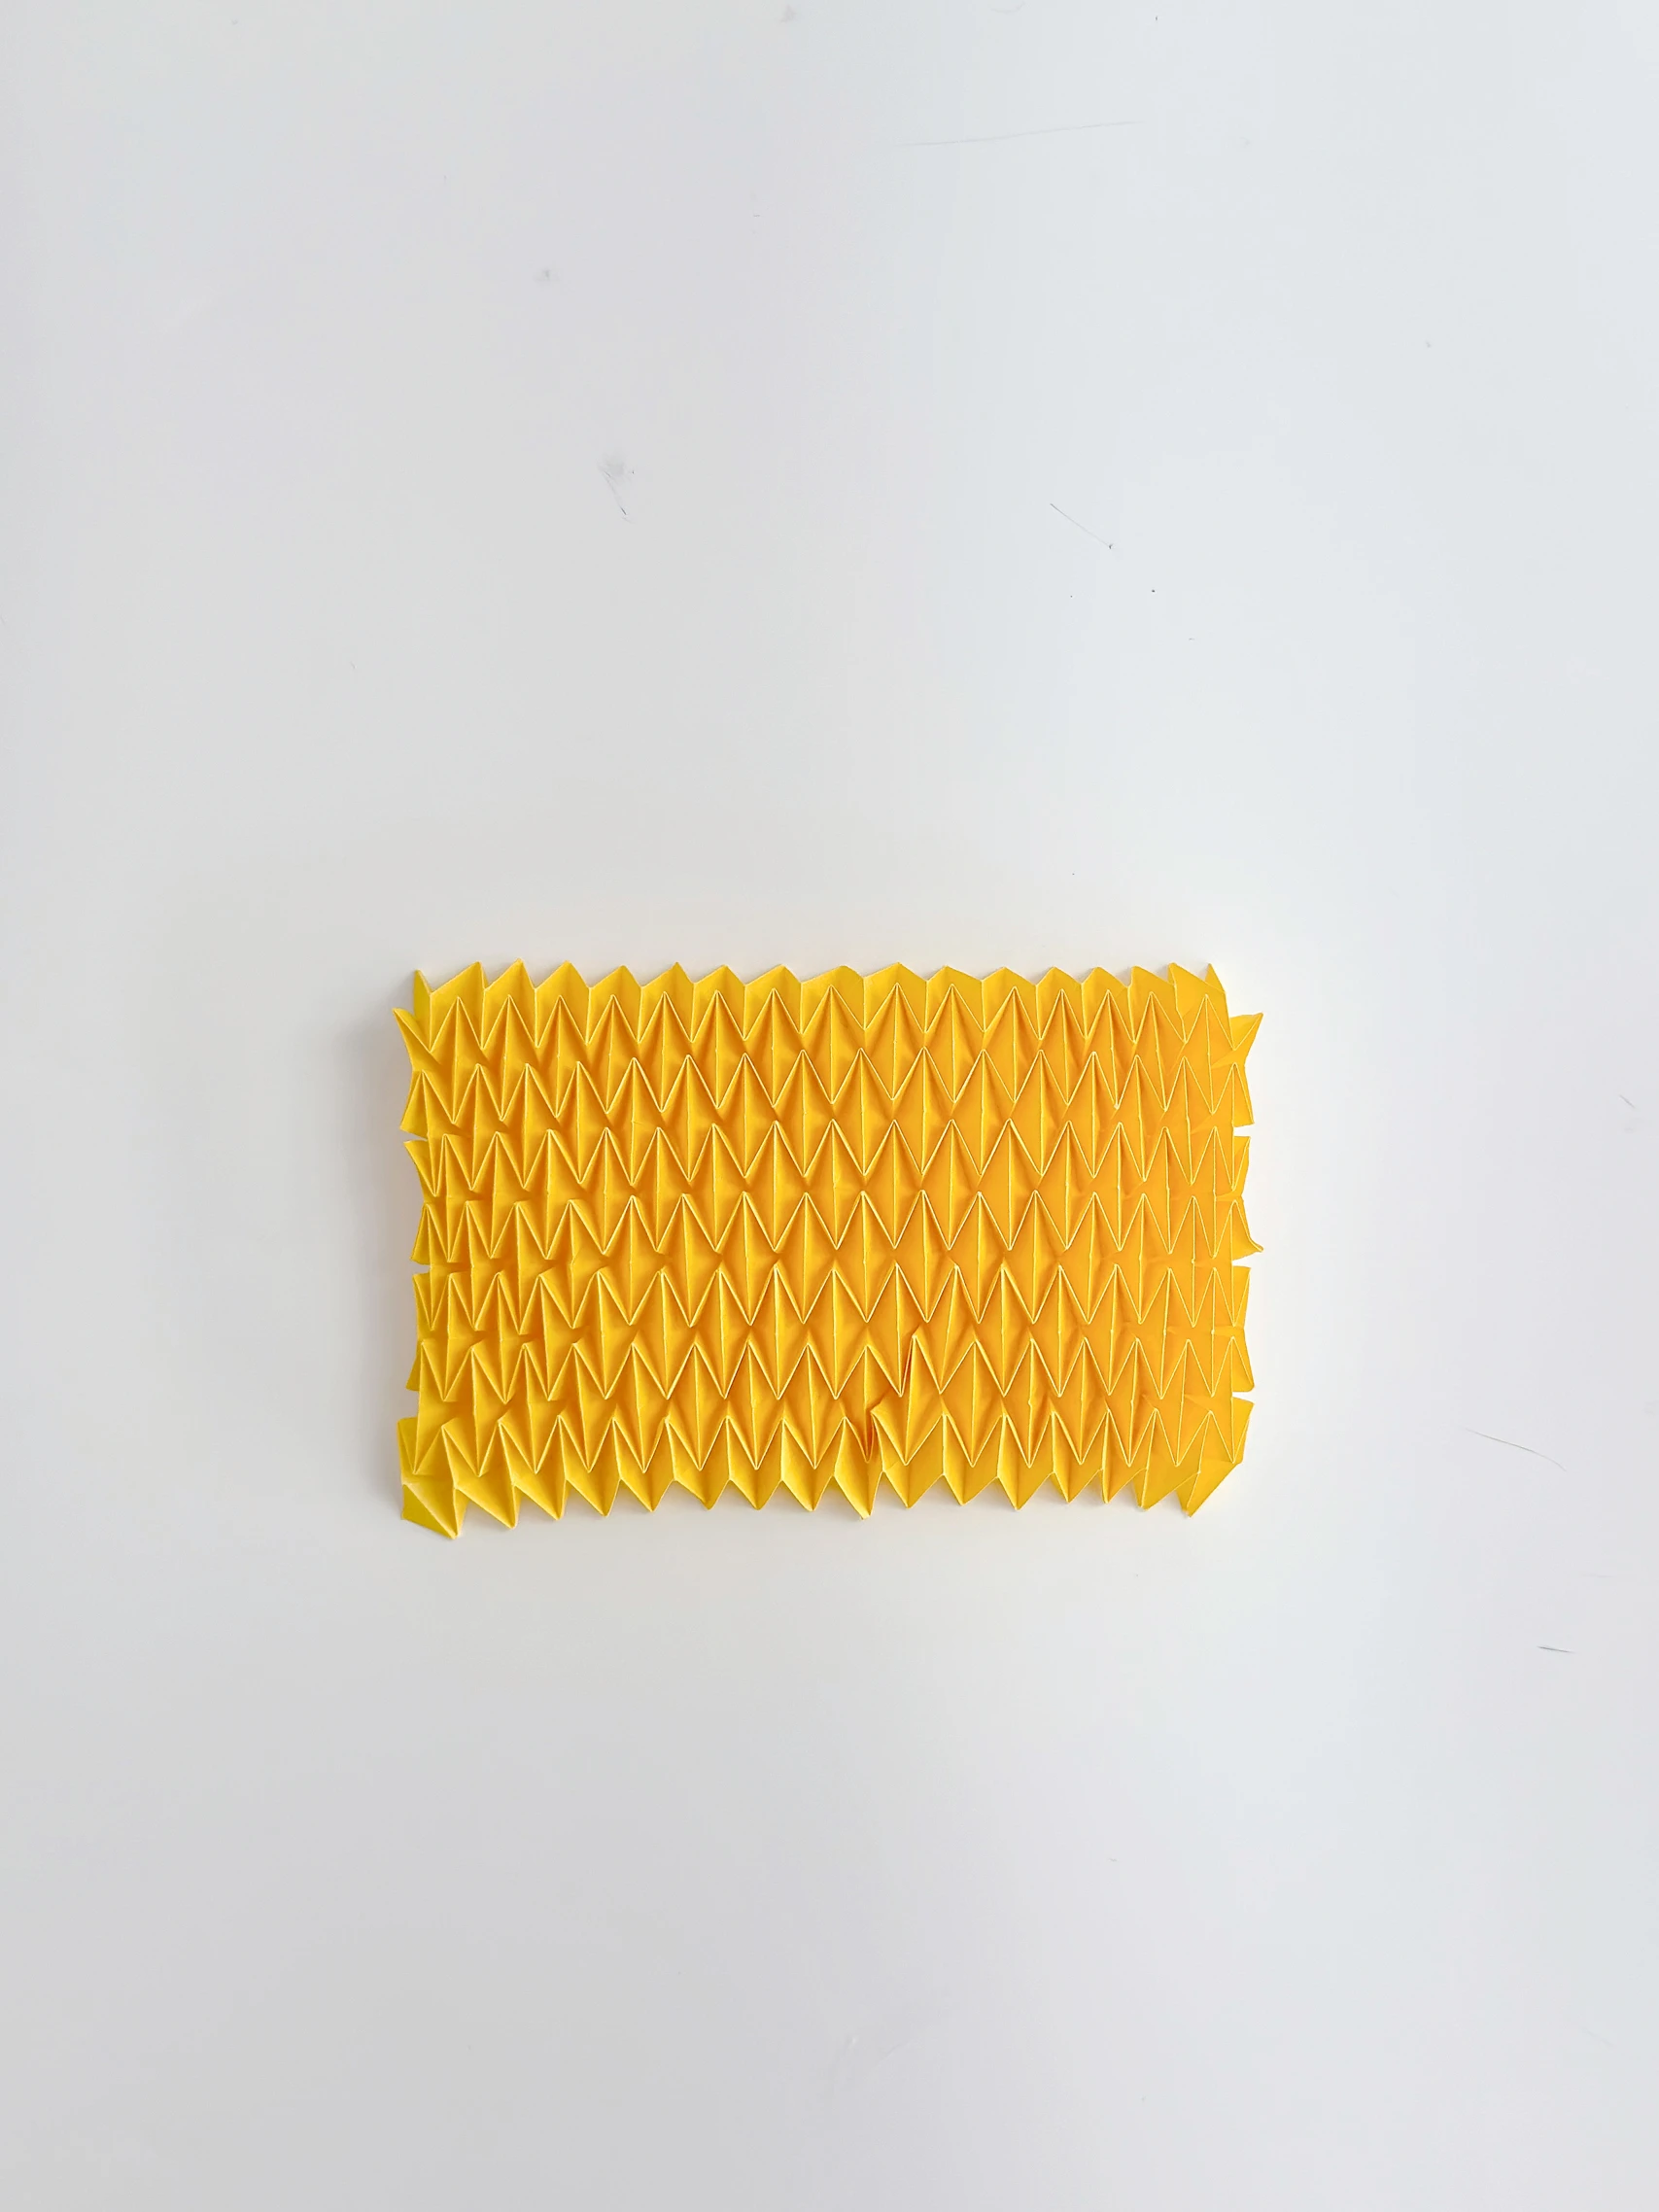
Step 30
Start gluing them on from the edge of the two sides, making the two rows of small squares on both edges overlap perfectly.
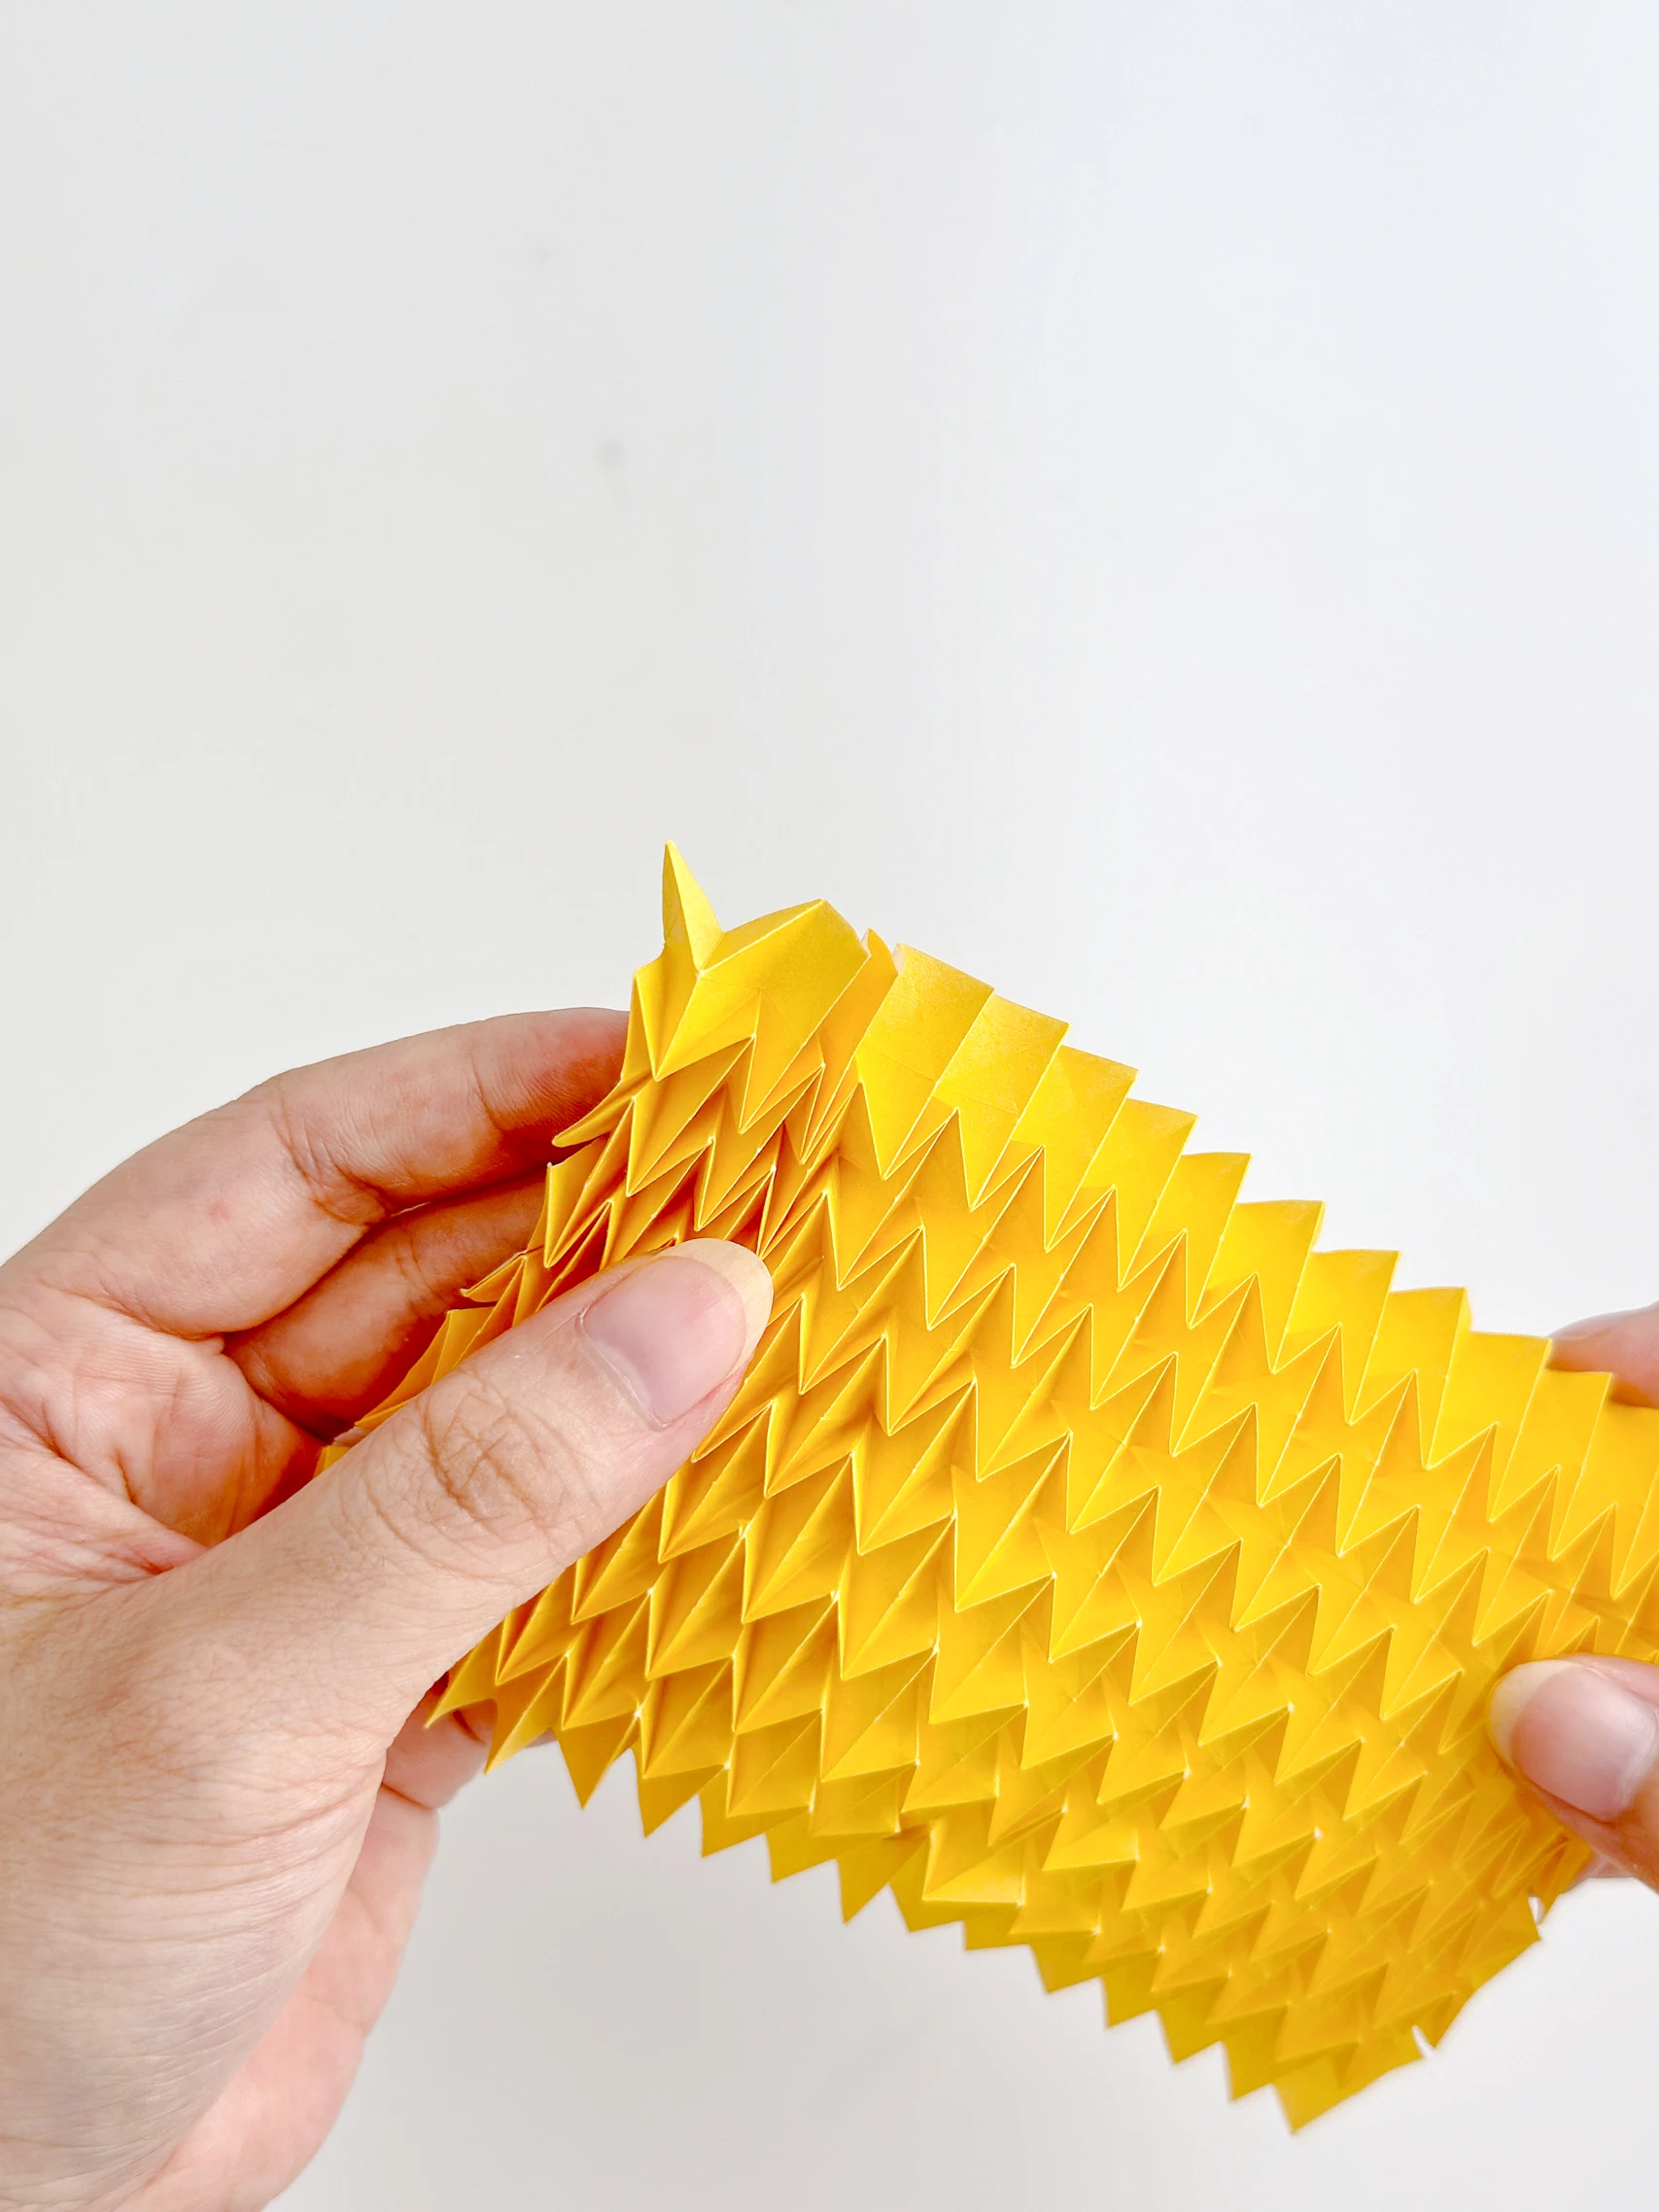
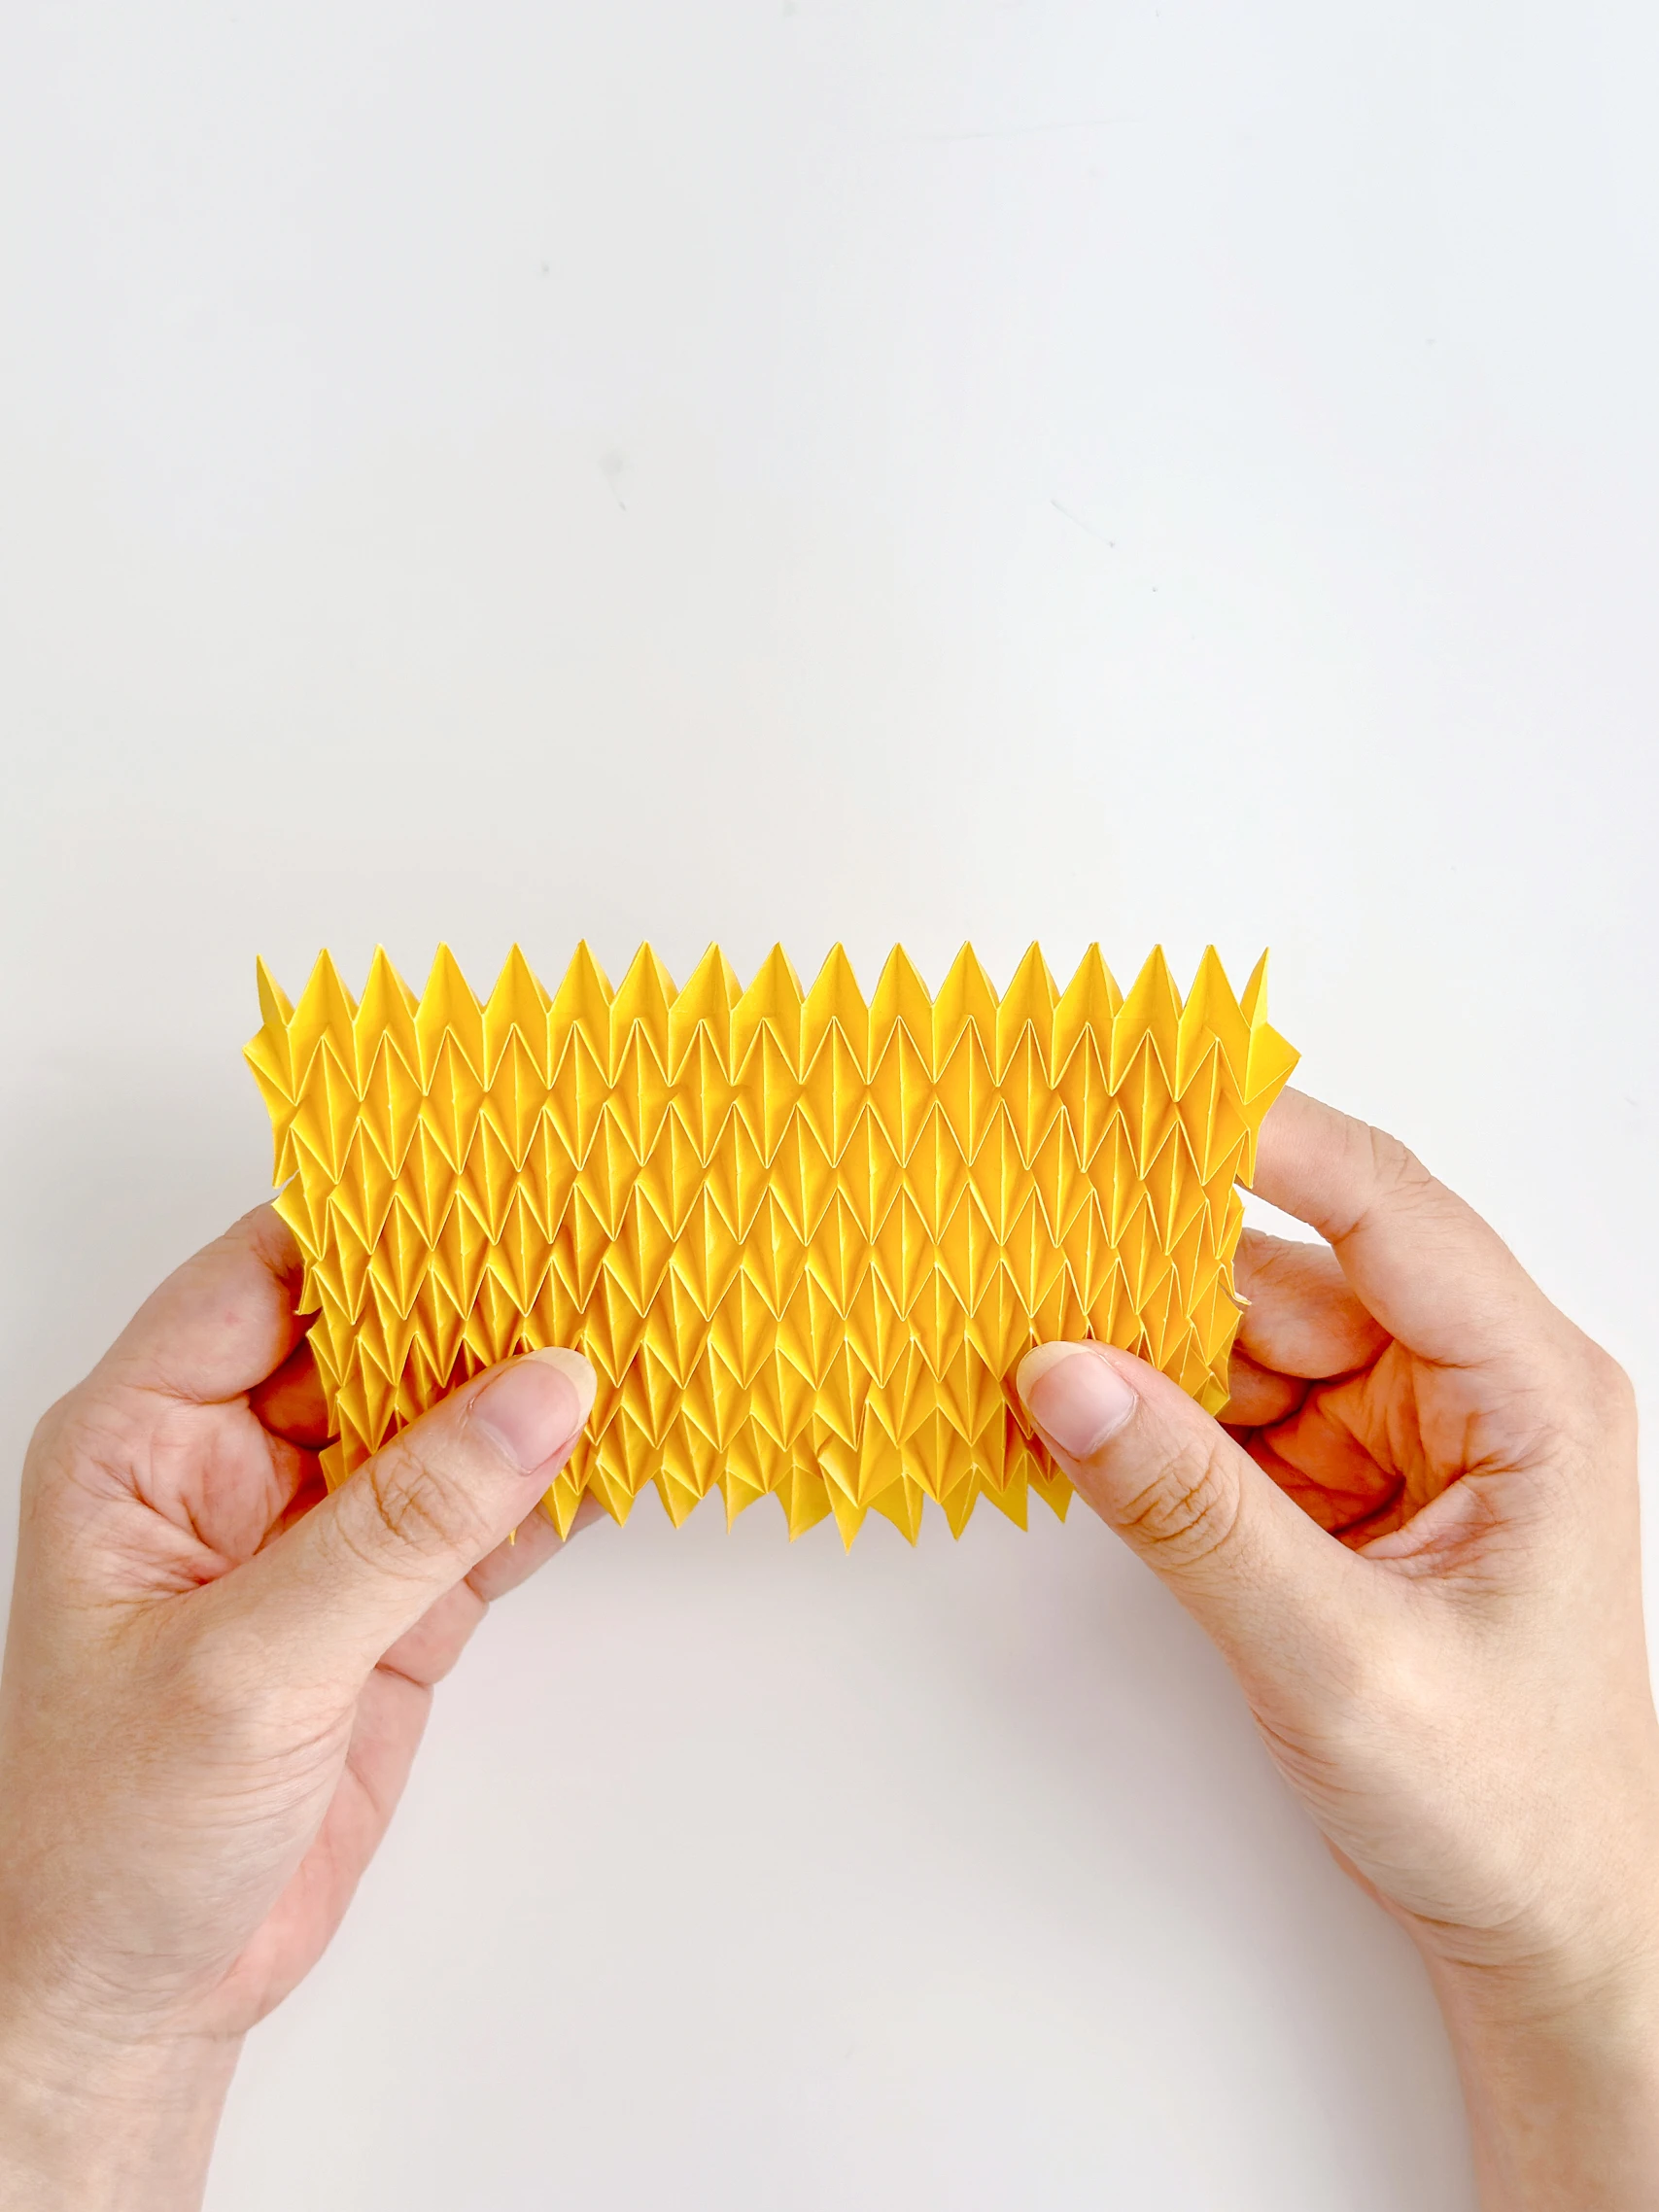
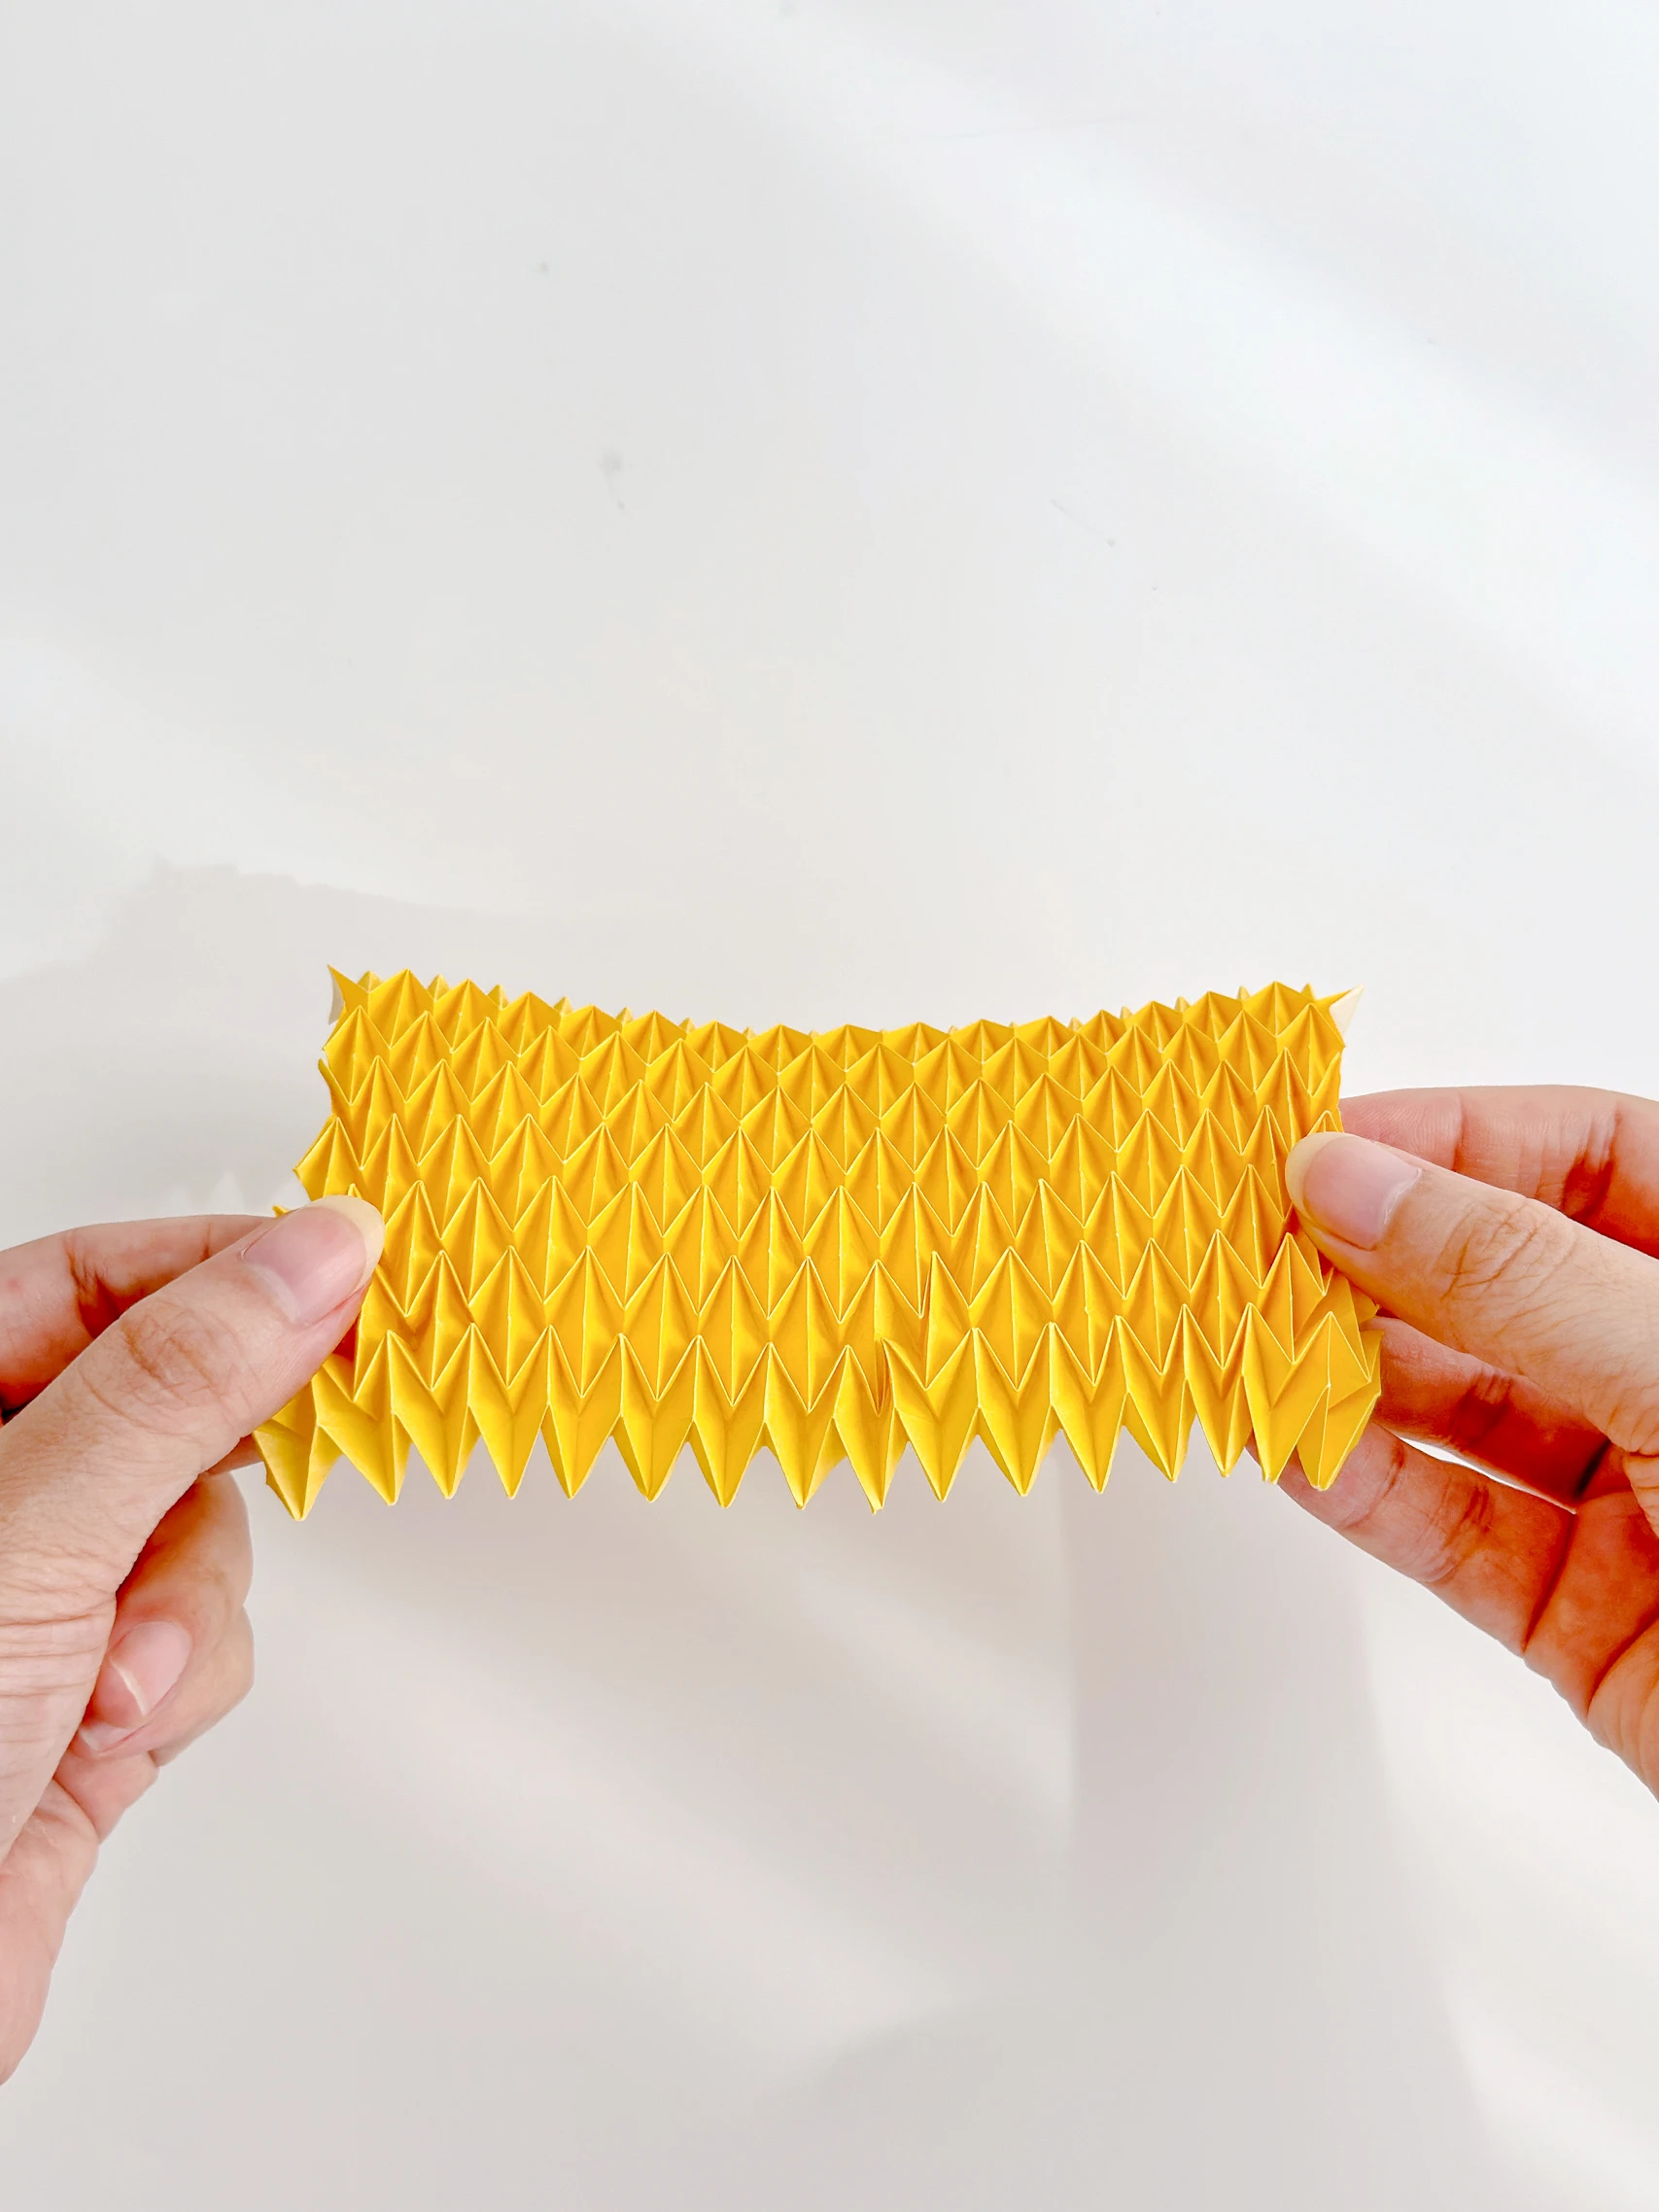
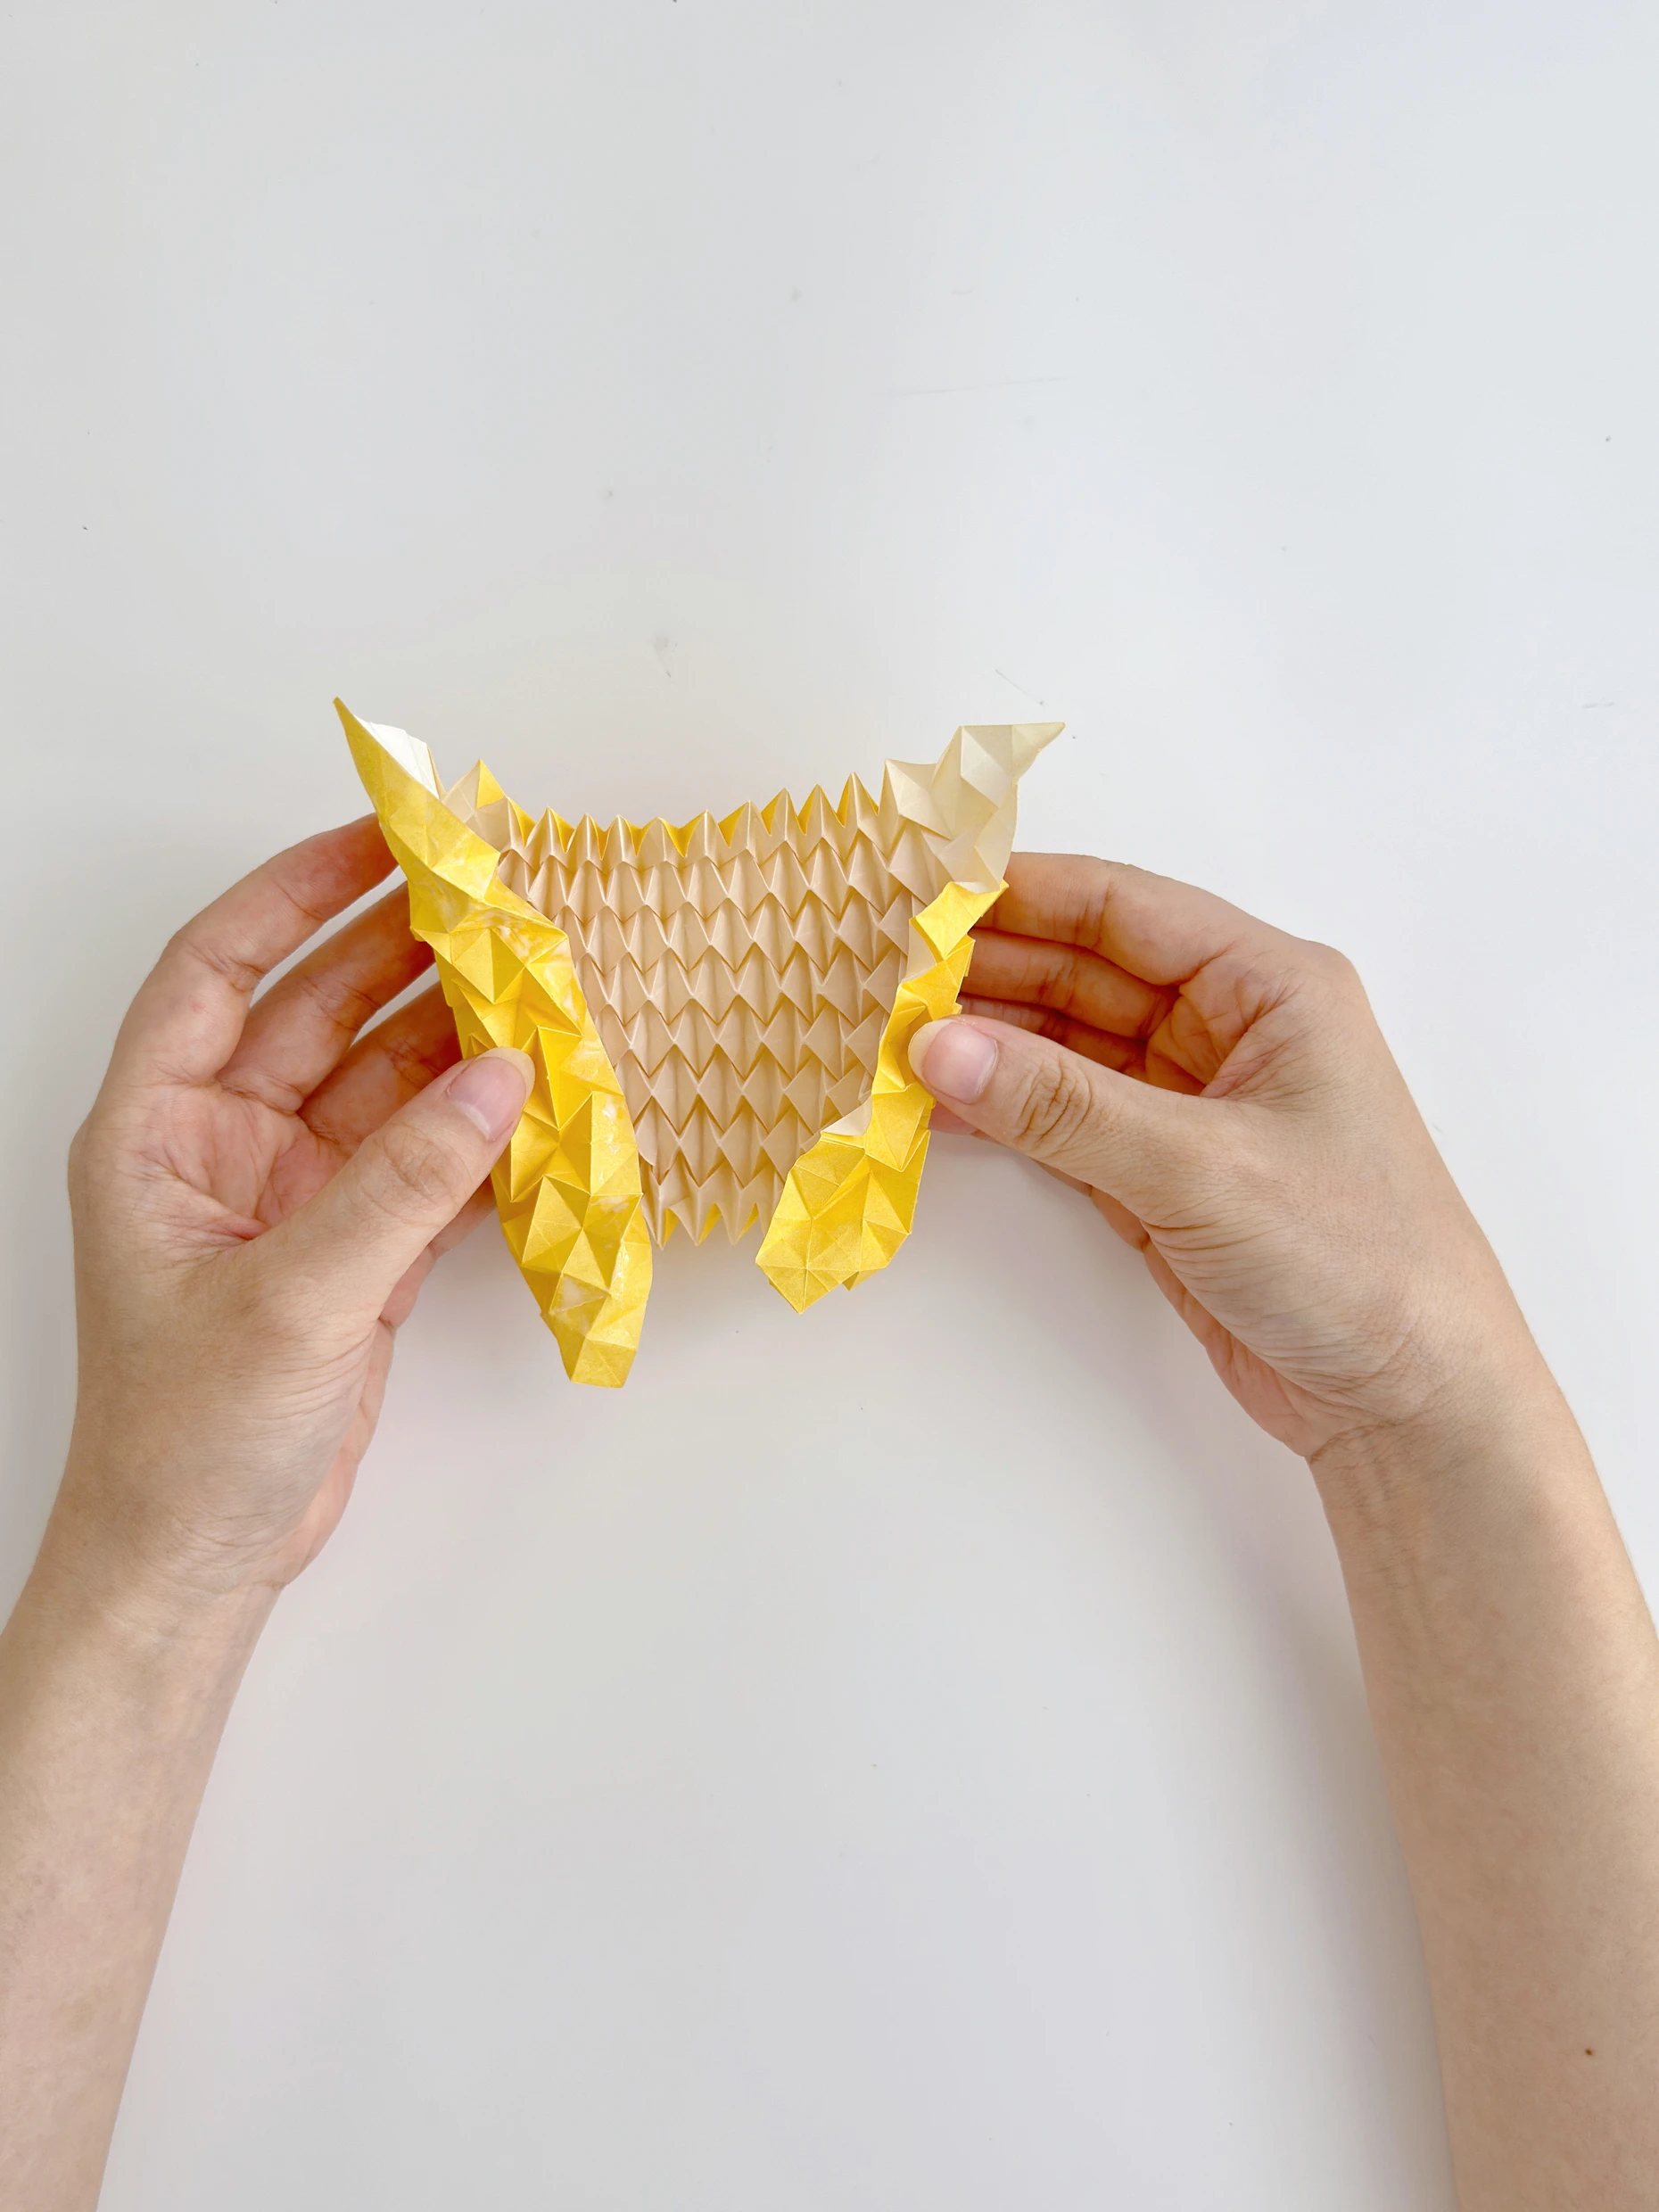
Step 31
Glue them well, getting a ball.
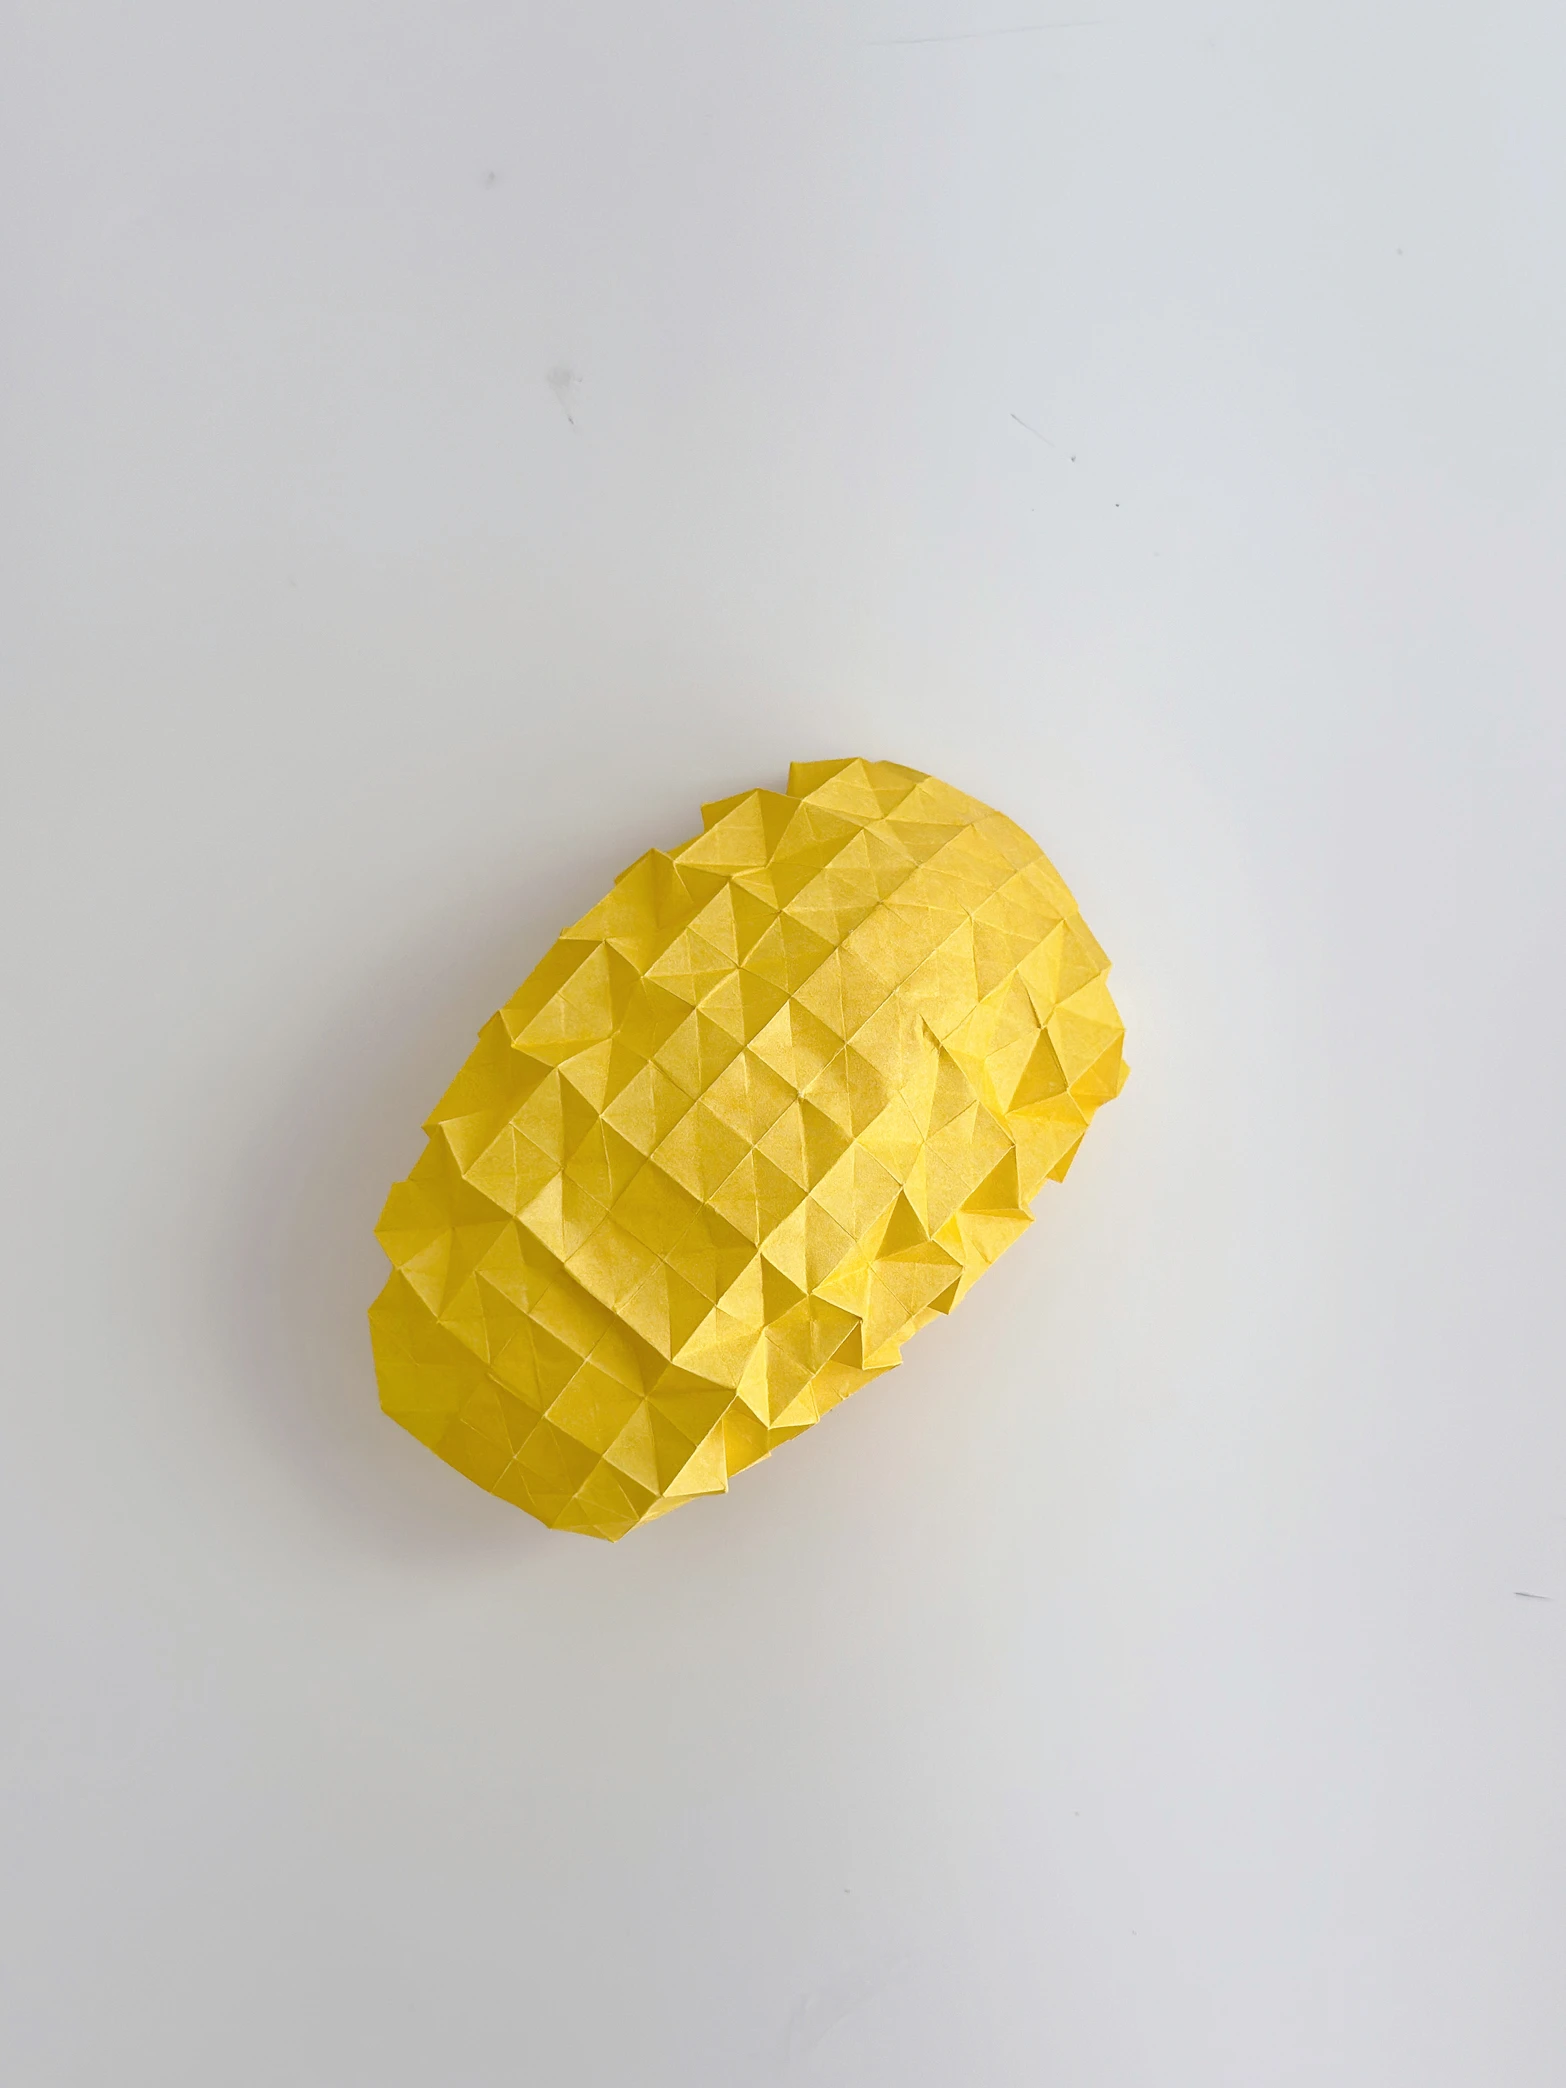
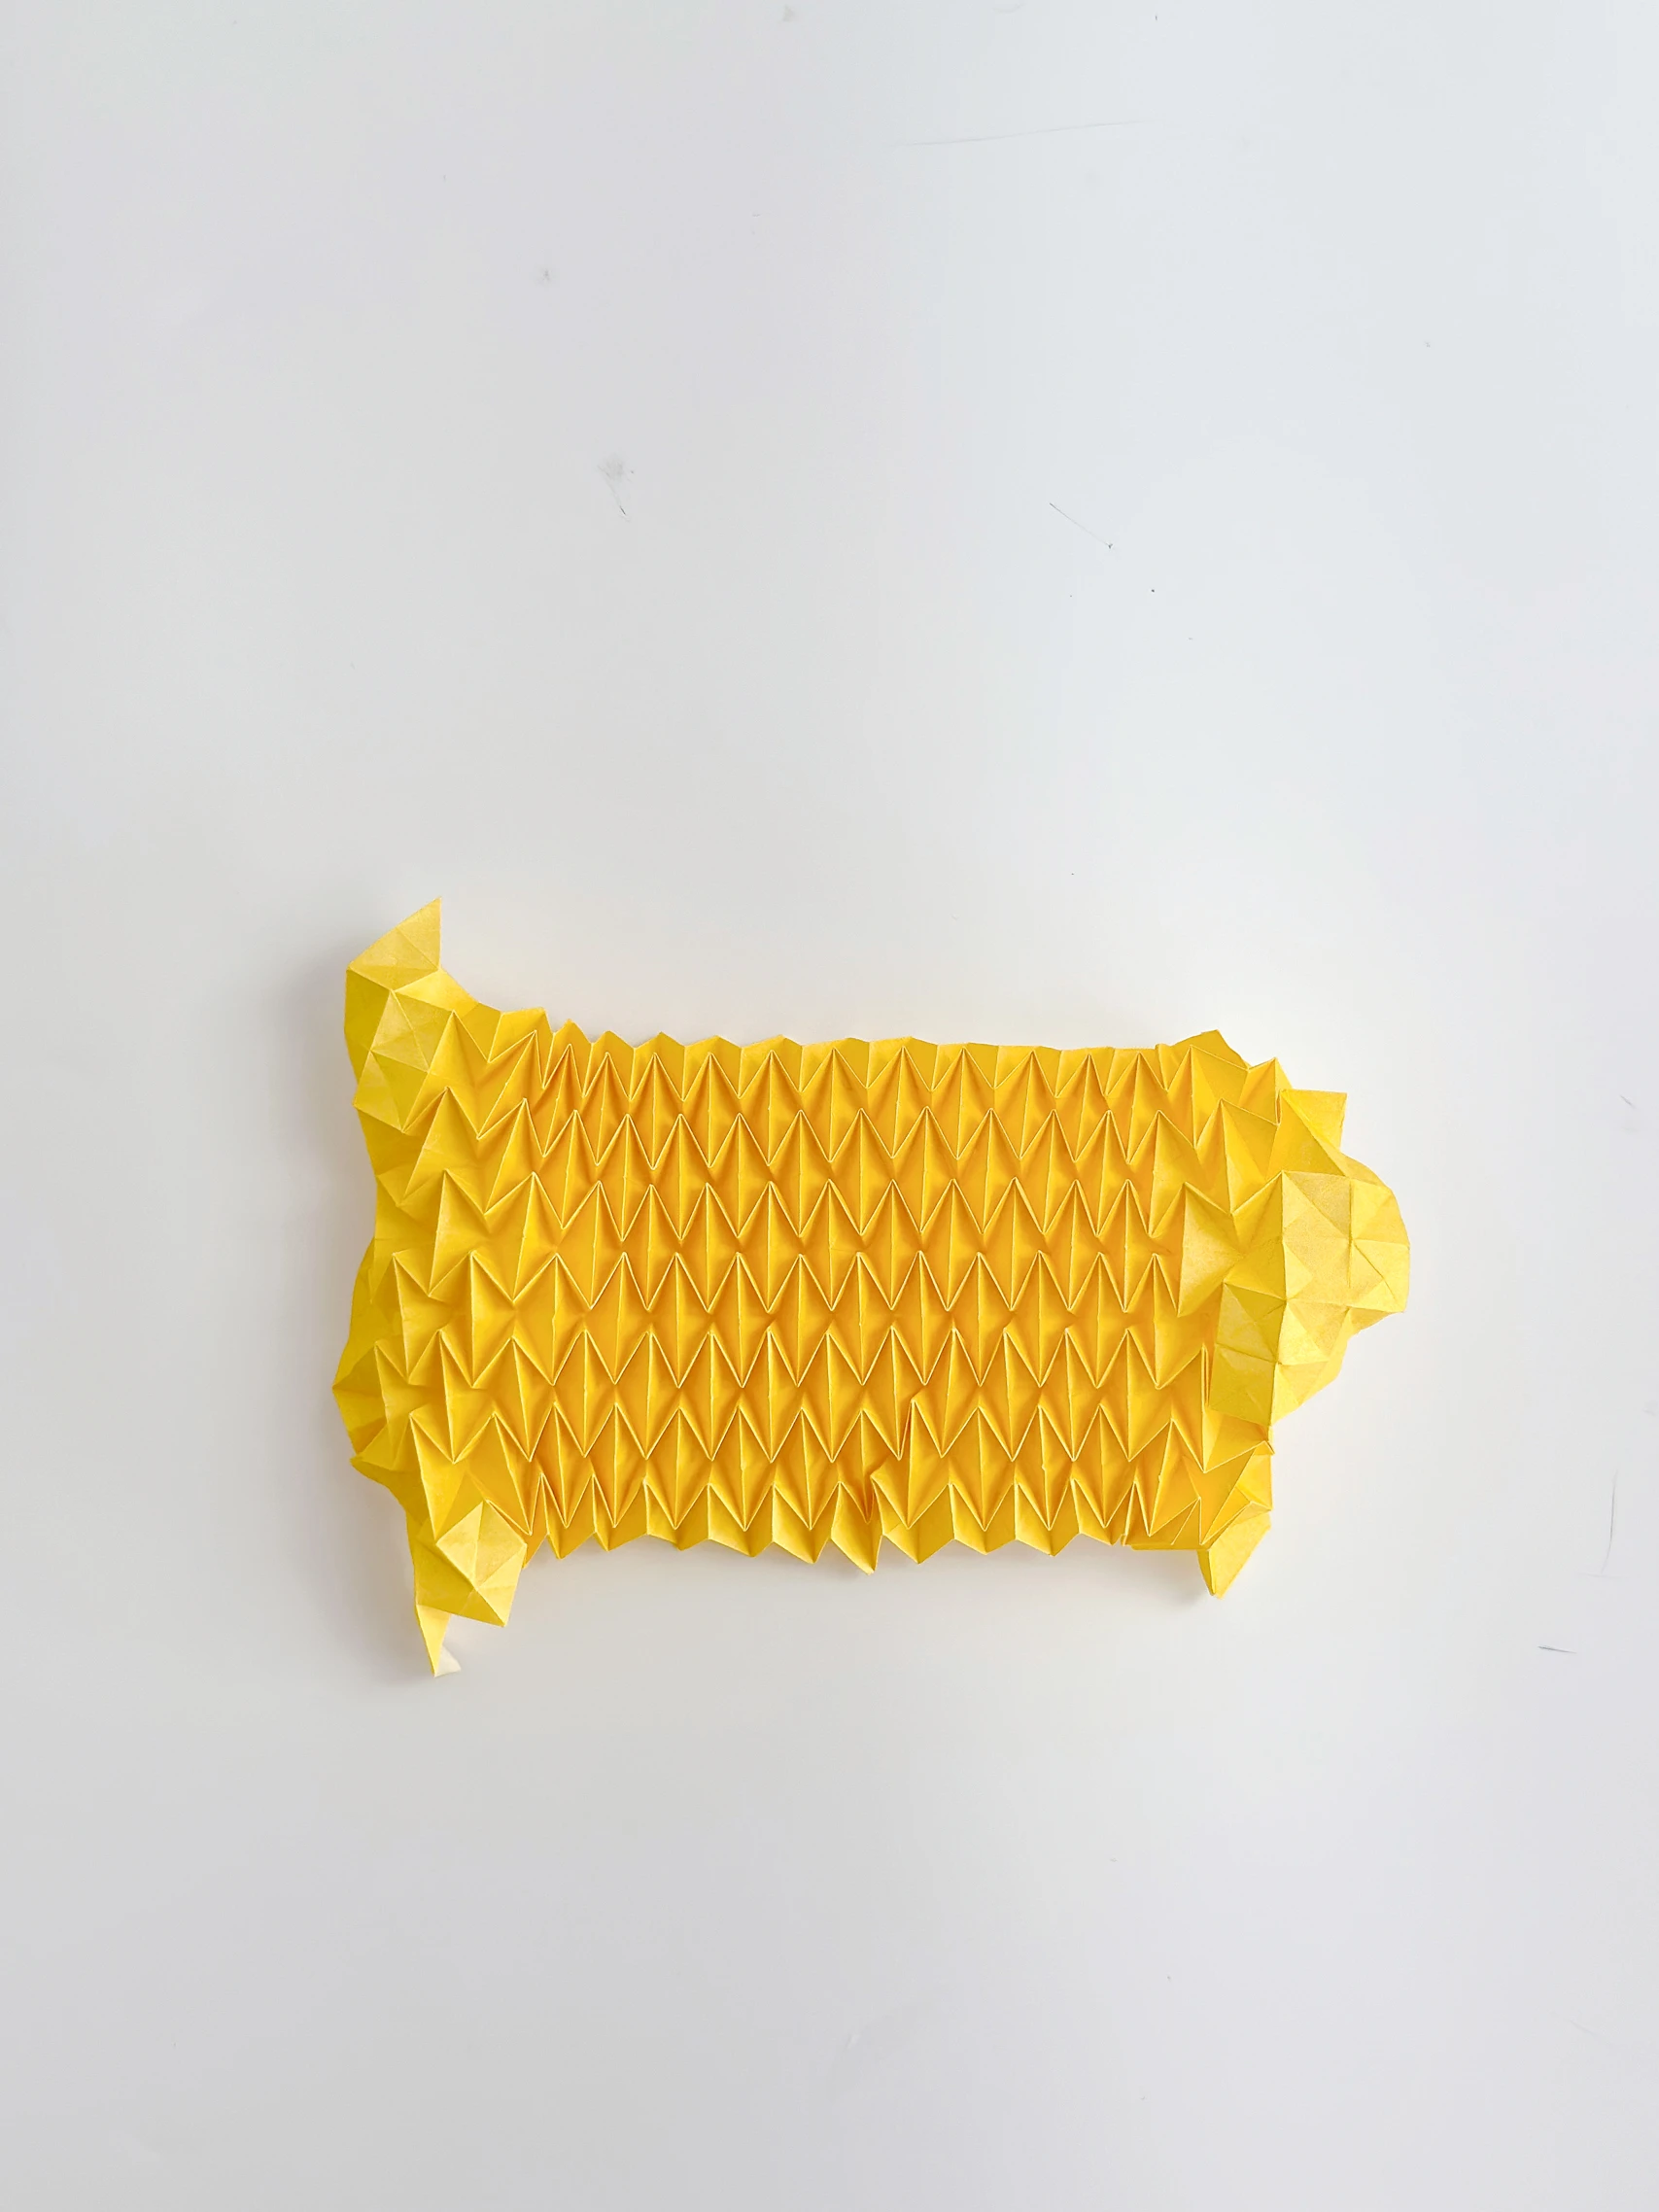
Step 32
Step 33
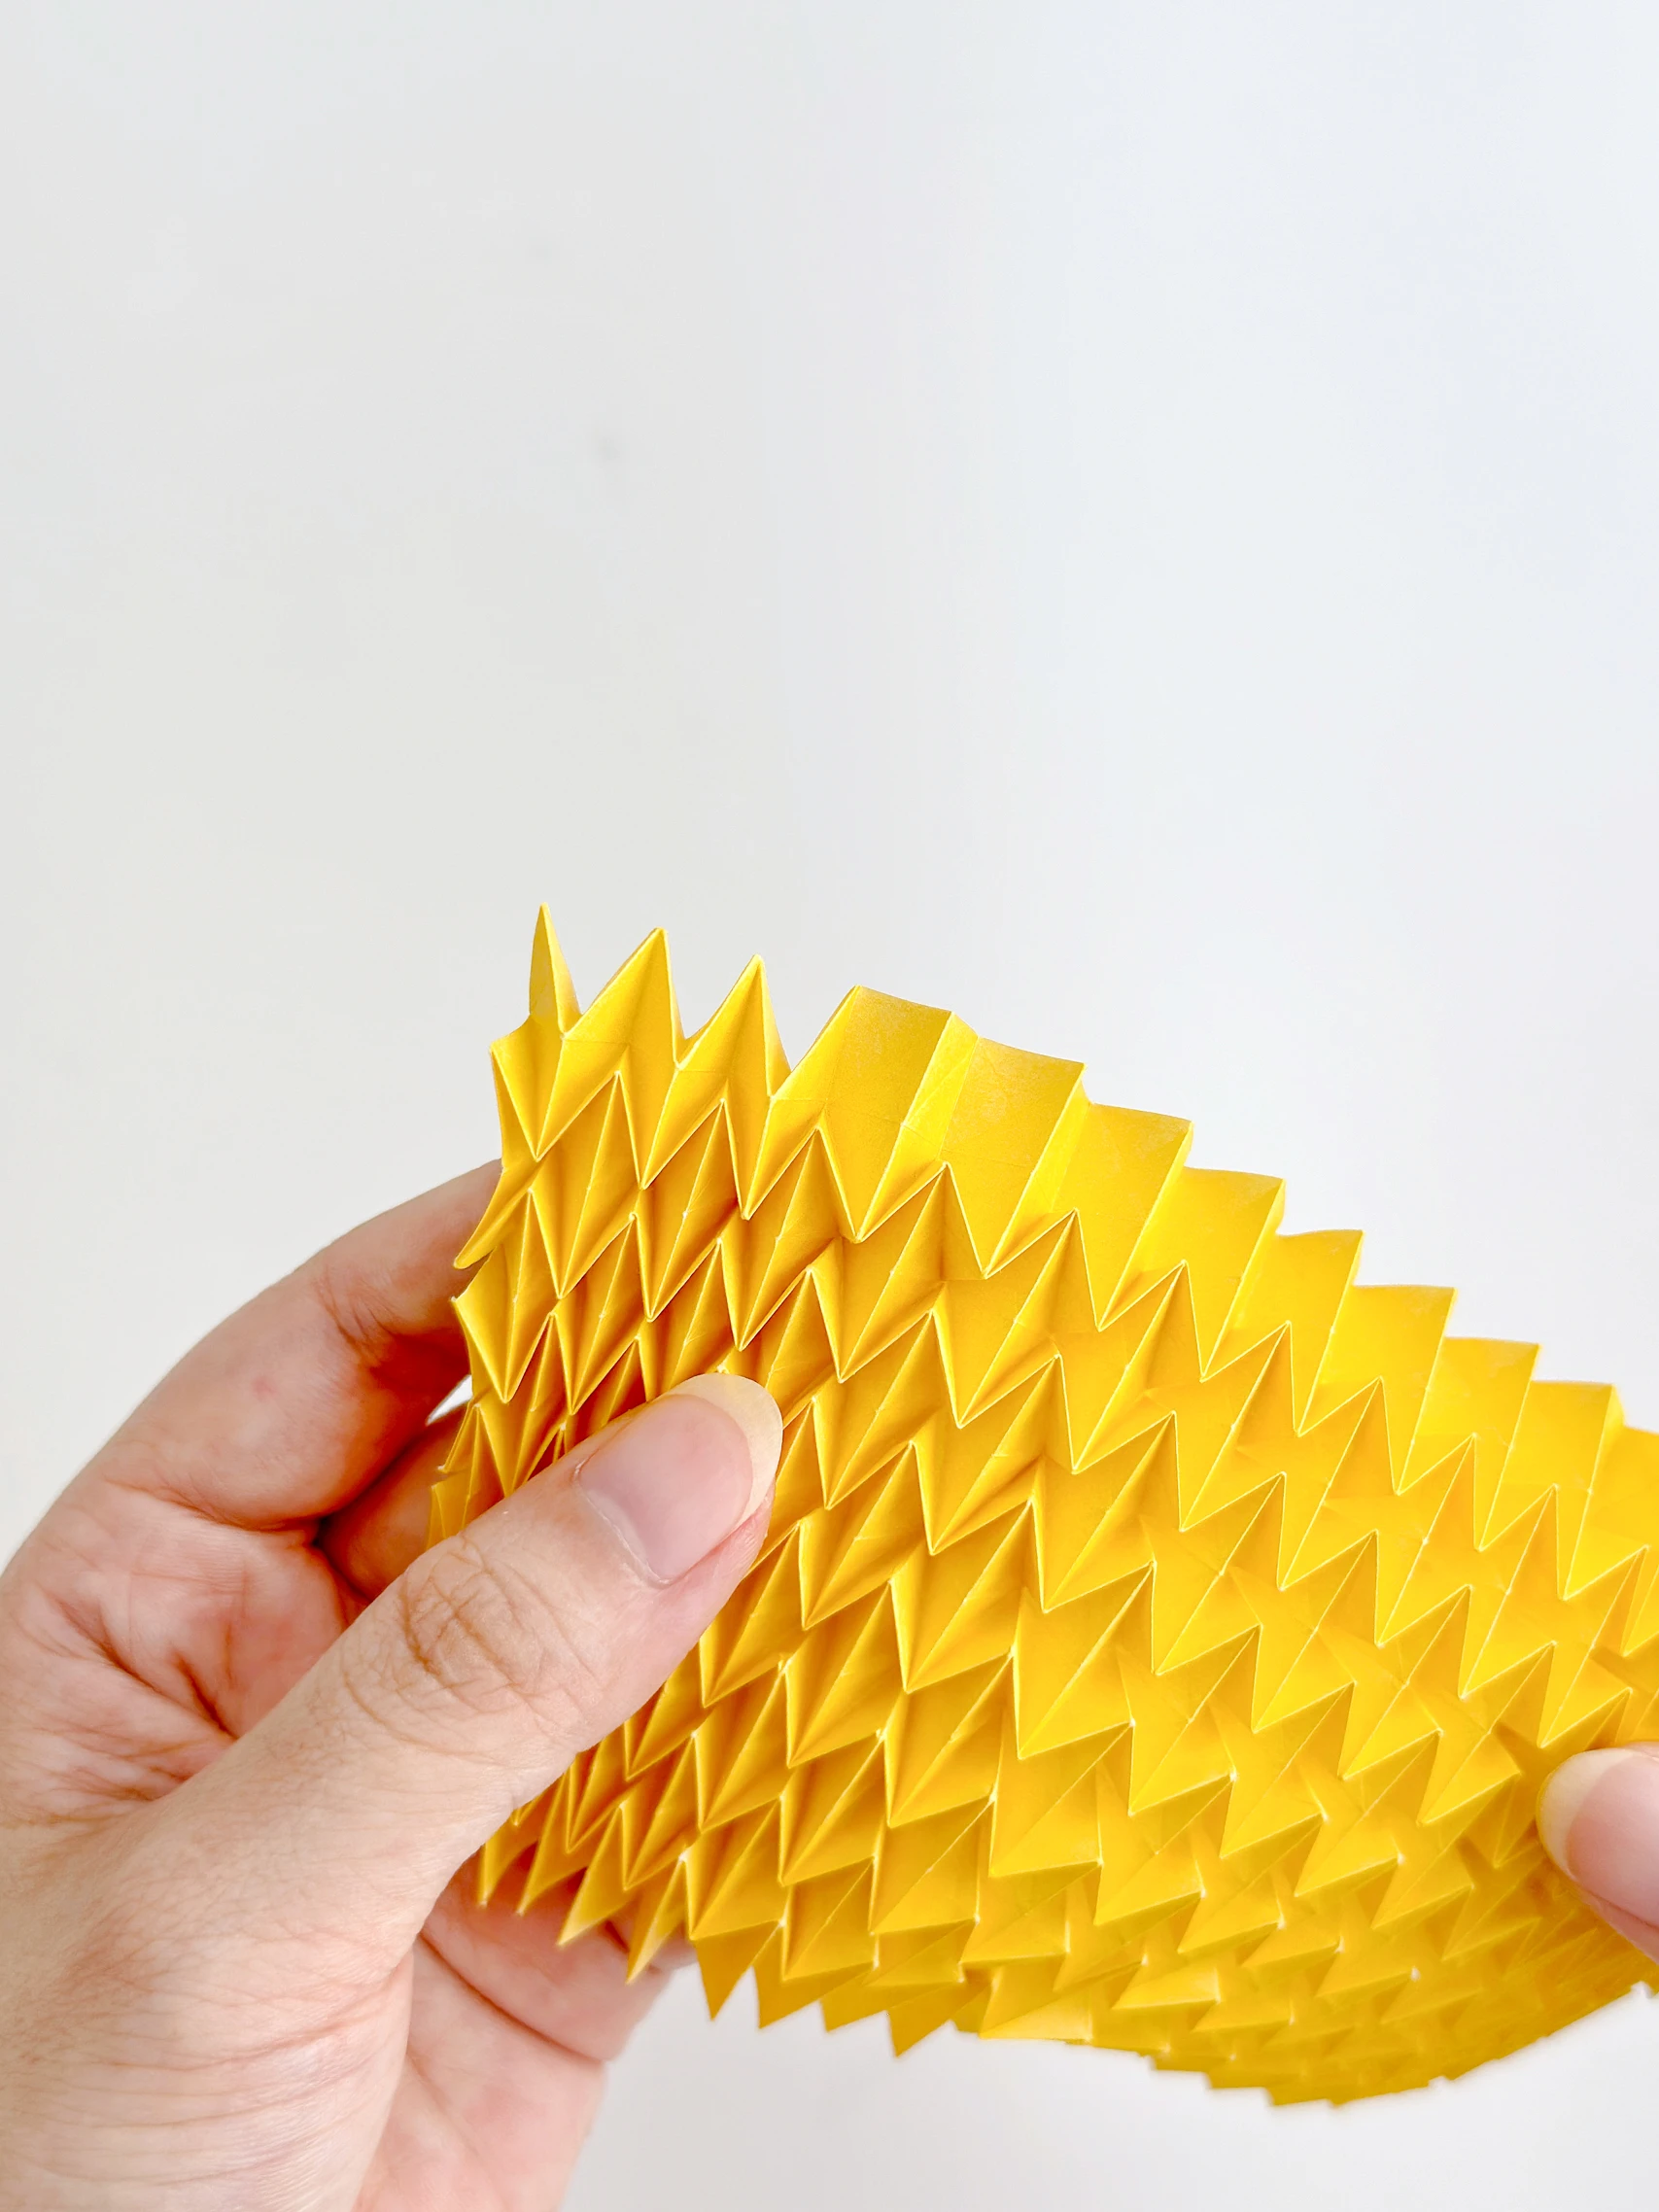
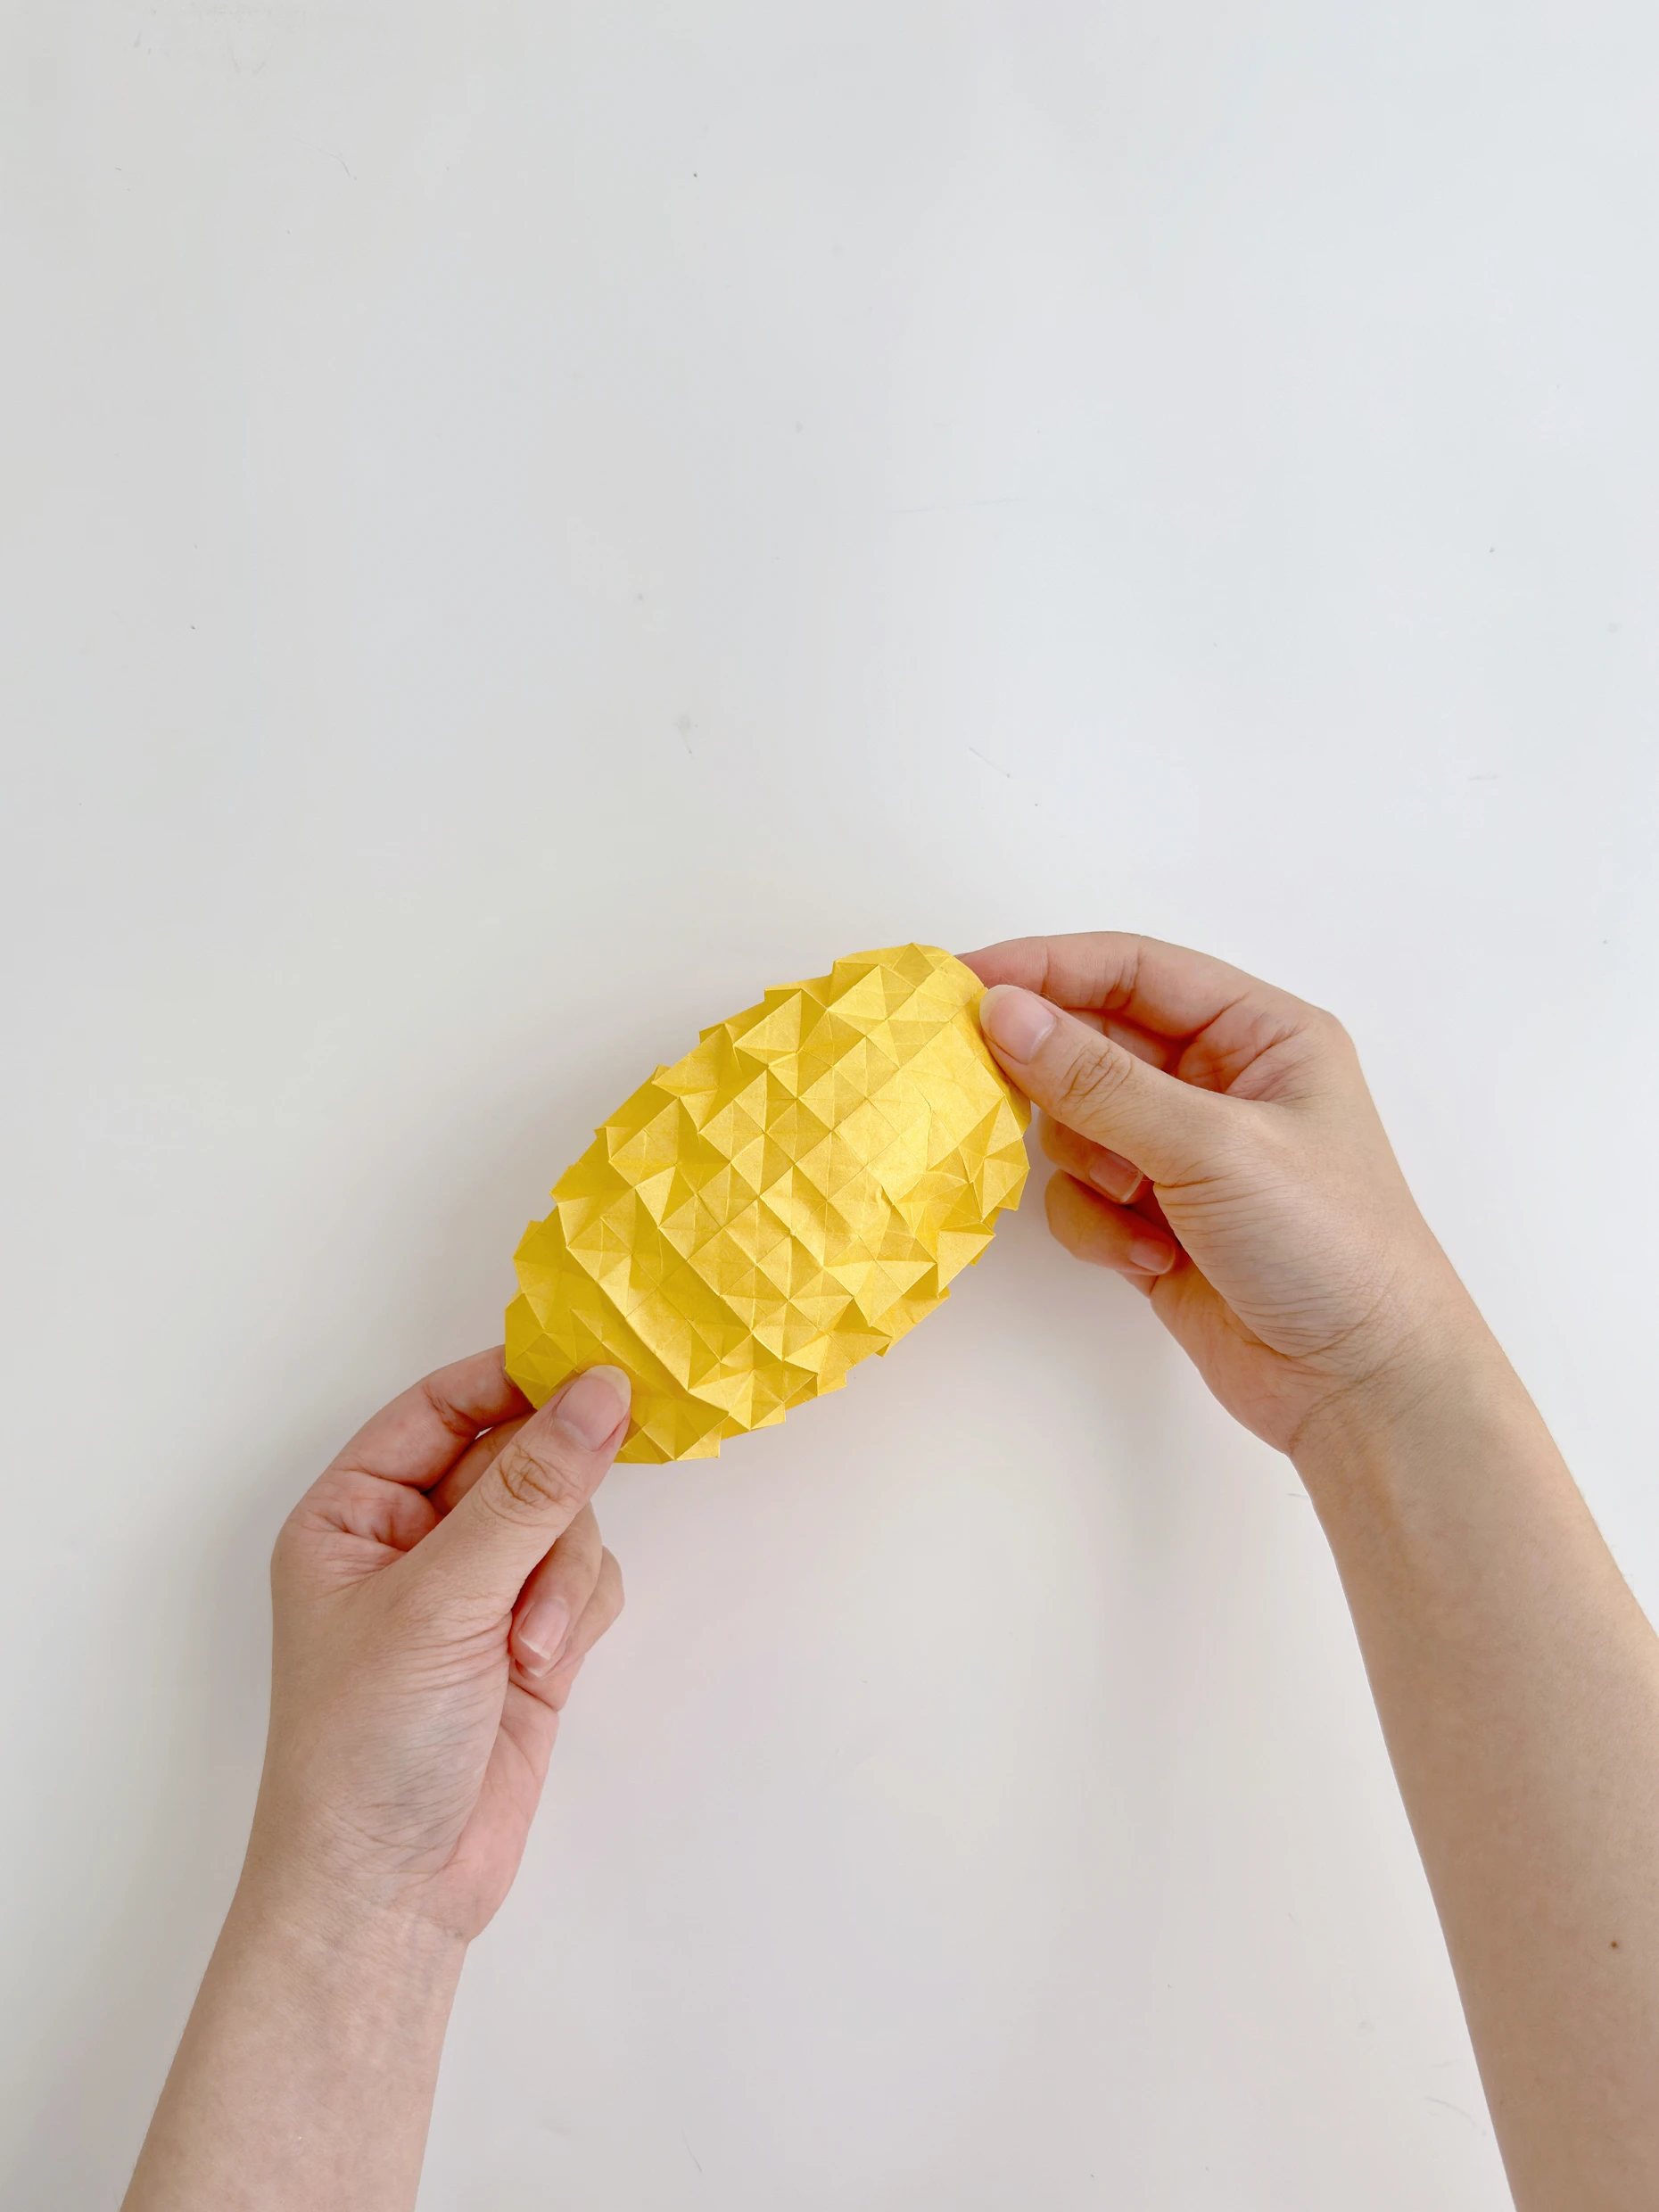
Shape the creases on the ball again.
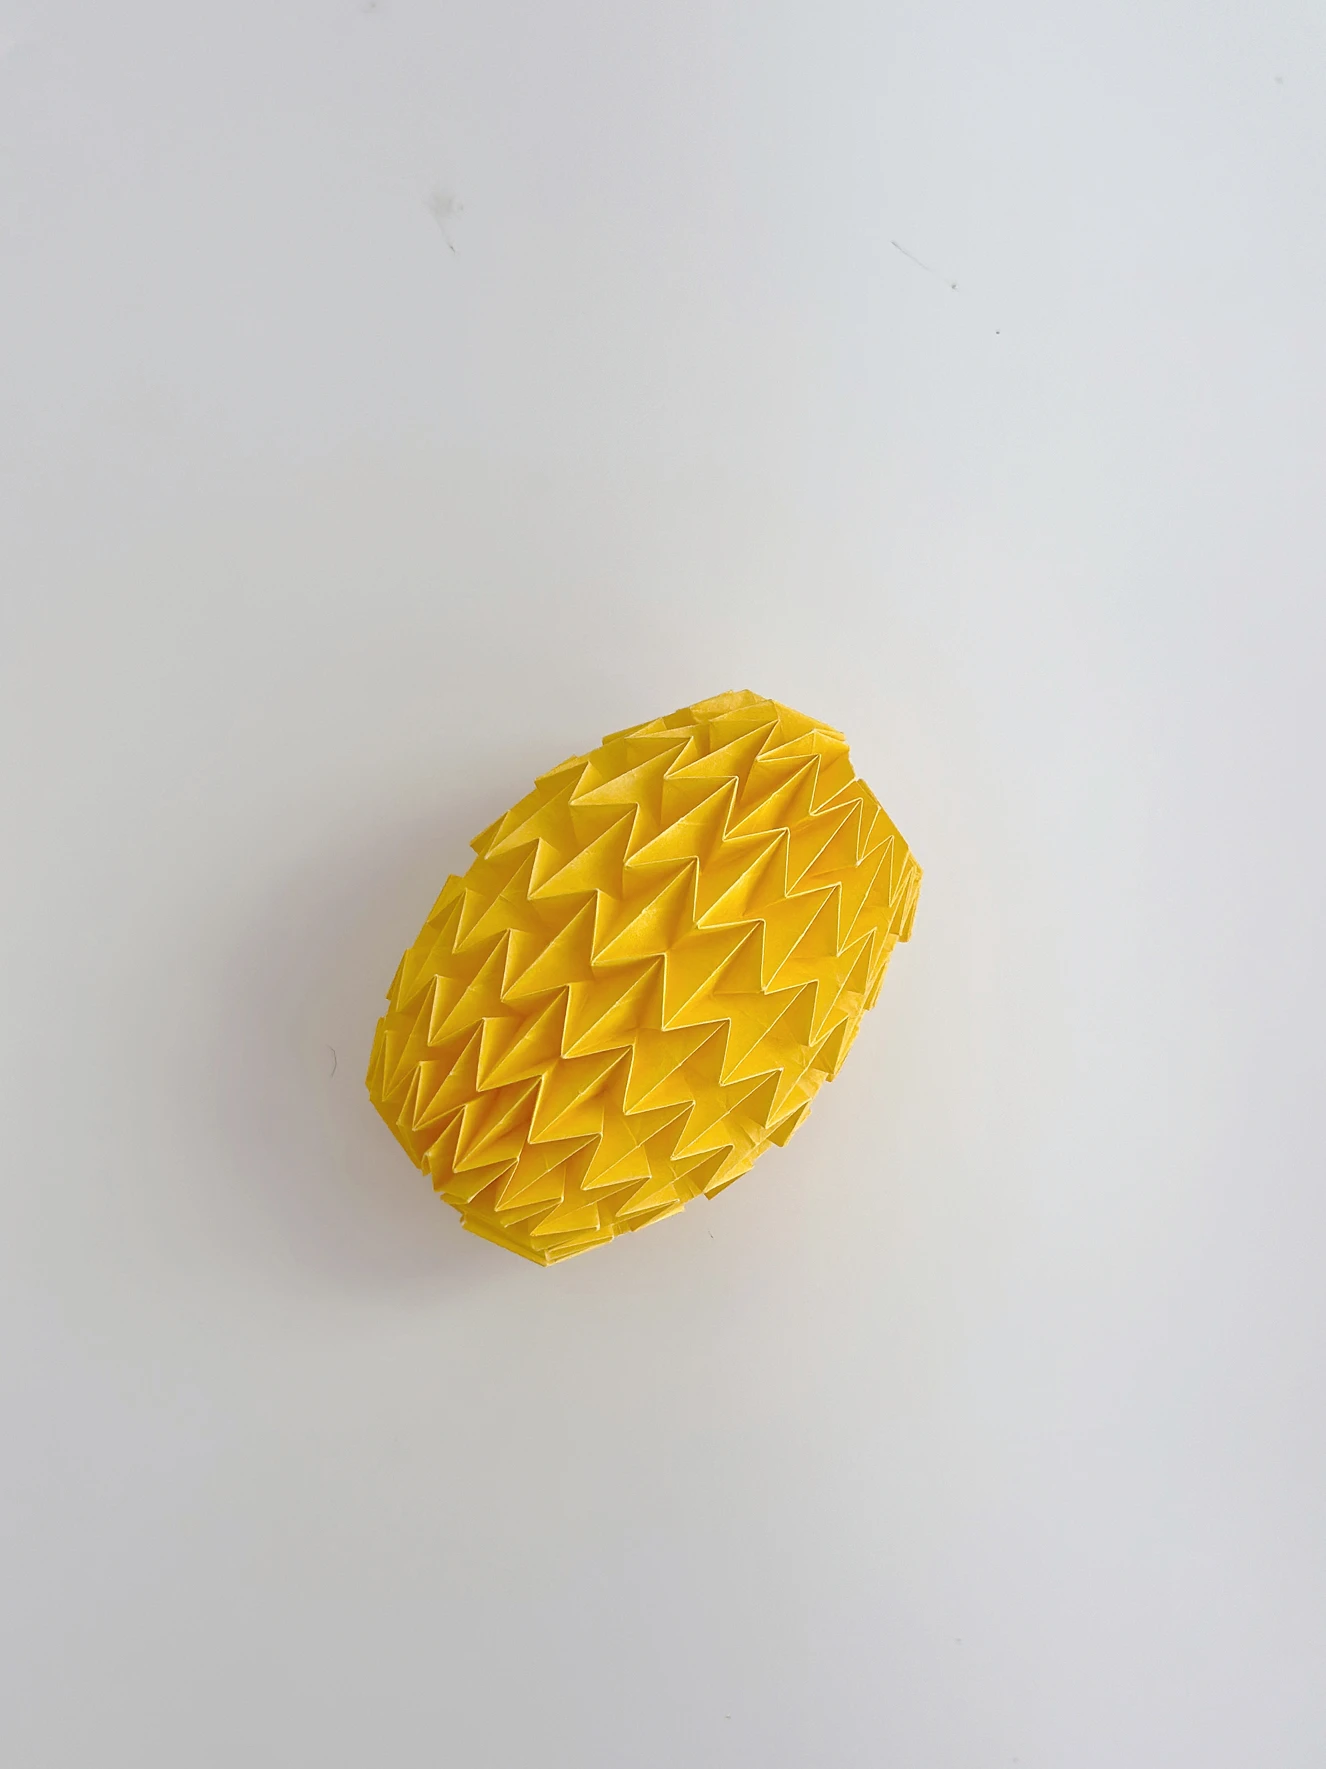
Step 34
This is the final shape of a stress ball.
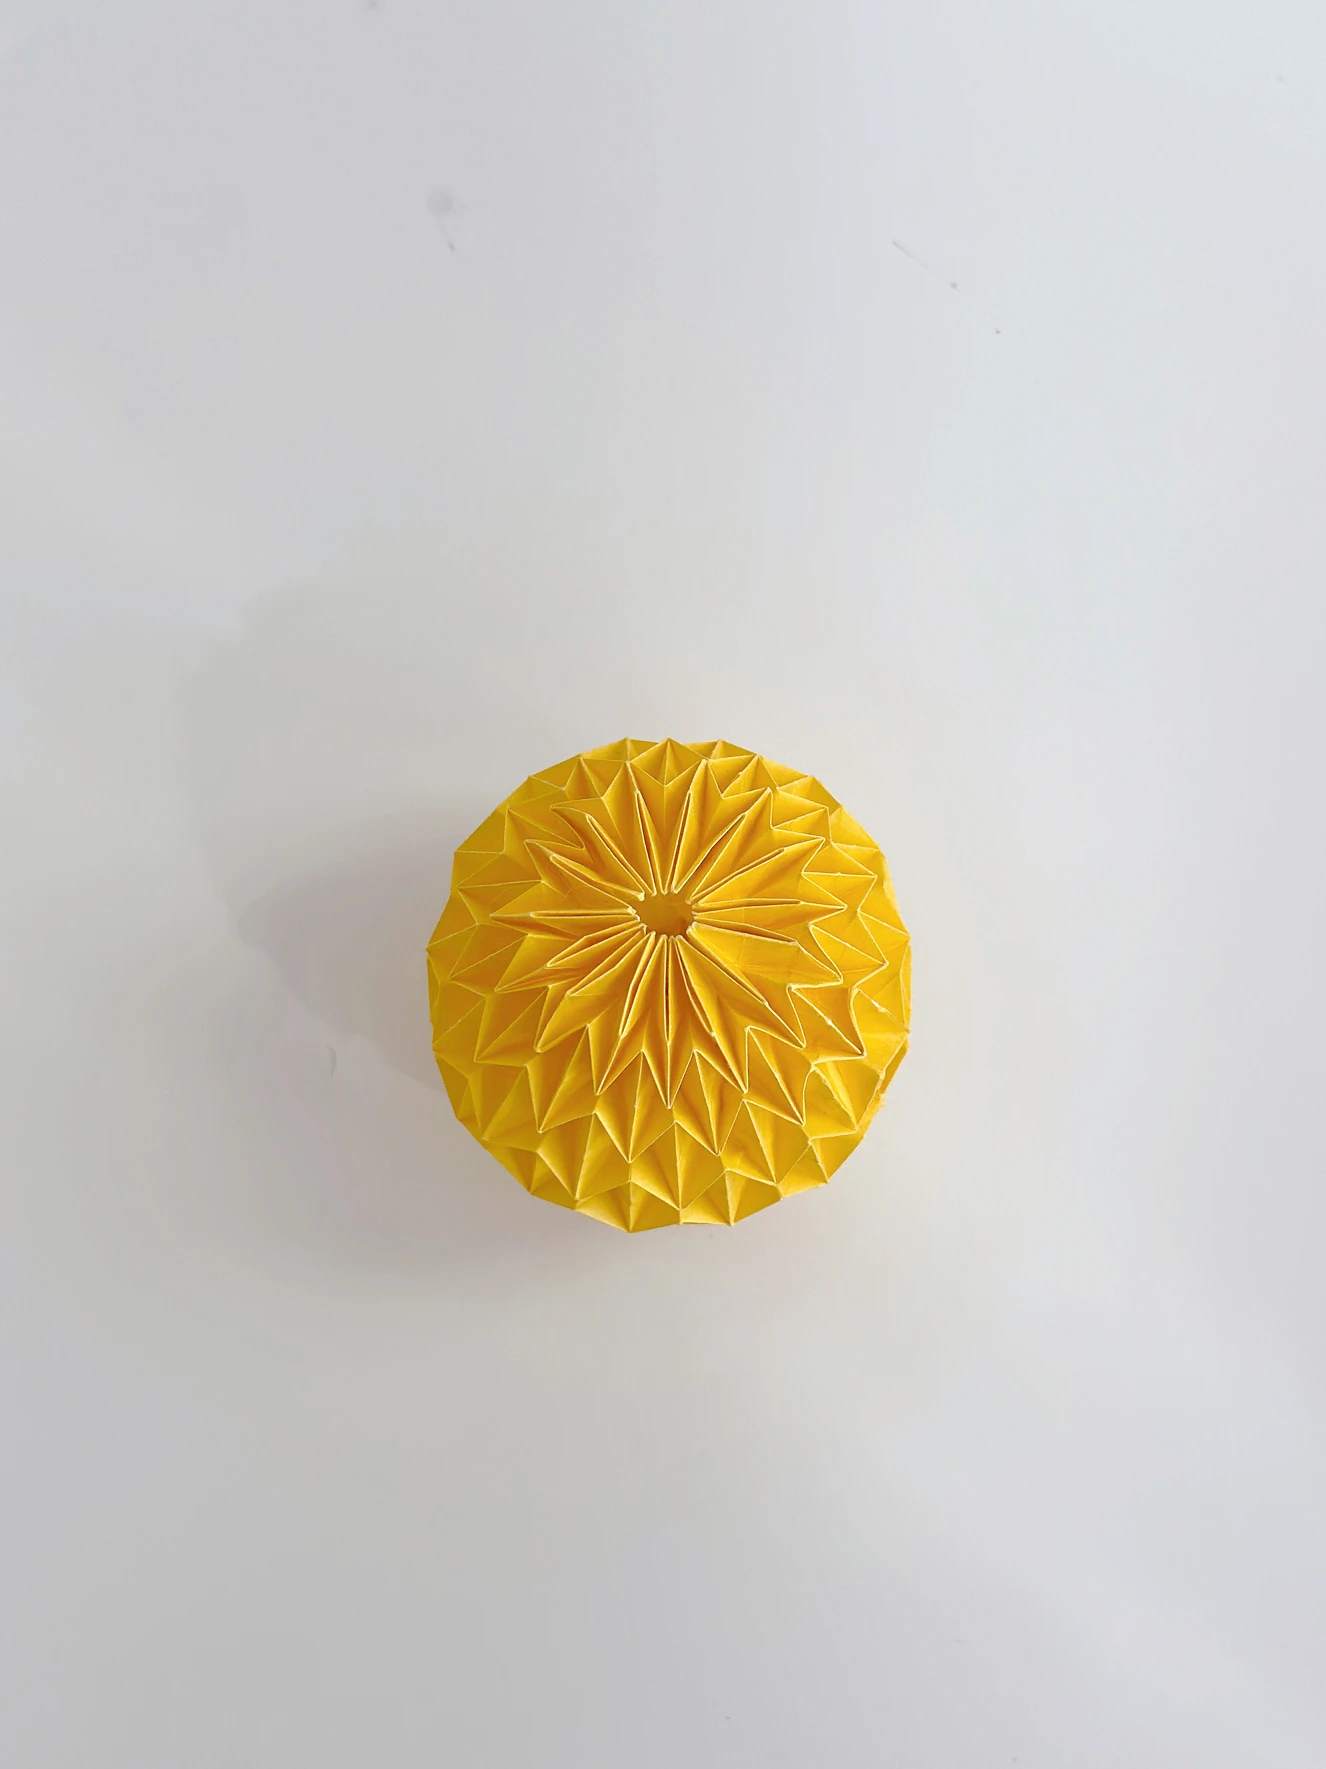
What’s Next
This is the final shape of an origami stress ball, now you can explore our other interesting origami toy instructions. Happy folding!.


