How to Make an Origami Witch Hat
Step 1
Start with the white side of the paper facing up, fold it in half vertically, crease it well then unfold.
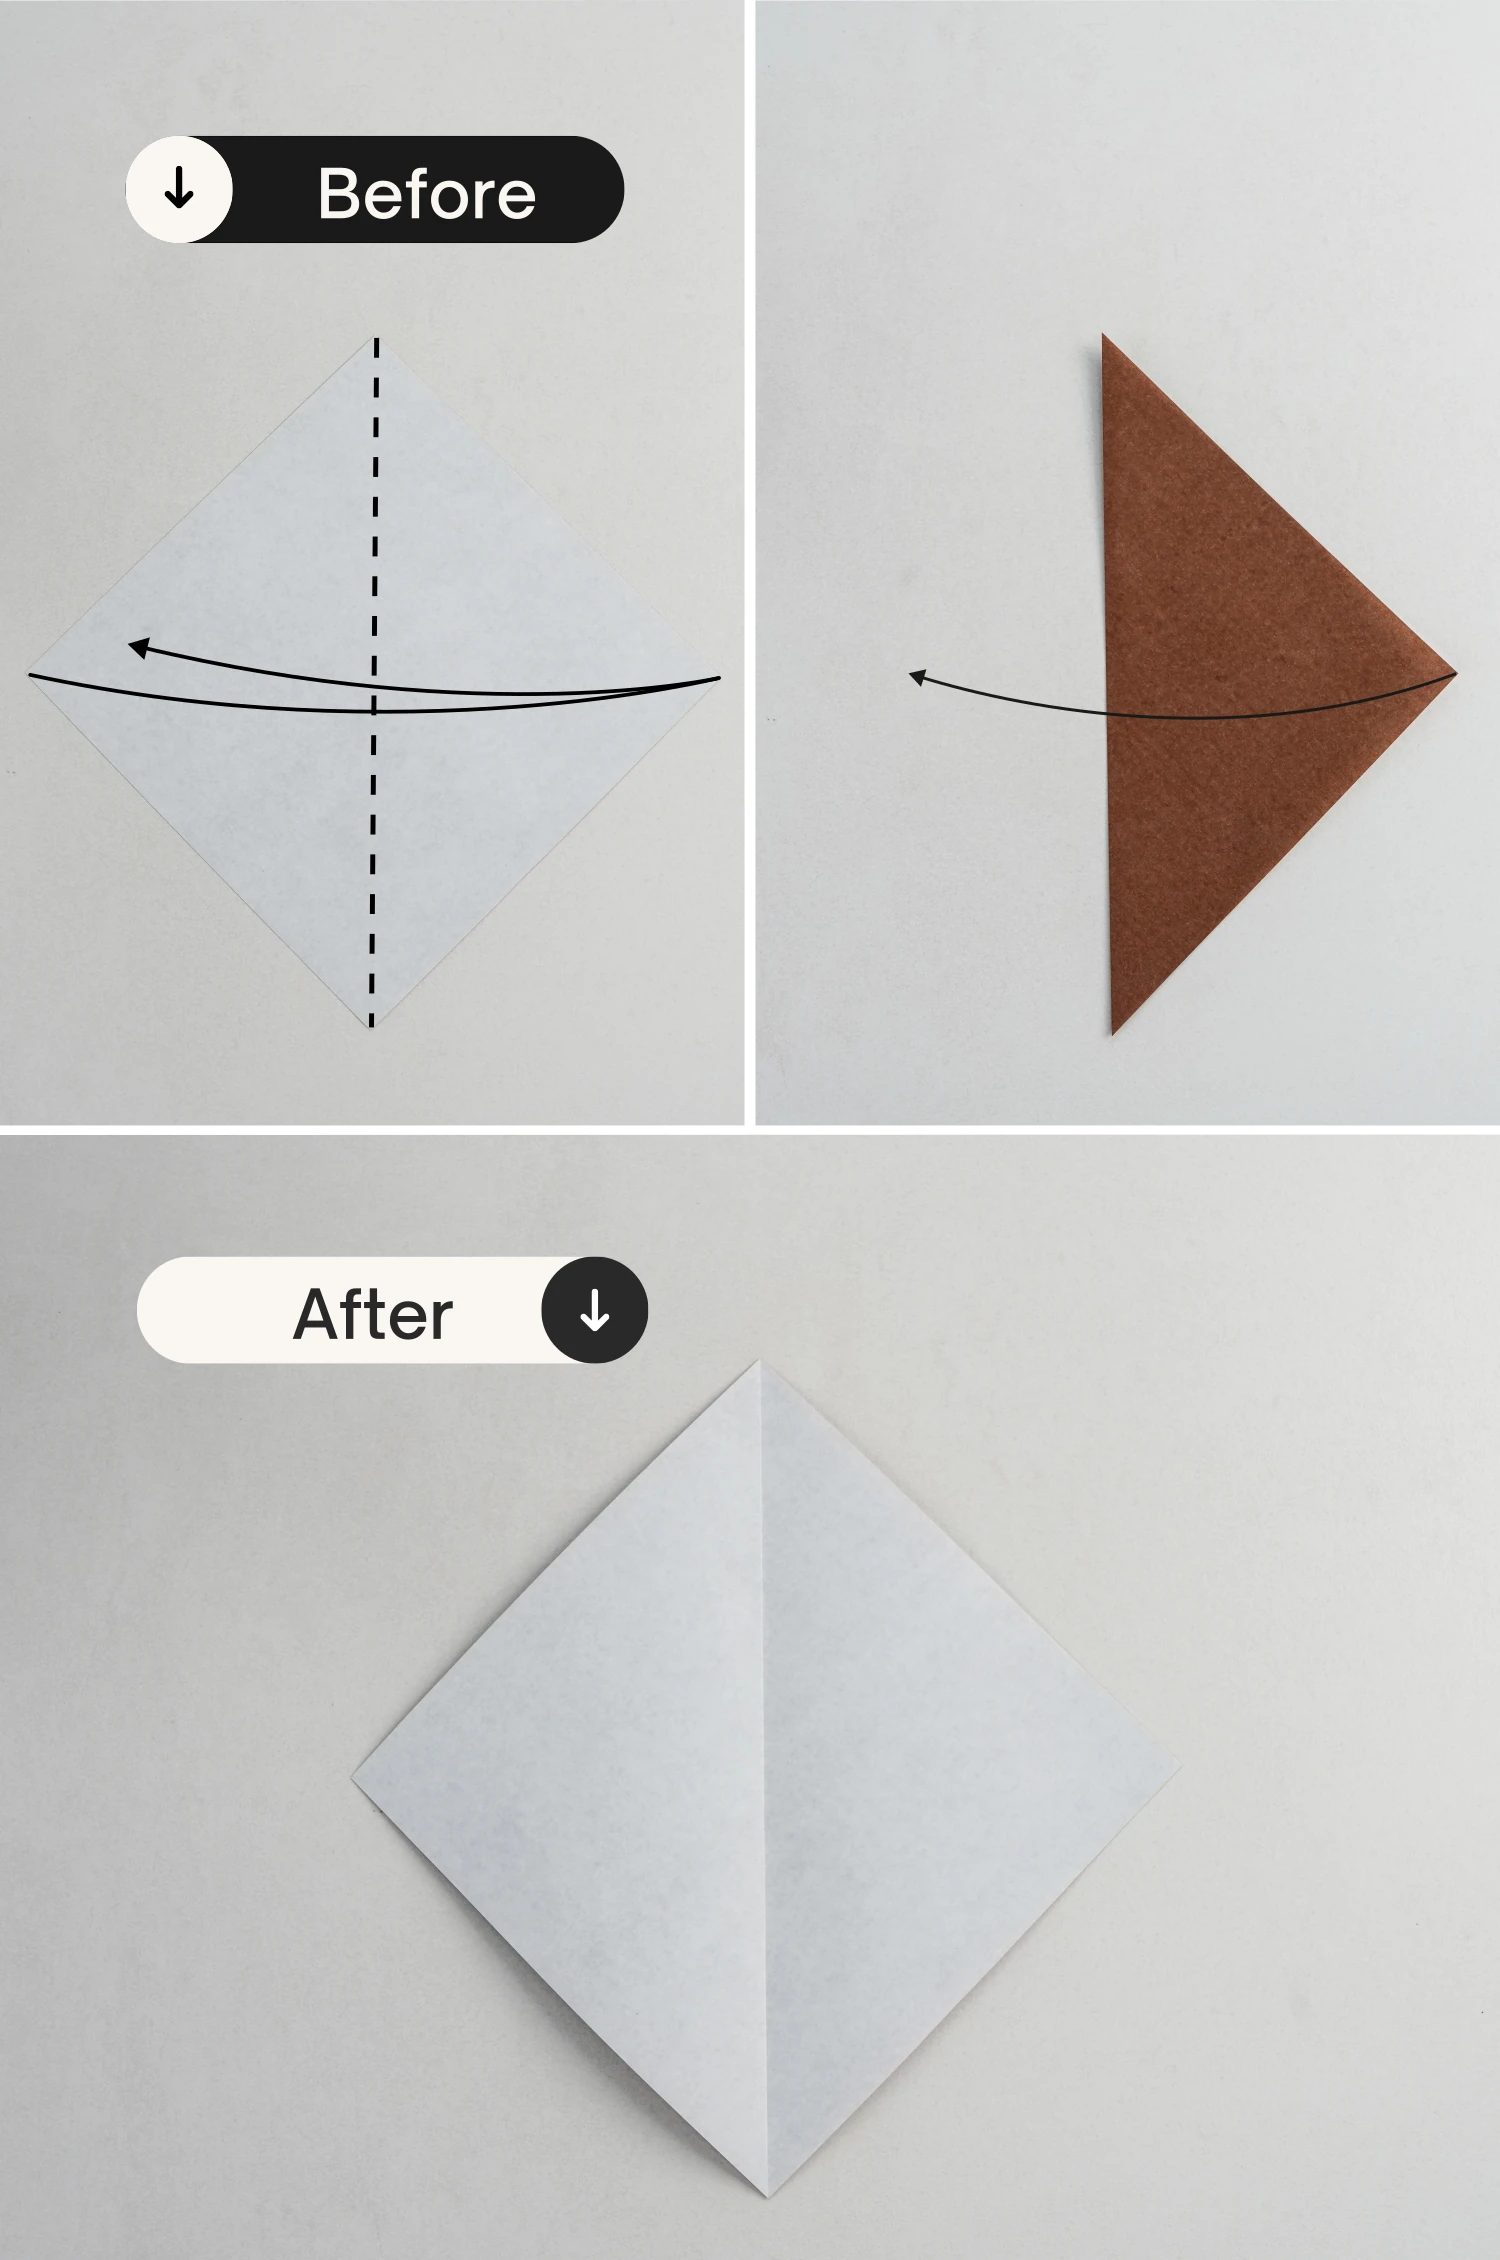
Step 2
Fold the top left and top right edges to meet the middle crease.
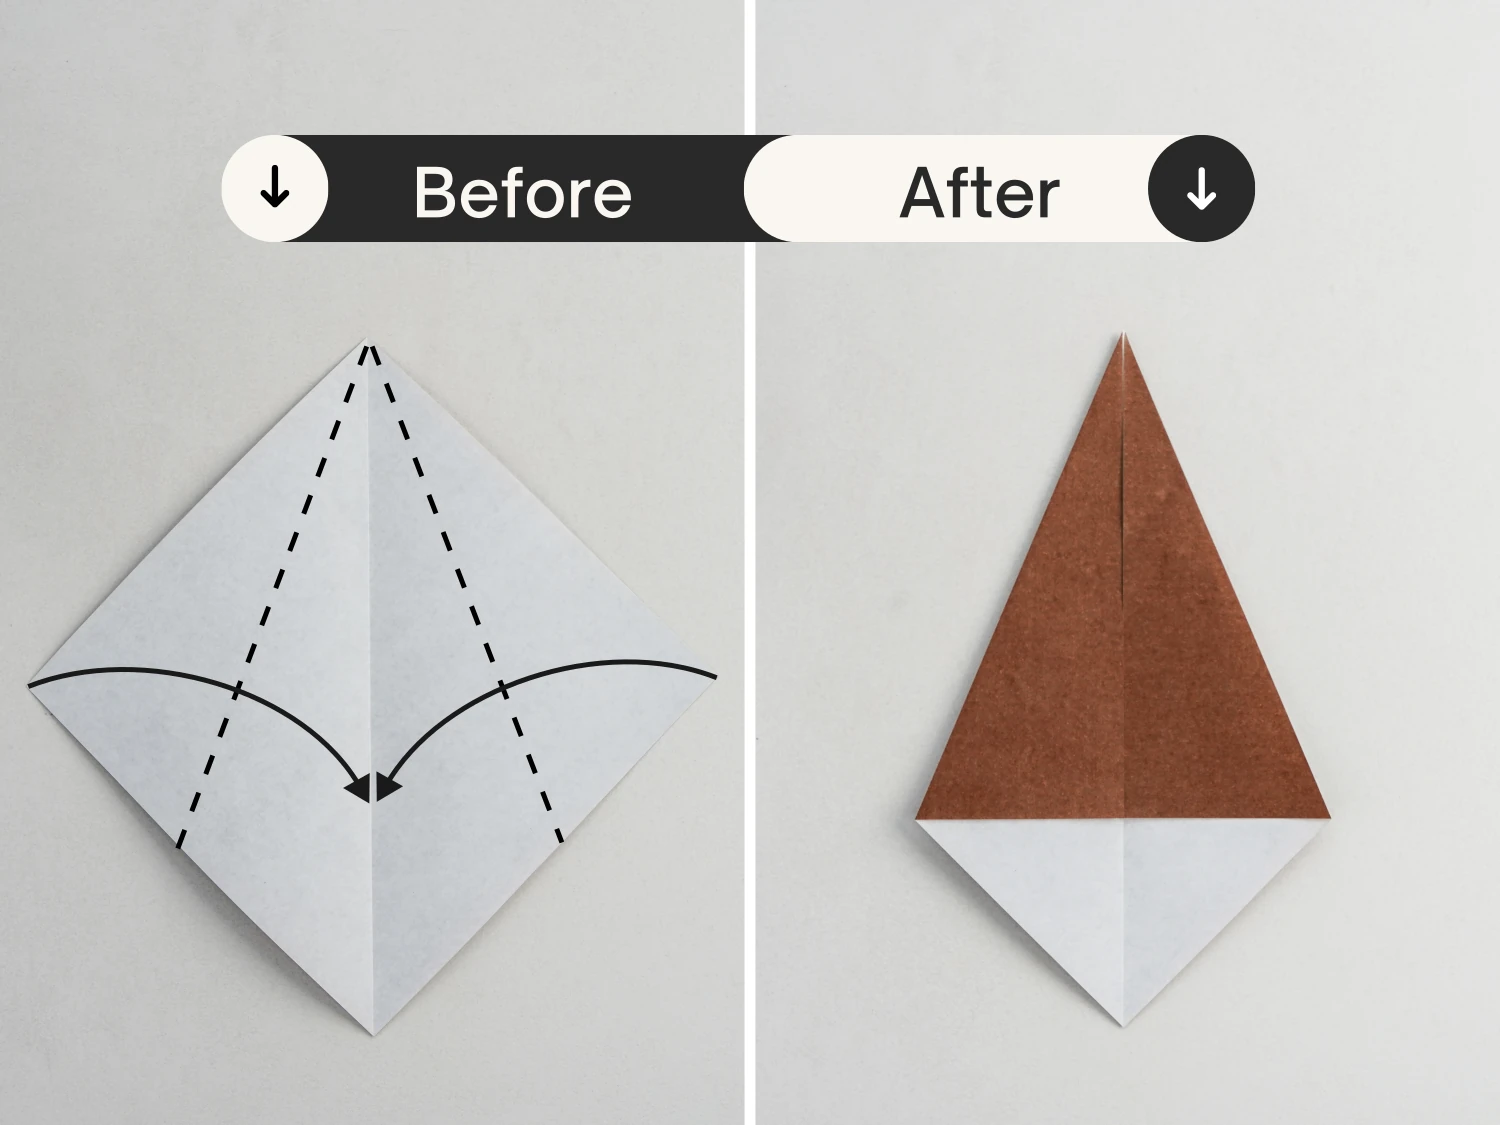
Step 3
Fold the bottom point up diagonally.
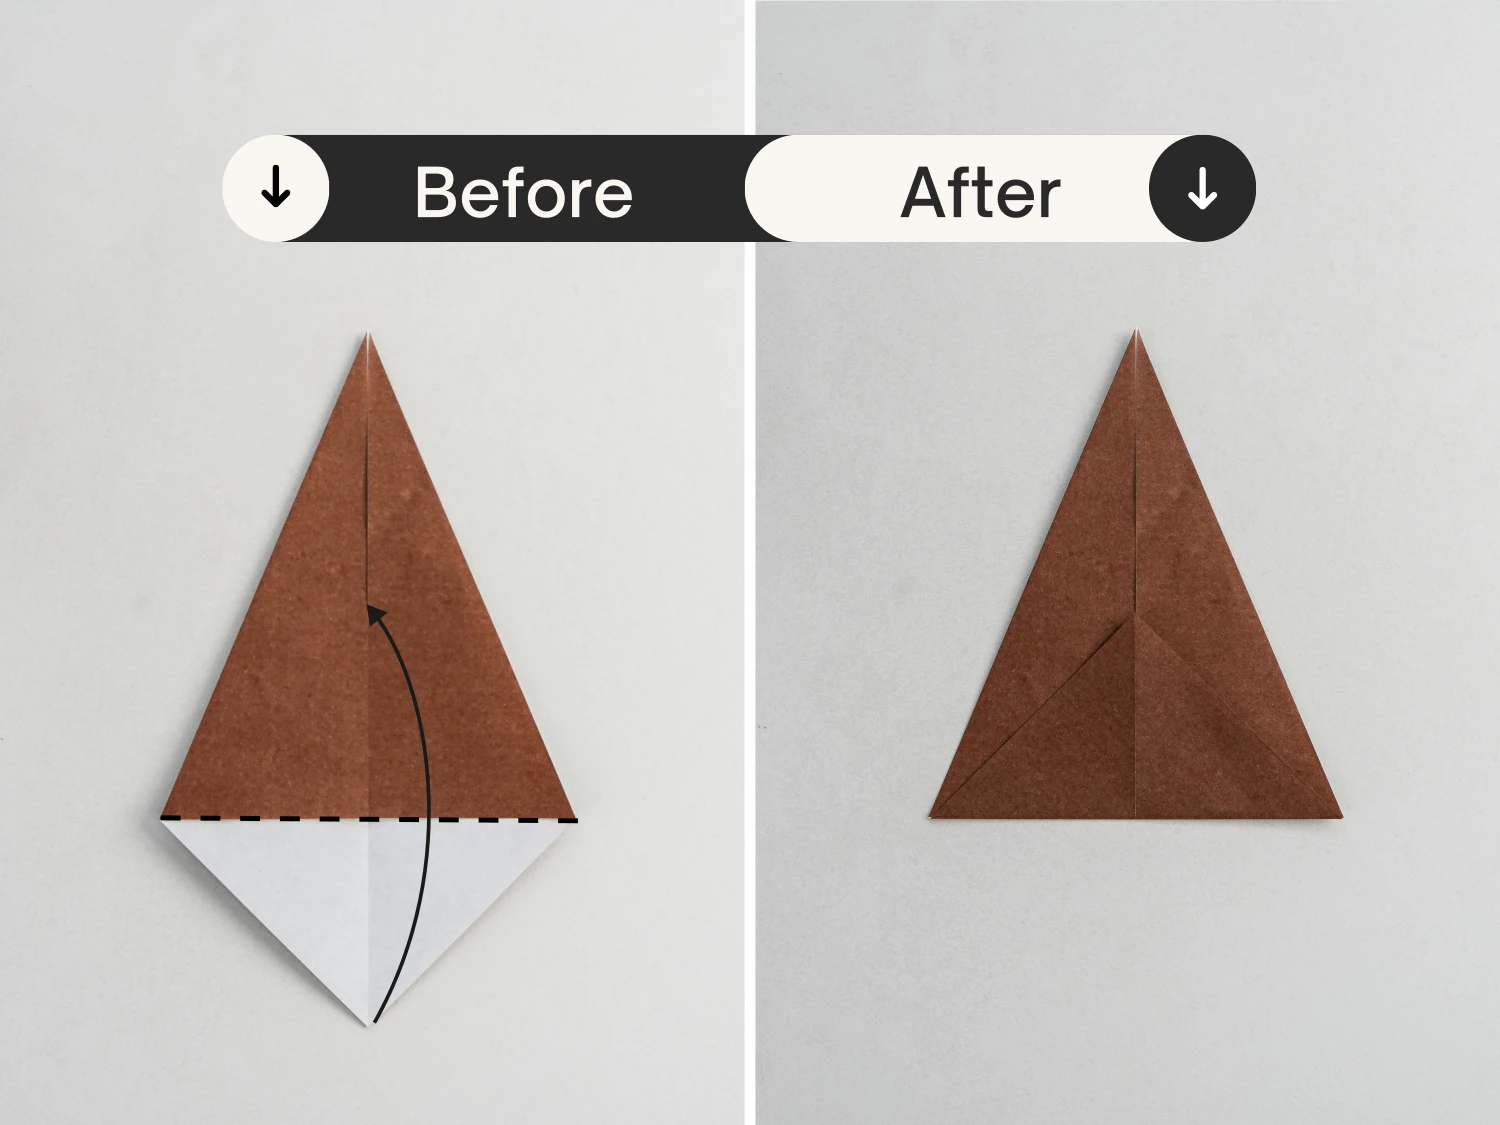
Step 4
Flip it over.
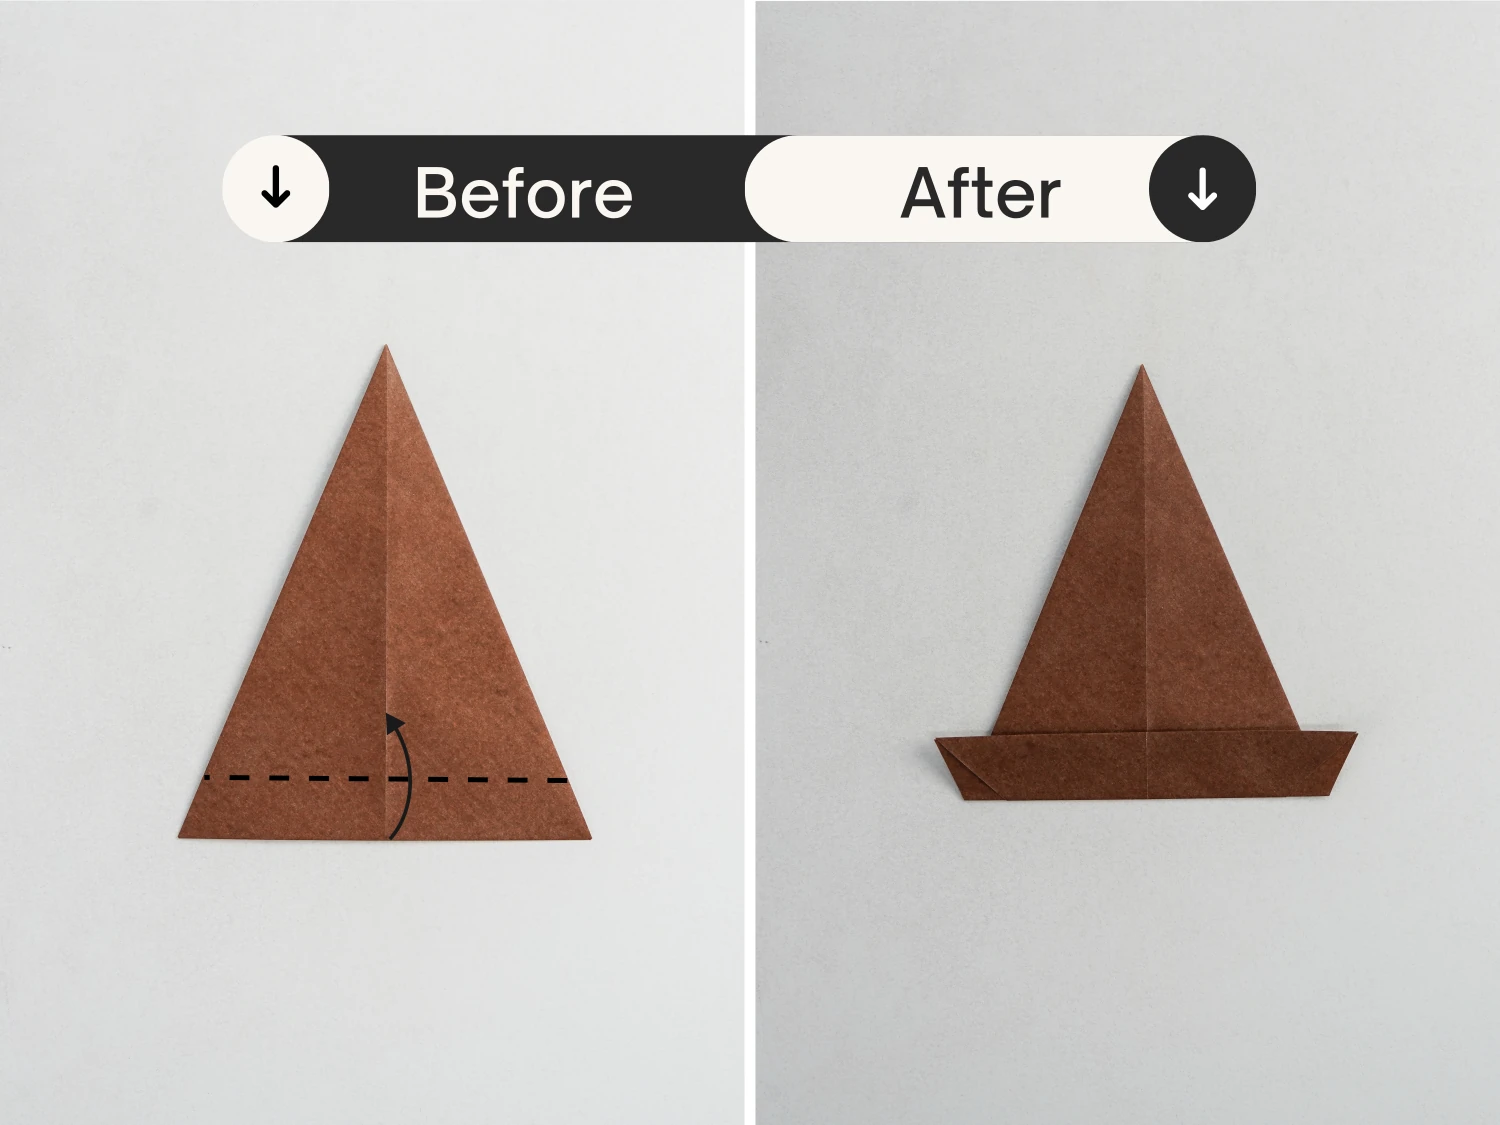
Step 5
Fold the bottom edge up a little along the dotted line.
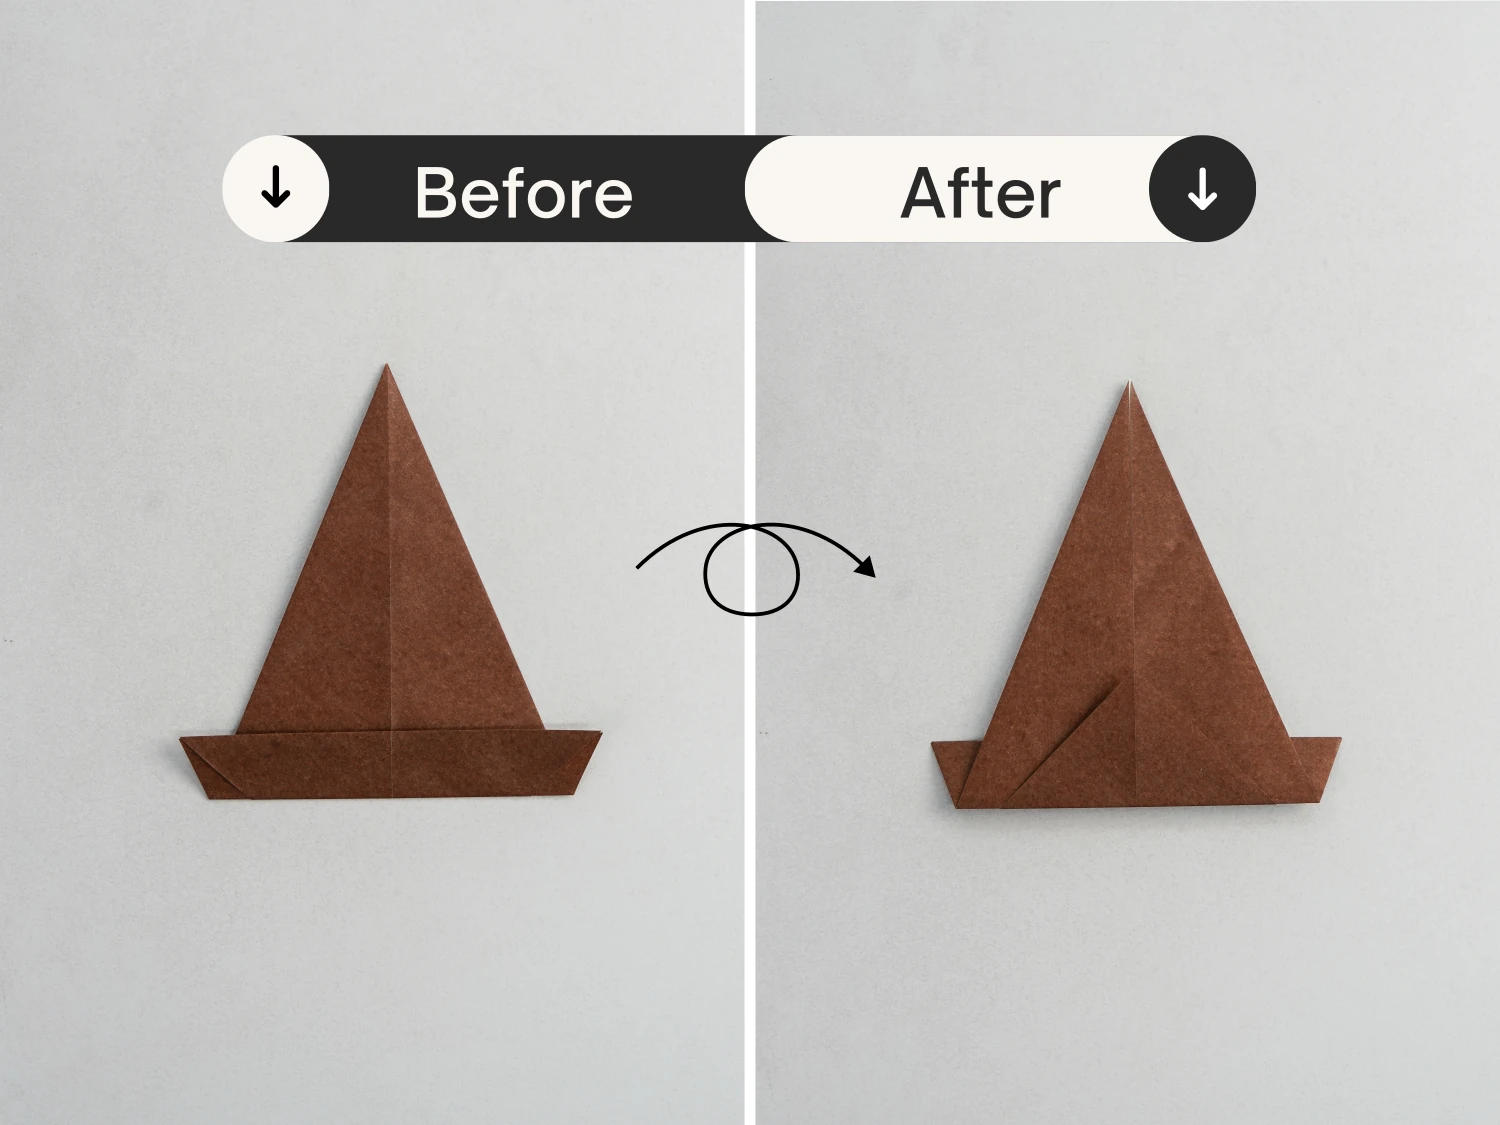
Step 6
Then flip it over again.
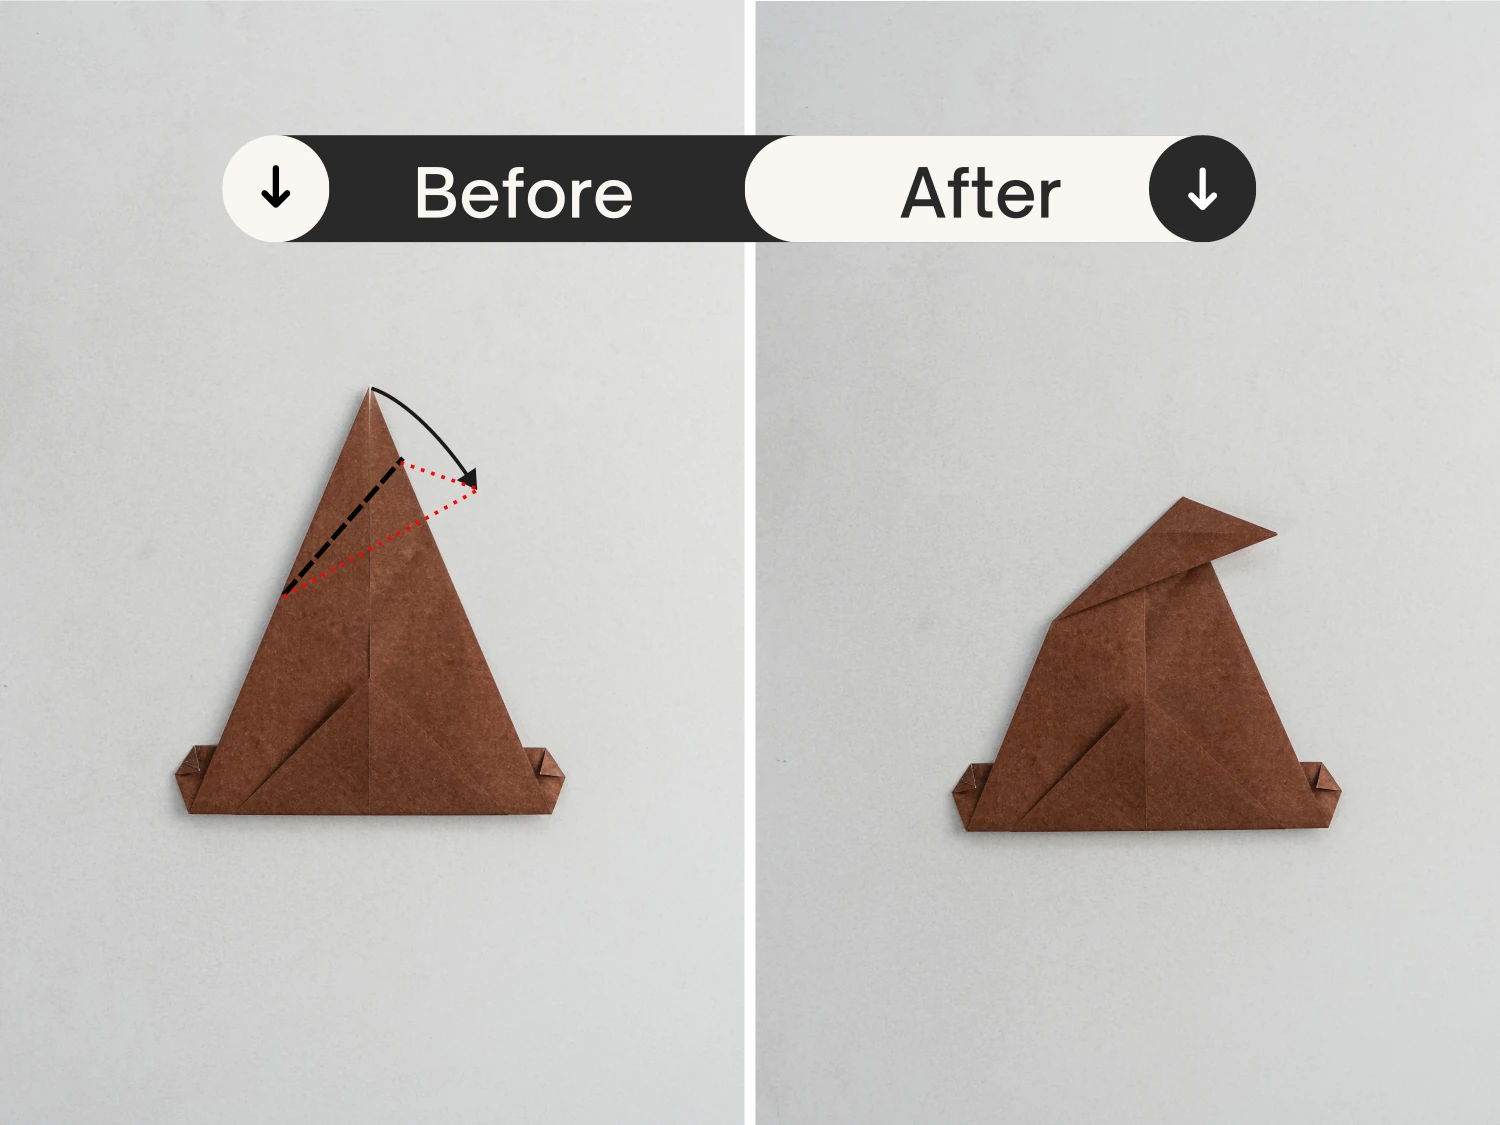
Step 7
Fold the top corner down along the dotted line to form the tilted hat tip.
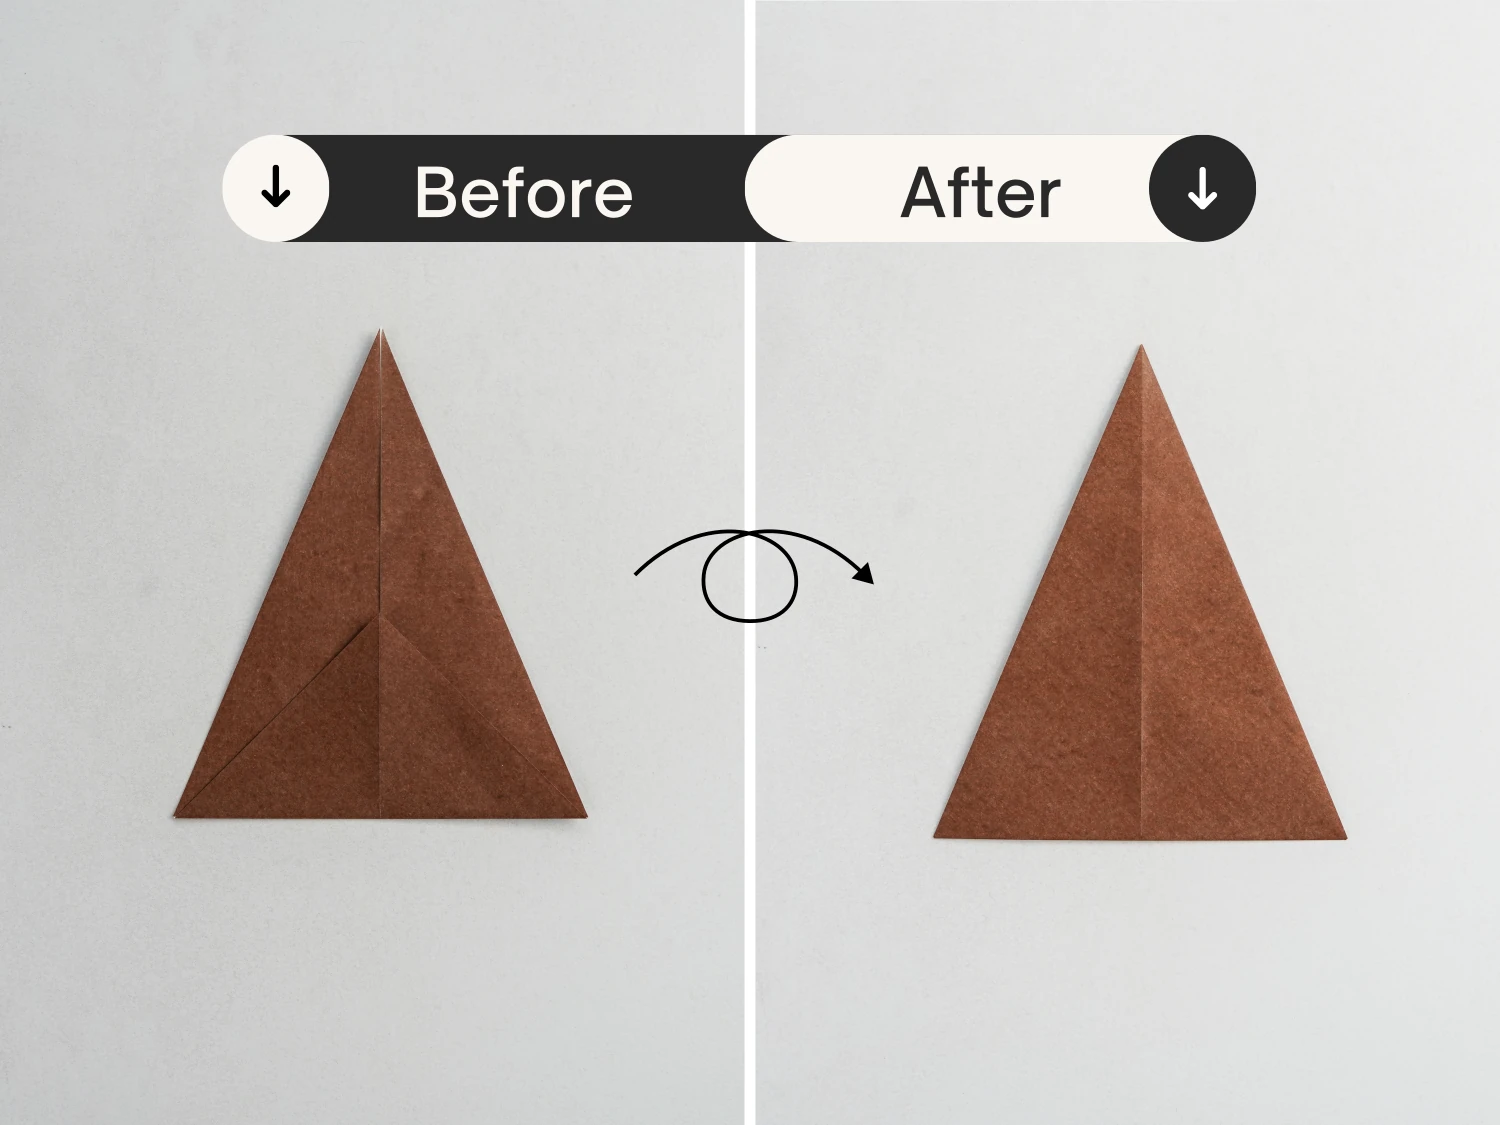
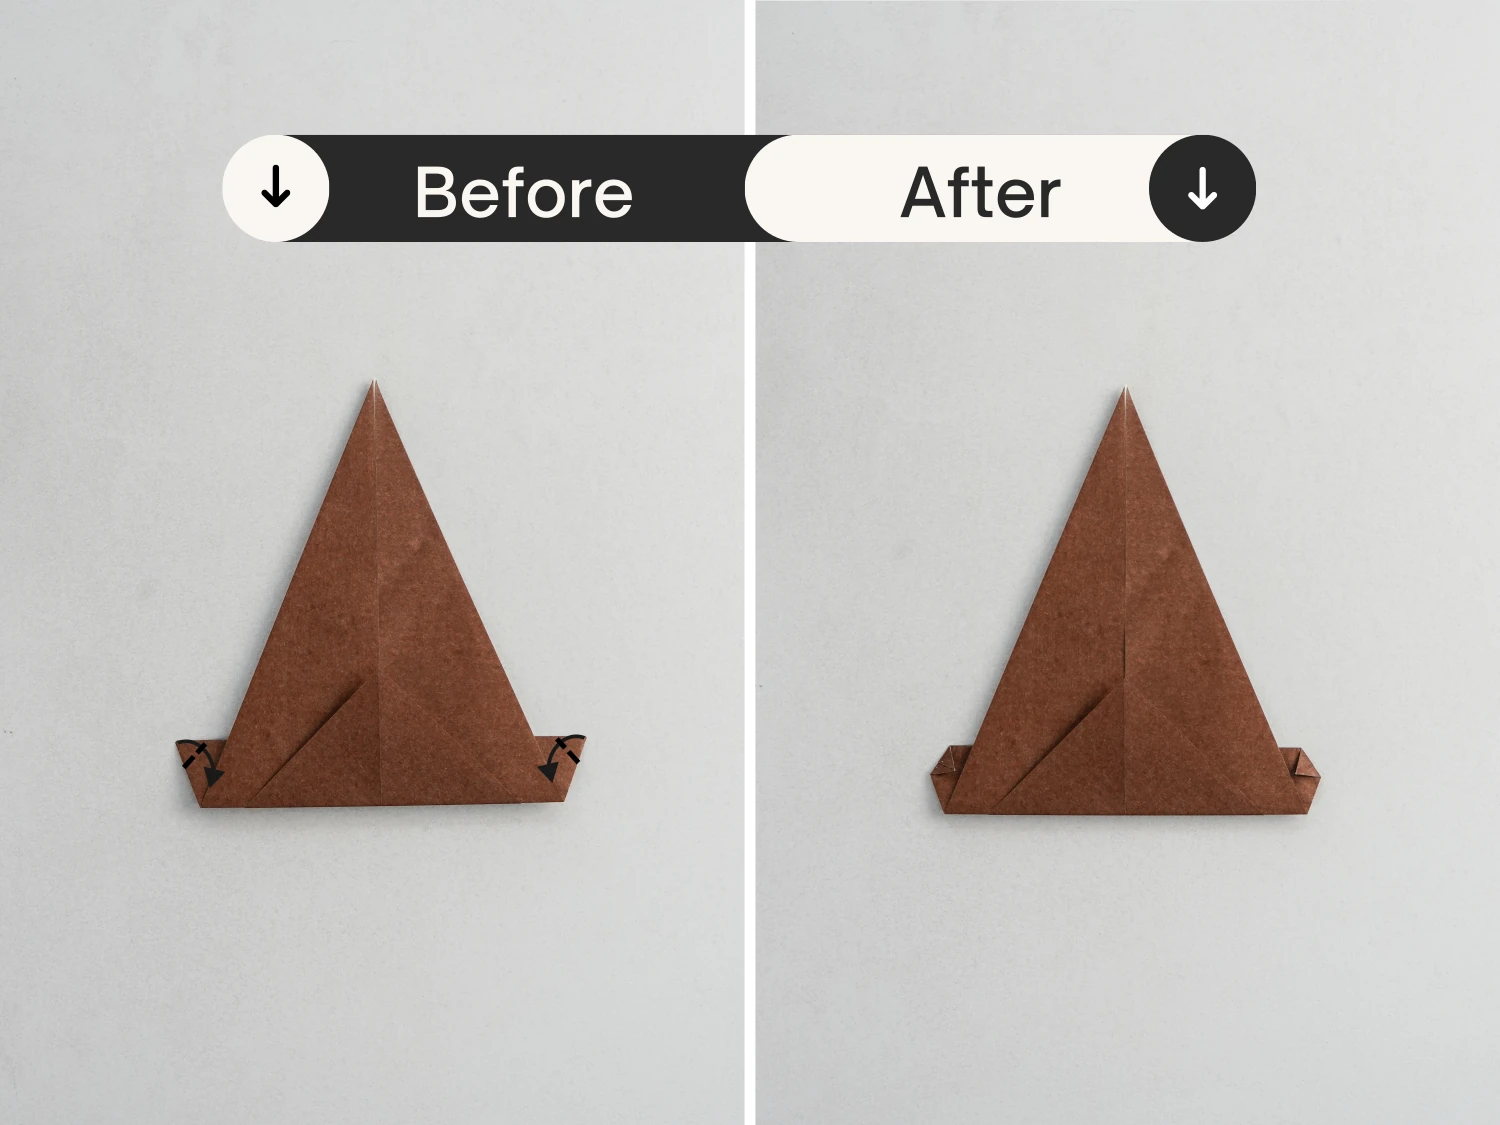
Step 8
Fold the bottom left and right small corners forward a little.
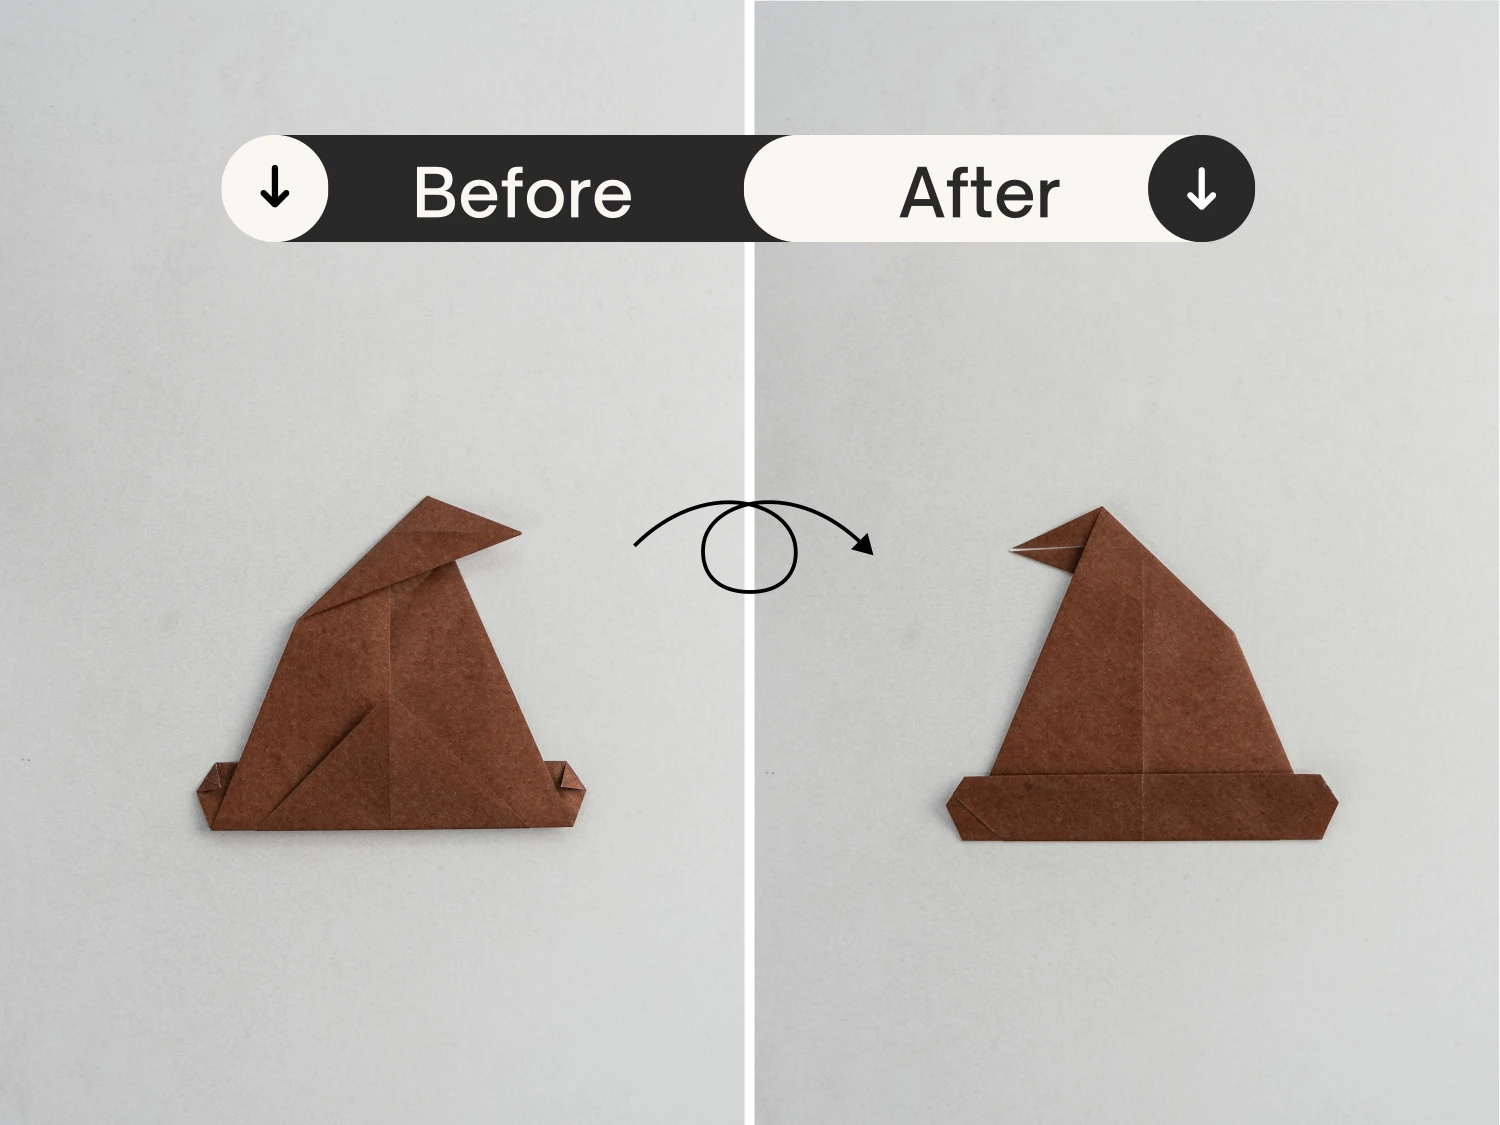
Step 9
Then flip it over, this easy and lovely witch hat is done.
What’s Next
That’s your cool witch’s hat; now you can continue to fold other clothes or hats. We love to hear from you about your creations.


