How to Make an Origami Snapper
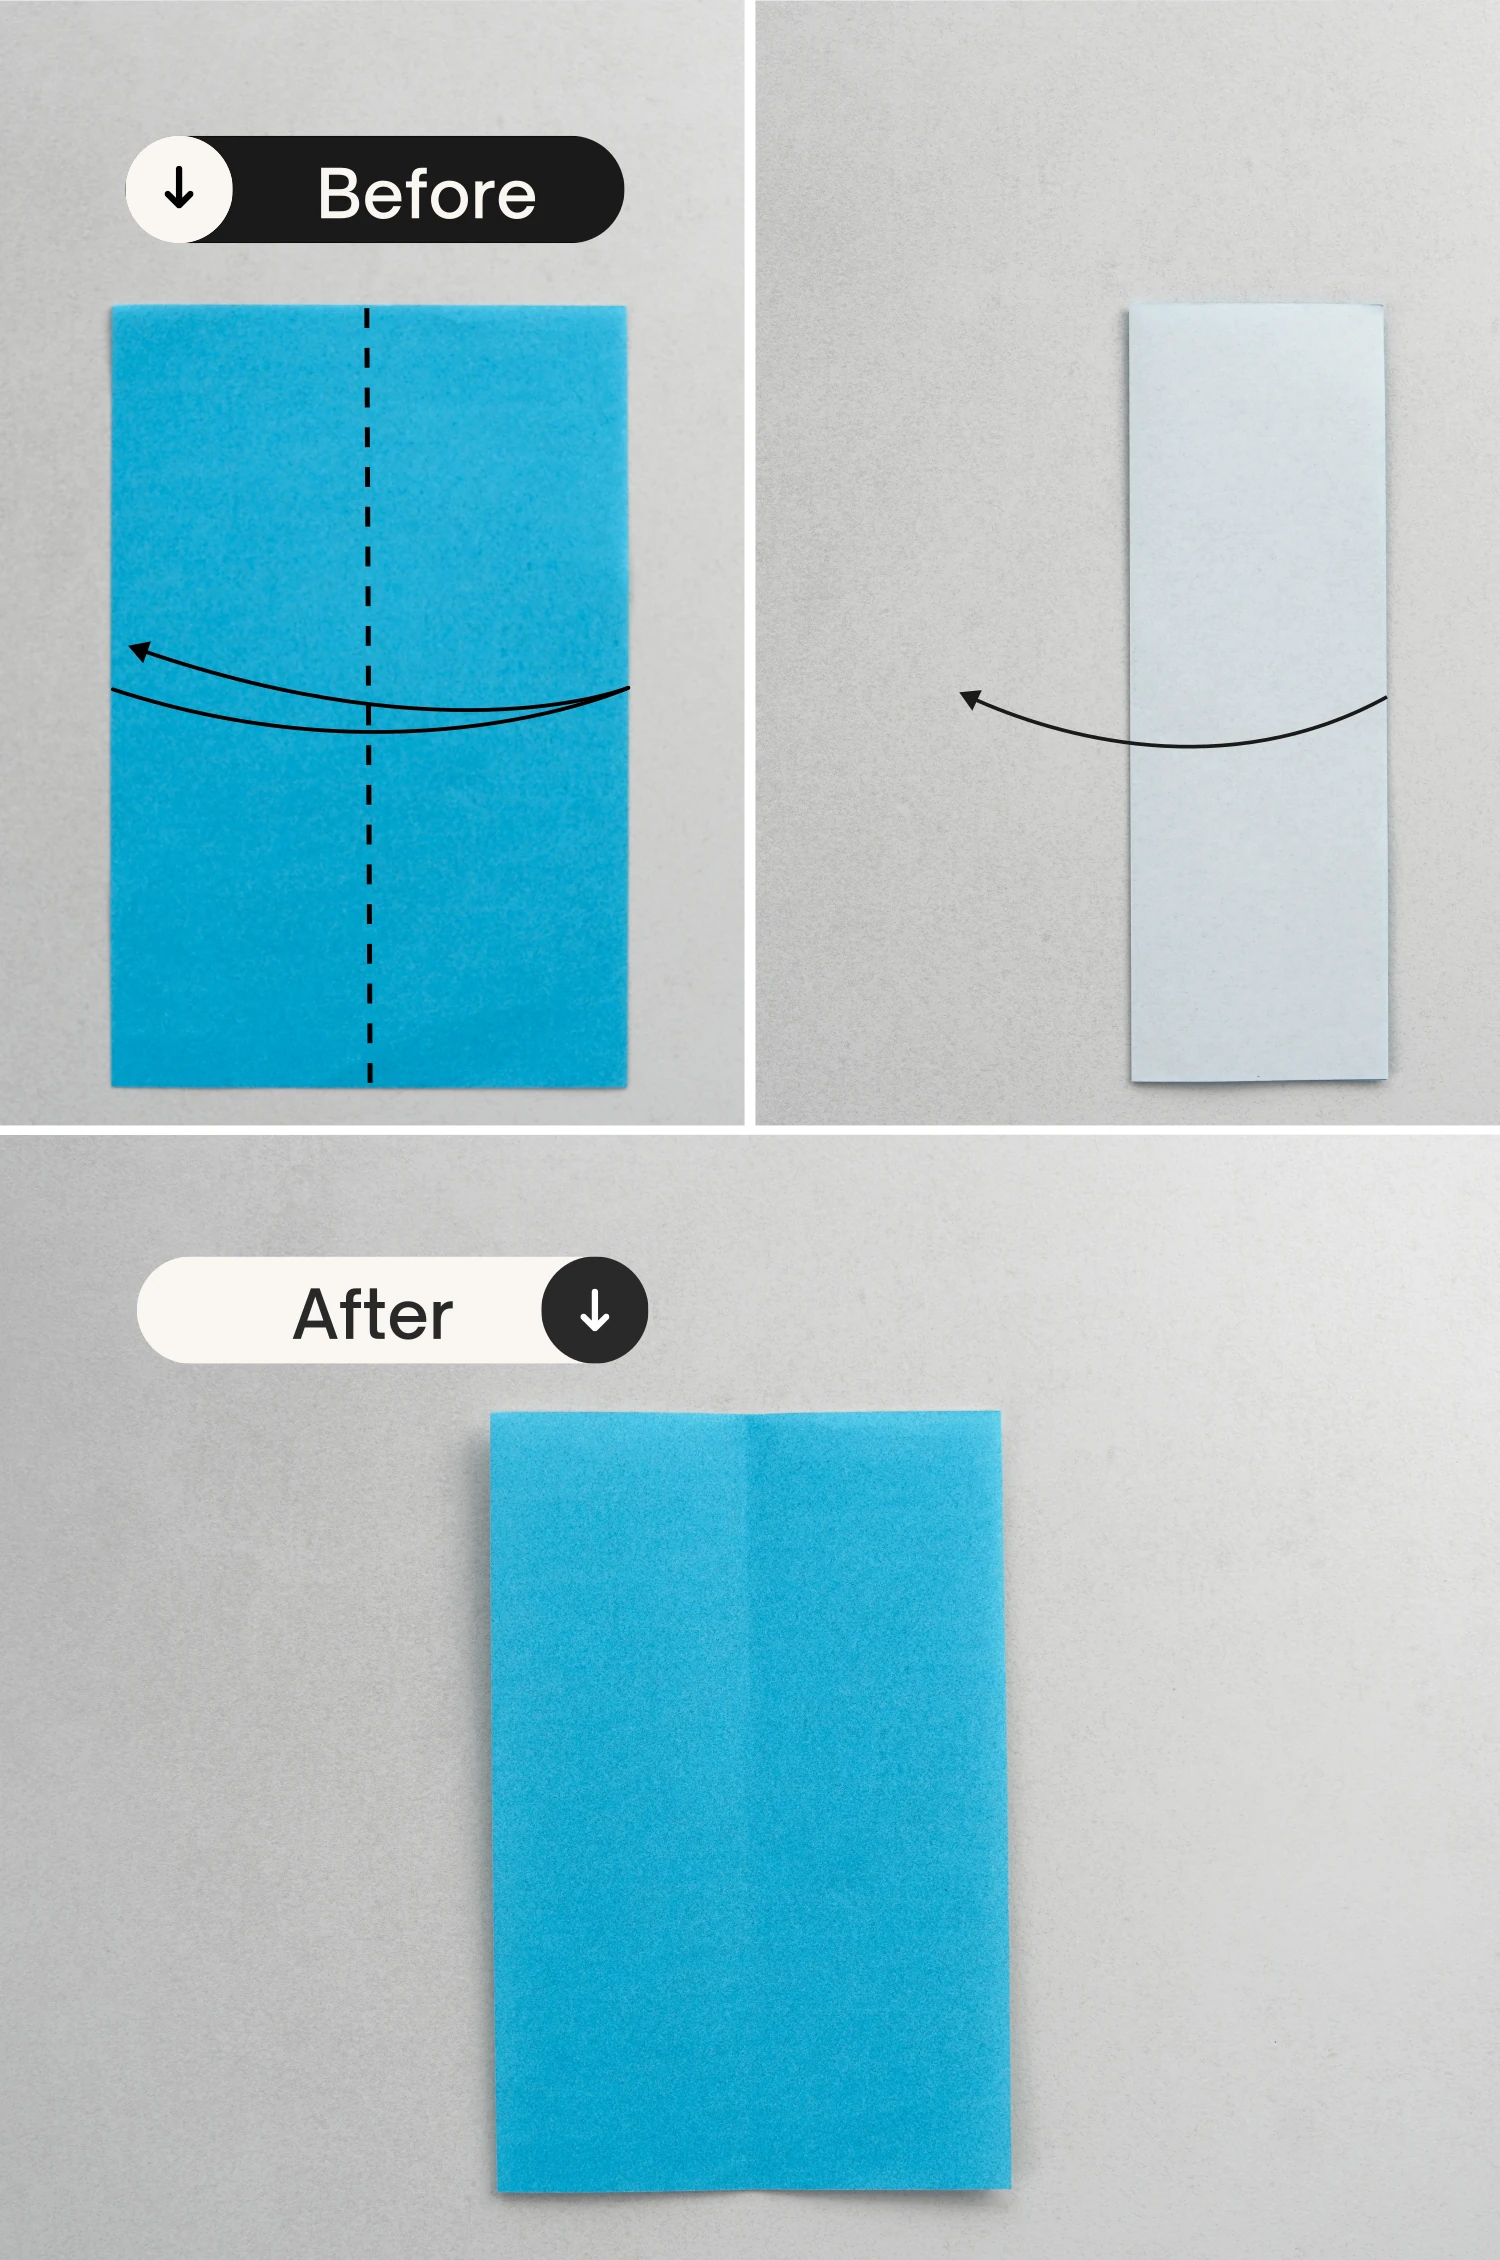
Step 1
Start with the blue side of the paper facing up, fold it in half vertically, crease it well then unfold.
Step 2
Fold it in half horizontally.

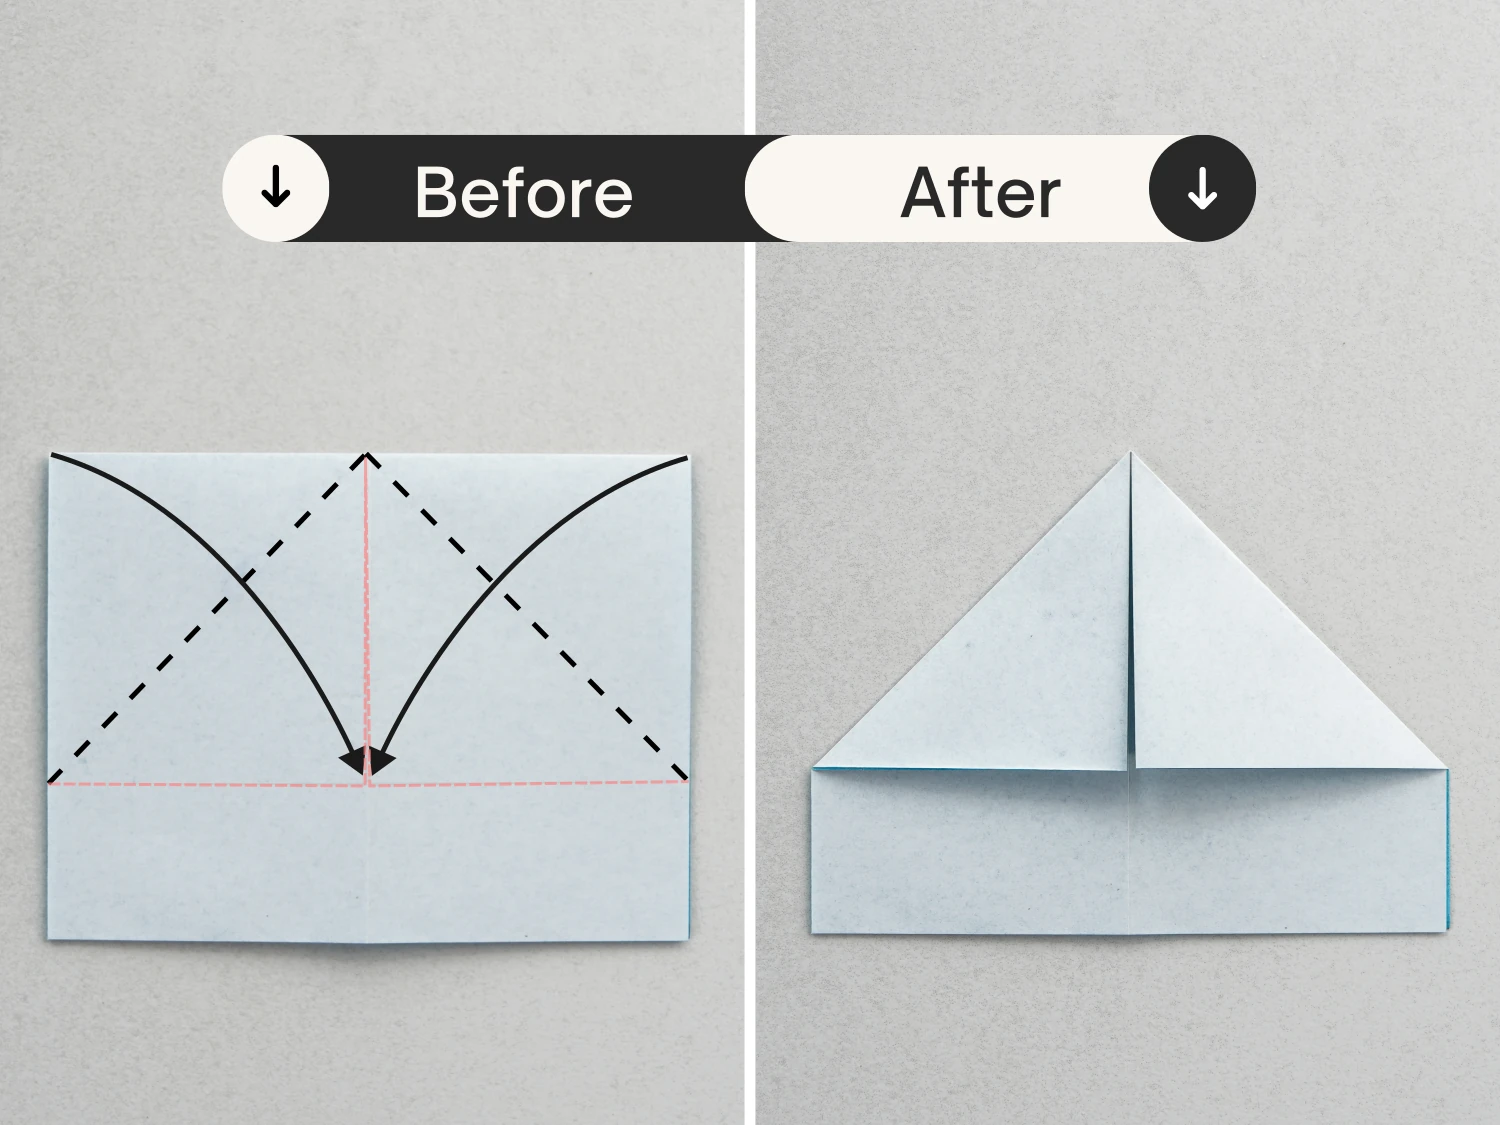
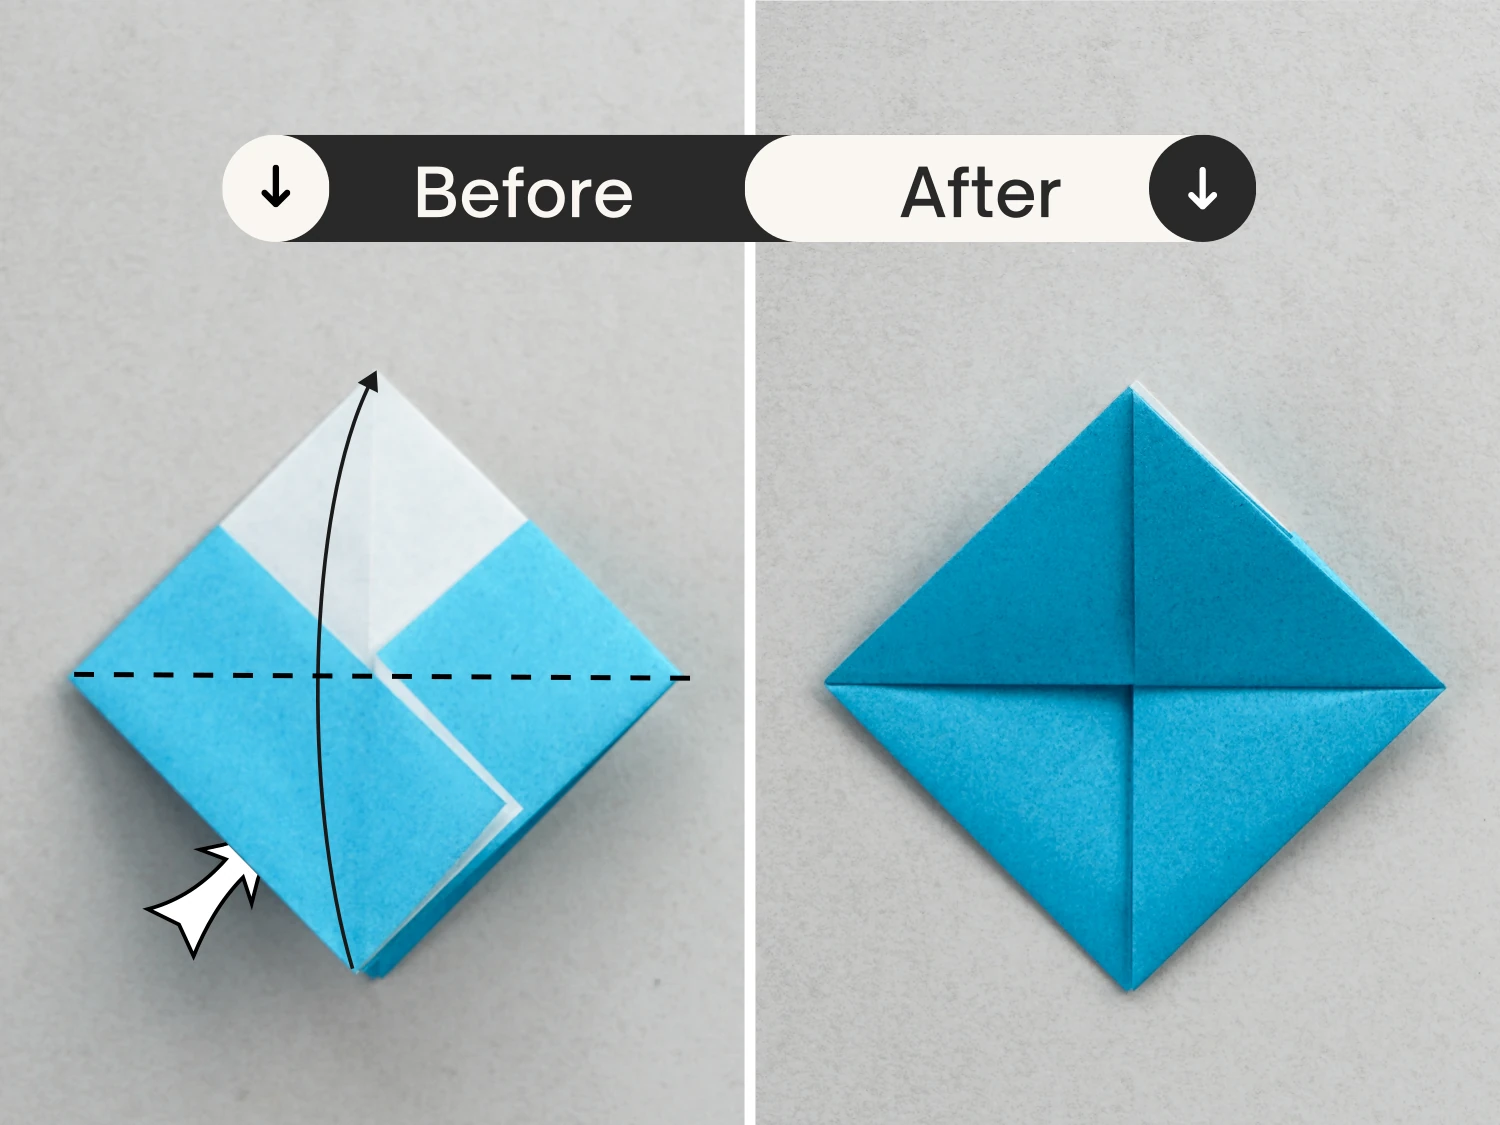
Step 3
Fold both the top left and right corners down diagonally.
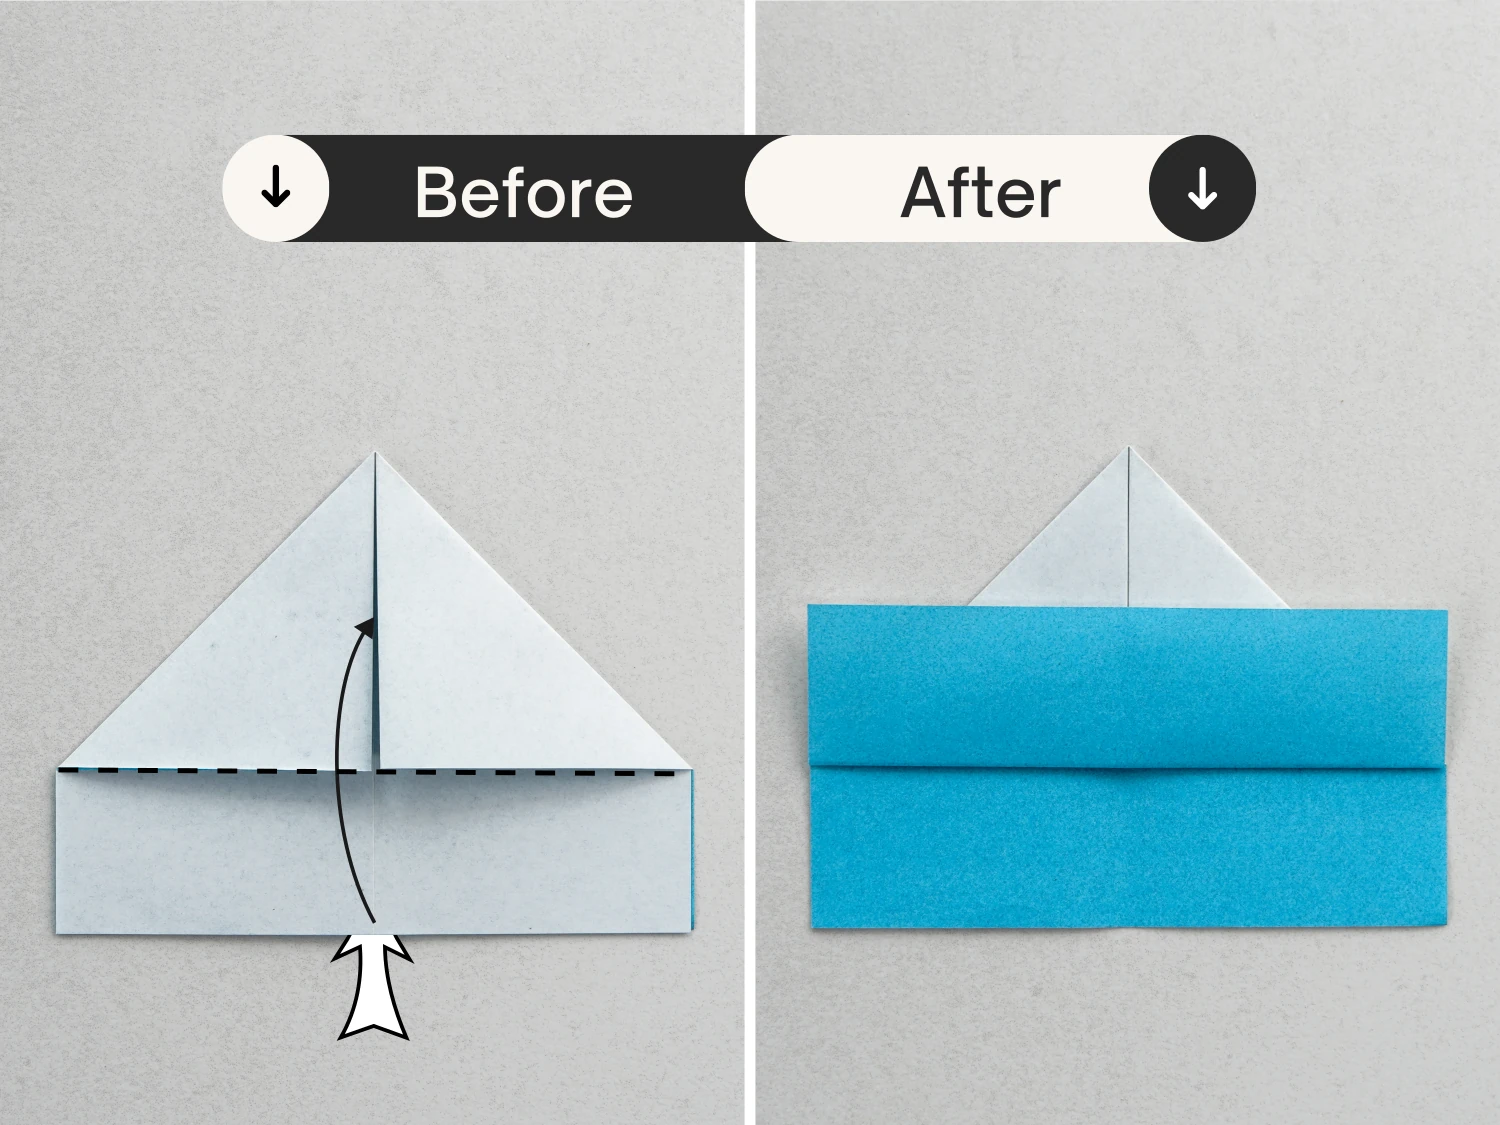
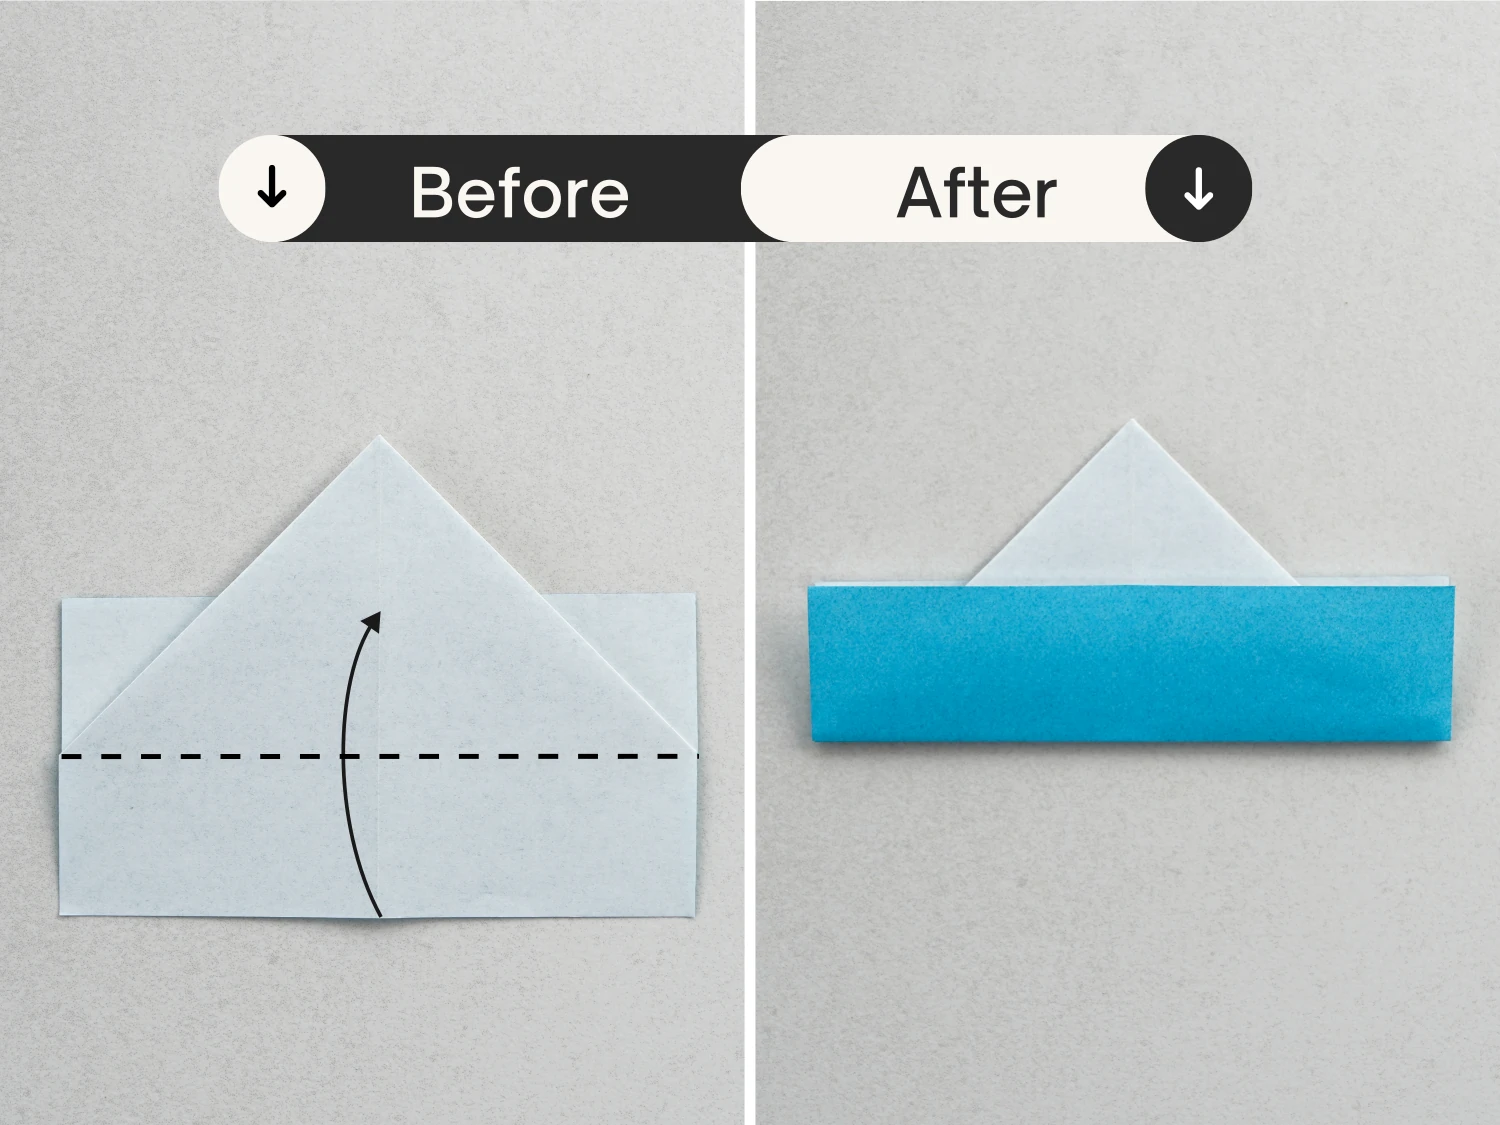
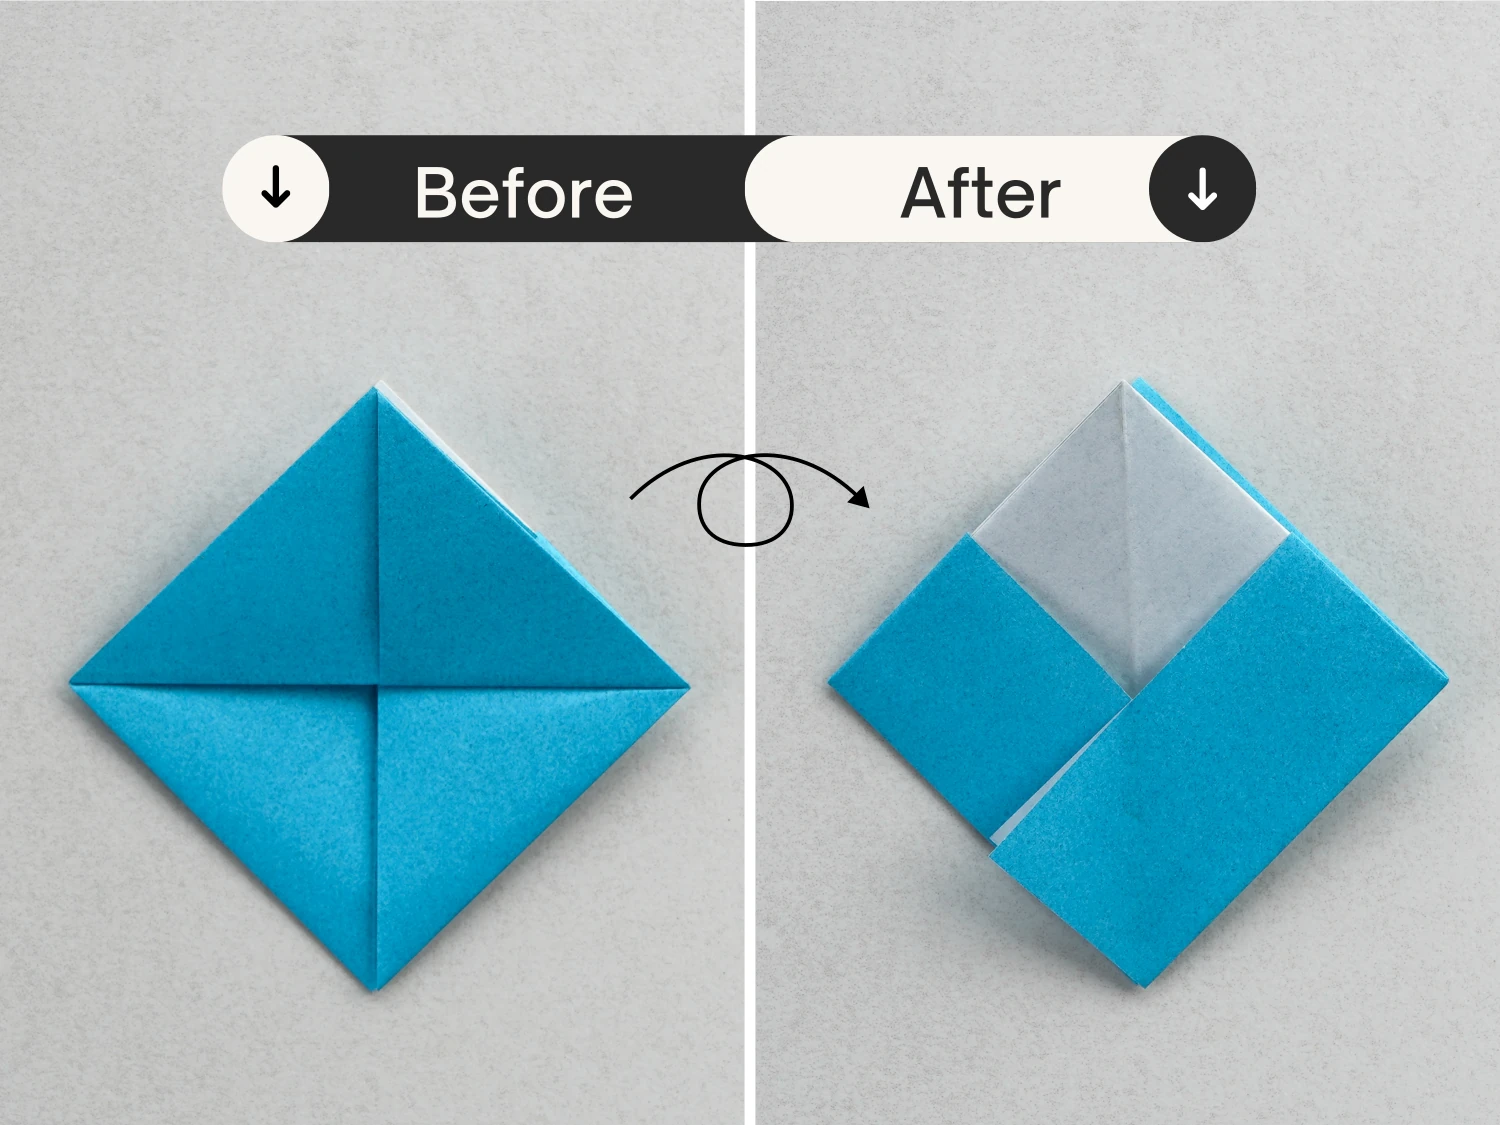
Step 4
Fold the bottom edge of the top layer up along the bottom edge of the triangle.
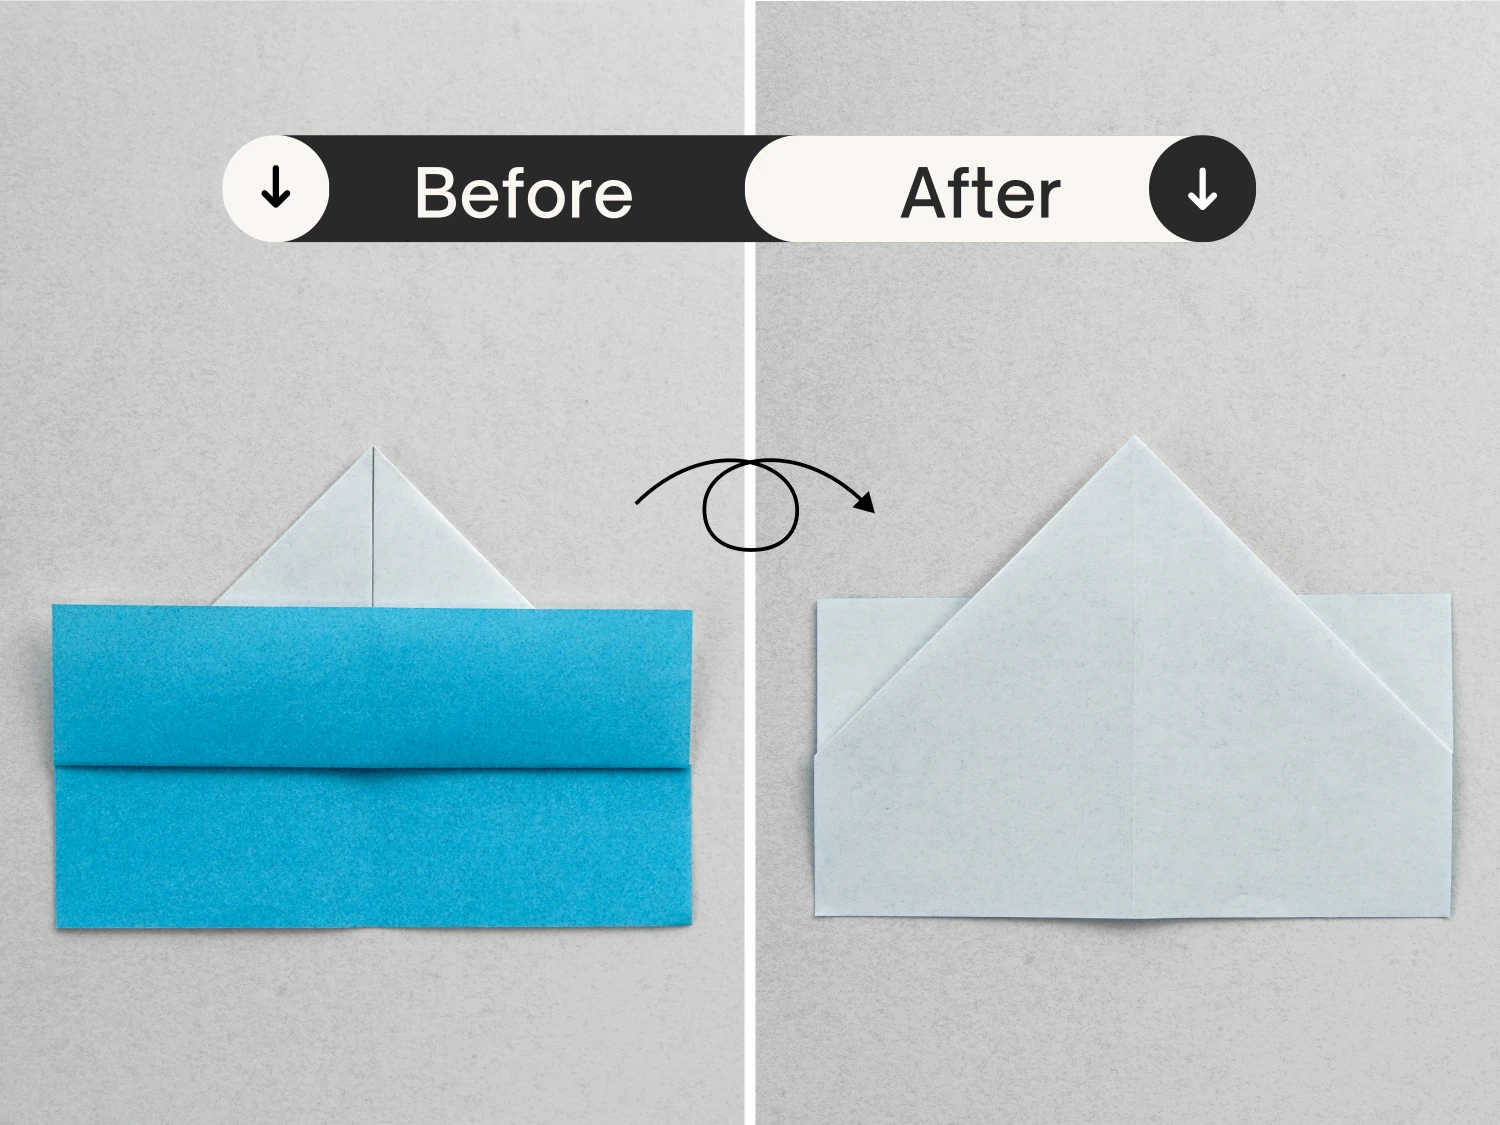
Step 5
Flip it over.
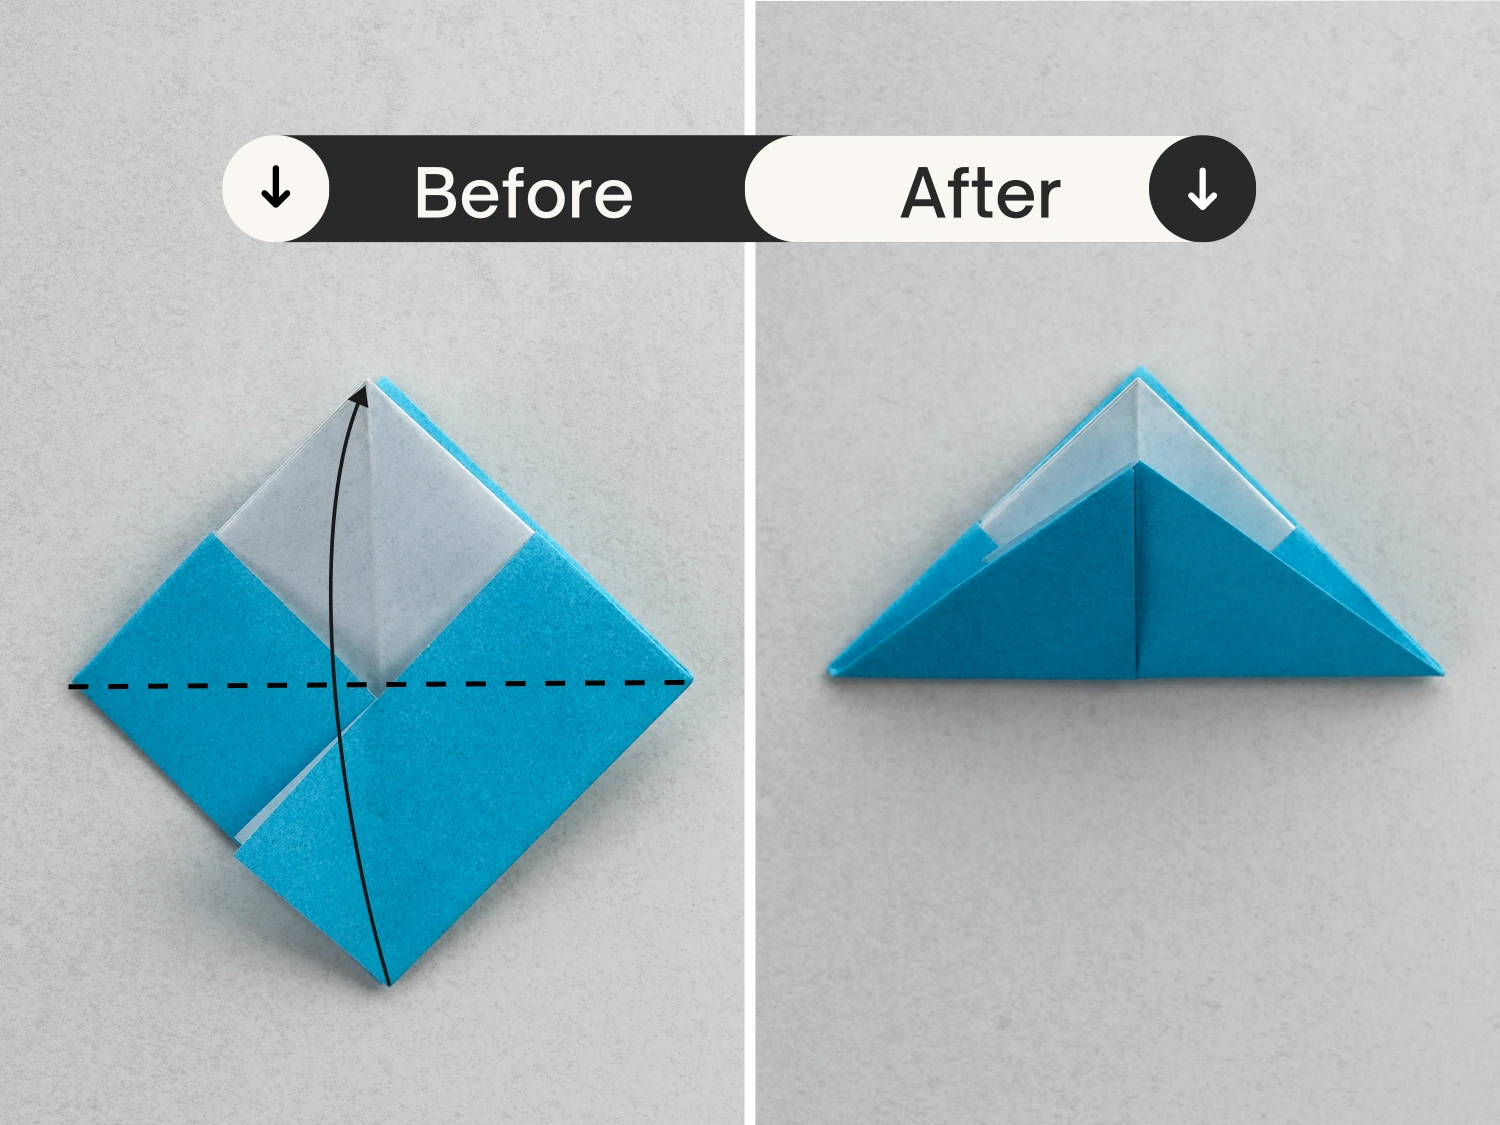
Step 6
Similarly, fold the bottom edge up.
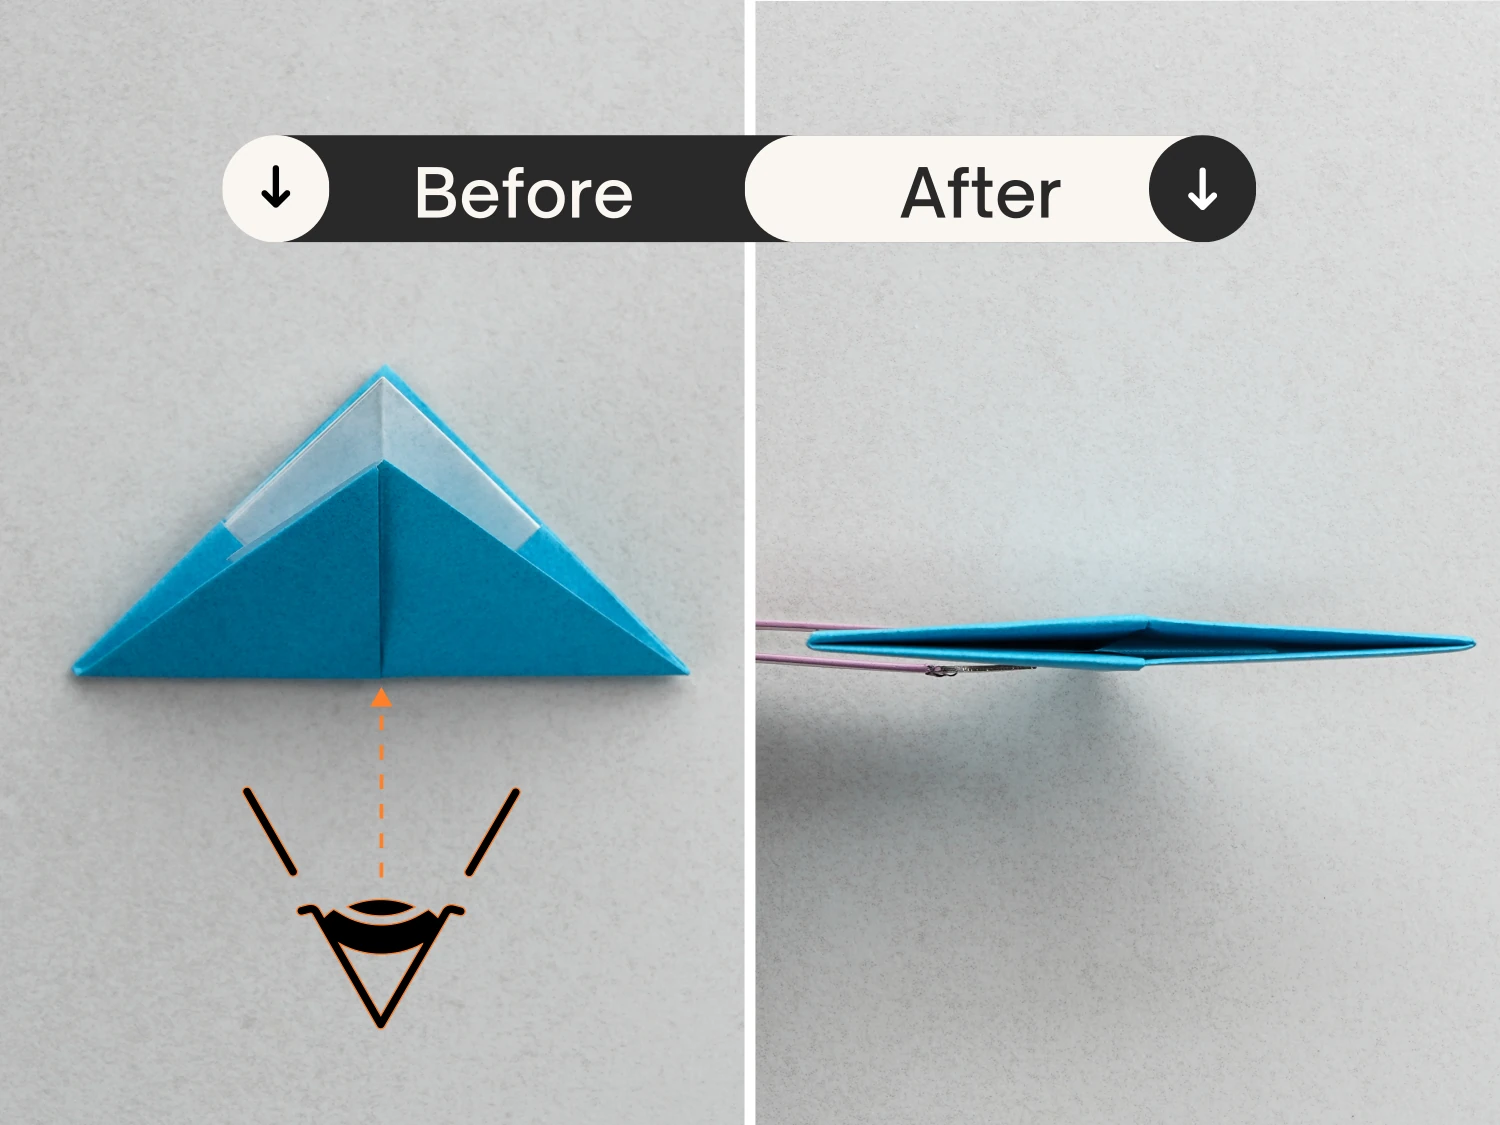
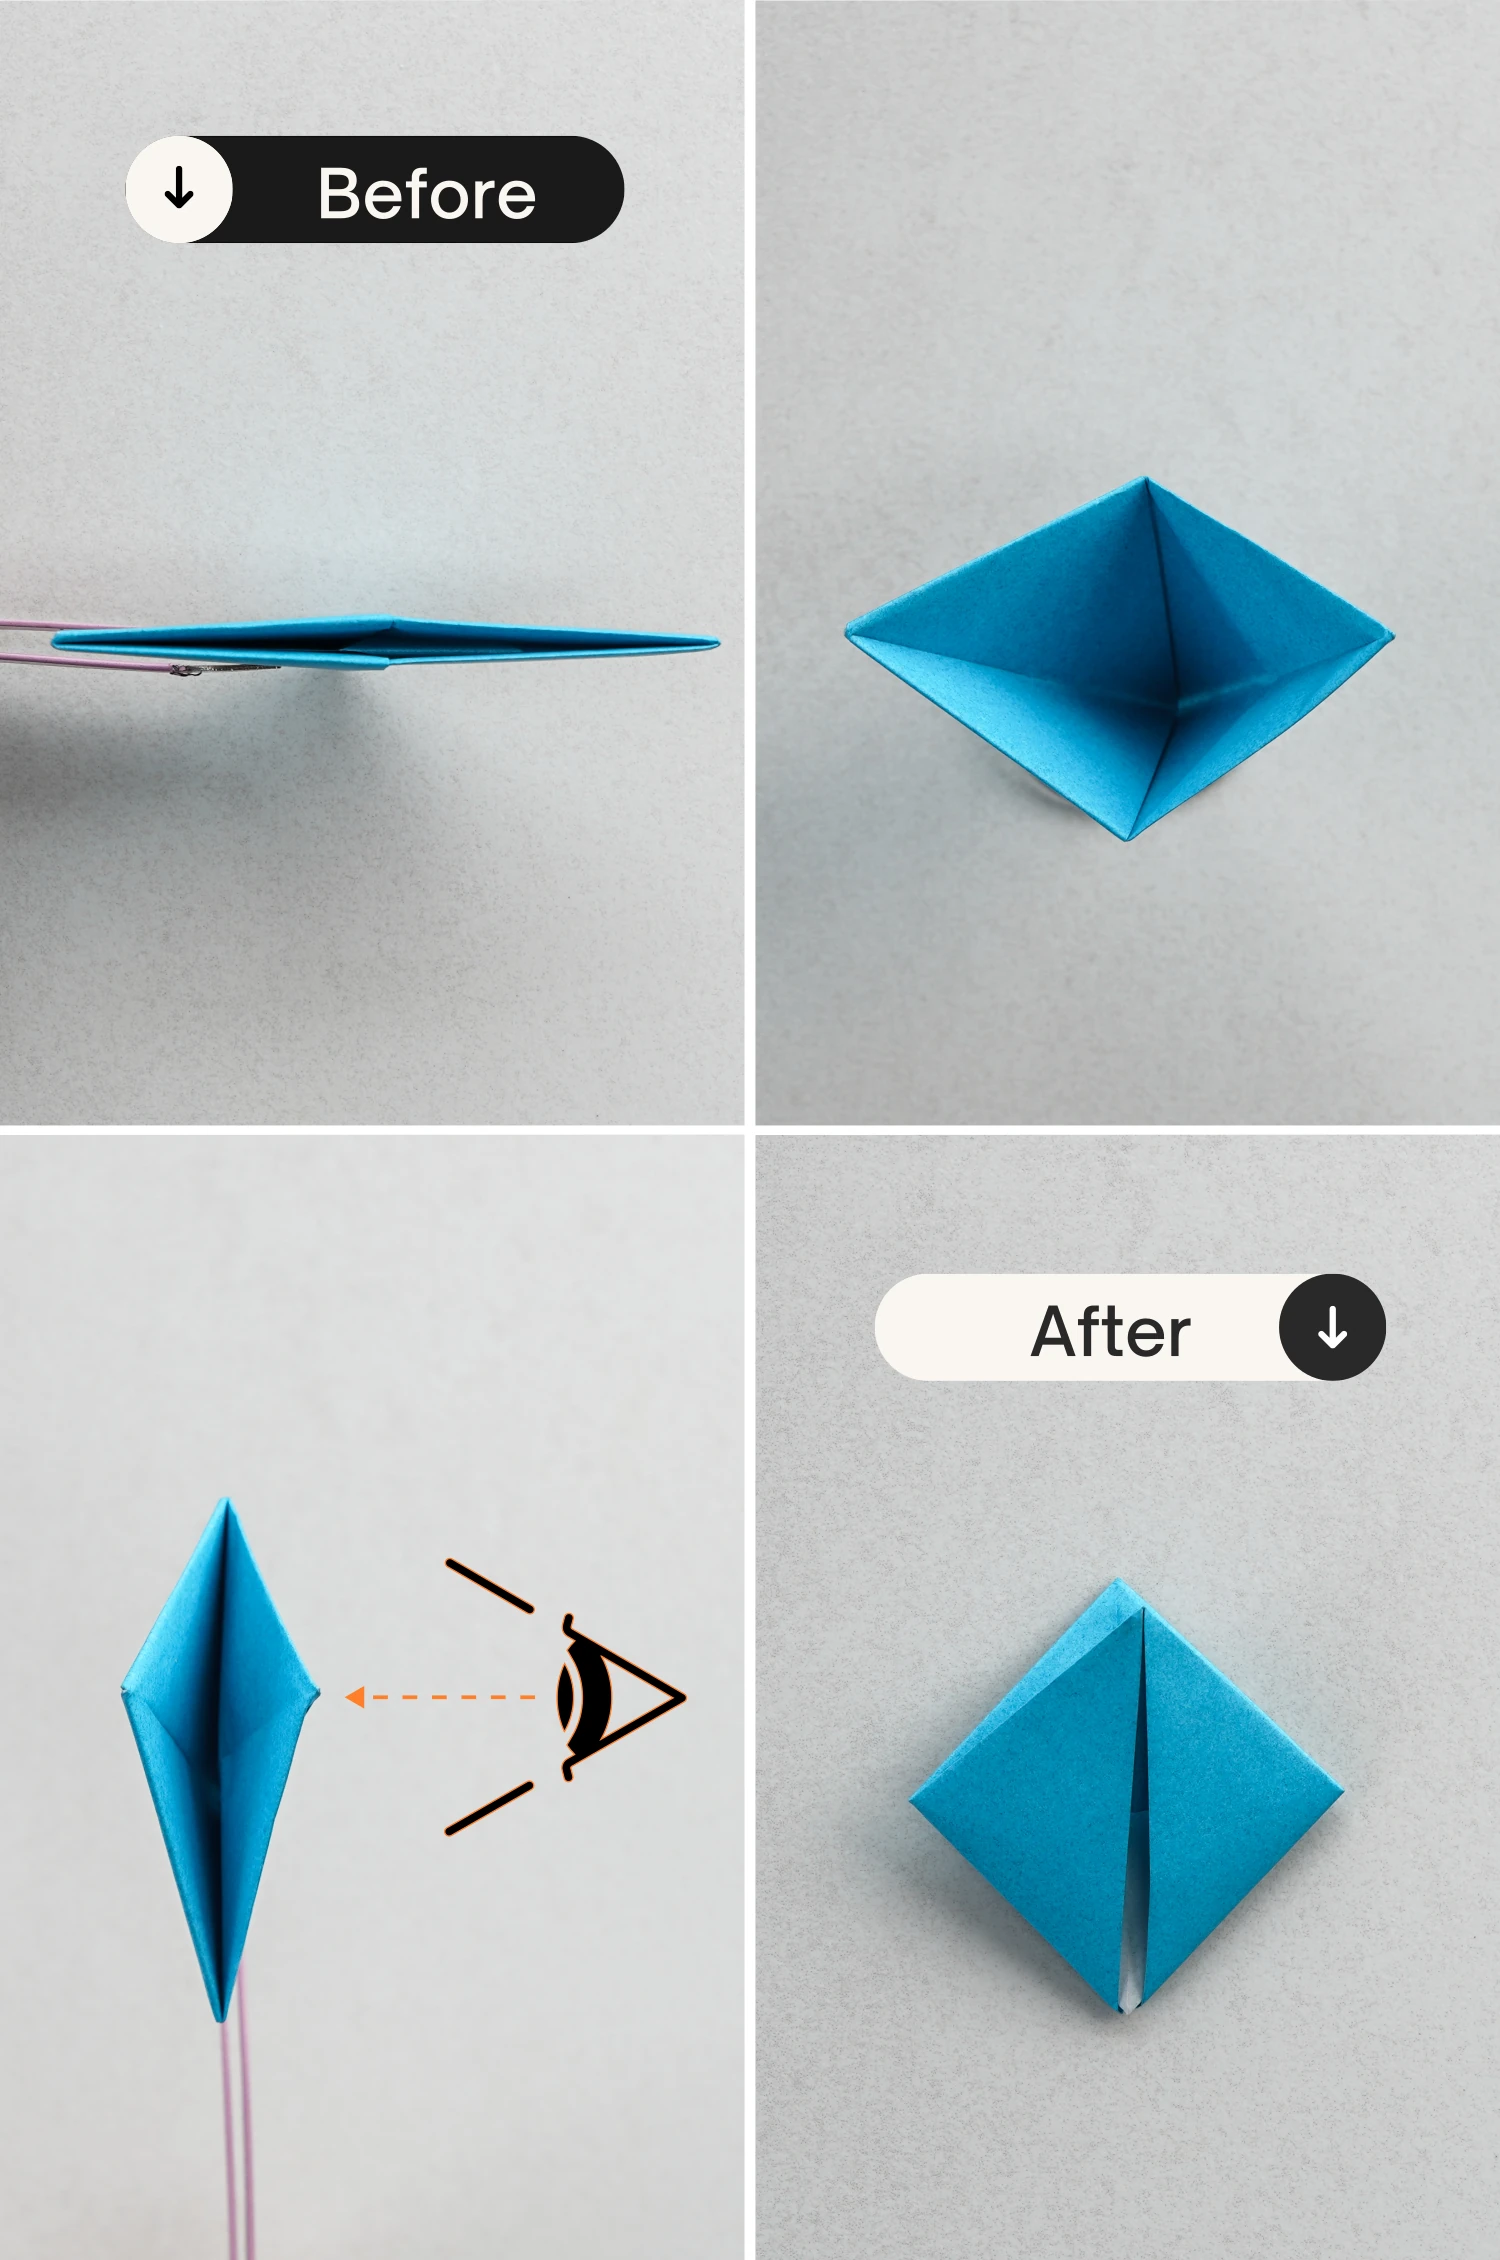
Step 7
View it from the bottom.
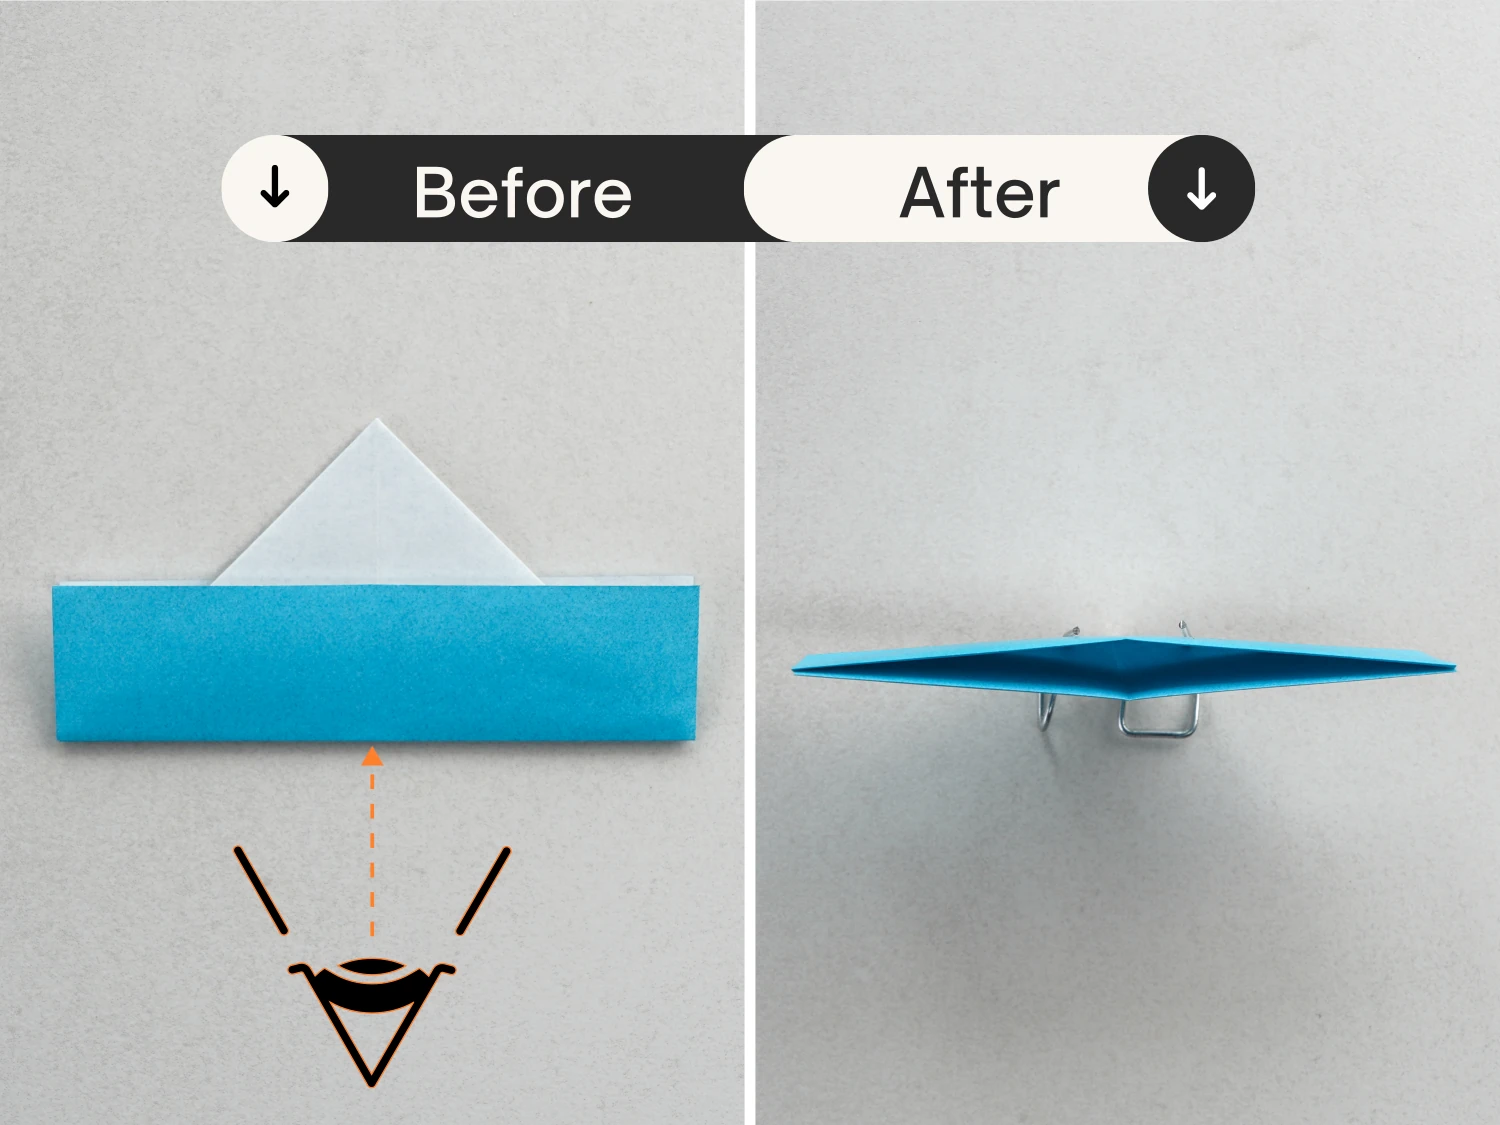
Step 8
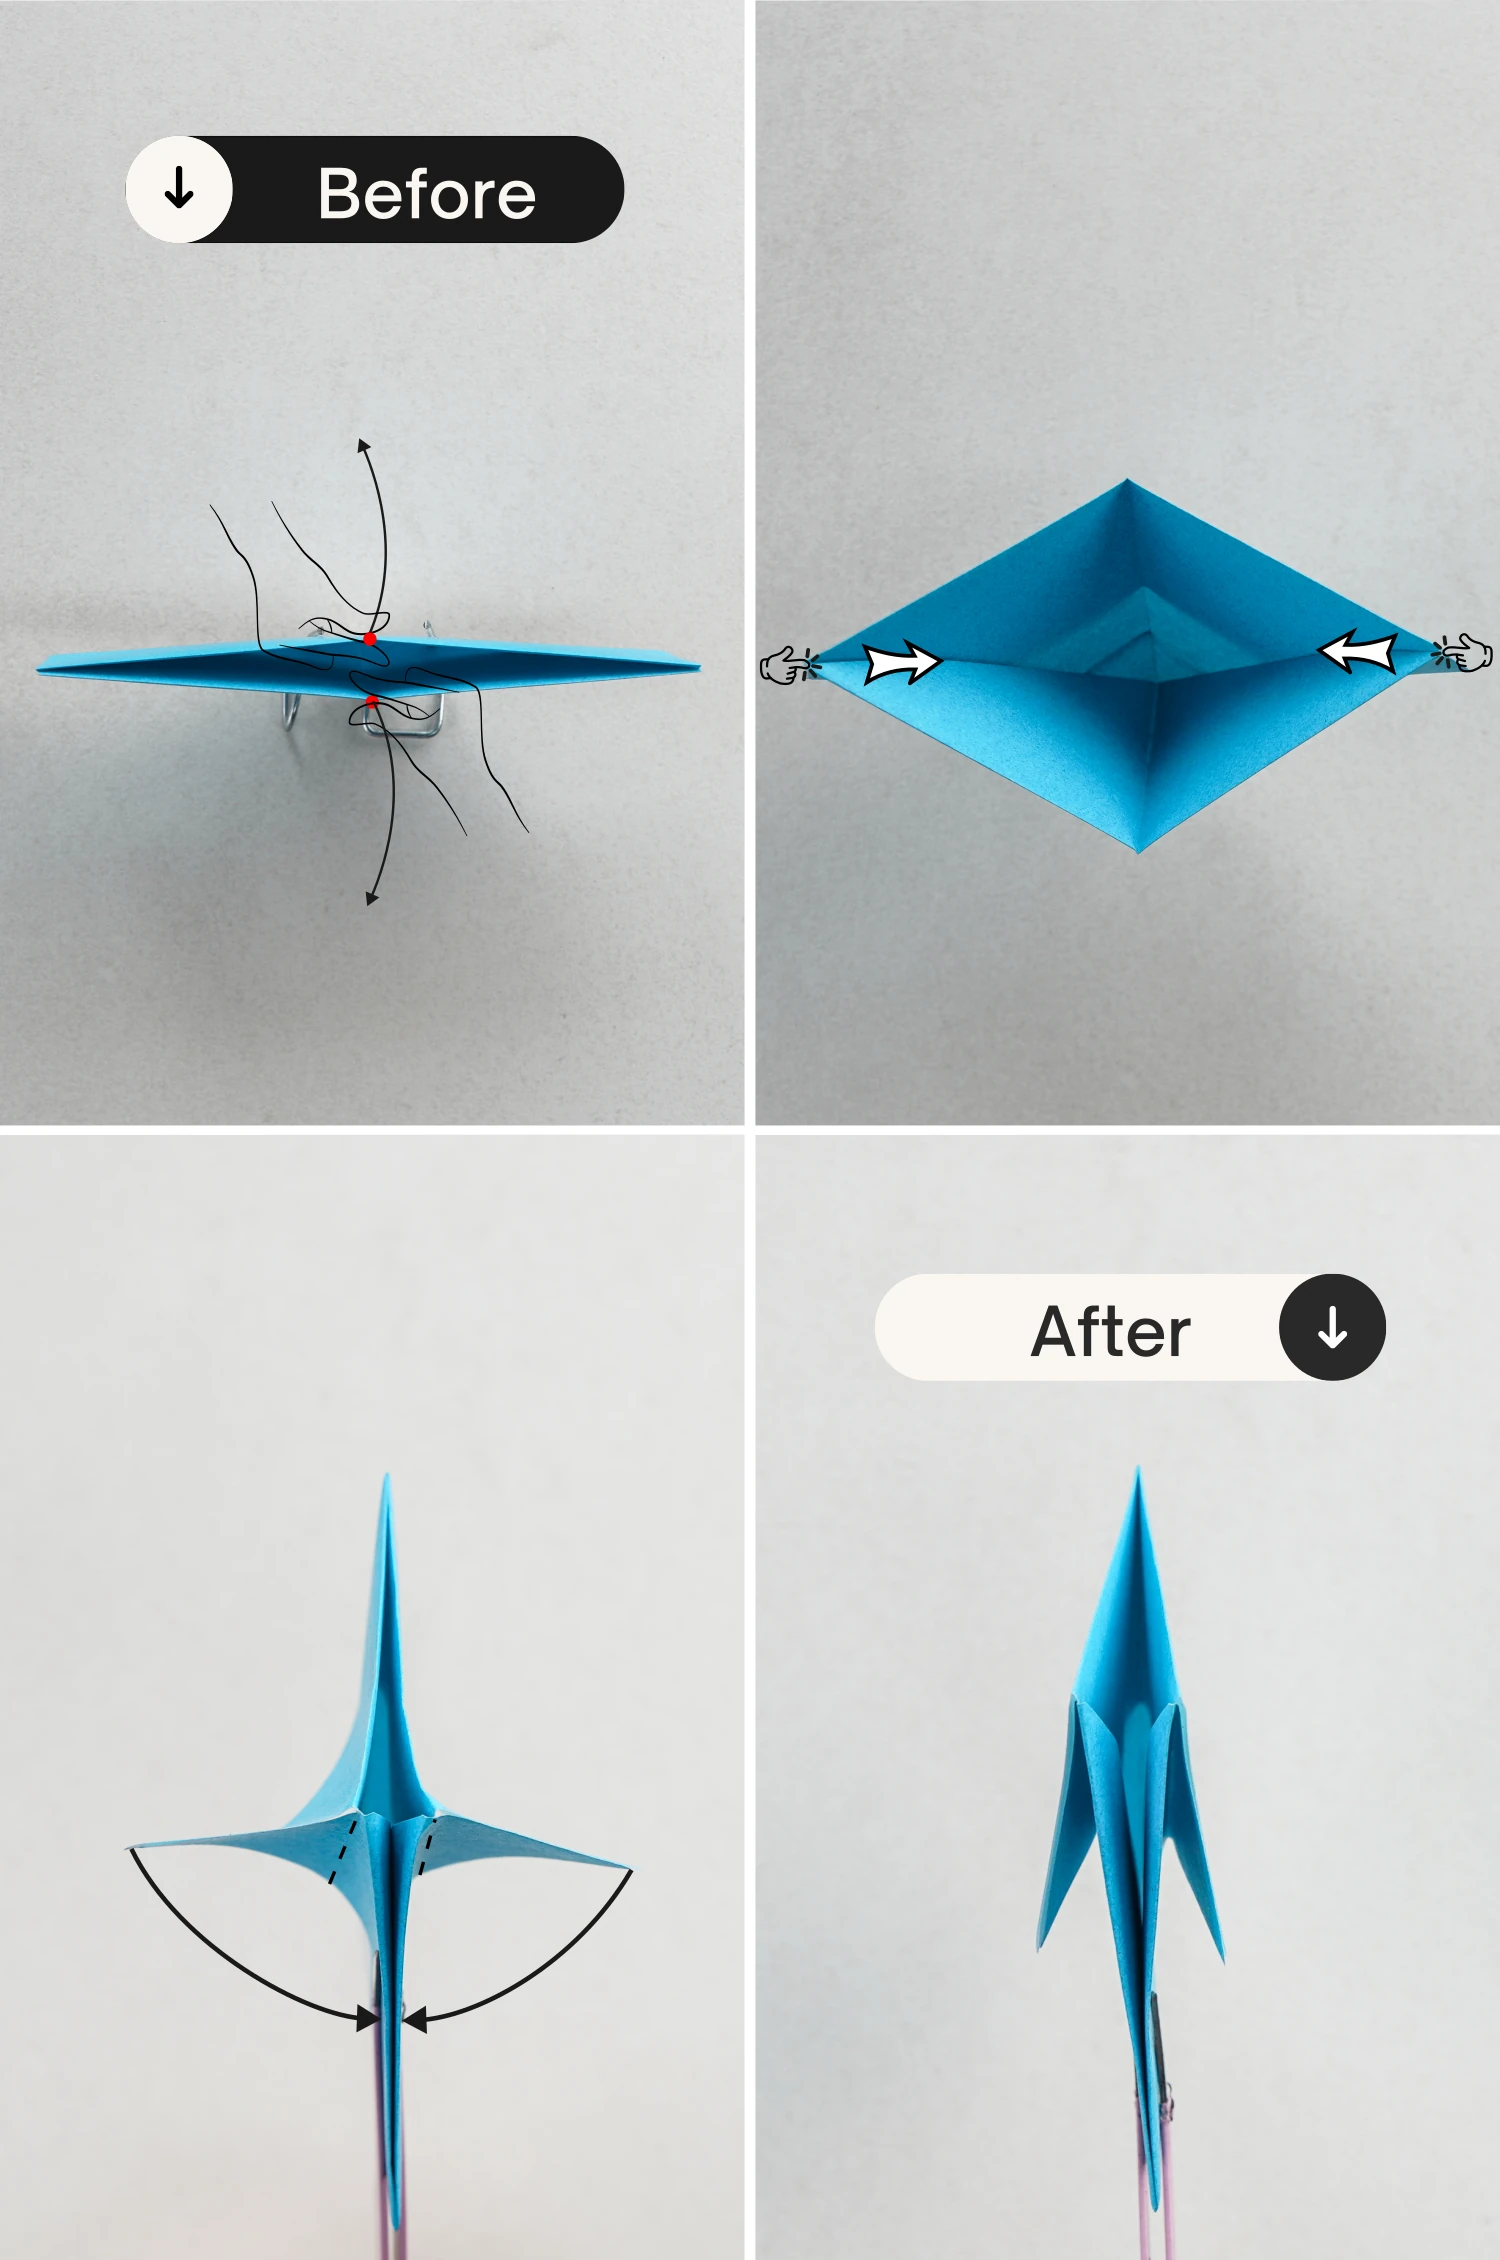
Open it by pulling the middle point of the bottom and top edge, and push the left and right corners to the center, forming a cross.
Fold the left and right flaps down.
Step 9
View it from the right side.
Step 10
Take the bottom corner of the top layer, and fold it up to the top diagonally.
Step 11
Flip the paper over.
Step 12
Fold the bottom edge up diagonally.
Step 13
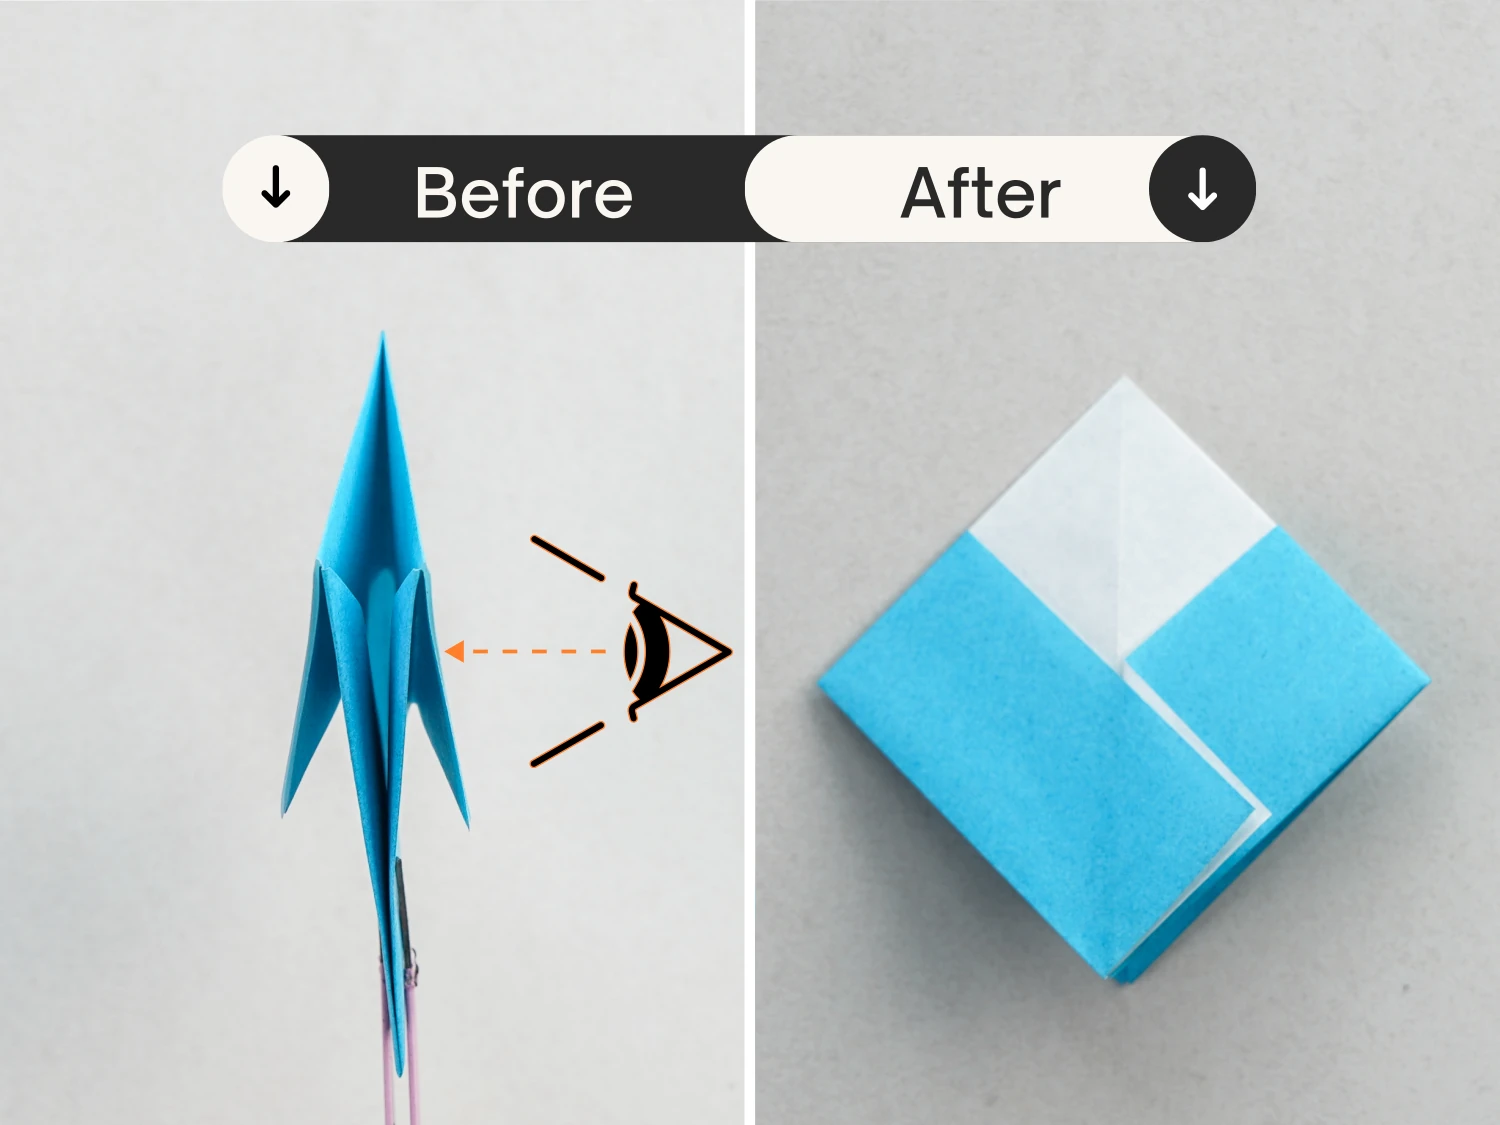
Now view it from the bottom.
Step 14
Open the pocket, and flatten it vertically, then view it from the right side.
Step 15
Rotate it 180 degrees.
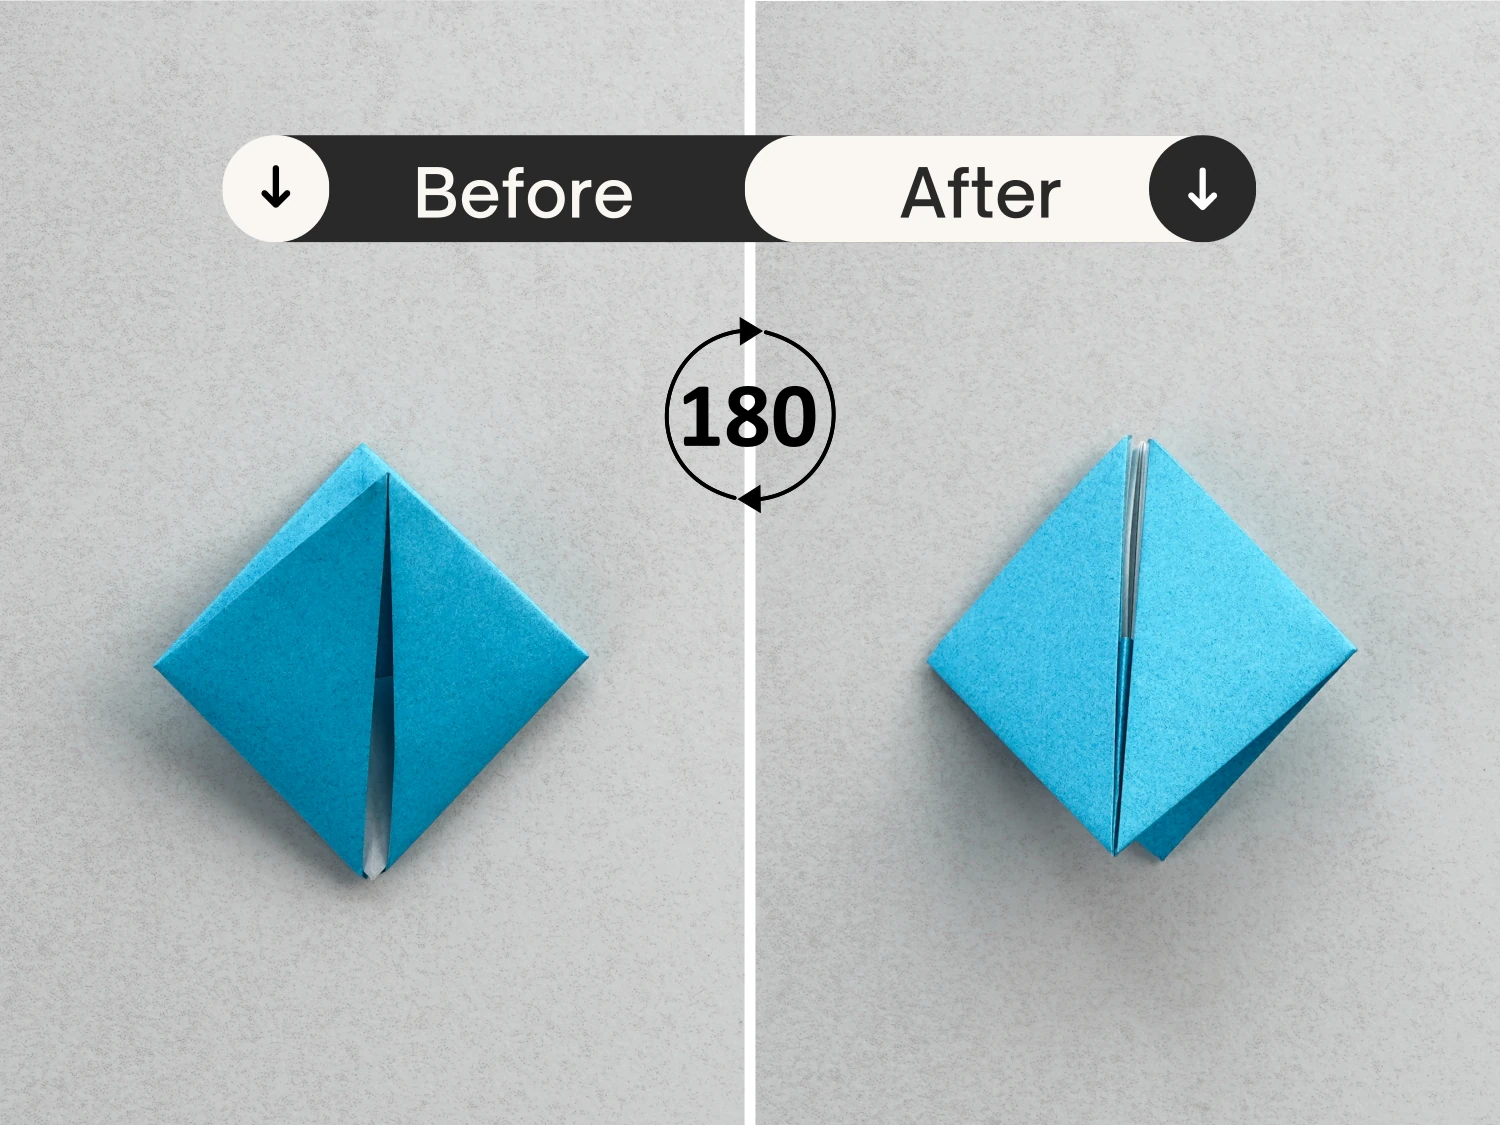
Step 16
Take the top left and right corners, and pull them to the left and right respectively, so that to far away from the middle top corner.

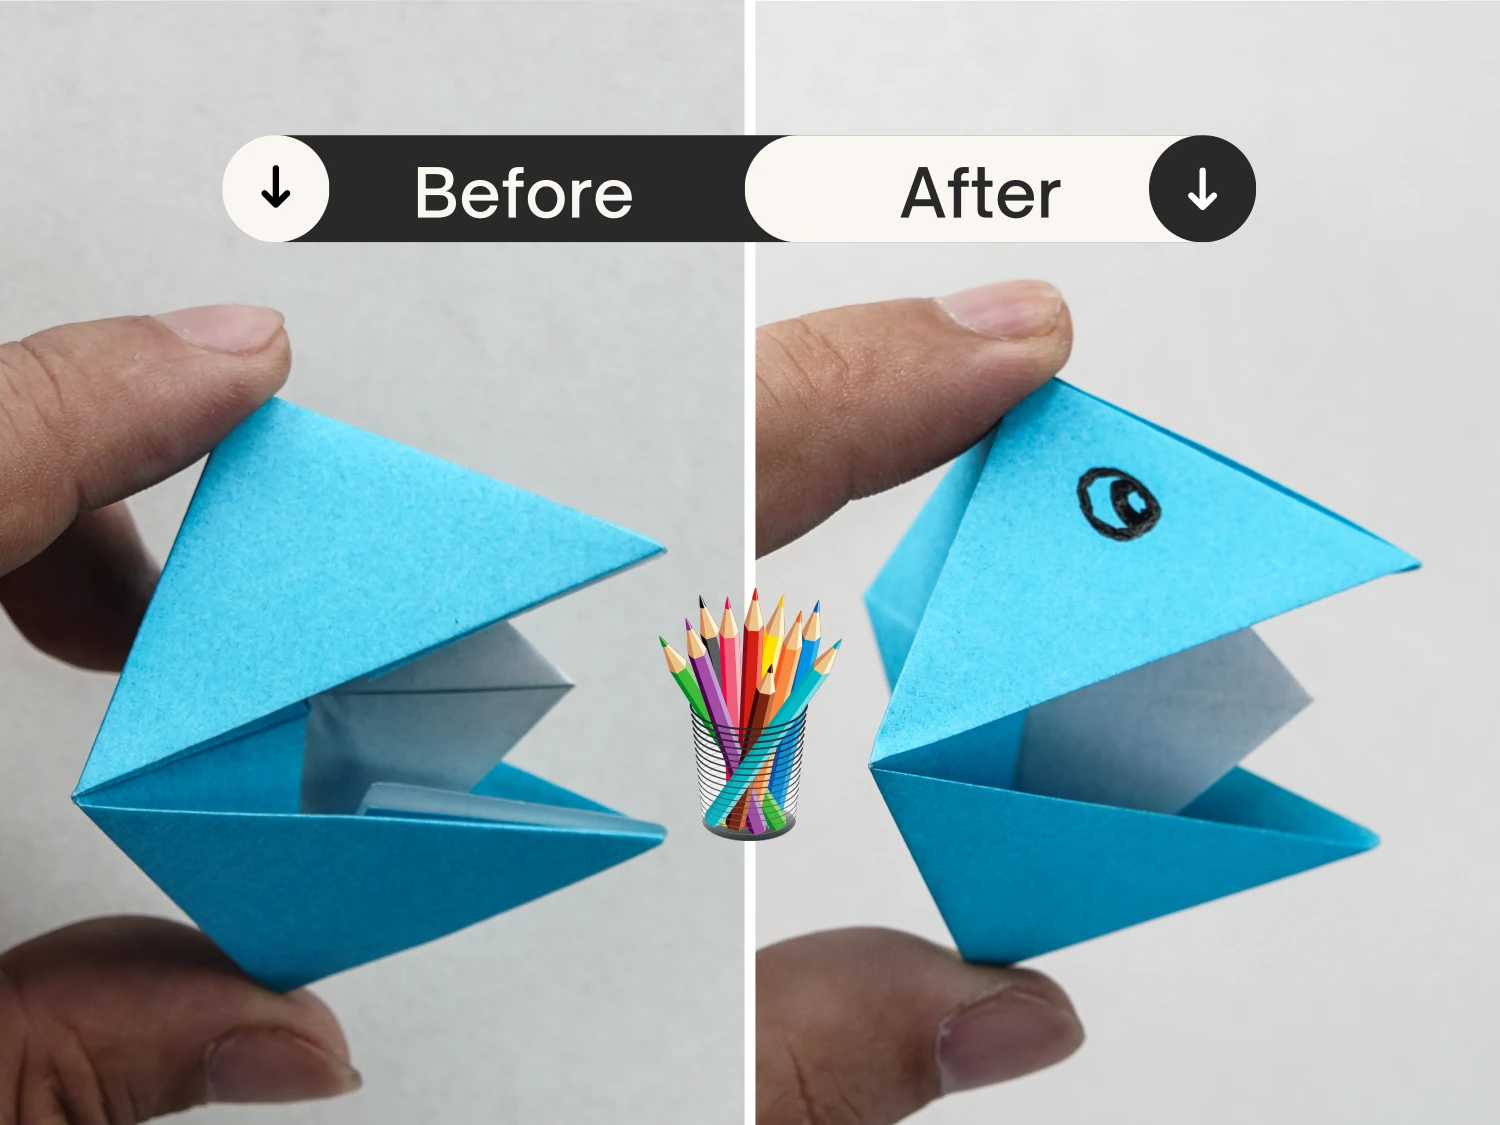
Step 17
Rotate it 90 degrees clockwise, and draw eyes for this lovely snapper.
What’s Next
Check out our other origami animal tutorials, they’re all easy, cool and cute, and we will keep updating them.


