How to Make an Easy Origami Heart Box
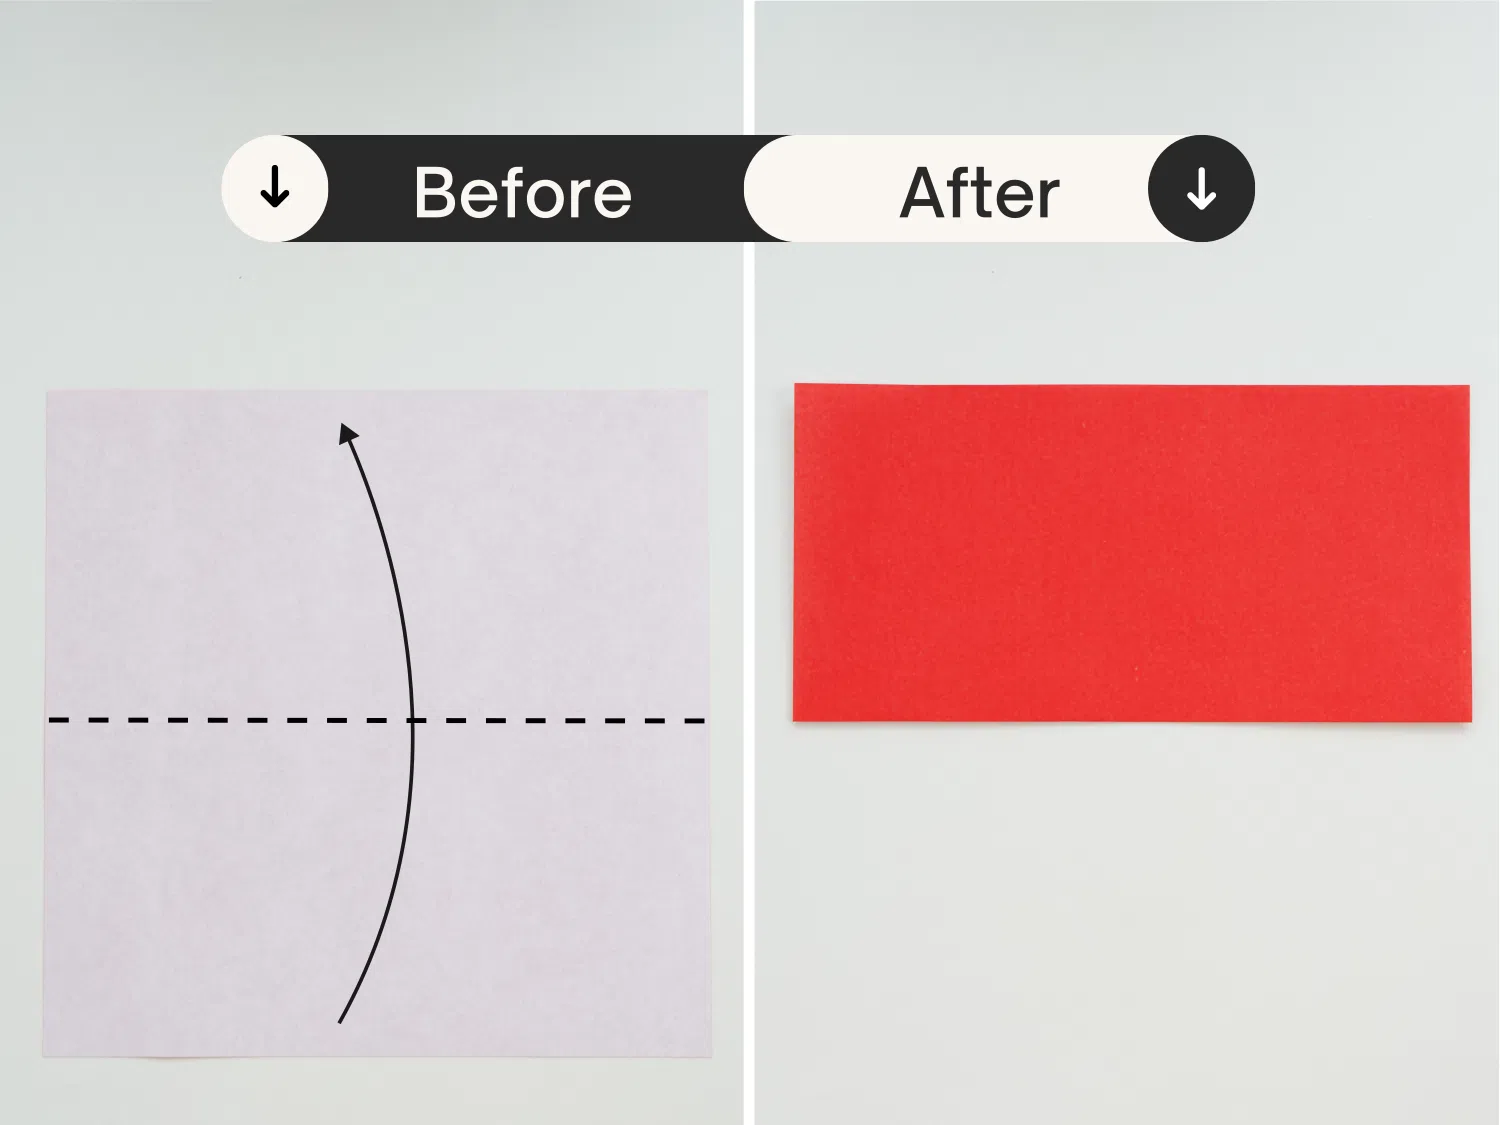
Step 1
Start with the white side of the paper facing up and fold it in half.
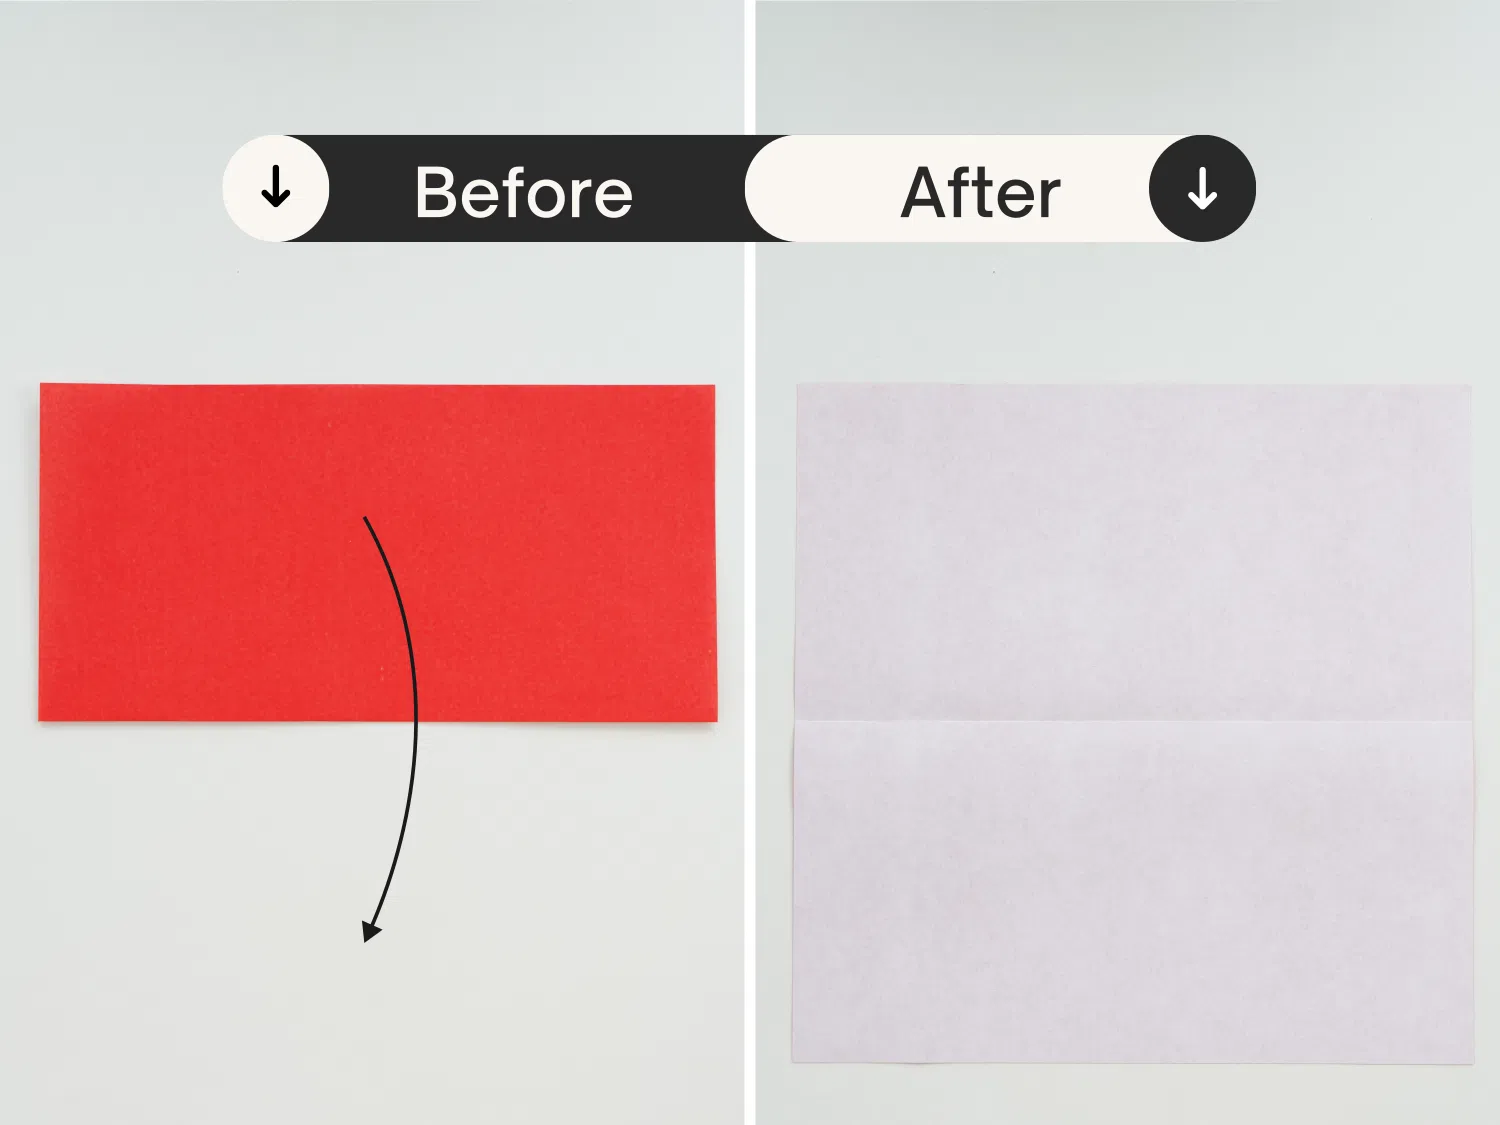
Step 2
Unfold it.
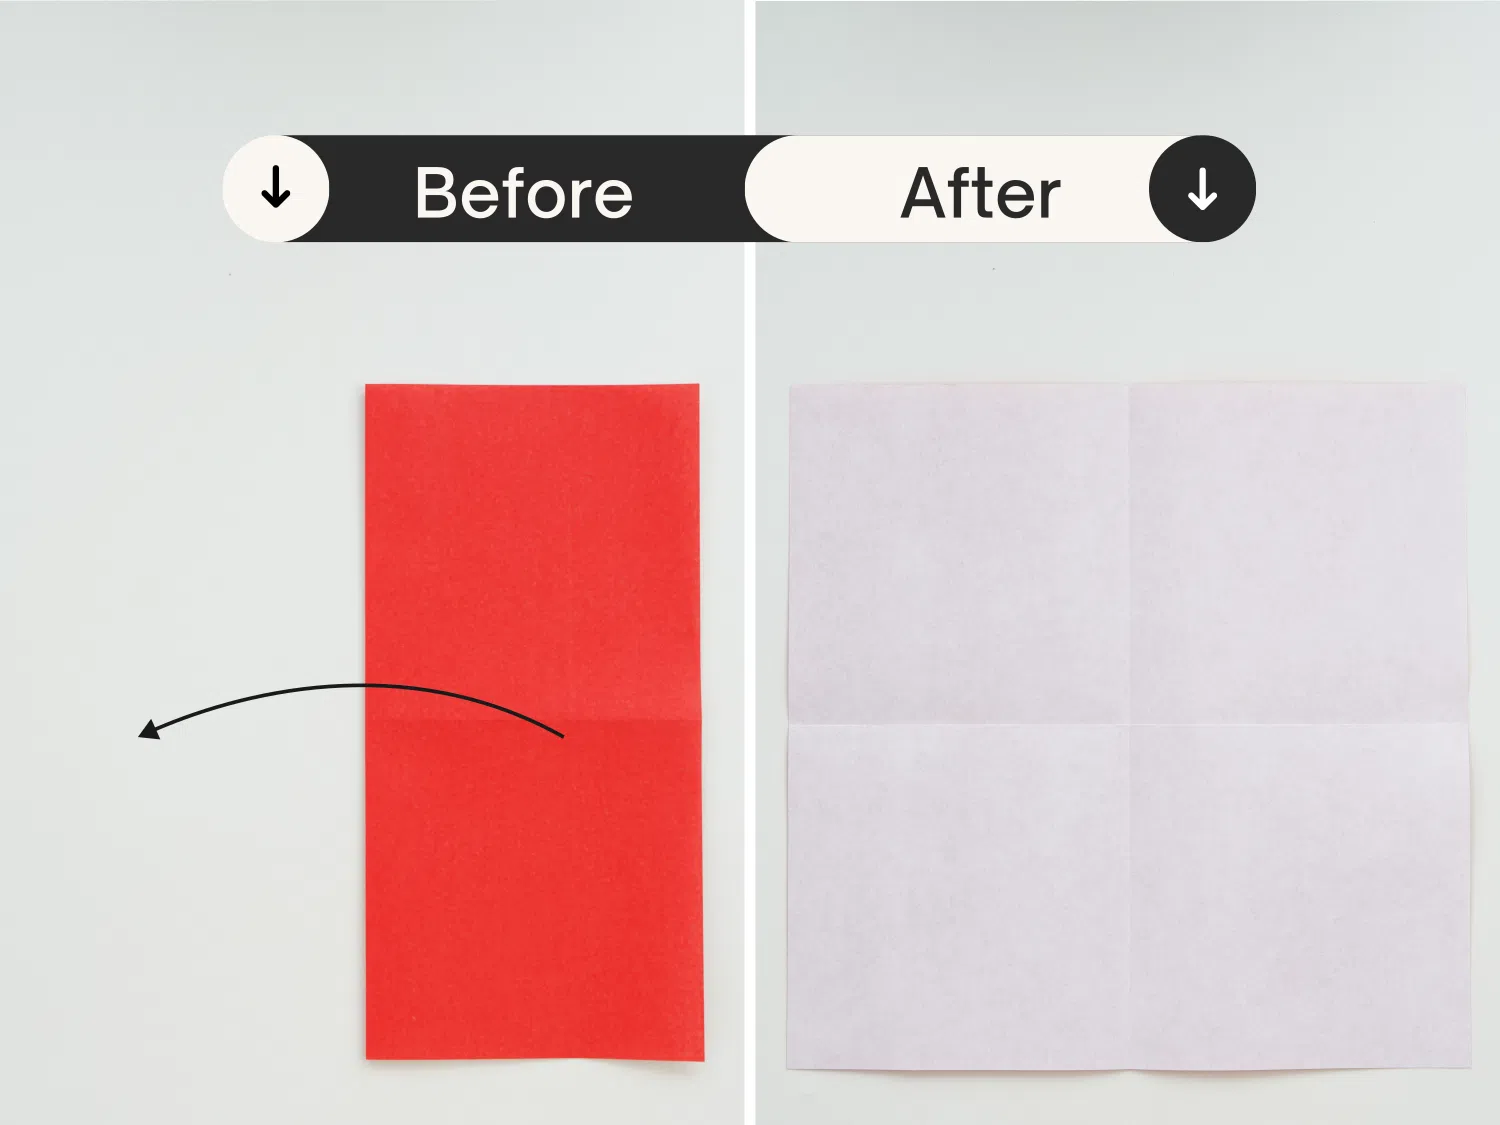
Step 3
Fold it in half from left to right.

Step 4
Unfold it again.
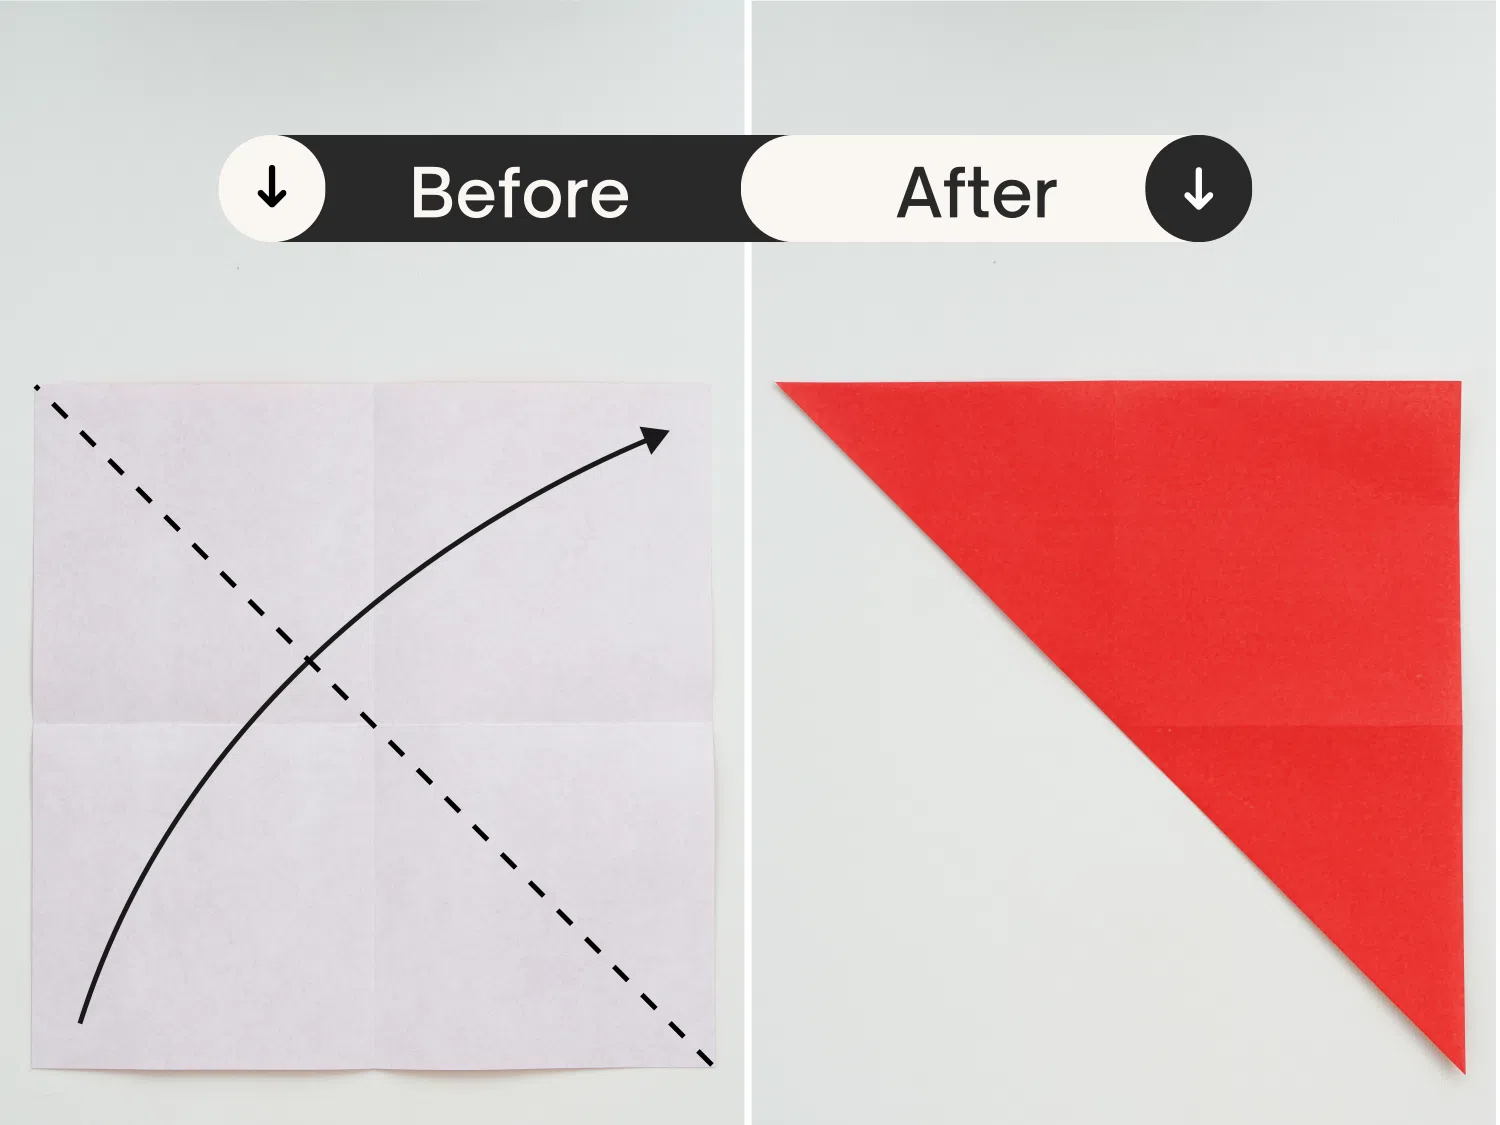
Step 5
Fold the paper in half diagonally from the bottom left to the top right.
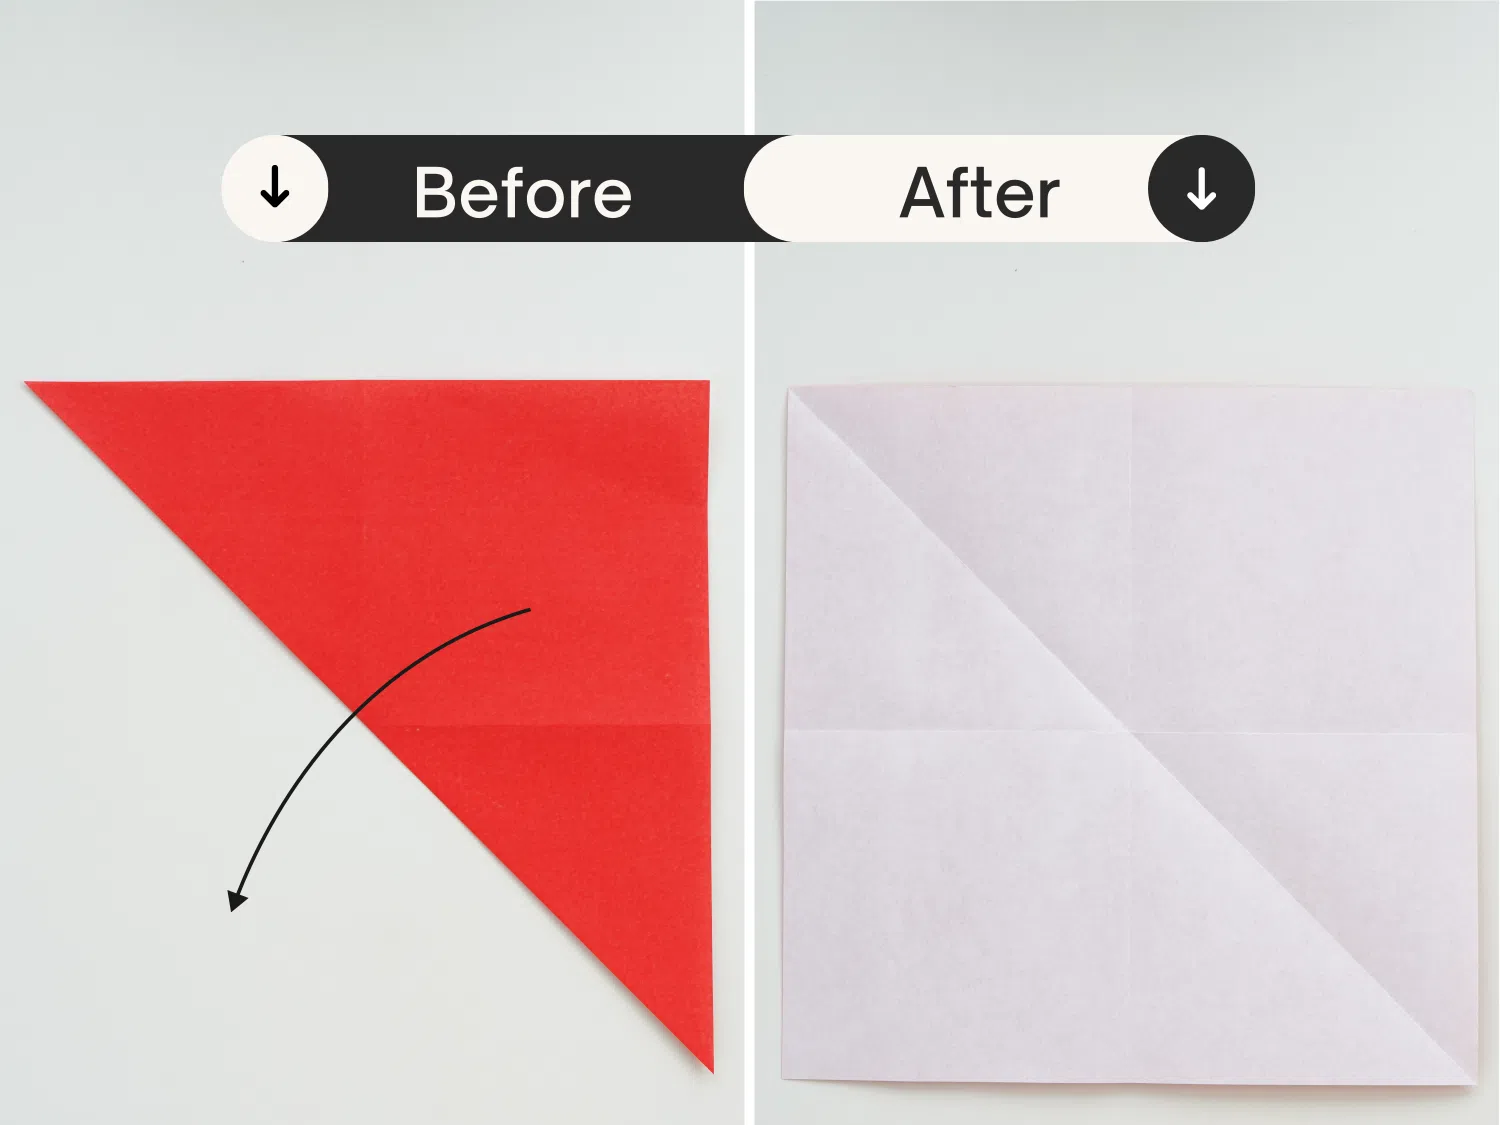
Step 6
Then unfold it again.
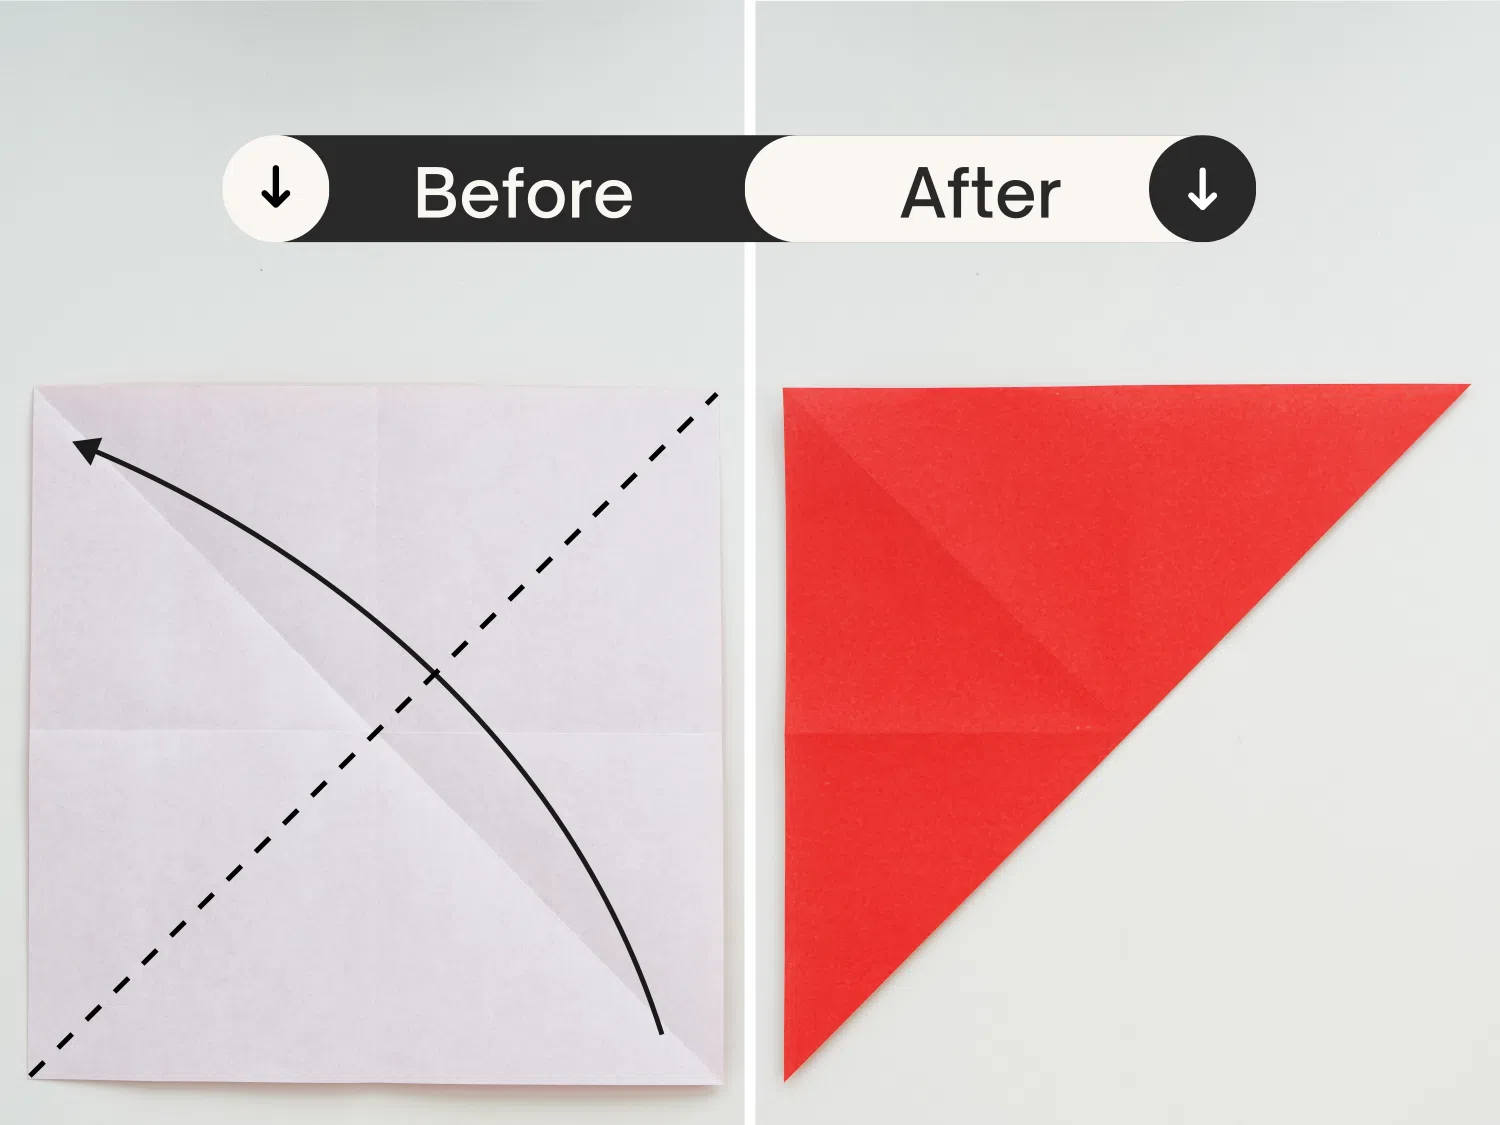
Step 7
Fold it in half diagonally from the bottom right to the top left.
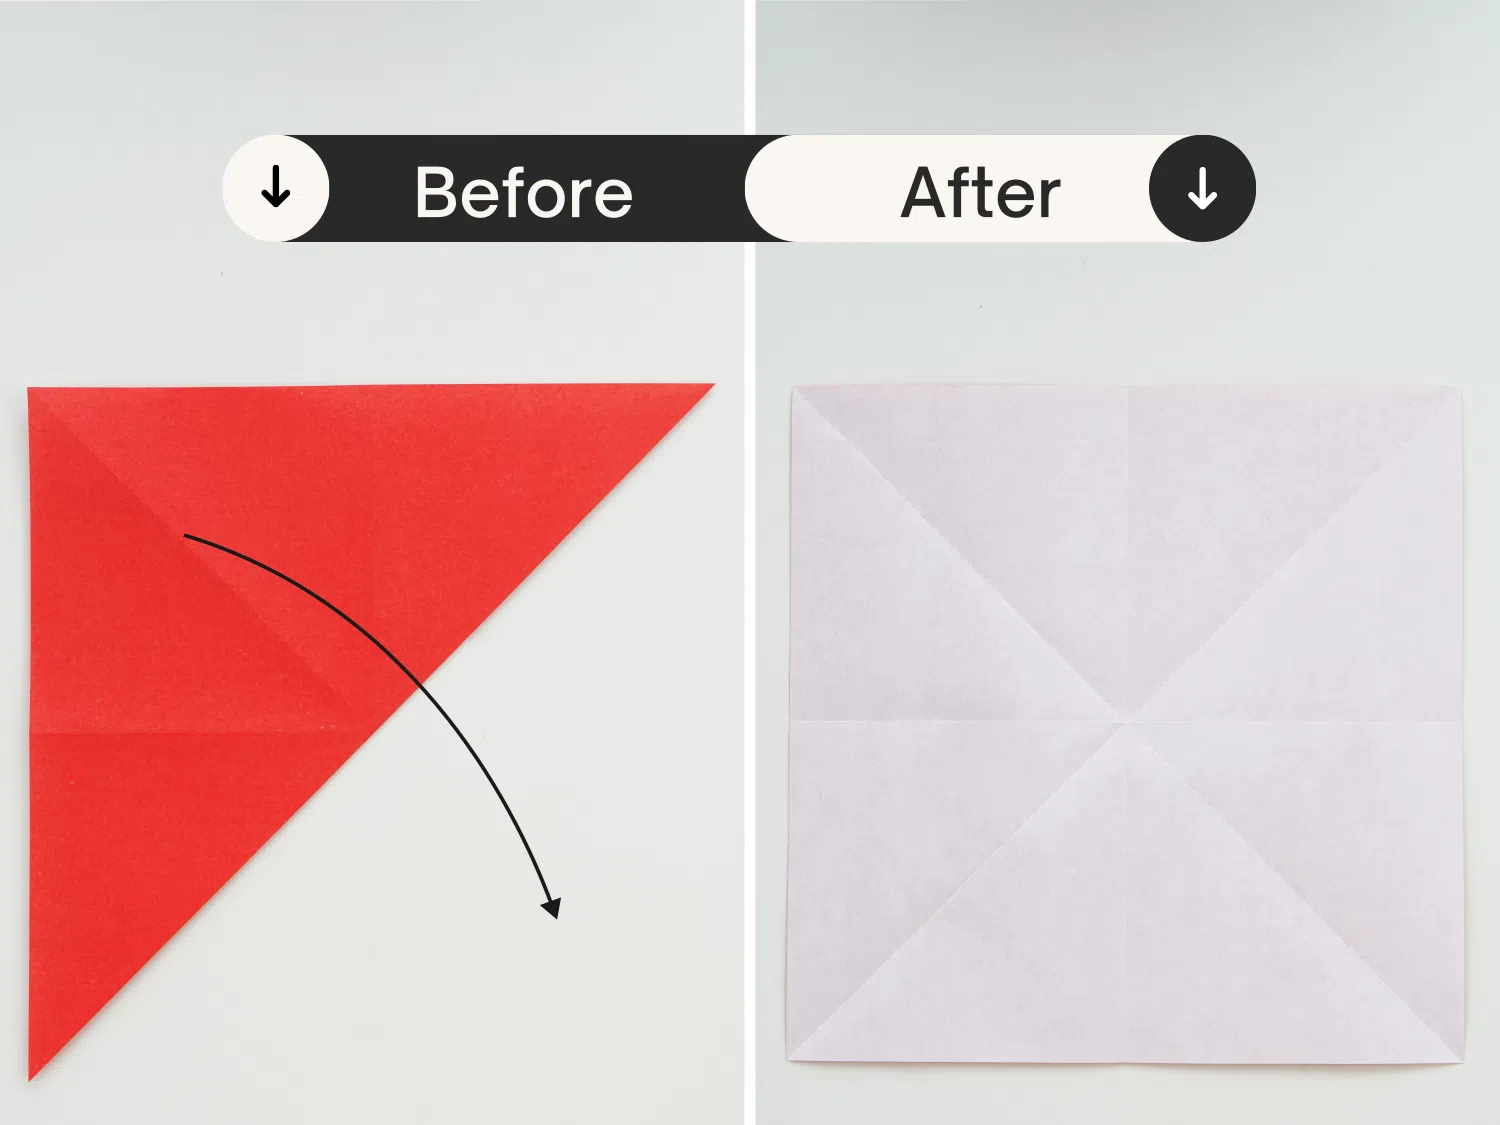
Step 8
Unfolding the paper, we can see here are four intersecting creases.
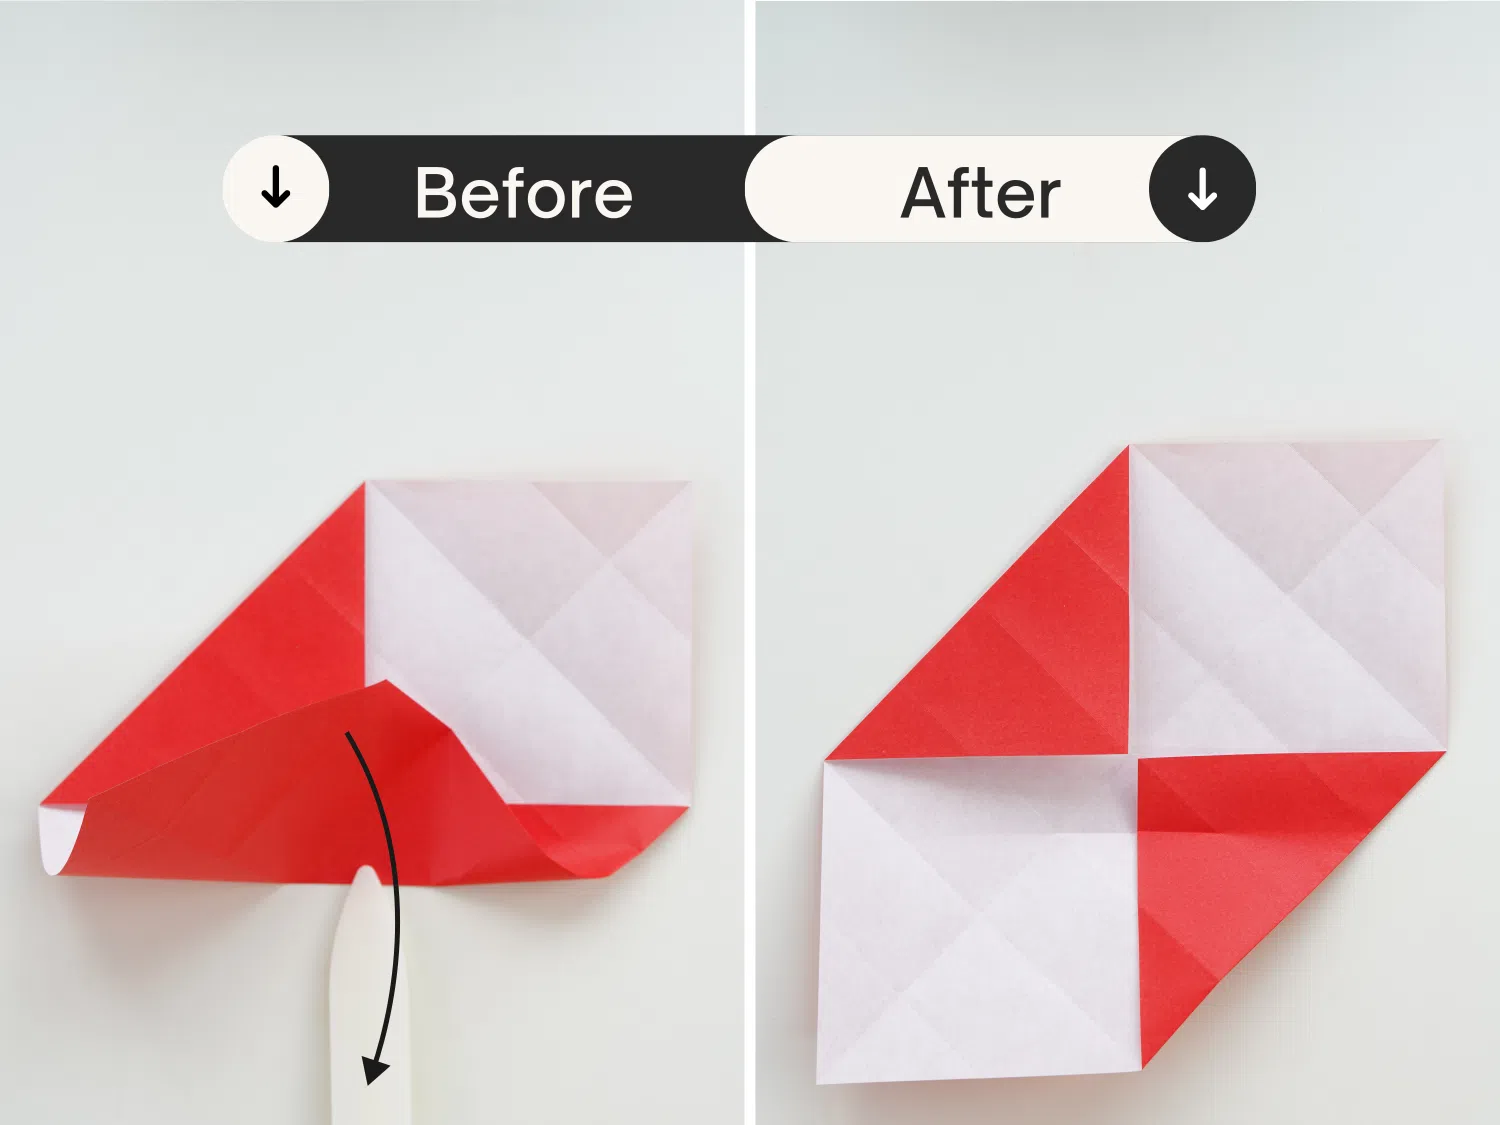
Step 9
Fold the top right corner and the bottom left corner of the paper to the center.
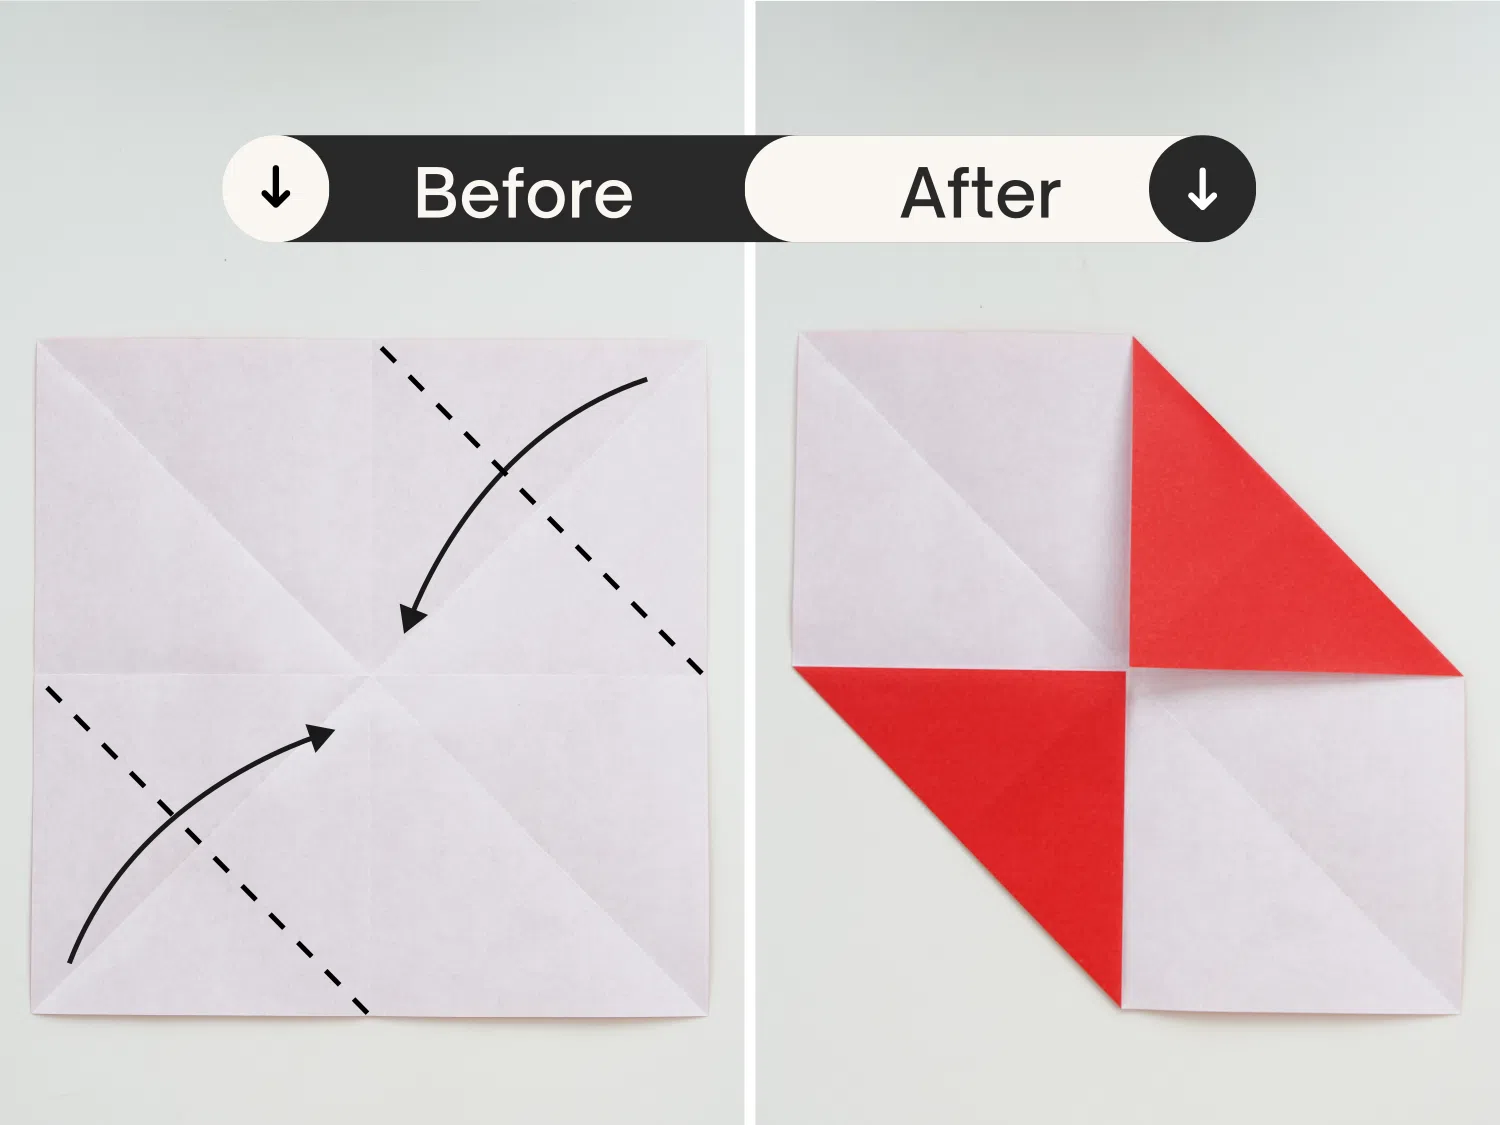
Step 10
Fold two bottom edges of these two red triangles to meet the center crease.
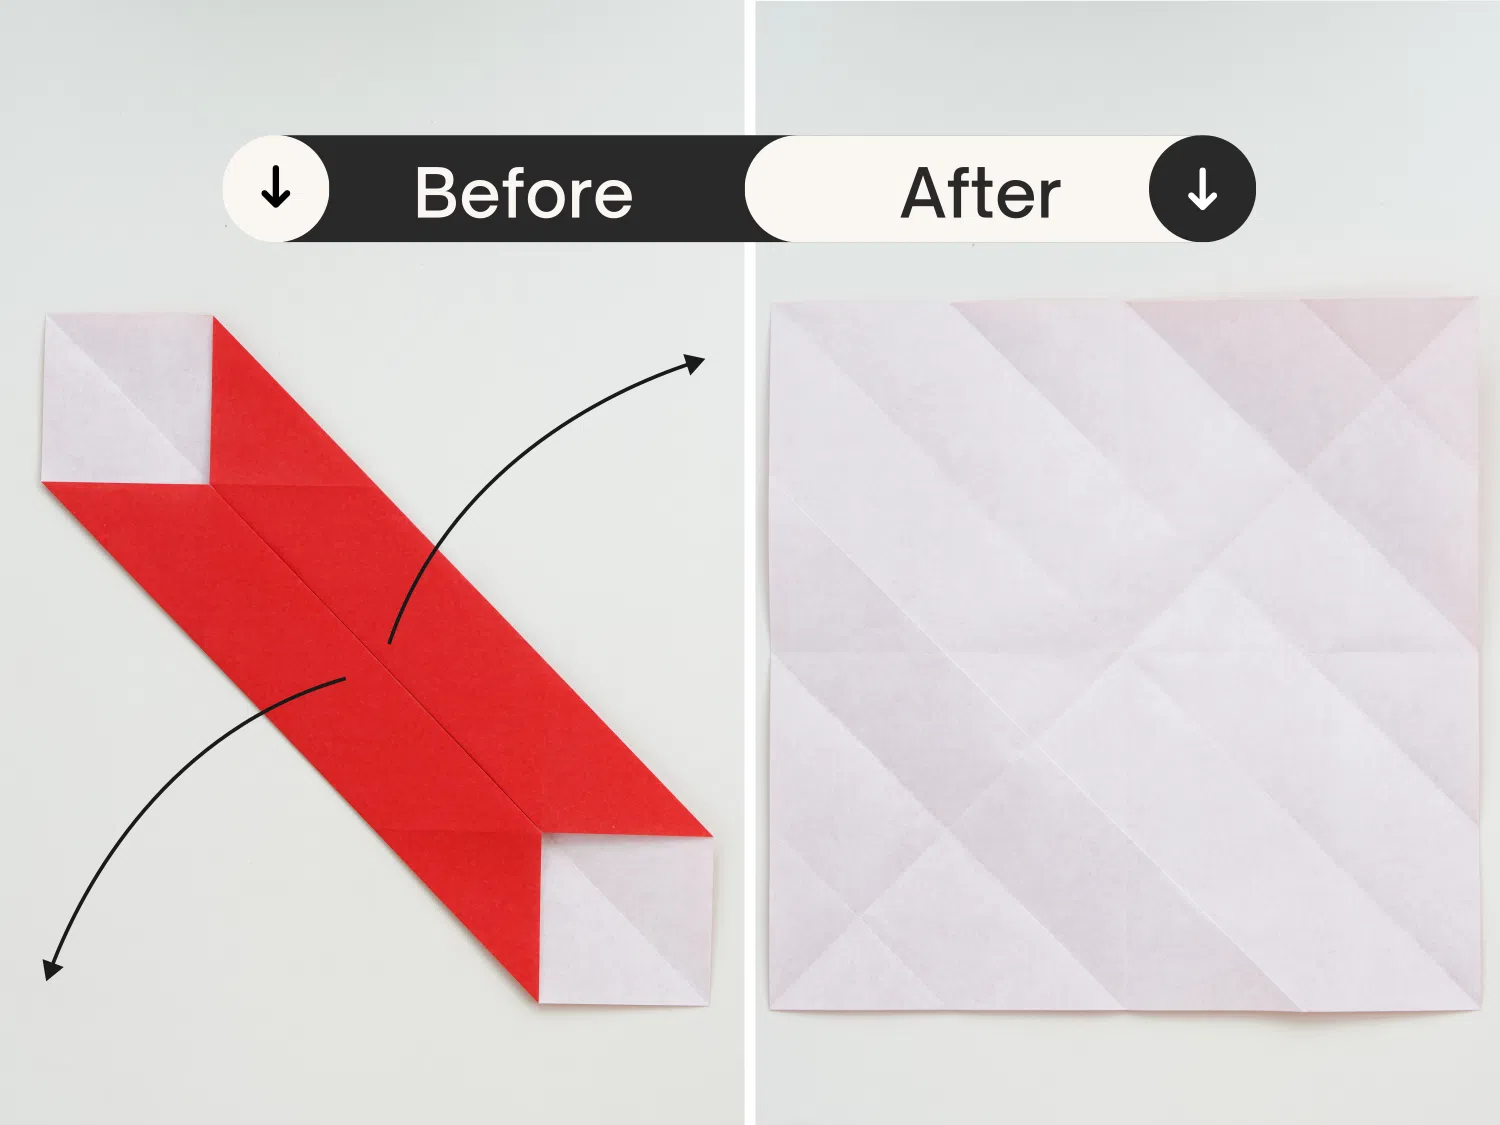
Step 11
Then unfold the paper completely.
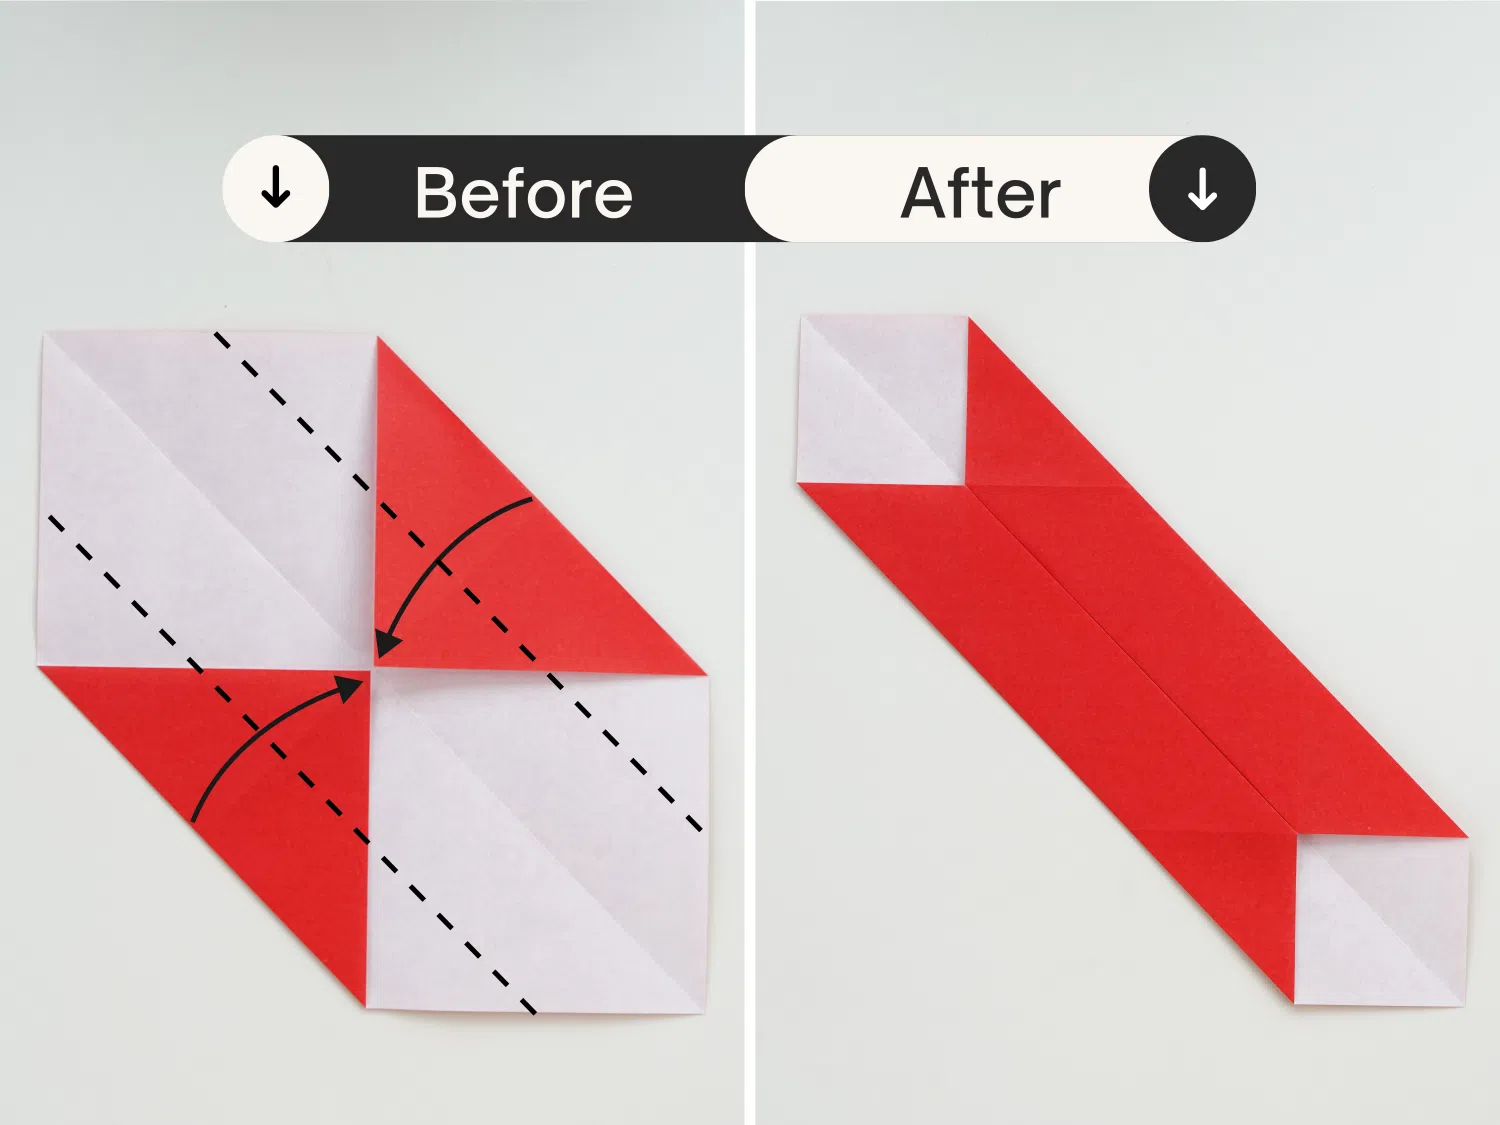
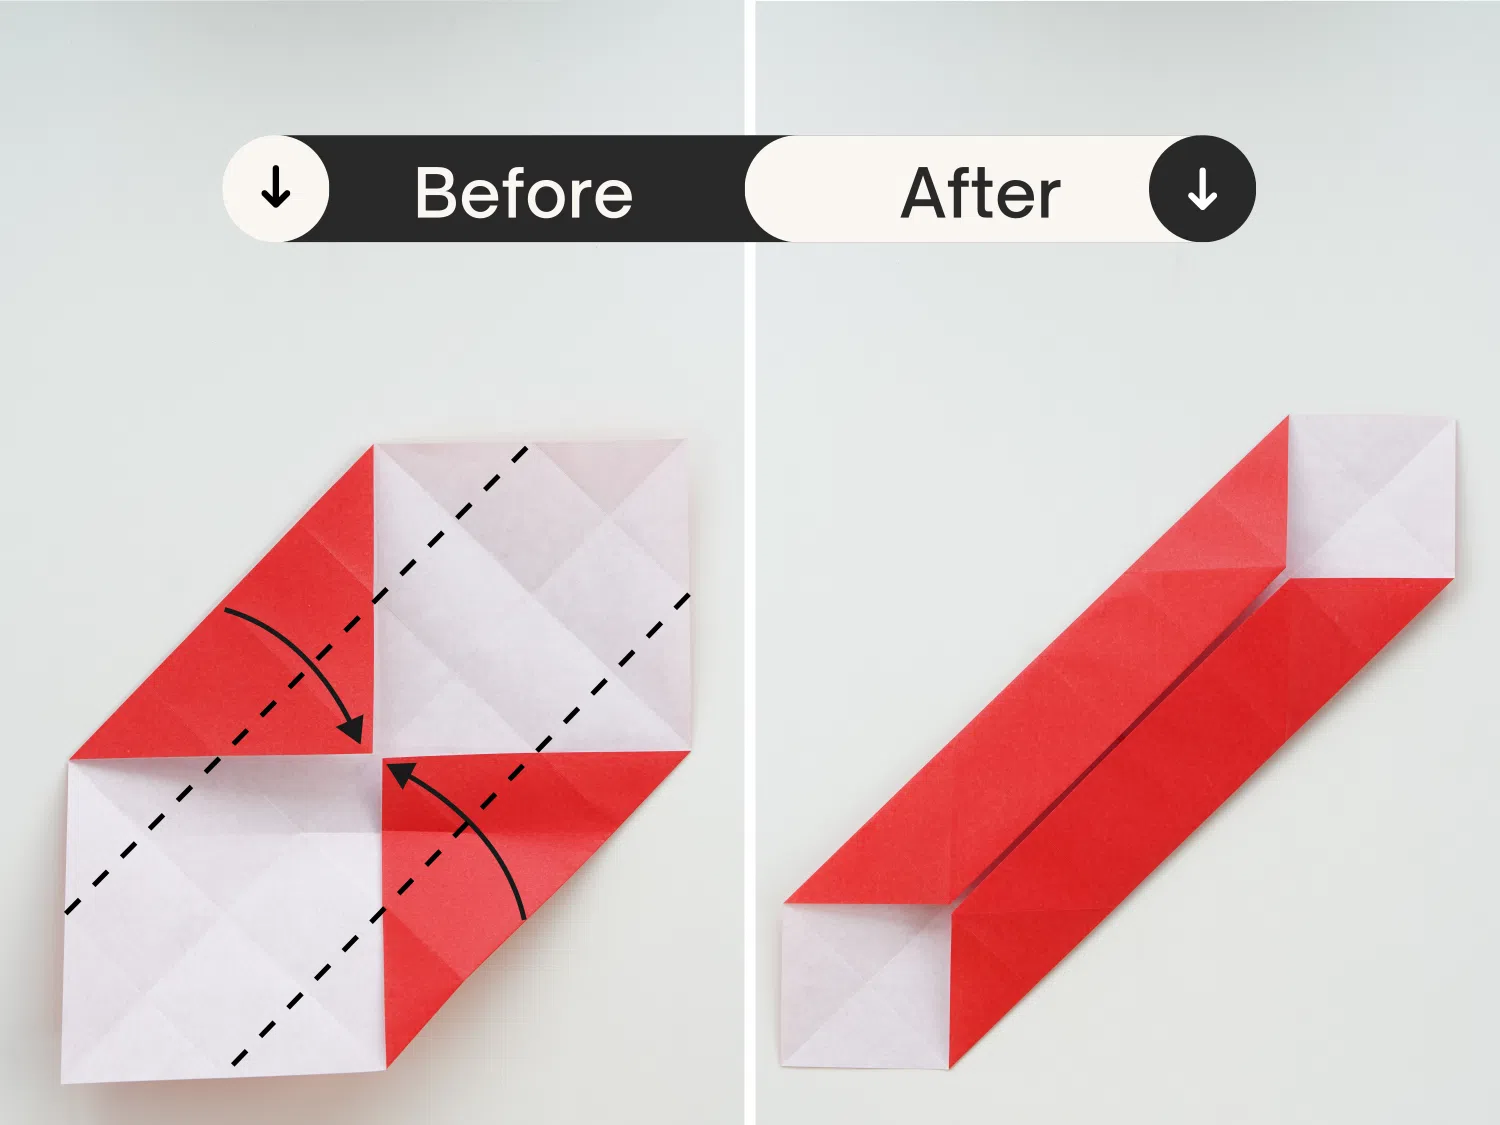
Step 12
Fold the top left corner and the bottom right corner to the center.

Step 13
Fold the bottom part of the paper up vertically along the dotted line.
Note that this crease should form a right-angled isosceles triangle with the two creases below the midpoint of the paper.
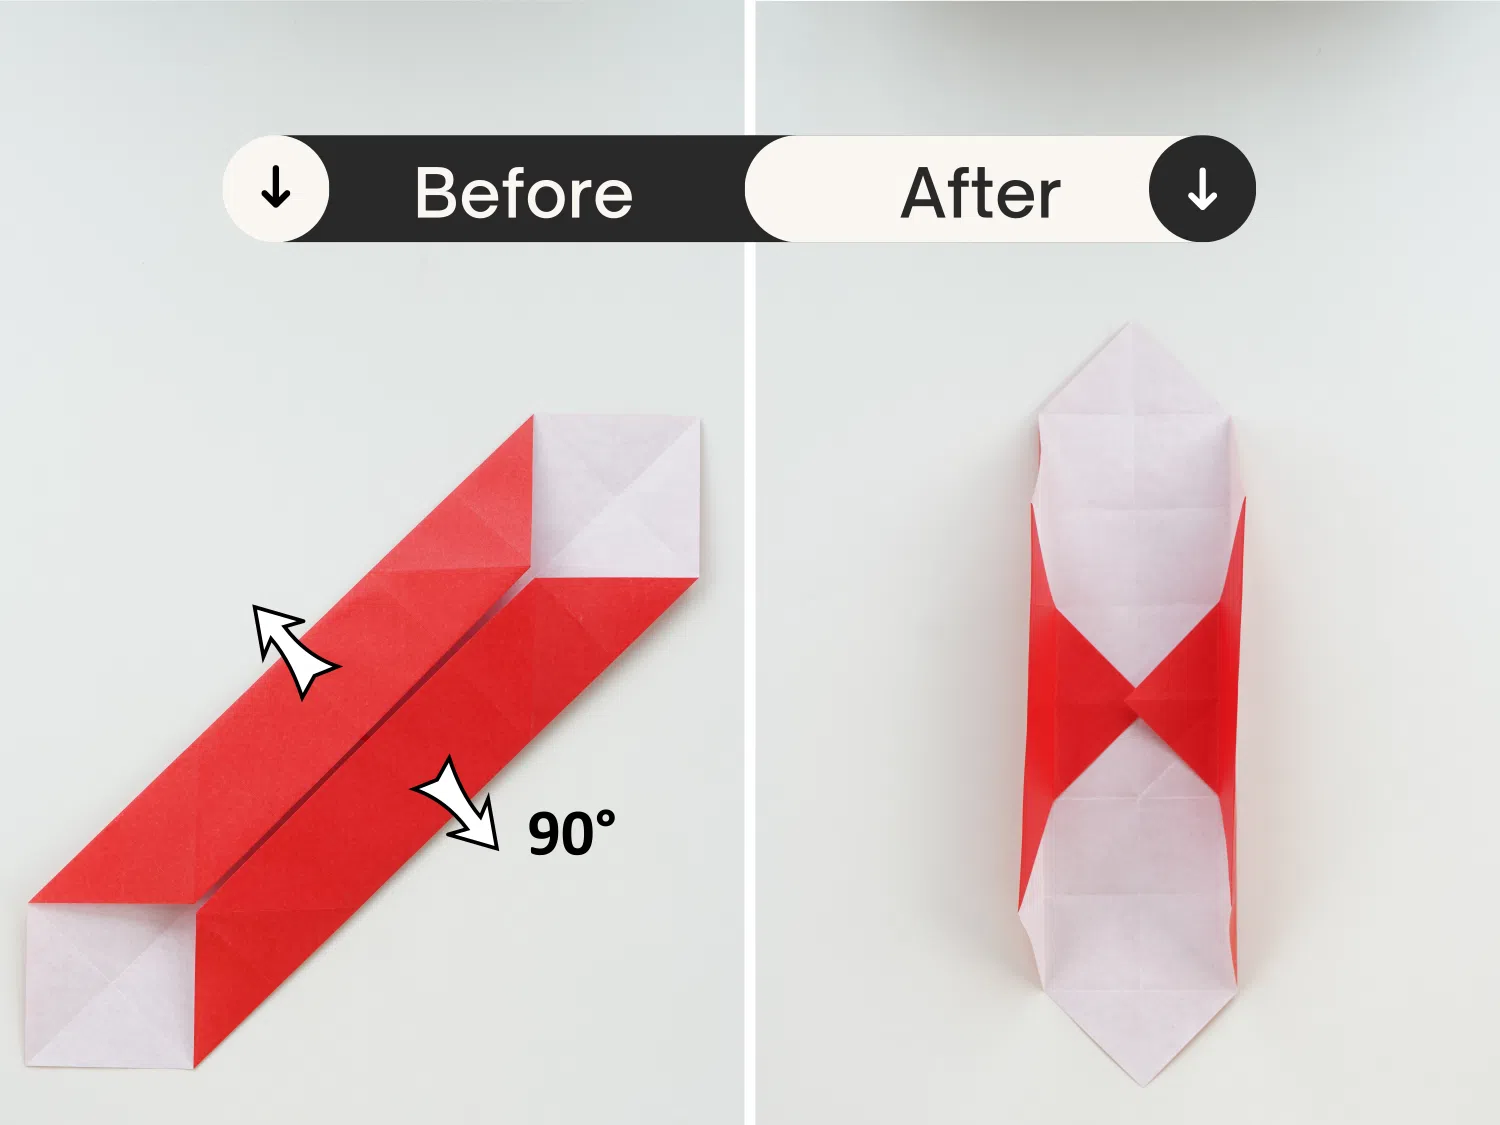
Step 14
Make a middle crease and unfold it.
Step 15
Fold these two edges along the dotted line to the center, in the same manner as step 10.
Step 16
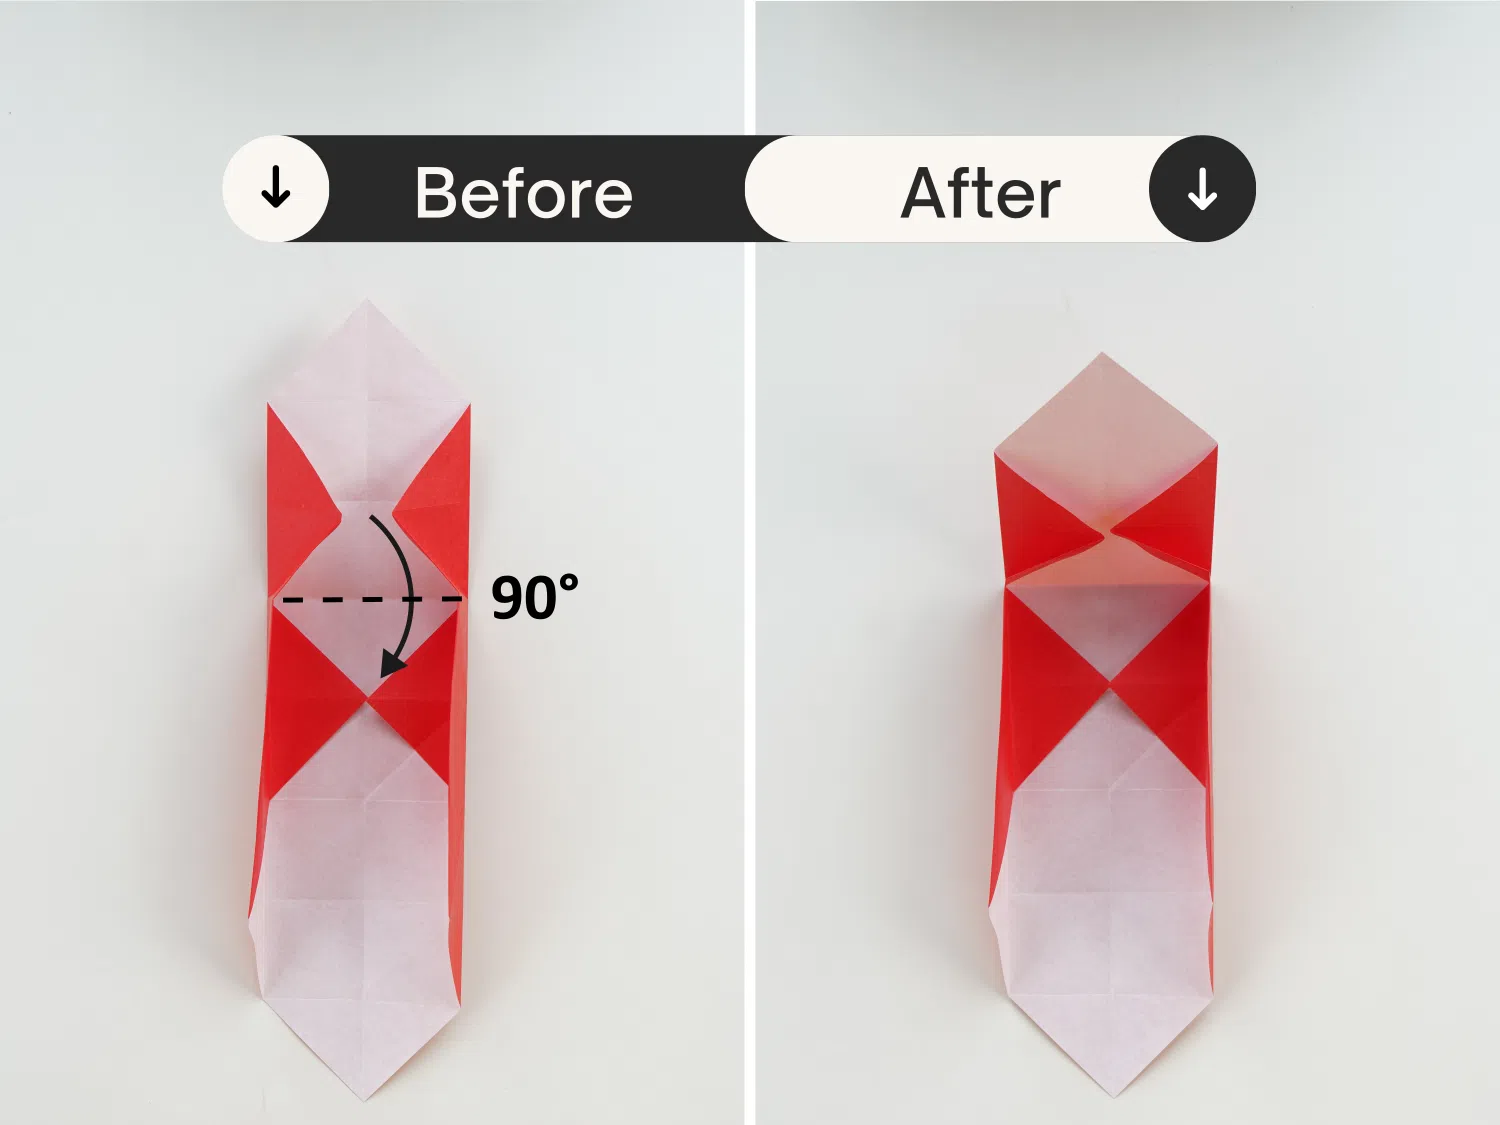
Unfold them to 90 degrees, creating two vertical edges.
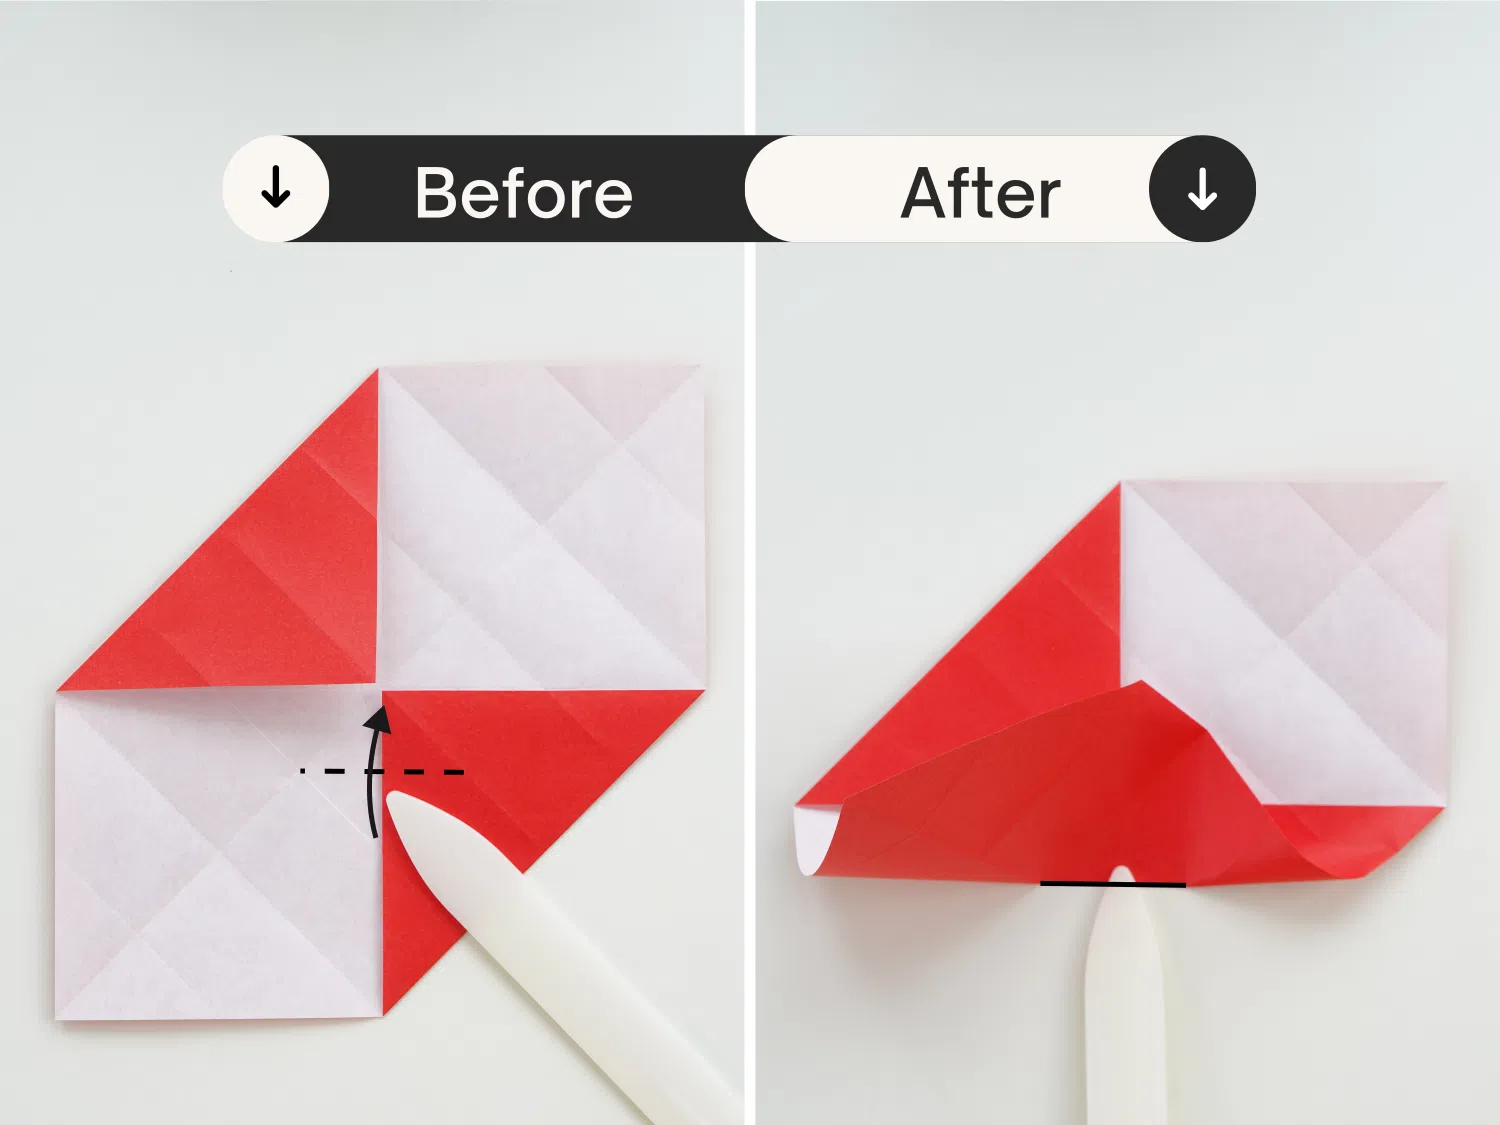
Step 17
Push both of these diagonal creases on both sides towards the center, creating valley folds.
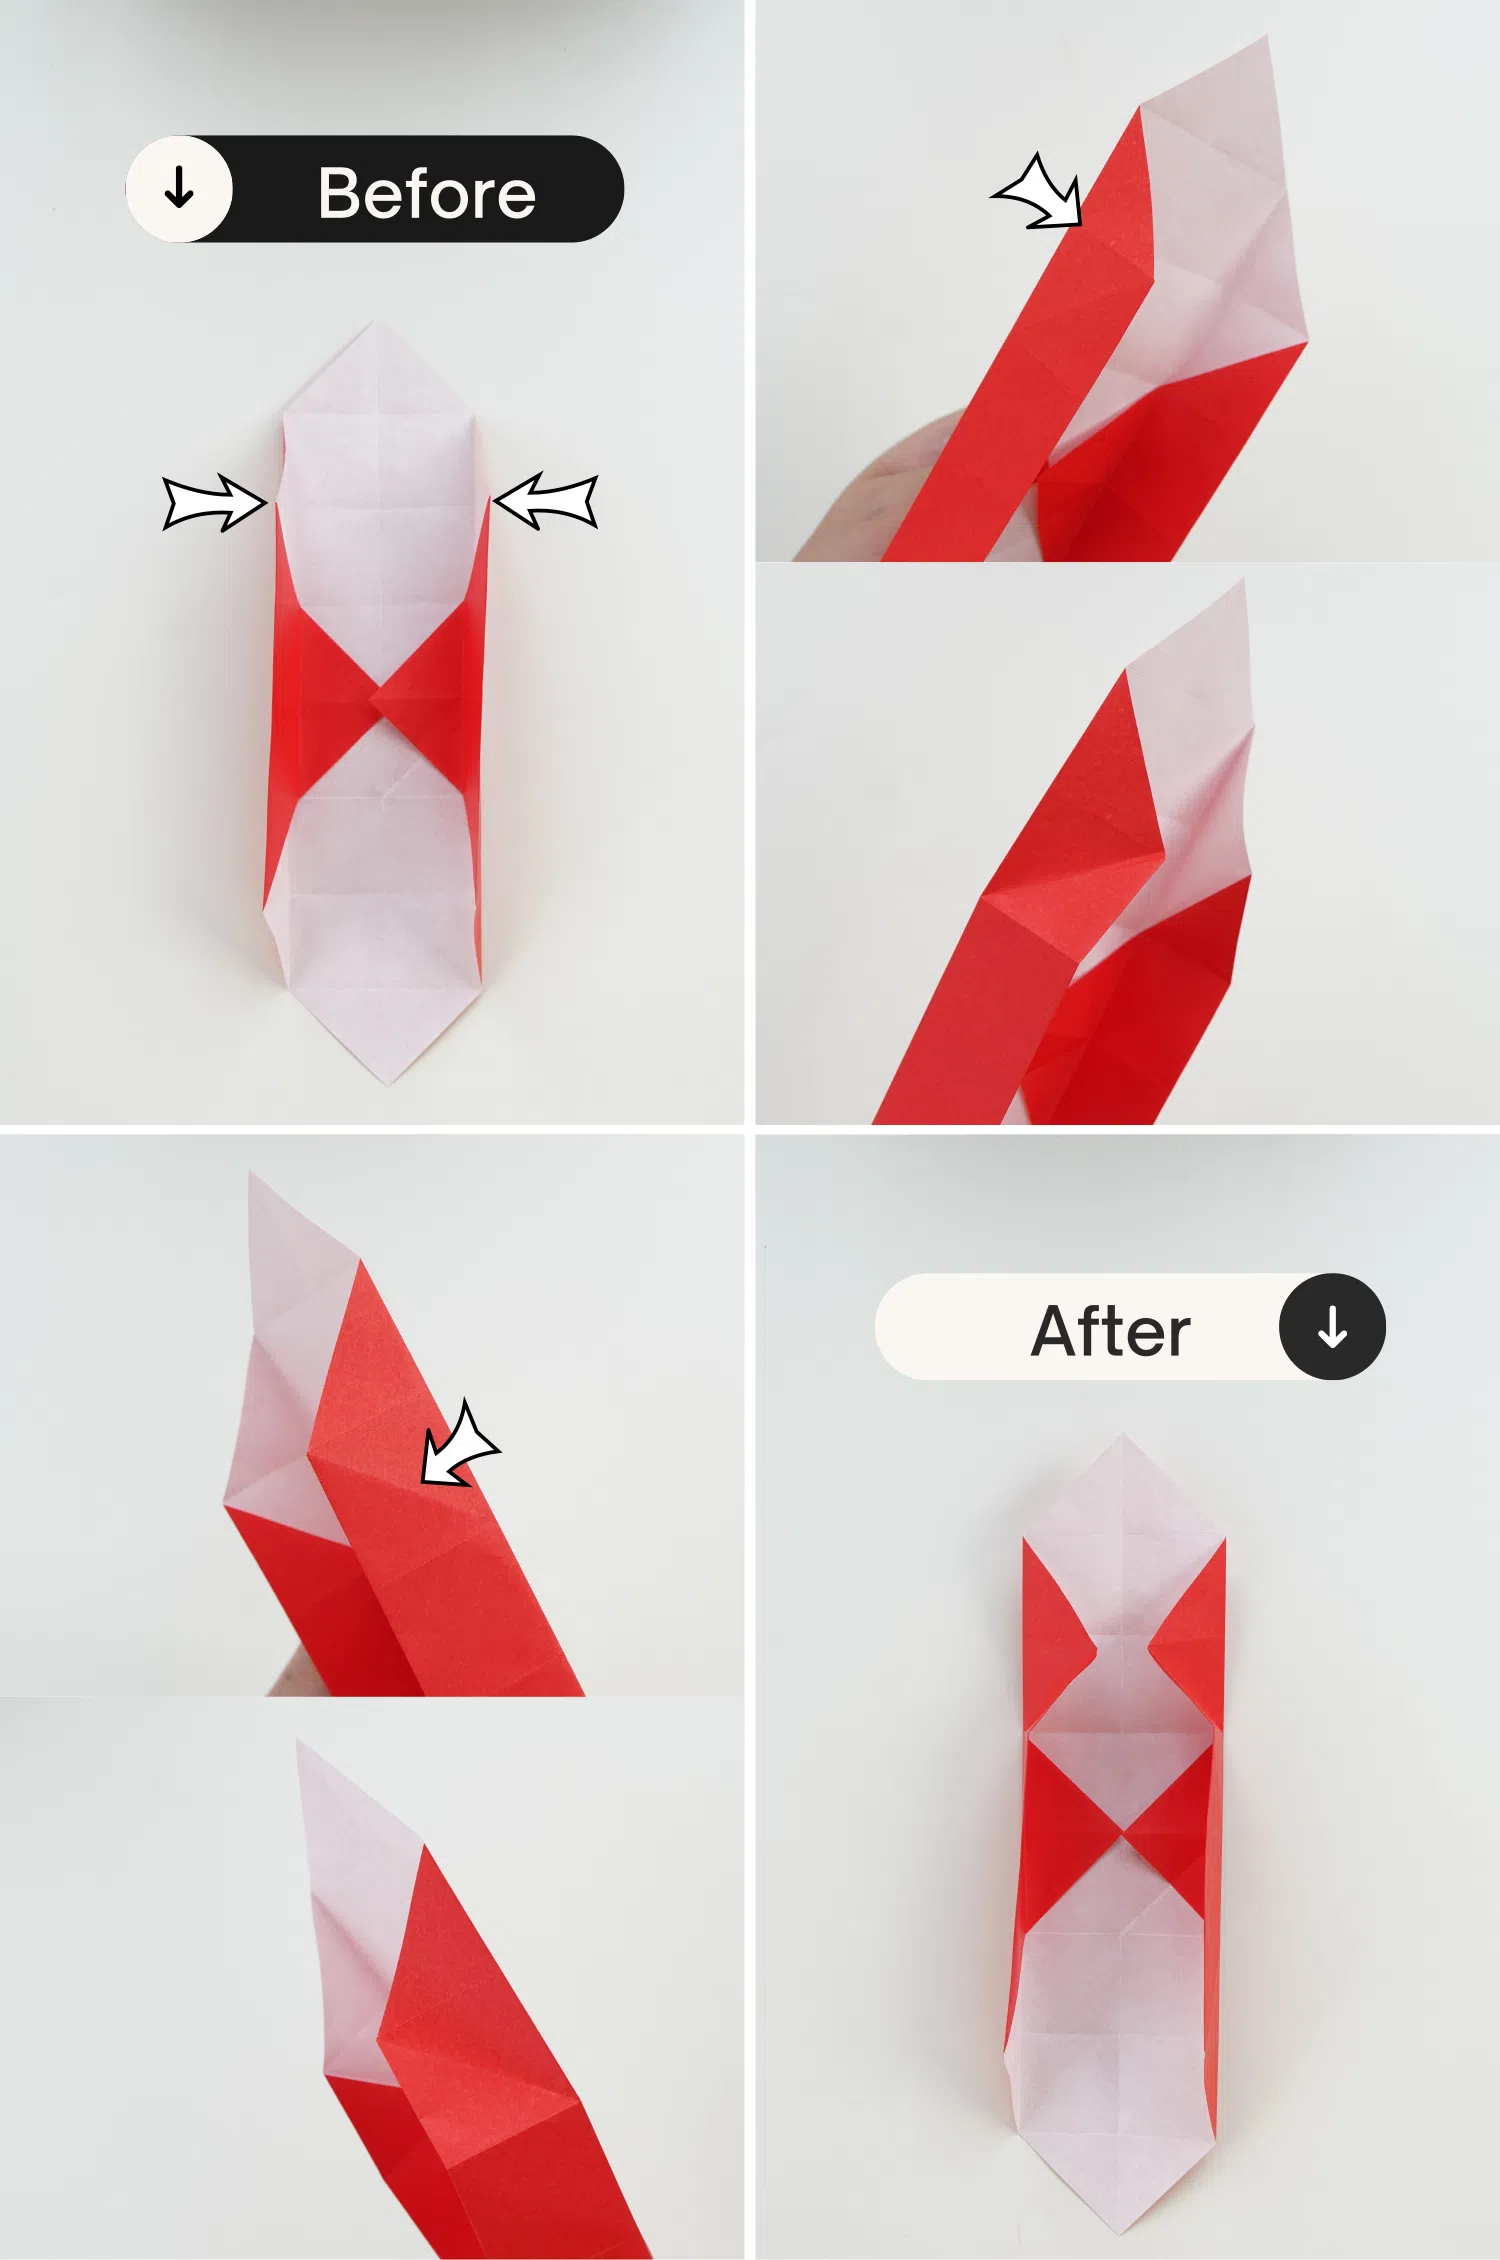
Step 18
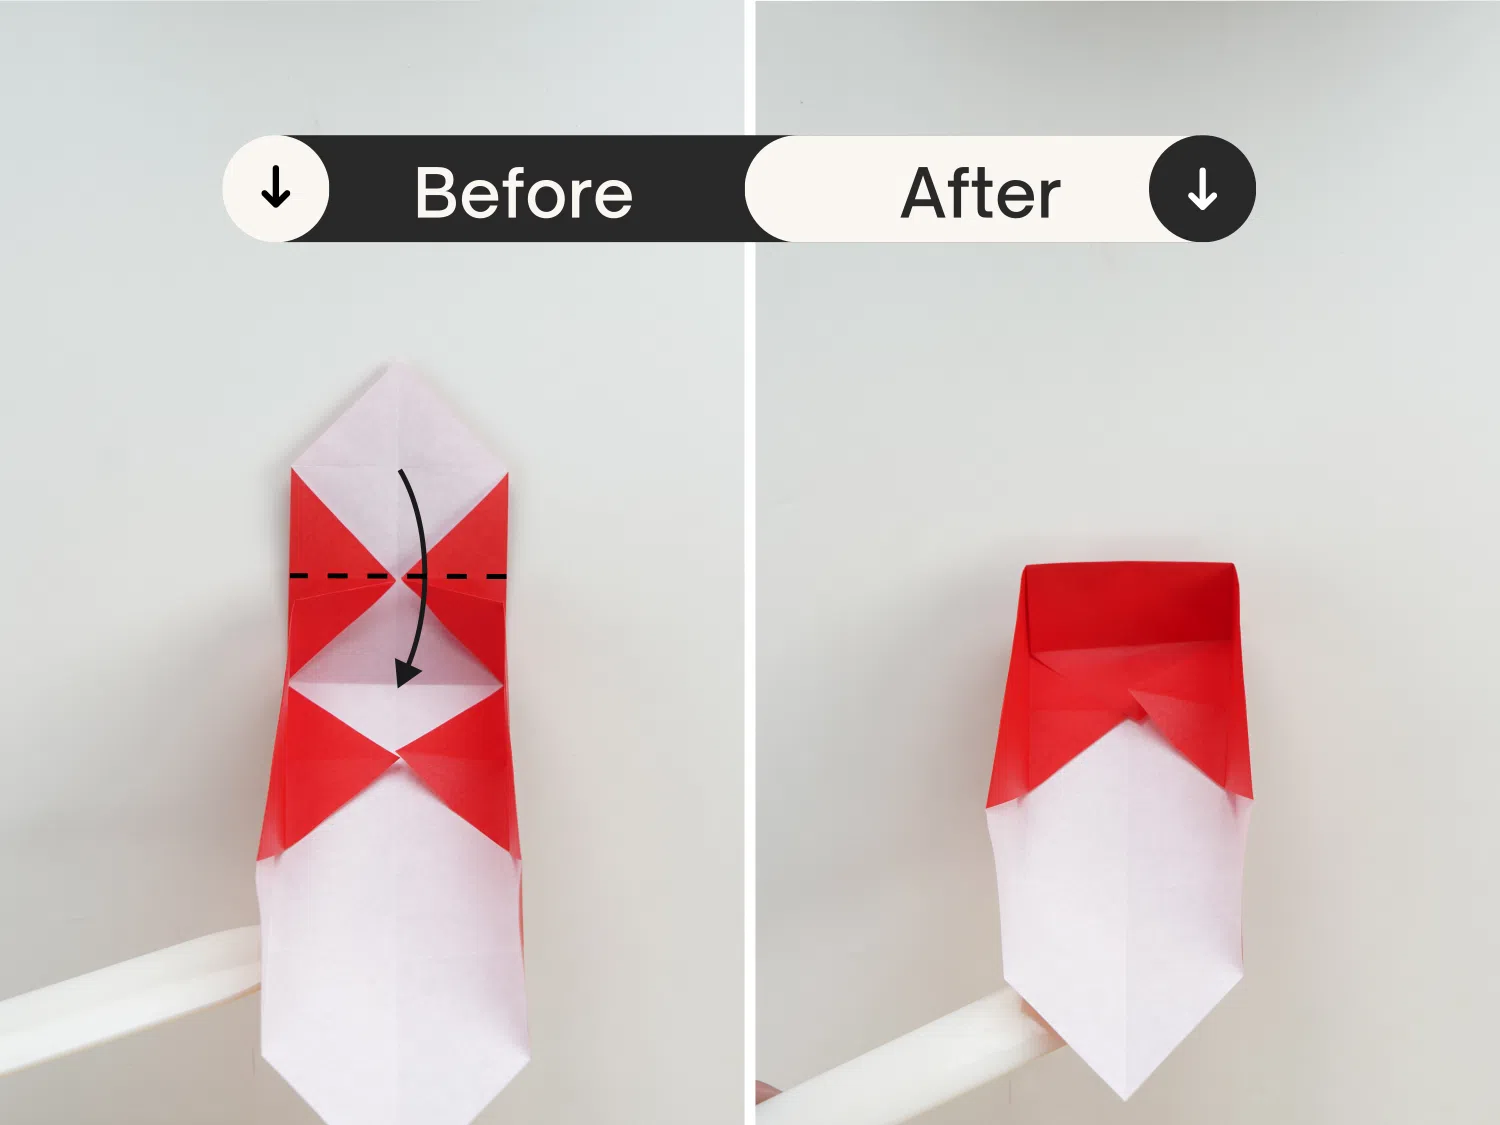
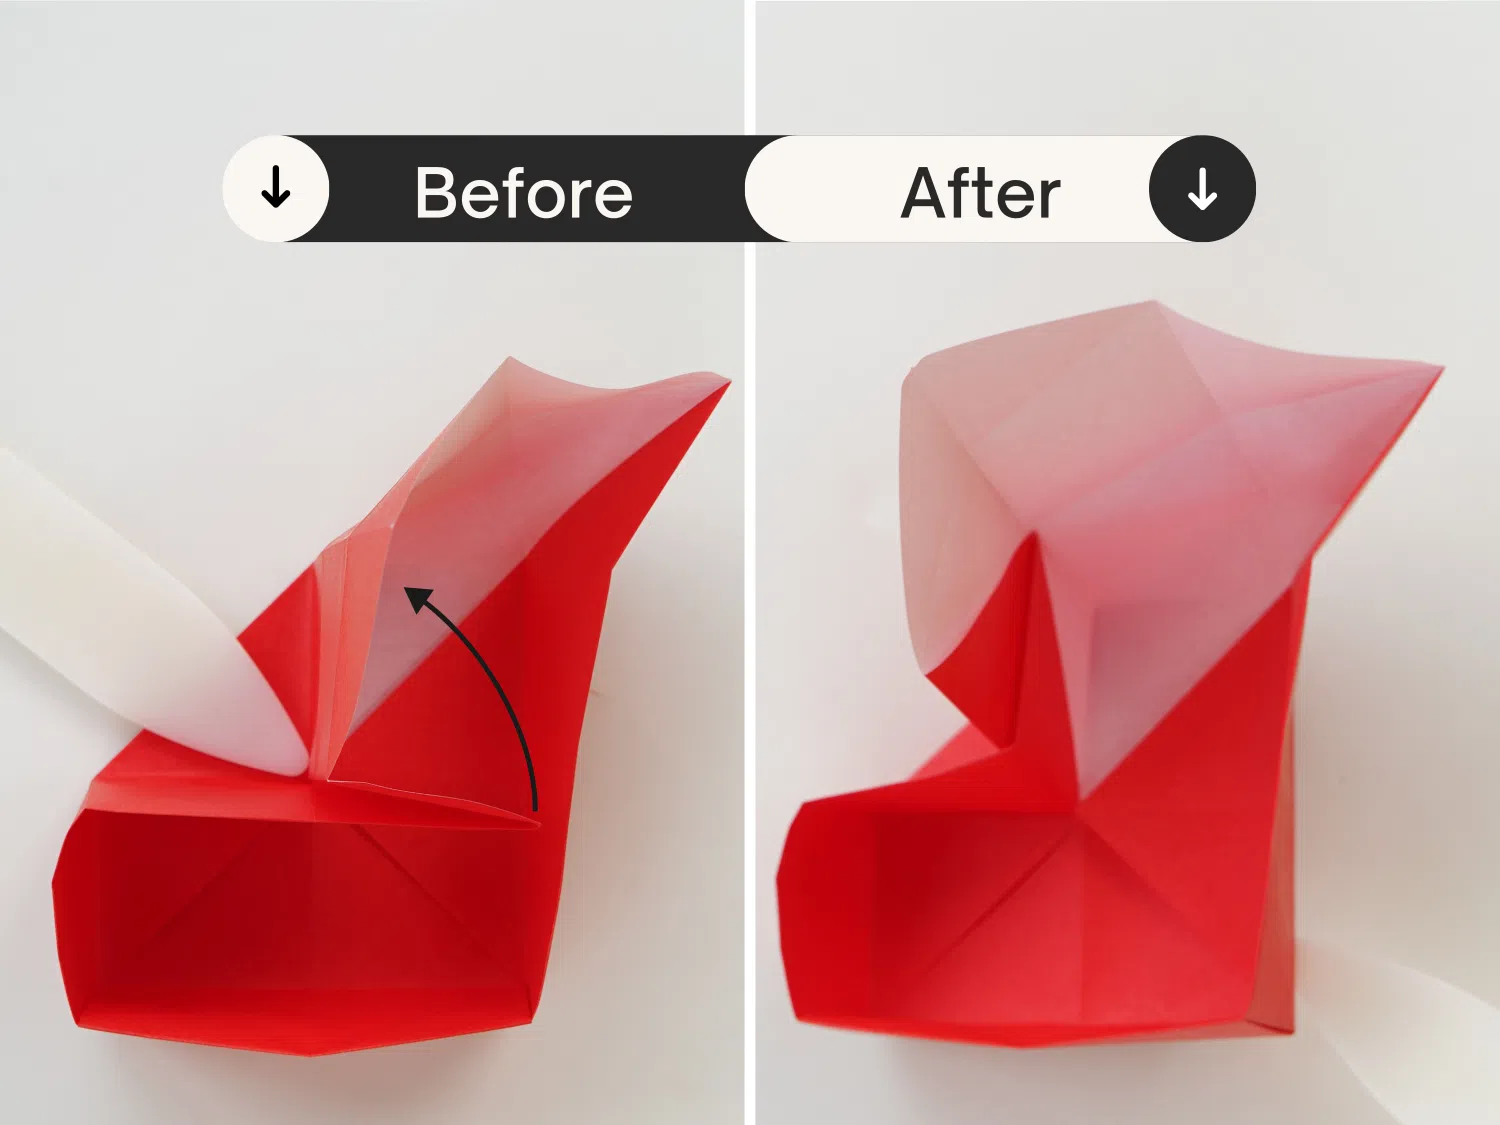
Lift the top point up to 90 degrees.
Step 19
Then fold it down along the dotted line. Adjust its shape to make it more square.
Step 20
Rotate it 180 degrees clockwise.
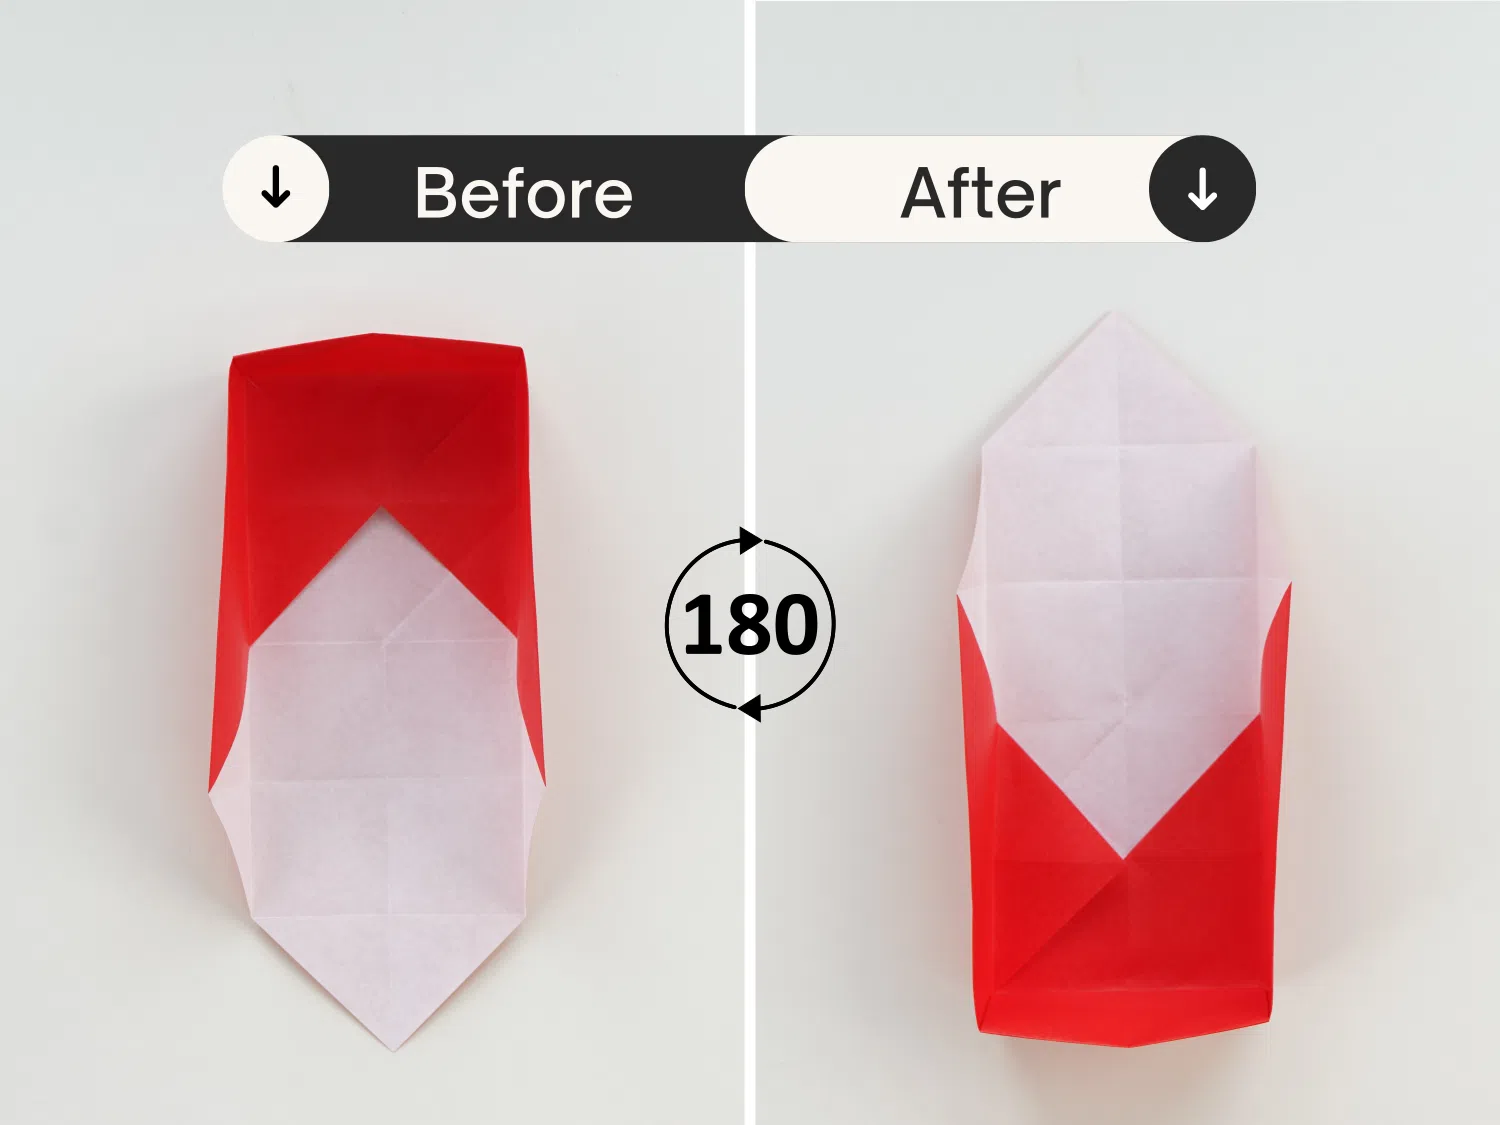
Step 21
Press down the left part of the paper along the crease you made in step 13.
Step 22
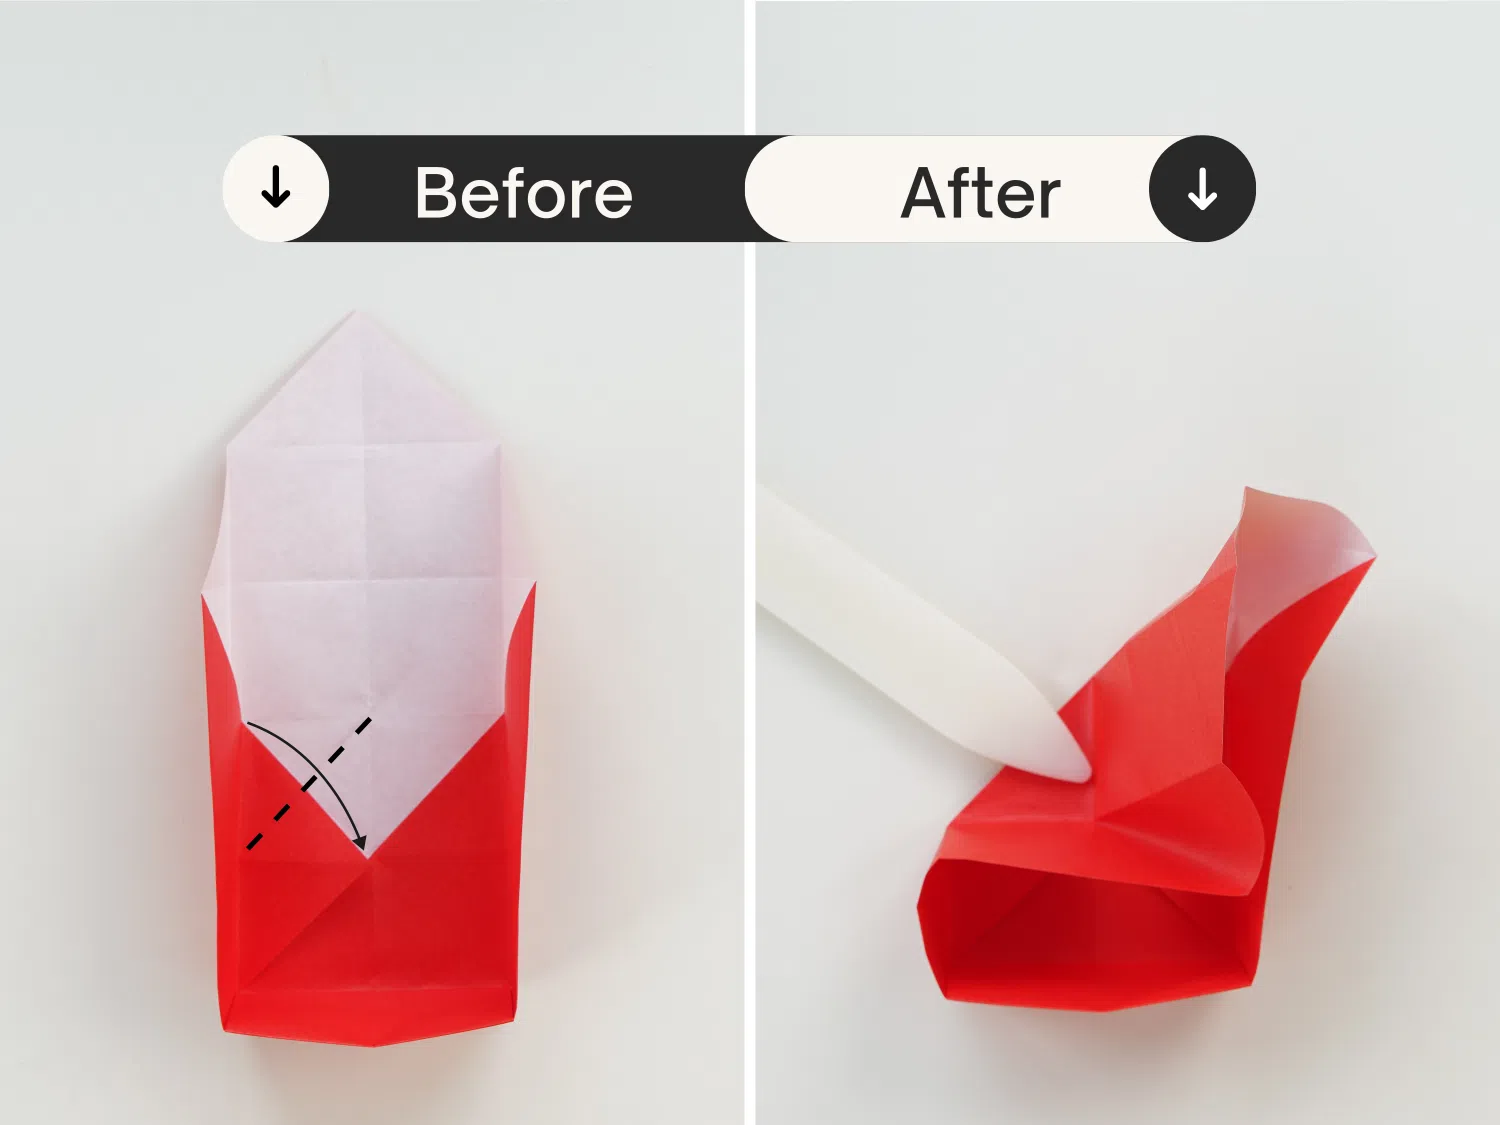
Fold these two sides together.

Step 23
Fold this corner to the left to meet the inside.
Step 24
Rotate the paper 45 degrees clockwise.

Step 25
Push the right corner to the left, and crease it well along the existing crease.

Step 26
Fold the top point down along the dotted line.

Step 27
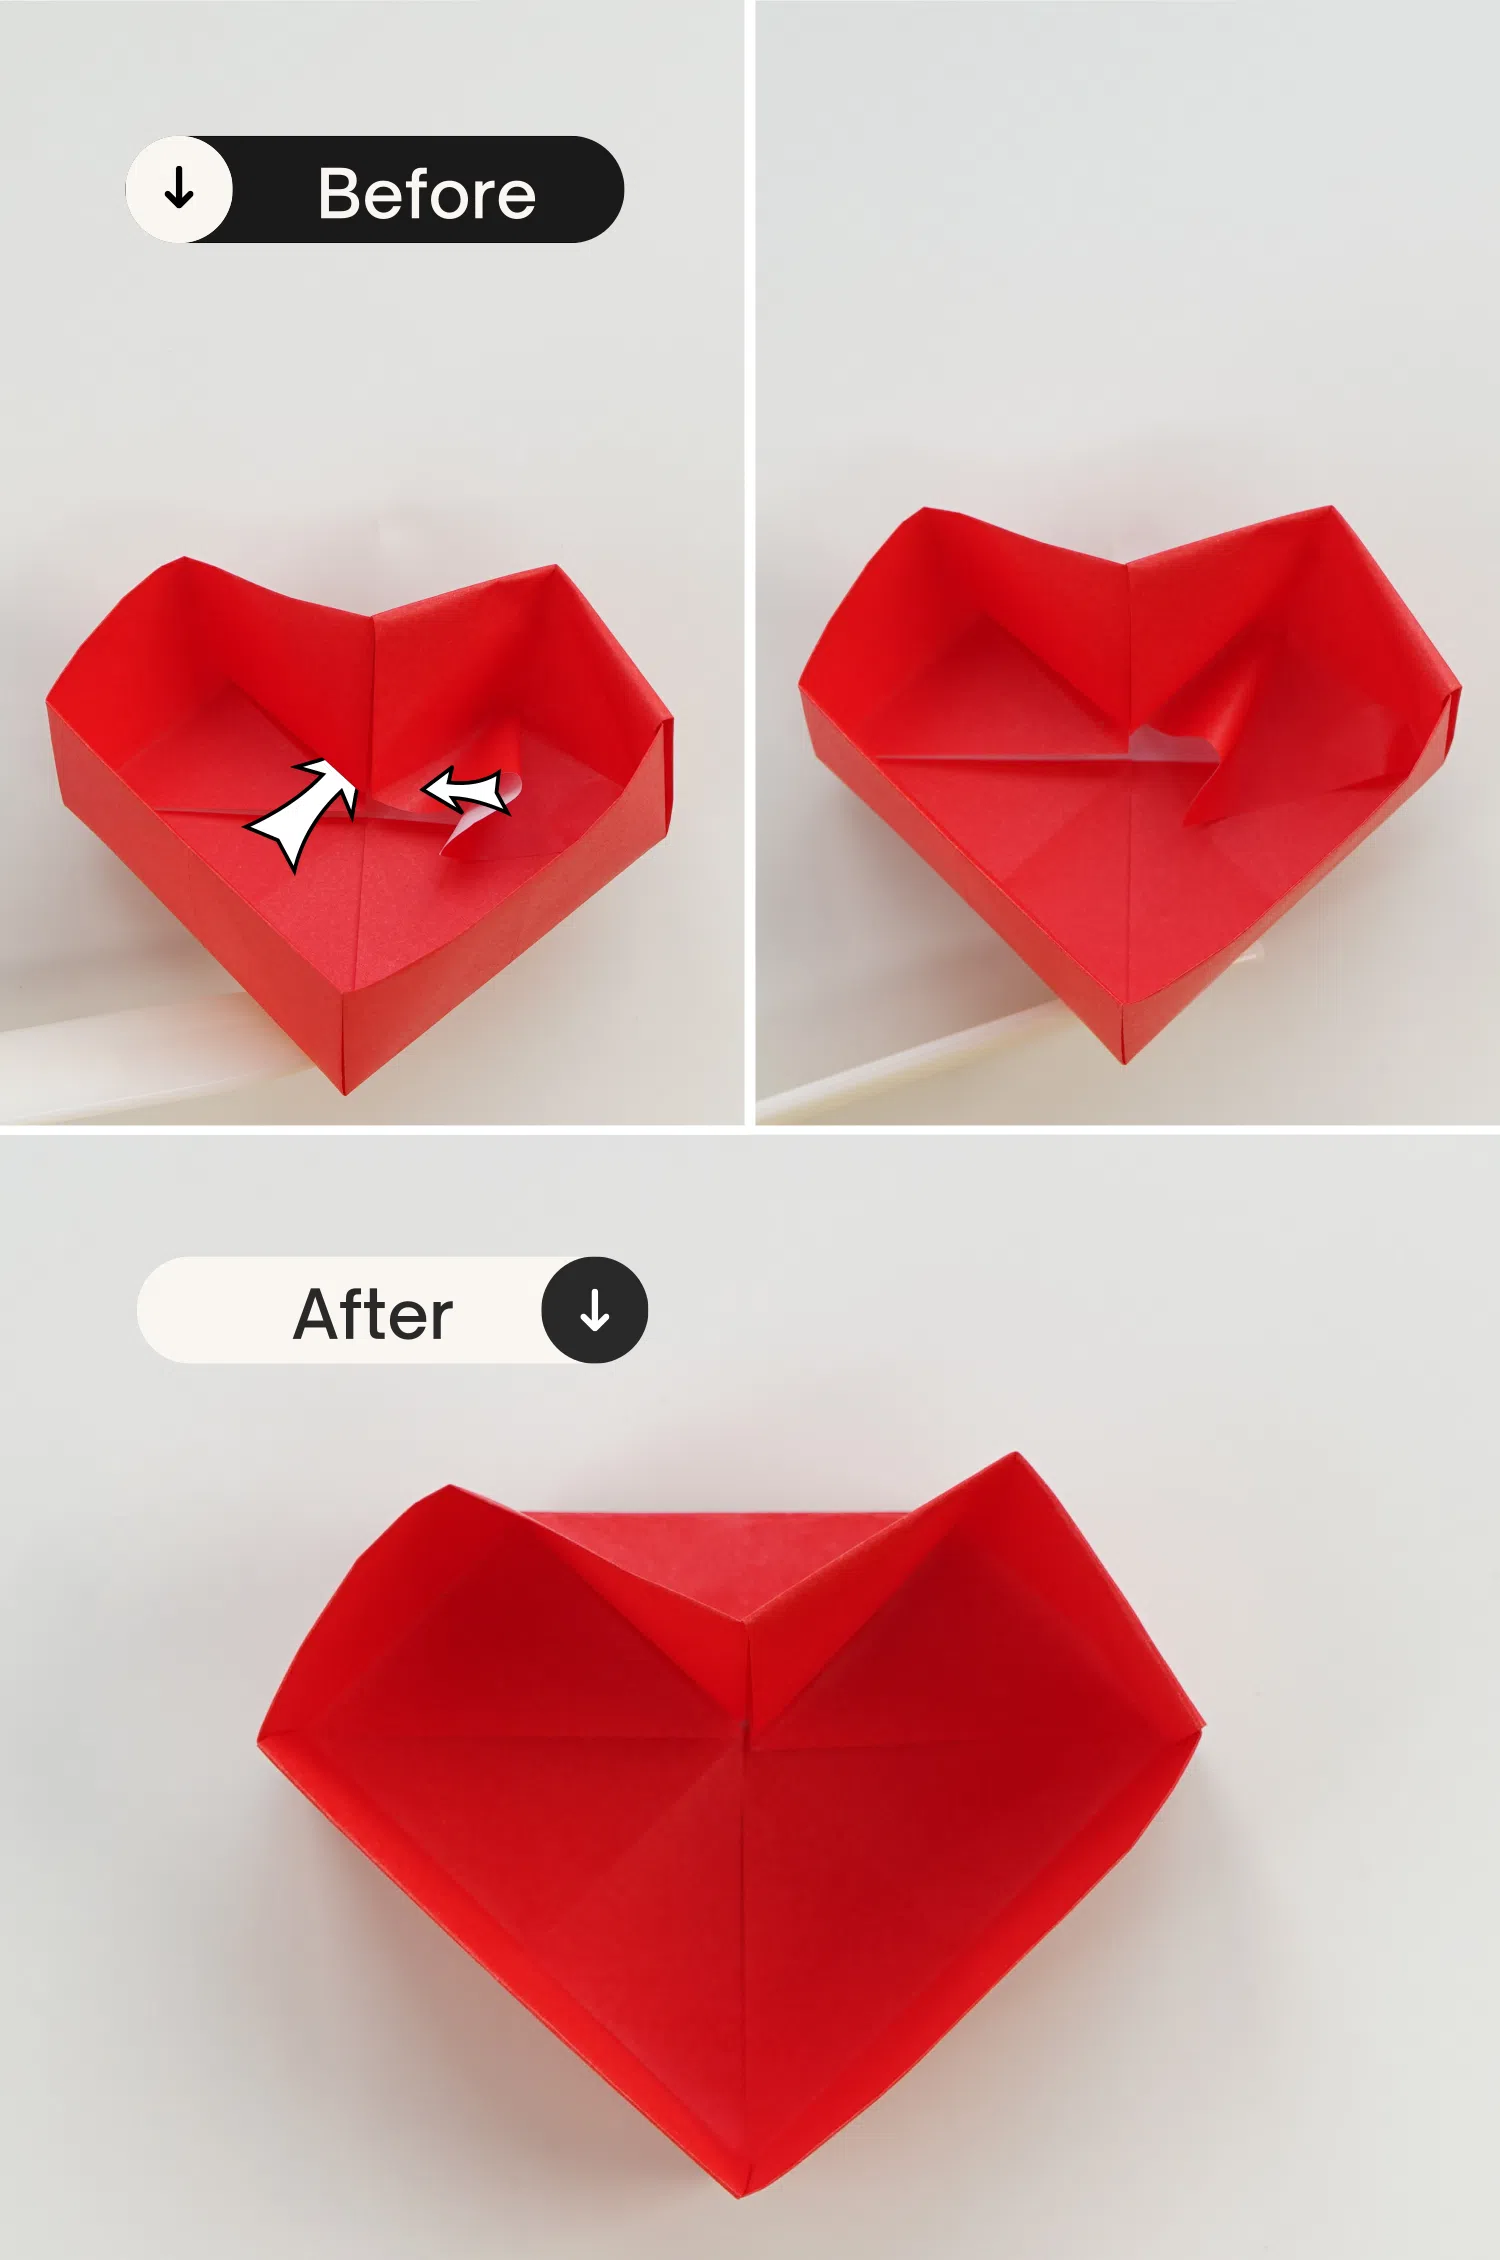
Flatten the arched edge.
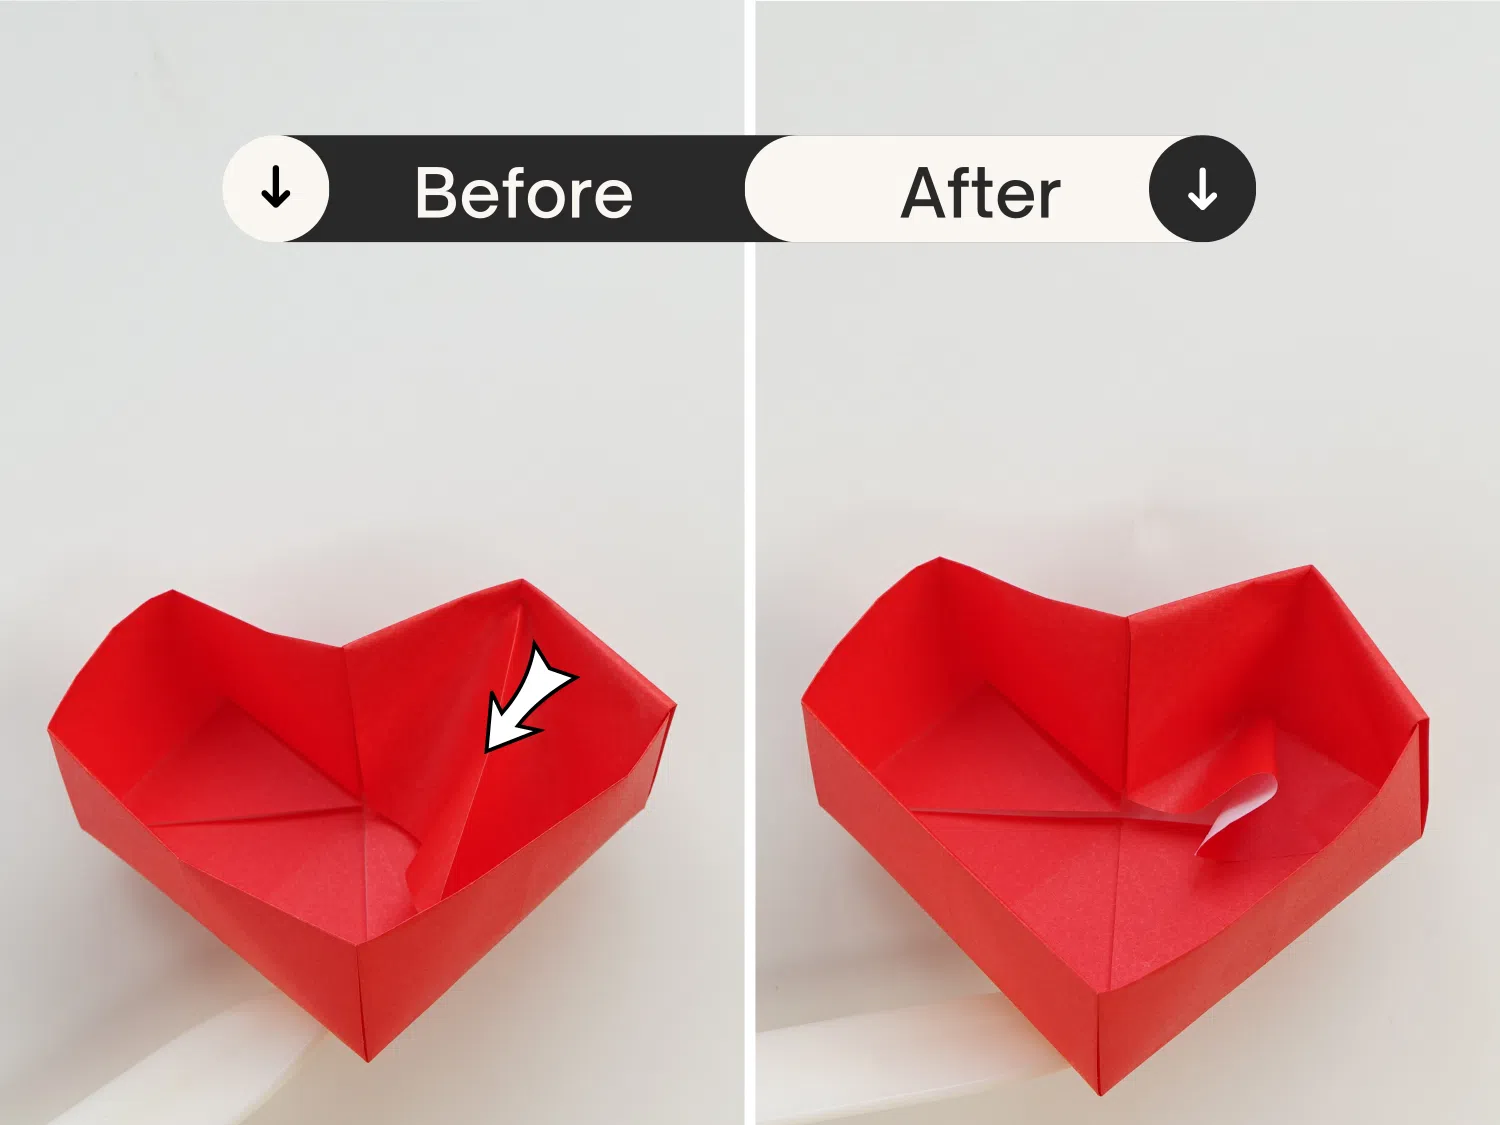
Step 28
Tuck it between the two layers located in the middle of the top of the heart. Adjust it to make the bottom flat.