Easy Origami Envelope Tutorial – step by step with pictures
Grab a square of paper and try this simple make!
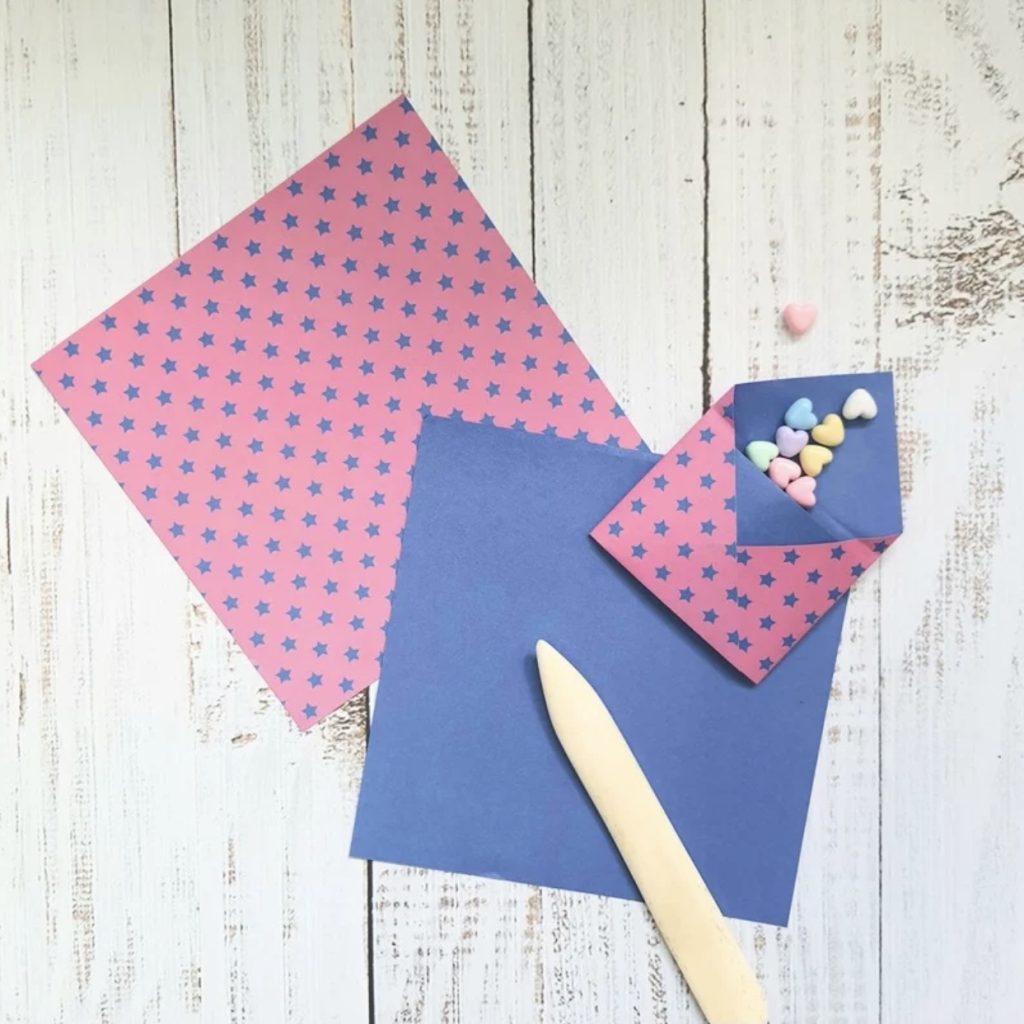
These paper envelopes are quick to make once you’ve got the hang of them. They’re a fun way to package small gifts, send a special note, use in a scrapbook or to decorate handmade cards.
All you need is a square of paper. I’ve used a two-sided paper, but you can use whatever you’d like. Remember my two rules of origami – fold neatly and crease firmly!
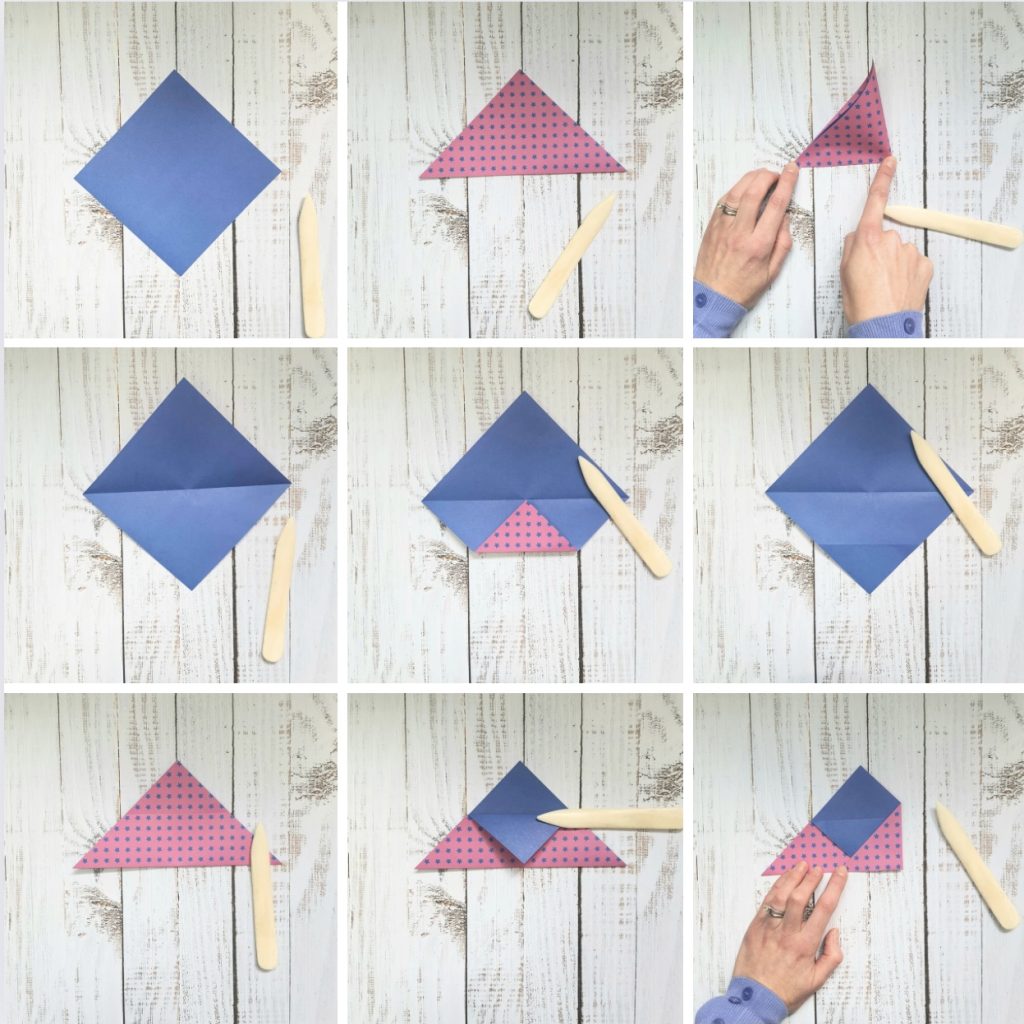
If using two sided, start with the side you want on the outside face down.
Turn the square to a diamond and fold in half, bottom point to top point.
Fold one outside point over to meet the other, but just press the middle point gently – this is to make where the centre is.
Open back out fully.
Fold the bottom point to the centre mark you’ve just made, crease and unfold.
Fold in half again along your first fold line, taking the bottom point up, then fold that point down using the existing crease.
Next, you’ll need to fold the outsides in to the centre so the points overlap slightly – as evenly as you can!
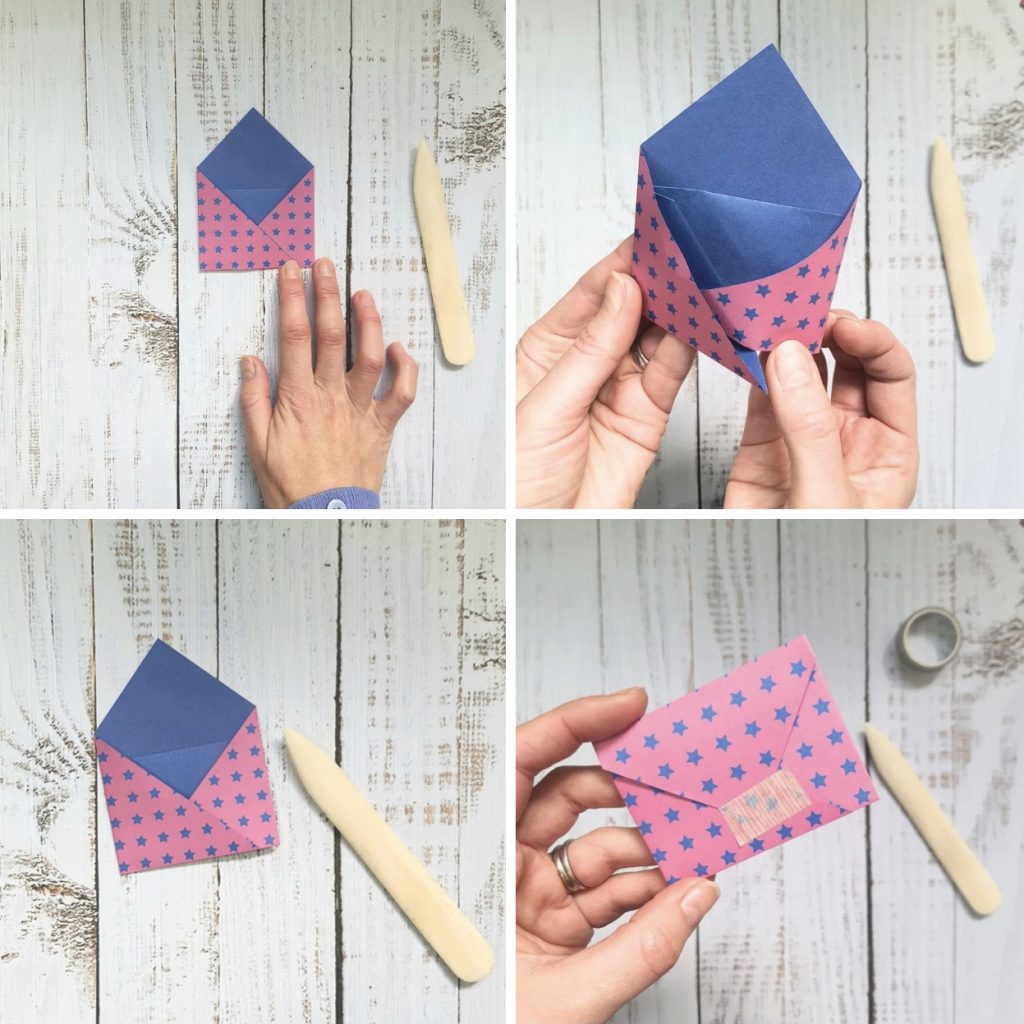
You can fold them over gently both at the same time until you get them to the position you want, before creasing the folds properly. Overlap the points a little for a rectangular envelope, or fold them over a little further for a more square look.
Tuck one point into another. You can glue these in place if you need to.
That’s it! If you want a closed envelope, simplyfold the top down and secure with a bit of Washi tape.


