Four Leaf Clover Origami
Note: It turns out that the four leaf clover is often confused with the shamrock, the 3 leaf clover. The four leaf clover is a lucky symbol while the 3 leaf clover is what is now commonly used to represent St Patrick's Day.
The four leaf clover is actually a variation of the 3 leaf clover with supposedly 10,000 three-leaf clovers for every four-leaf clover! They sure are difficult to come by!
We'll leave this origami on this page but do fold the 3-leaf clover origami if you want an origami for St Patrick's Day.
Lucky Four Leaf Clover
Green paper is the obvious choice for this origami.
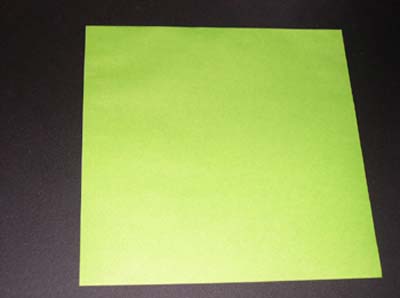
1) Start with 6 inch x 6 inch (15cm x 15cm) square origami paper, color side down. The paper we're using here has color on both sides.
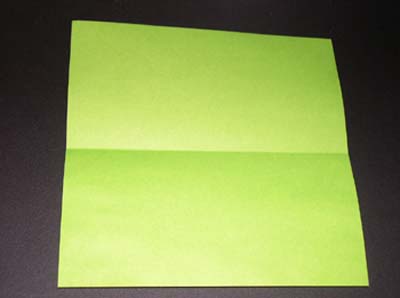
3) Unfold and it should like the following:
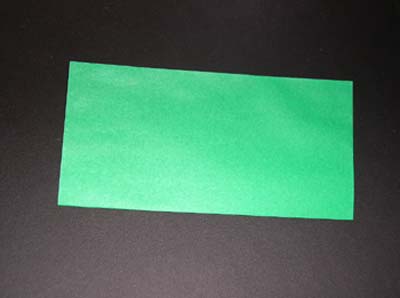
4) Fold paper in half the other way
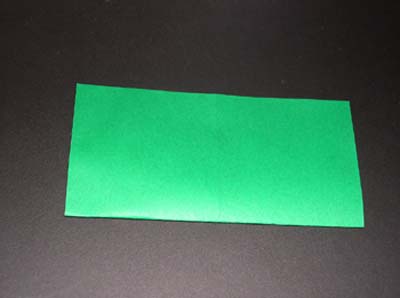
5) Unfold and it should look like the following with 2 perpendicular lines/creases going through the center of paper.

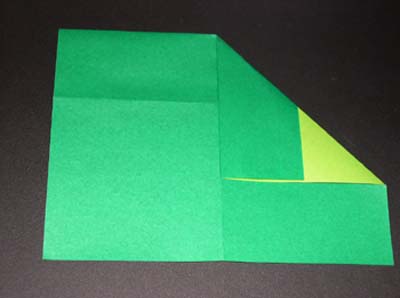
6) Now fold the top edge over to the center crease like so.

7) FLIP paper over and you should have the following:

8) Fold top right corner to meet the center line:
9) Now fold the top left corner to meet the center line:
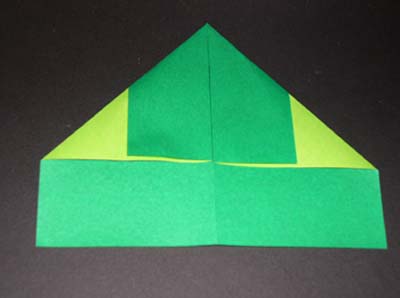
10) FLIP paper over and you should have the following:
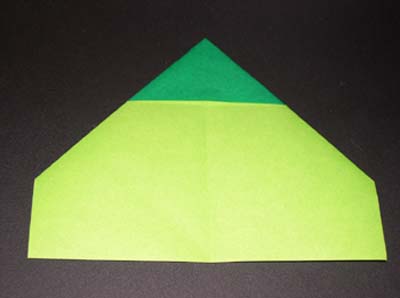
11) Fold the top point down to meet the bottom edge of paper:
12) FLIP paper over and it should like the picture below:
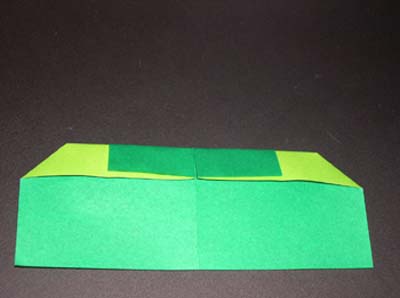
13) Pry paper on the top left....
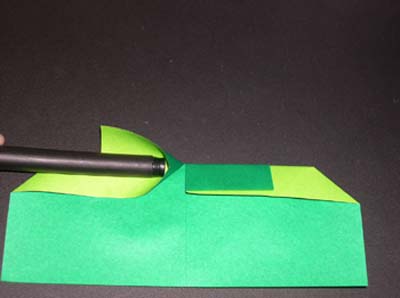
12) and then squash it so that it looks like a trangle:
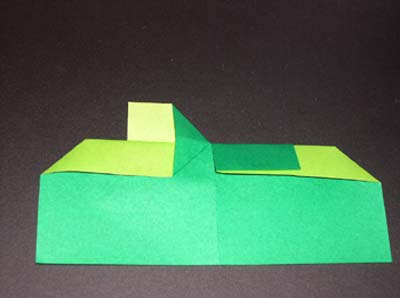
13) Do the same for the right hand side...
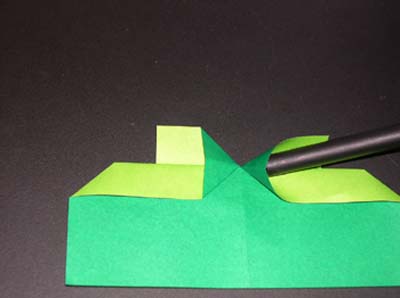
14) to look like the following picture:
15) Now fold over the right side to meet the center line:
16) Do the same for the left edge. Fold left side to meet center line:
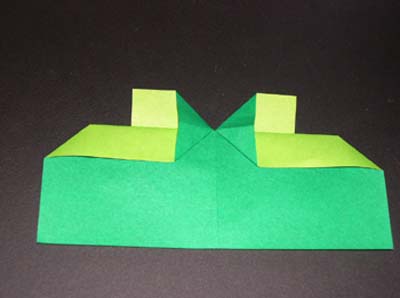
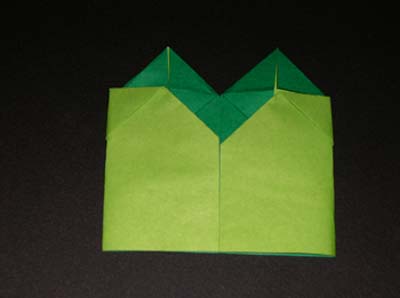
17) Now fold the top left hand corner so that you have a triangular point as in the picture below:
18) Do the same for the top right hand corner:
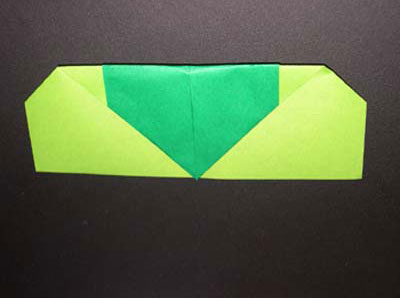
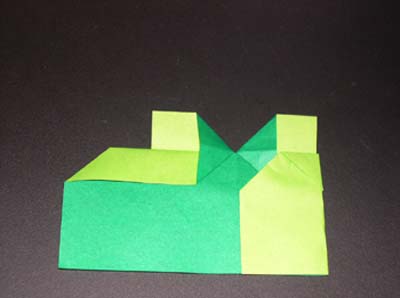
19) Now fold the triangular point down to meet the base of the triangle, as indicated by the red arrows.
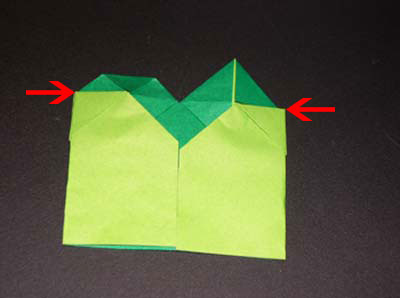
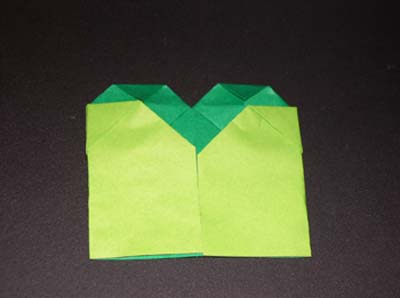
20) Repeat for the other side and it should look like this:
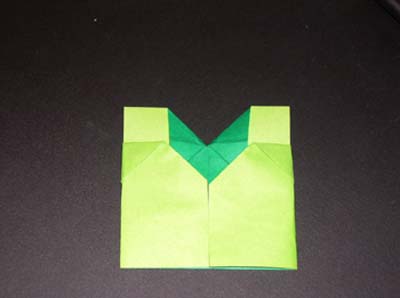
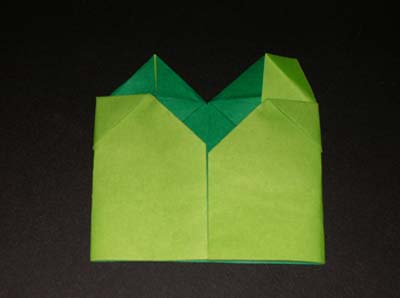
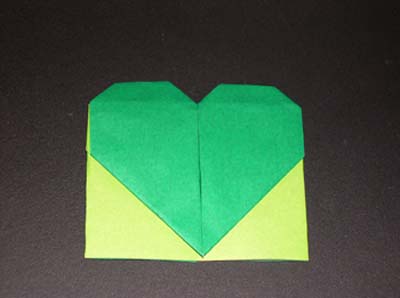
21) FLIP it over and voila, we have a heart shape! Yes, we are still on target to make a Lucky 4 Leaf Clover St Patrick's Day Origami.
22) REPEAT steps 1-21 to make an additional 3 of these.
23) Then tuck one clover into the other like so...
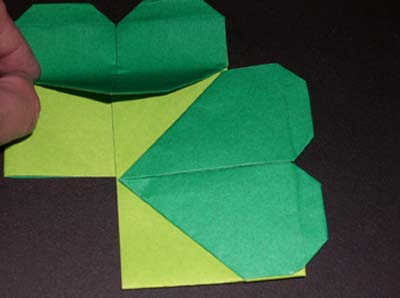
24) Repeat for the other 2 and we are done! Lucky 4 Leaf Clover !
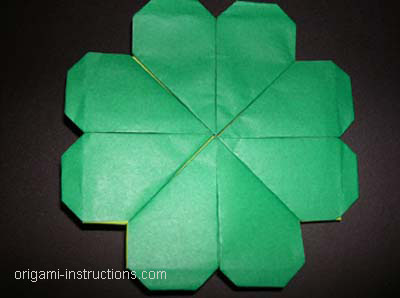
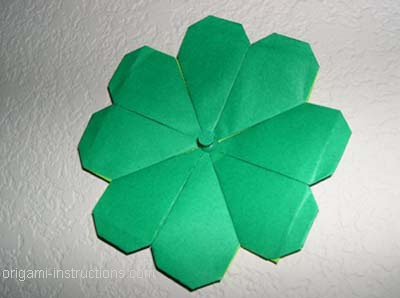
25) A green push pin to the middle and it's ready to hang in your cubicle, or your co-workers' cubicles, kid's room, etc.
Check out the many origami four leaf clover photos that have been submitted by our readers!


