Origami Heart With Wings
Difficulty: Medium
In this post we’re going to create a symbol of love and freedom – the origami heart with wings. This delightful creation combines the elegance of a heart with the grace of wings, making it a perfect gift or decoration for special occasions.
Origami, the ancient art of paper folding, allows us to transform simple sheets of paper into intricate and beautiful shapes. Crafting an origami heart with wings is a creative and heartwarming project that can convey your emotions and artistic flair.
In this step-by-step guide, we’ll take you through the process of folding this enchanting origami design. Whether you’re a seasoned origami enthusiast or a beginner looking for a heartfelt project, our instructions are designed to be clear and accessible.
So, gather your square sheet of paper, find a comfortable workspace, and let’s begin this creative journey. By the end, you’ll have a lovely origami heart with wings that can symbolize love, freedom, or simply the joy of crafting. Let your heart take flight as we fold our way to a beautiful creation!
Create your very own origami heart with wings – ideal to show your affection for your loved ones or just to keep for yourself!
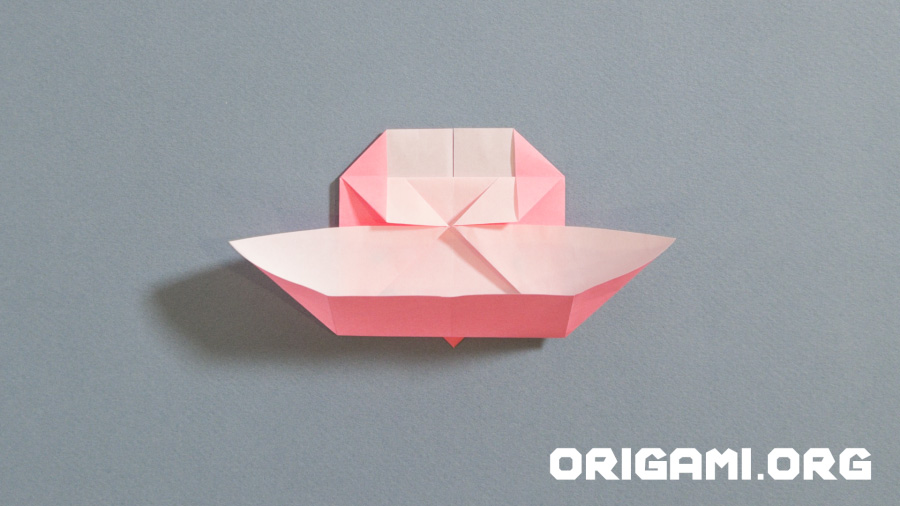
This is how your origami heart with wings will look when finished!
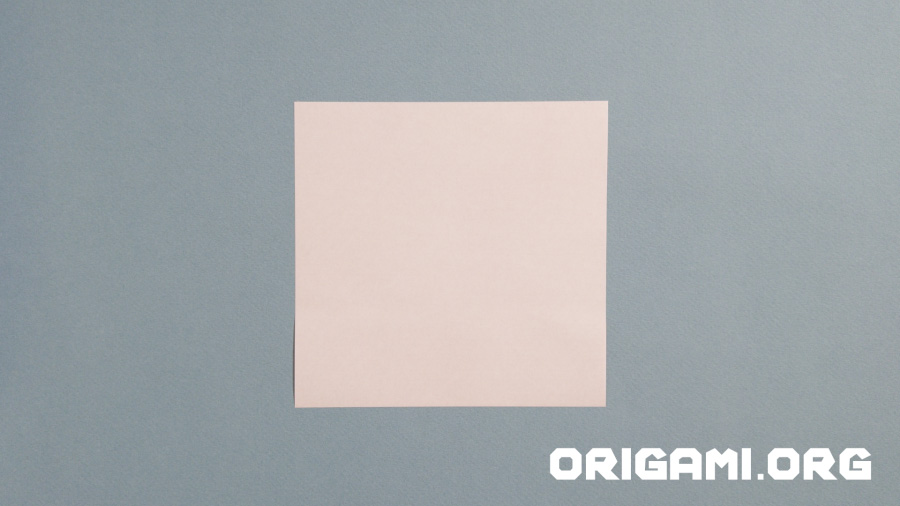
Step 1: Start with a square piece of origami paper – whatever colour you prefer!

Step 2: Fold the paper in half by taking the bottom edge up to the top edge and creasing it firmly
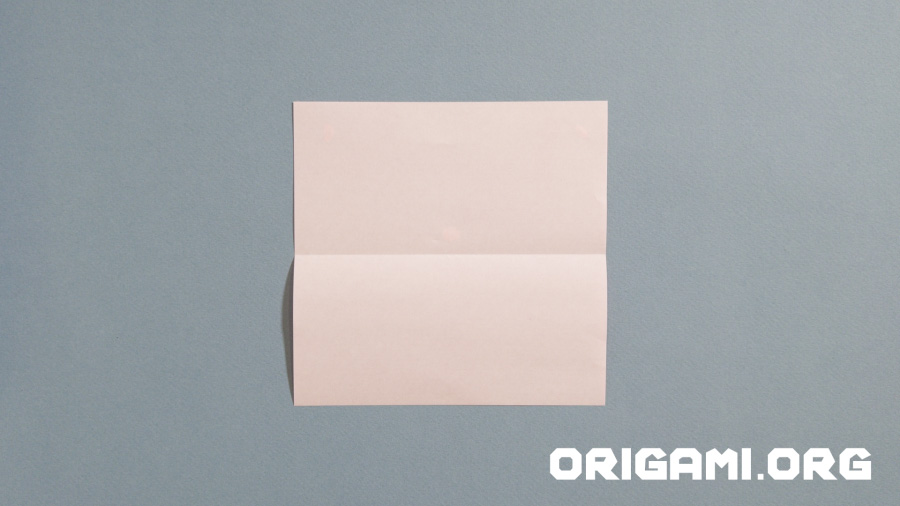
Step 3: Unfold the piece of paper
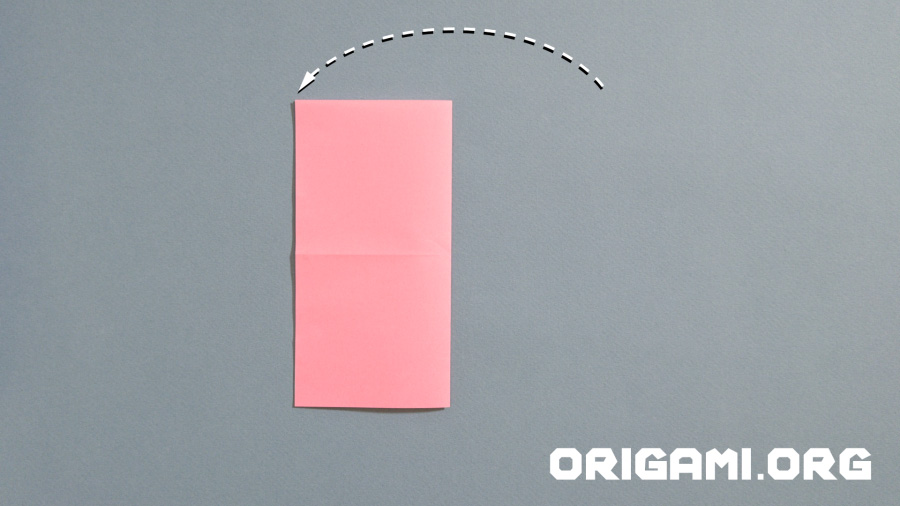
Step 4: Fold the paper in half taking the right edge over to the left edge and creasing the line firmly
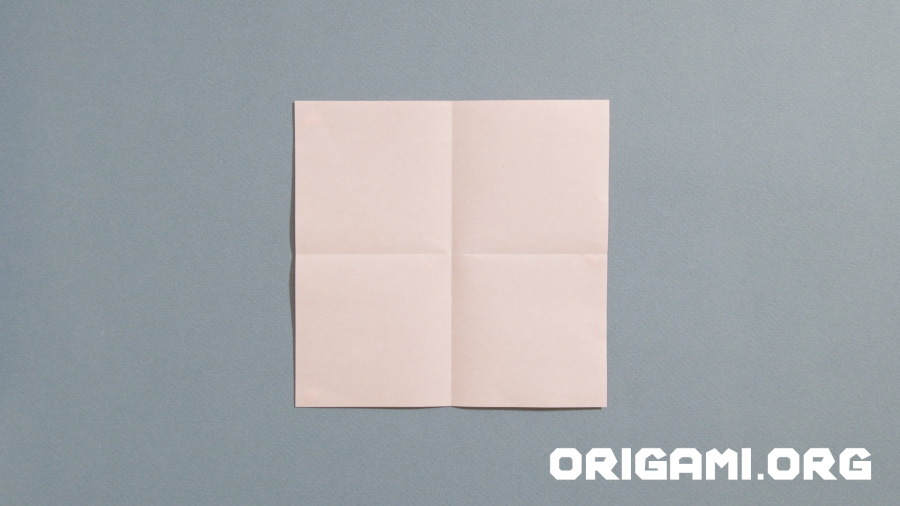
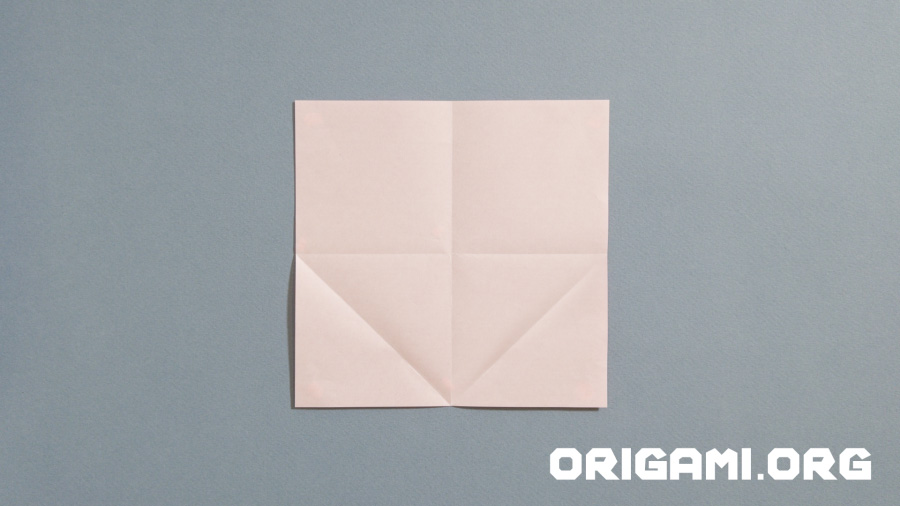
Step 5: Unfold the paper and it should now look like this!
Step 6: Fold the bottom right hand corner up to the centre fold line and crease firmly. Repeat on the left side, folding the bottom left hand corner up to the centre fold line.
Step 7: Unfold the paper and it should look like this
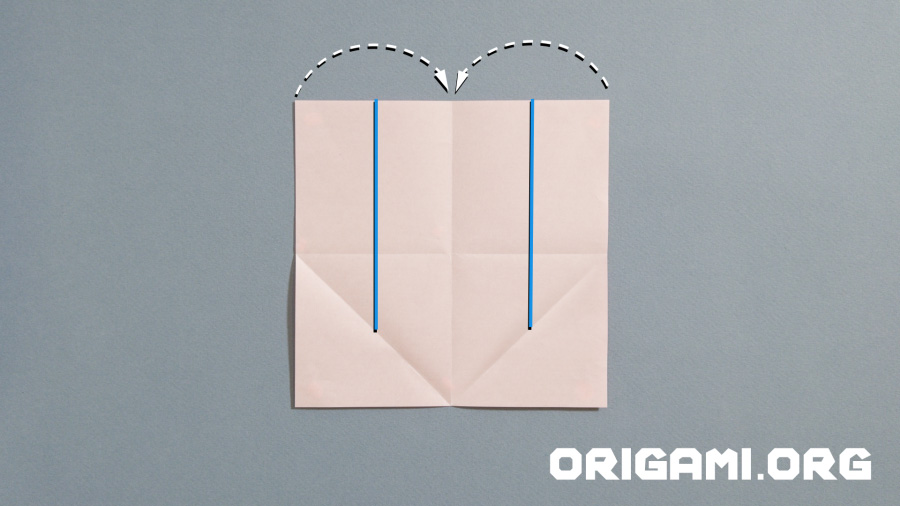
Step 8: Fold the right edge over to the vertical centre line, making a new crease along the blue line as indicated. Make sure you stop your crease at the diagonal line.
Repeat on the left by bringing the left edge over to the vertical centre line, making a new crease as indicated by the blue line, again stopping at the diagonal crease line.
Step 9: Your paper should now look like this!
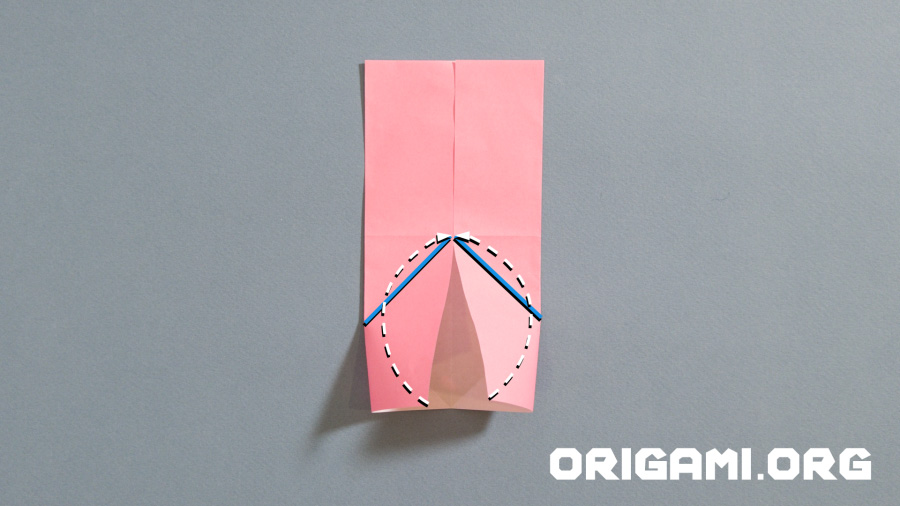
Step 10: Fold the lower right side of the paper upwards along the crease line indicated in blue, taking care only to take the top layer of paper. Repeat with the lower left side, and then make the fold shown in the video below.
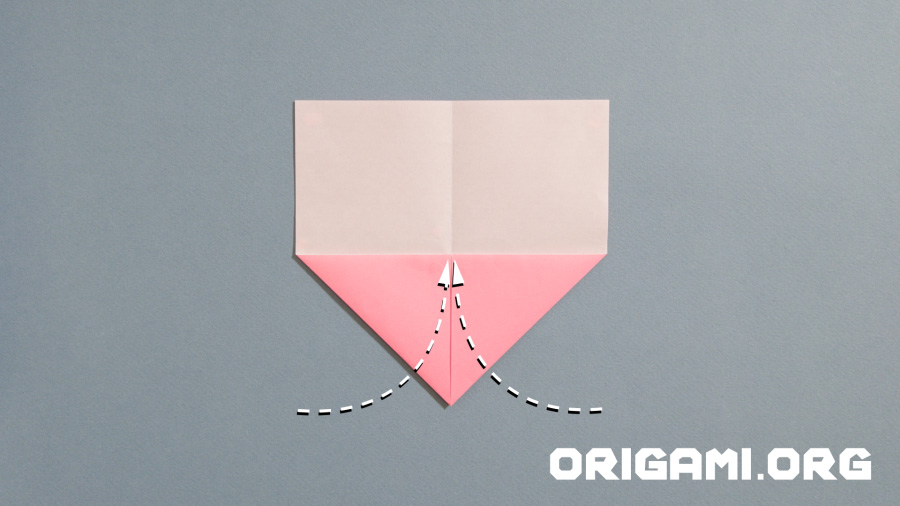
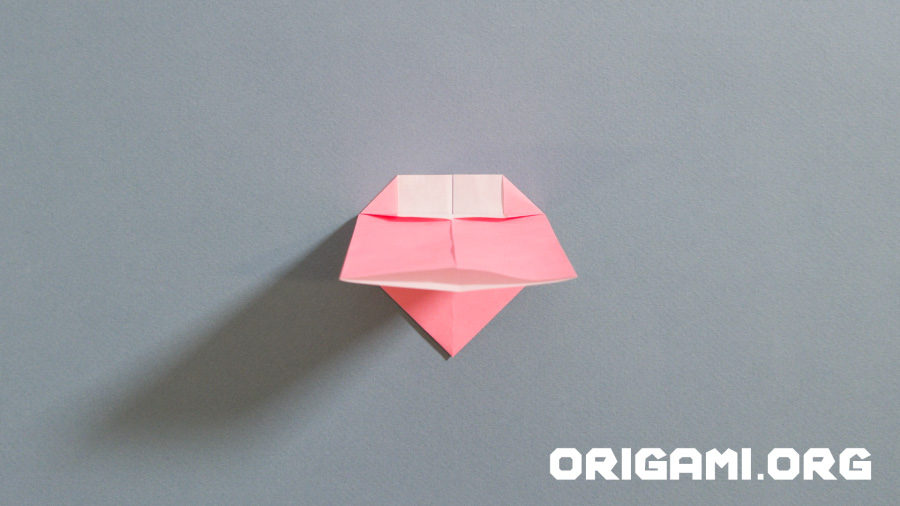
Pinch the two corners where the dotted white line begins and fold them in to the centre point. The paper will fold along the creases you made previously.
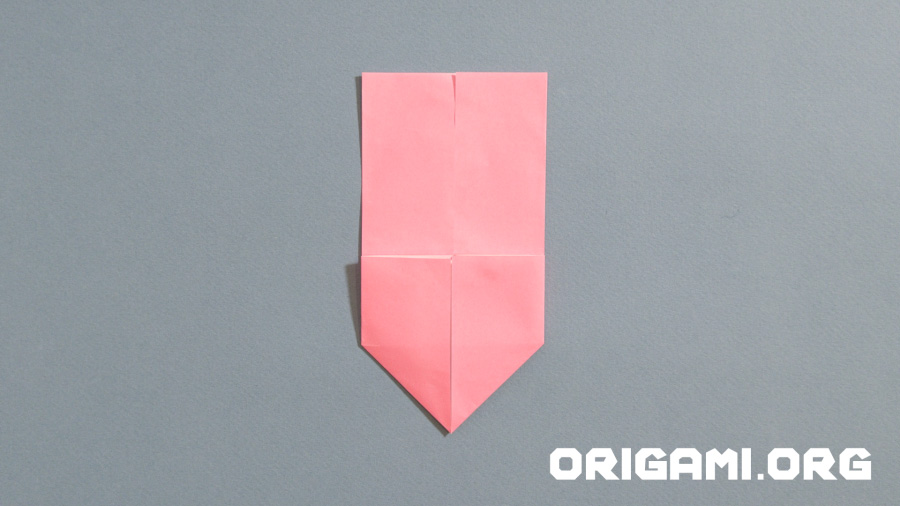
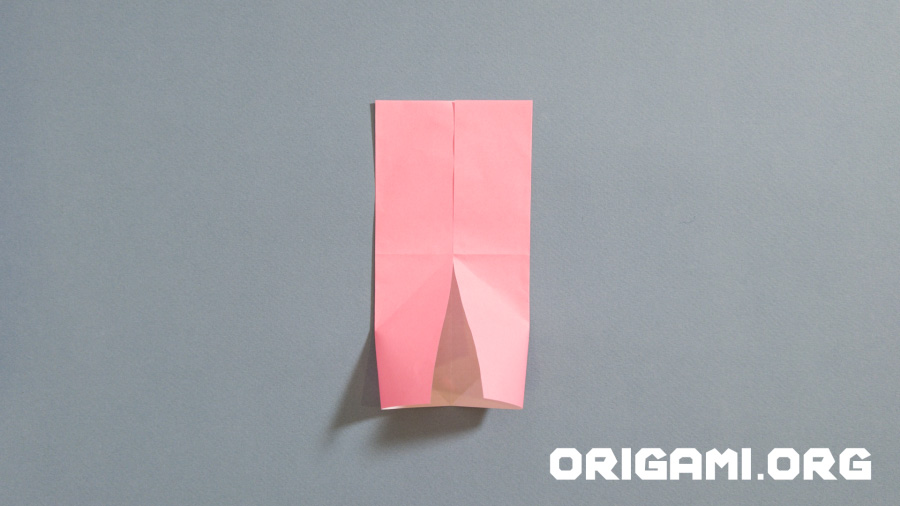
Step 11: Your creation should now look like this!
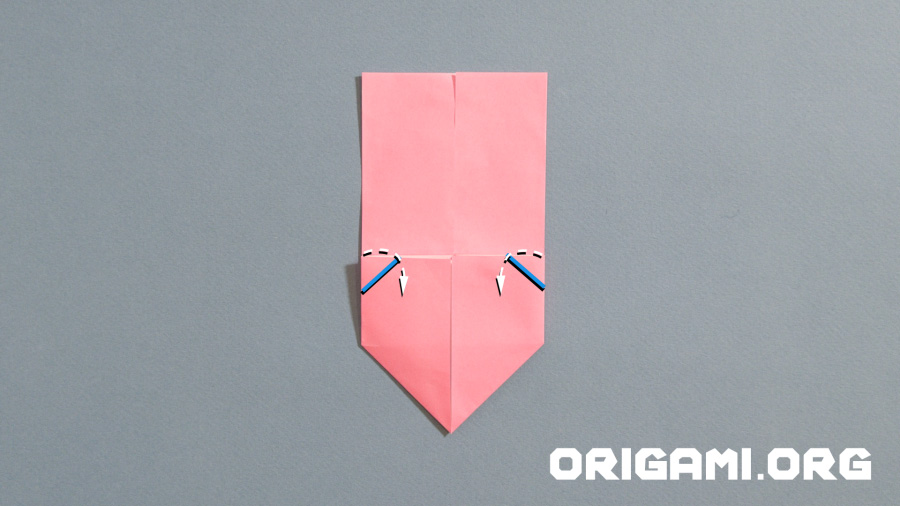
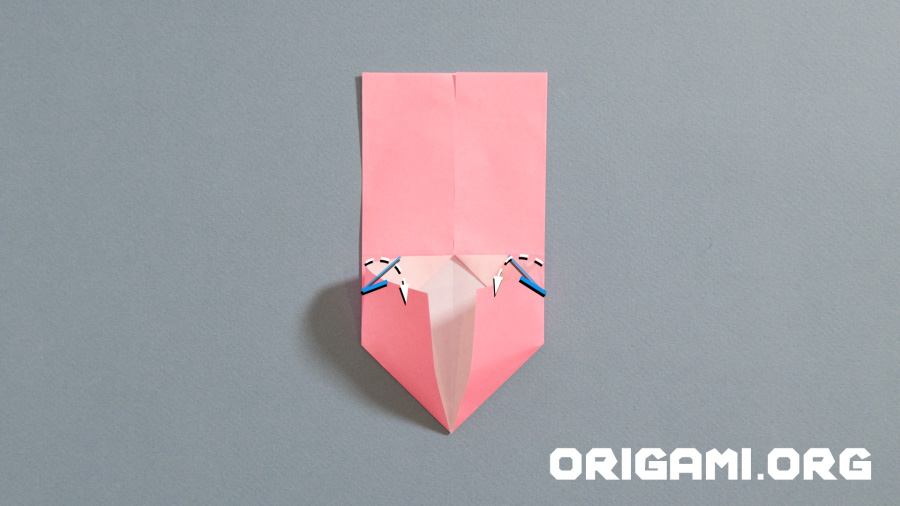
Step 12: Fold each corner diagonally downwards as indicated, creating crease lines where the blue lines are shown.
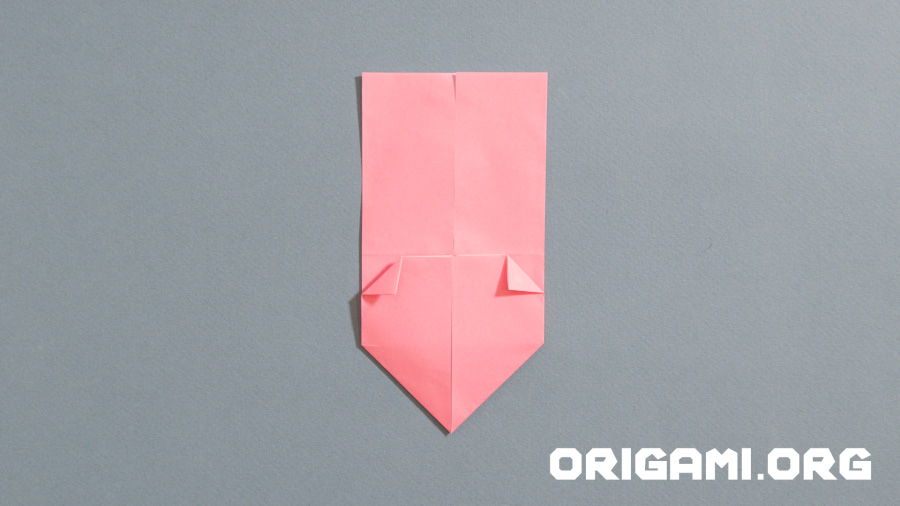
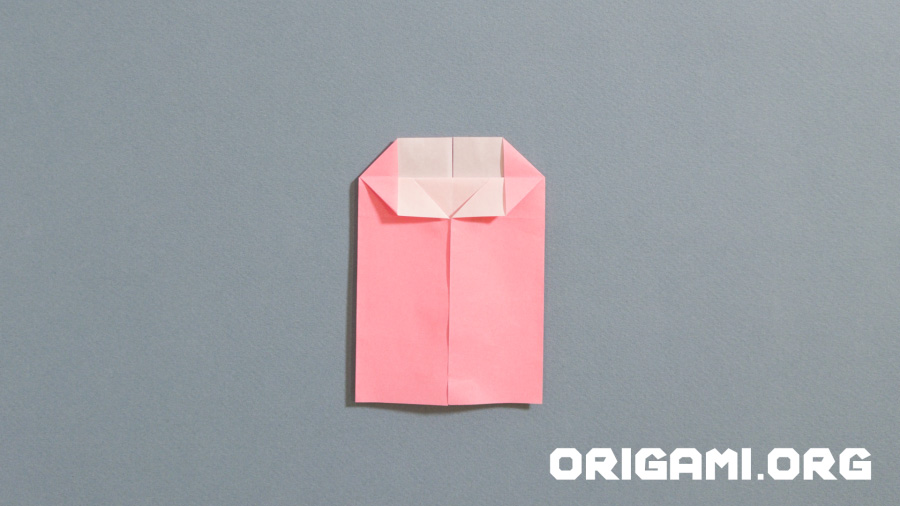
Step 13: Your creation should now look like this
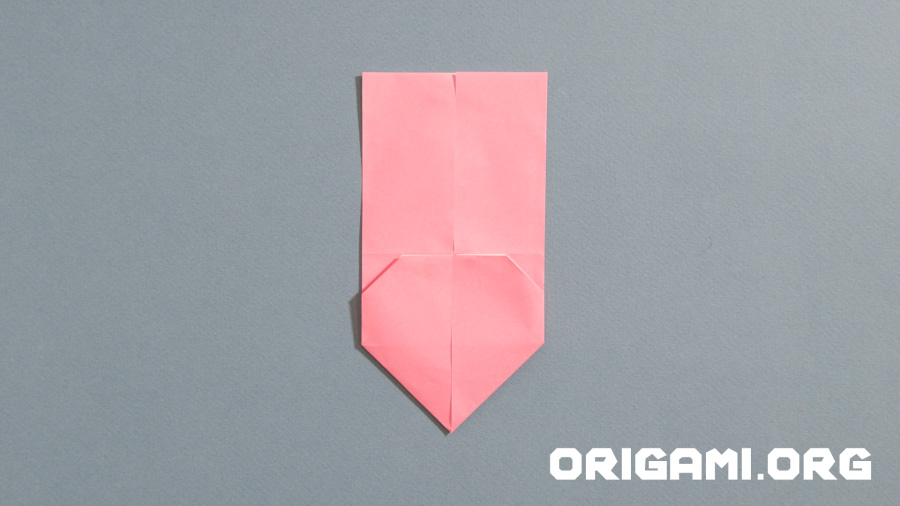
Step 14: Unfold the newly created corners and open the bottom section of your creation as shown to make a pocket.
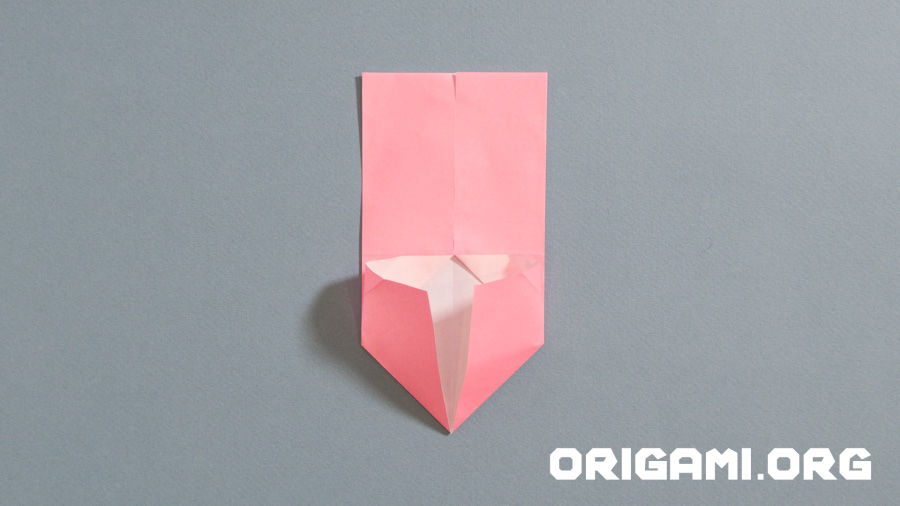
Step 15: Push the two corners inside the pocket, and the paper will fold along the creases you made in Step 13.
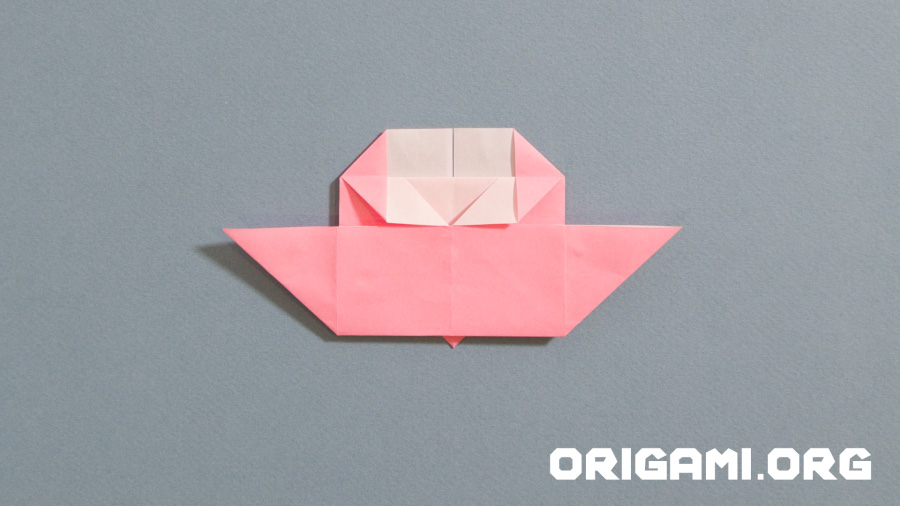
Step 16: Your creation should now look like this!
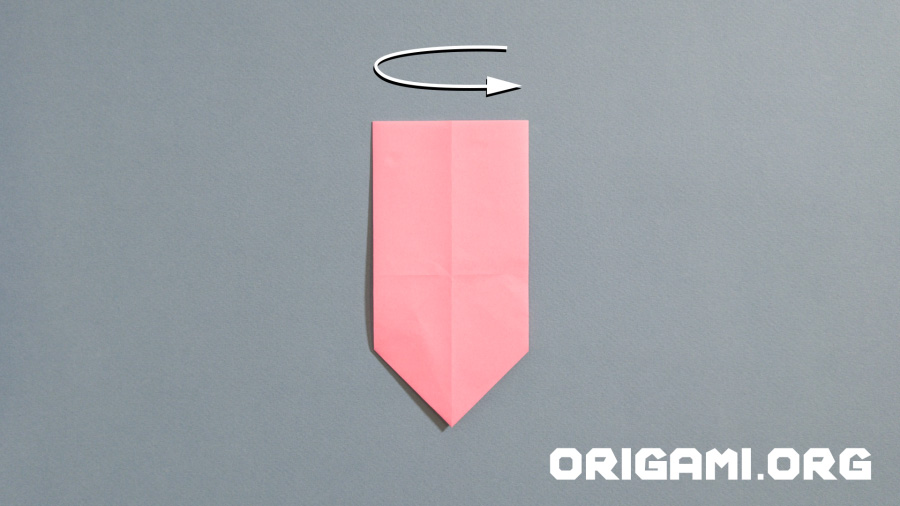
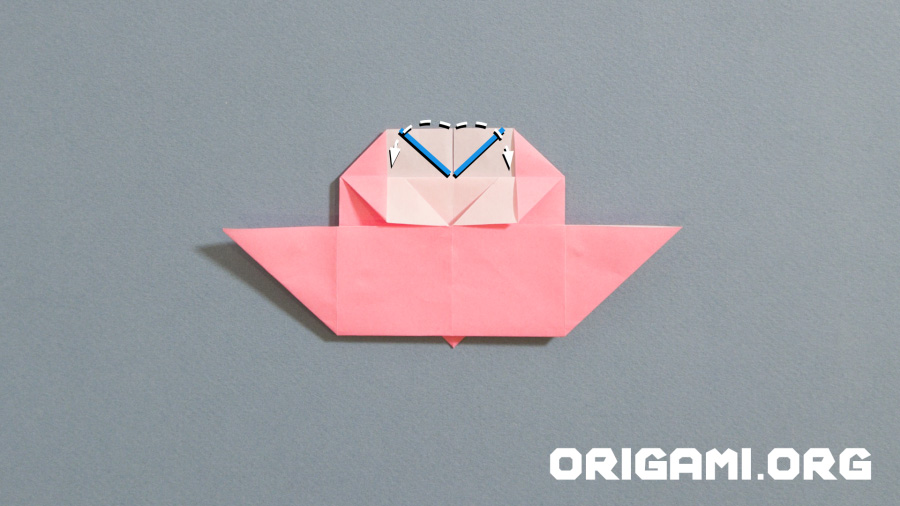
Step 17: Turn your creation over like this
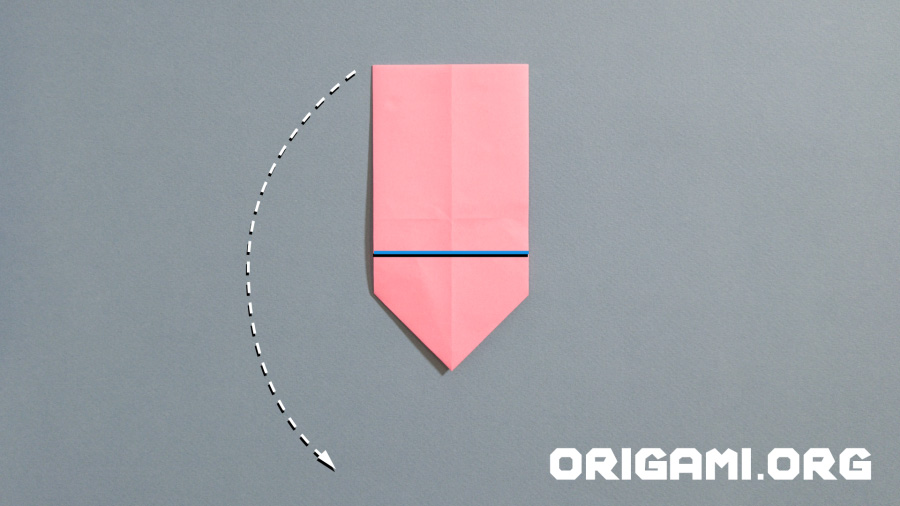
Step 18: Fold the top edge downwards and crease firmly where indicated in blue

Step 19: Keep folding!
Step 20: Keep folding downwards towards the point so it looks like this
Step 21: Continue pushing the fold down until it lays flat like this
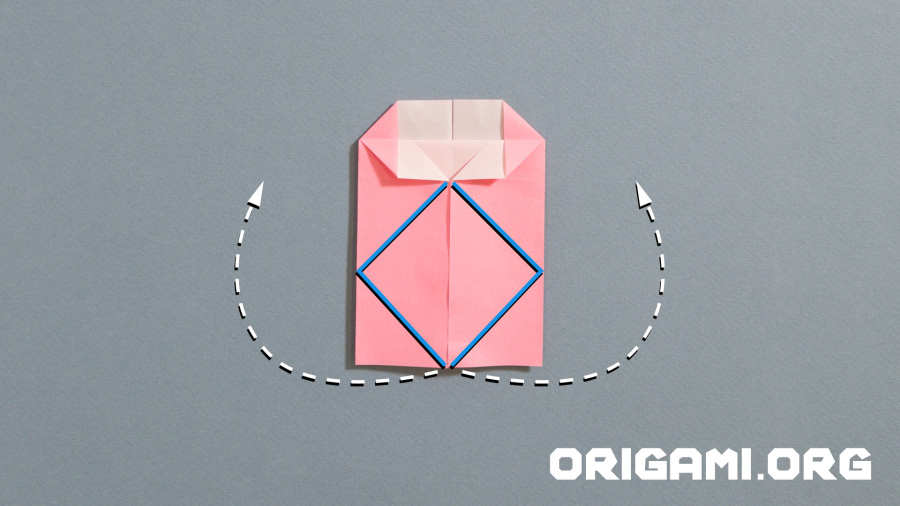
Step 22: Pinch the two corners at the bottom of the blue diamond and lift them upwards and outwards. Use your other fingers to make sure the paper folds along the creases you made previously, as shown by the blue lines.
Watch the video below to help.
This clip shows you how to do step 22, and what step 23 should look like!
Step 23: As you raise the corners out, the bottom layer of paper will lift up to make this boat shape
Step 24: Press the paper down when the top of both sides of the ‘boat’ are alligned
Step 25: Fold the inner right corner diagonally along the blue crease line indicated. Repeat on the left corner.
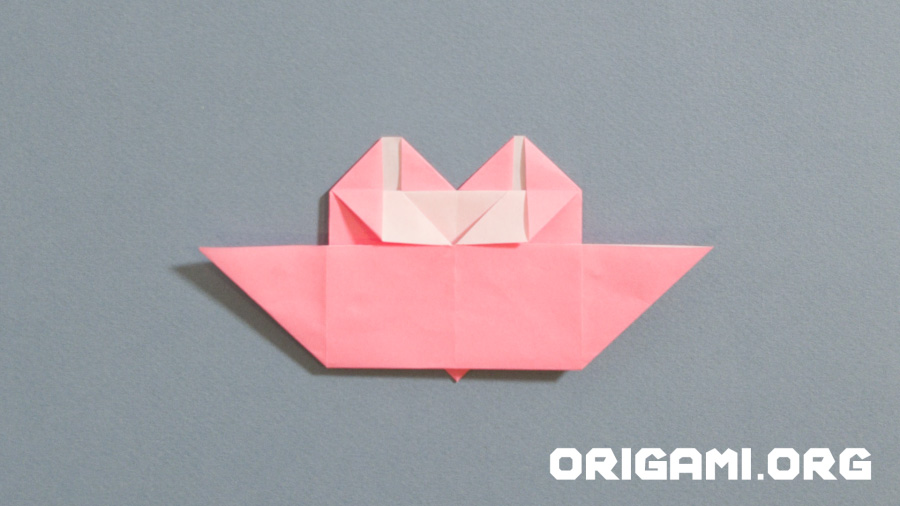
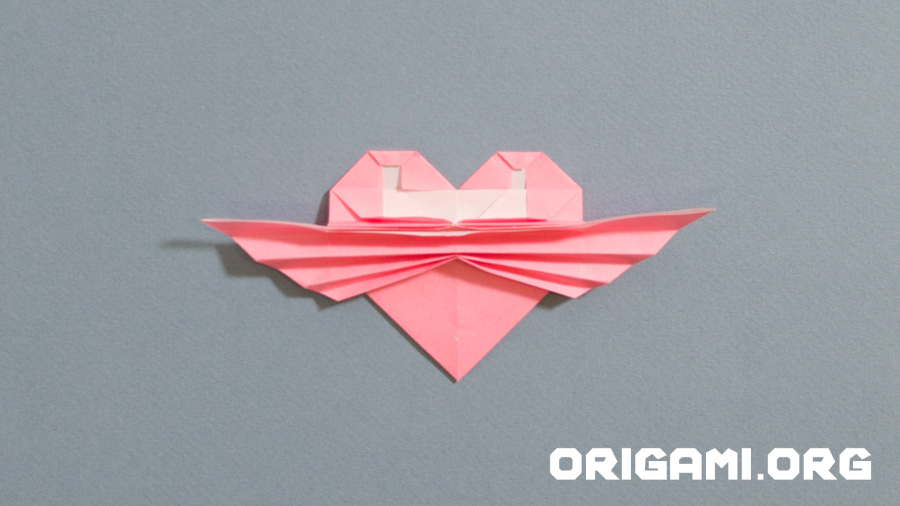
Step 26: Your creation should now look like this!
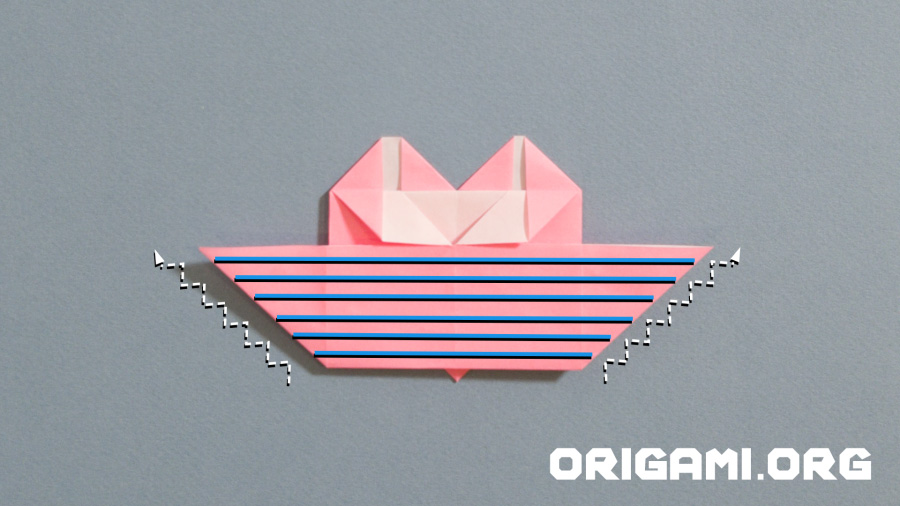
Step 27: Starting at the bottom of the paper, fold along each blue crease line indicated, alternating between folding upwards and downwards to create a concertina/fan effect
Step 28: The fist two folds should look like this

Step 29: Continue folding until you reach the top of the horizontal paper

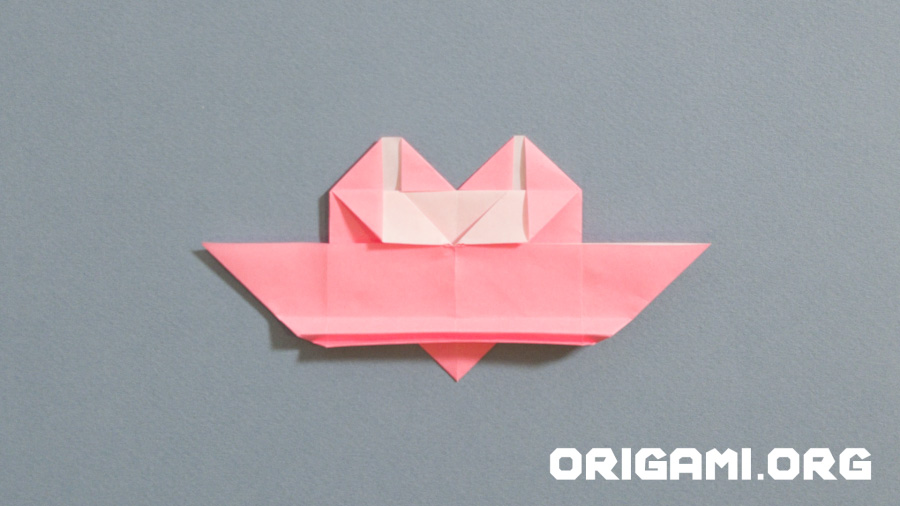
Step 30: Pinch the centre of the concertina/fan together and spread the outer corners downwards
Step 31: Your creation should now look like this!
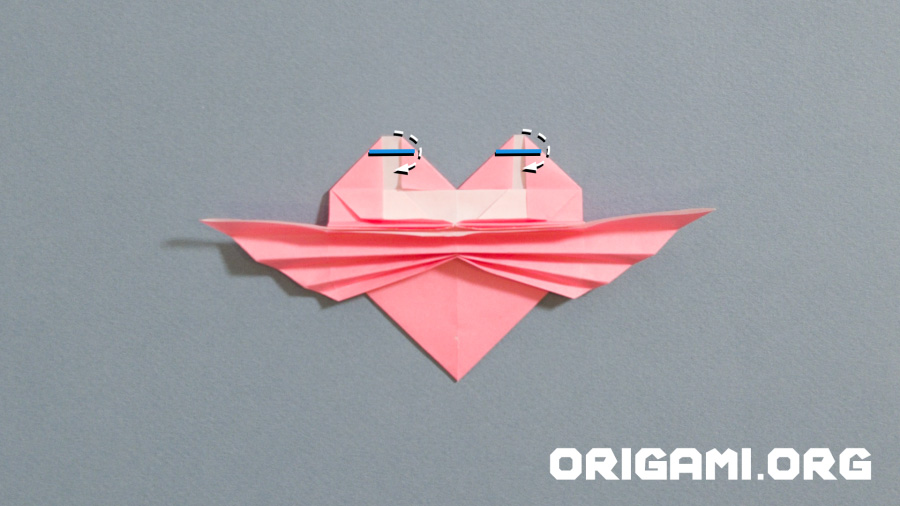
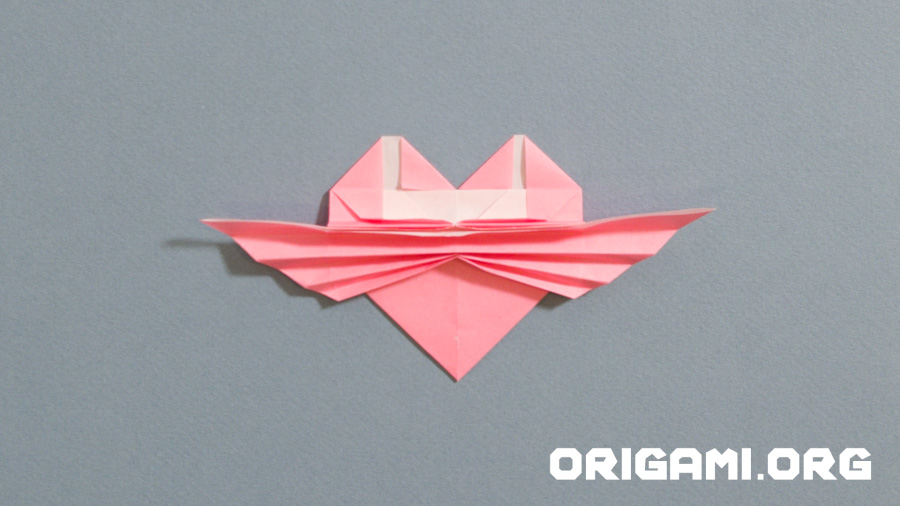
Step 32: Fold the top two points downwards along the blue crease lines
Step 33: Your creation should now look like this!
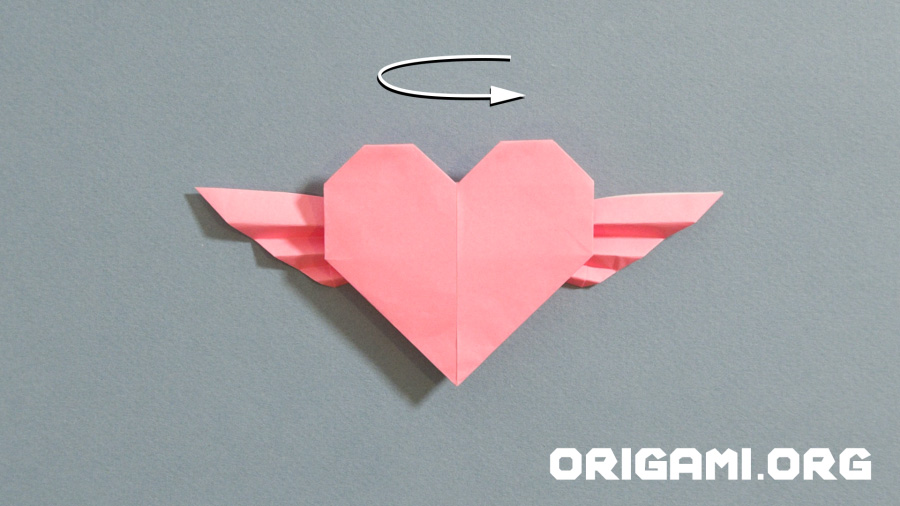
Step 34: Turn your creation around
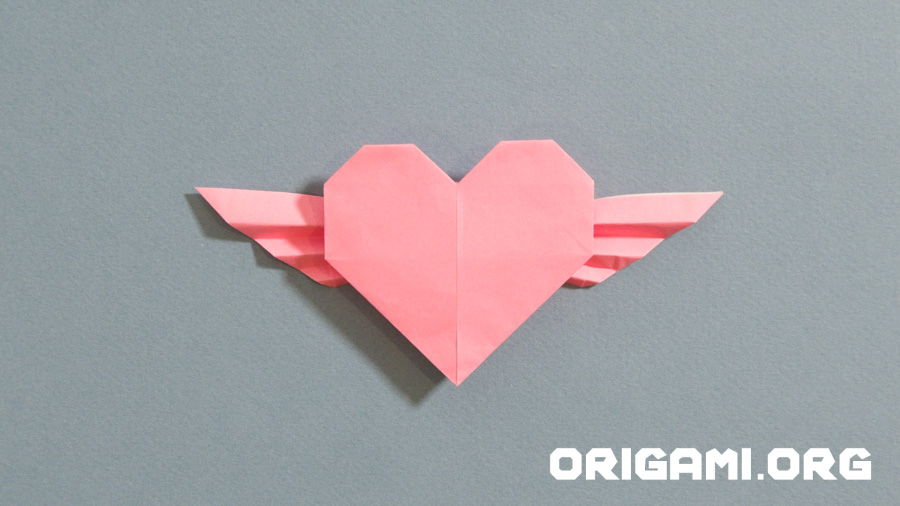
Step 35: You’re finished!


