Origami Ninja Star
Difficulty: Easy
Welcome to the world of origami, where we’re about to embark on an exciting mission to fold our very own origami ninja star! While real ninjas might prefer shurikens made of steel, we’re going to craft a safe and playful version from paper that’s sure to add a touch of ninja flair to your day.
Origami, the ancient Japanese art of paper folding, invites you to explore creativity and precision in a fun and engaging way. Creating an origami ninja star is not only a fantastic craft project but also a source of amusement and a great conversation starter.
In this step-by-step guide, we’ll show you how to fold a ninja star with clear and easy-to-follow instructions. Whether you’re an origami novice or a seasoned ninja of the paper-folding world, you’ll find this project accessible and enjoyable.
So, grab two sheets of square paper, prepare your workspace, and let’s embark on this ninja adventure. By the end, you’ll have a pair of origami ninja stars that are both entertaining and safe for play. Let’s fold like stealthy paper ninjas!
Ninja Stars are also called Shuriken – Japanese for “dart” or “throwing star”. Create this eye-catching two-tone origami Ninja star by following our easy steps below!

This is how your finished Ninja Star will look

Step 1: Start with a double sided coloured square piece of origami paper (tip: if you don’t have double sided coloured paper, chose two different coloured pieces of paper)
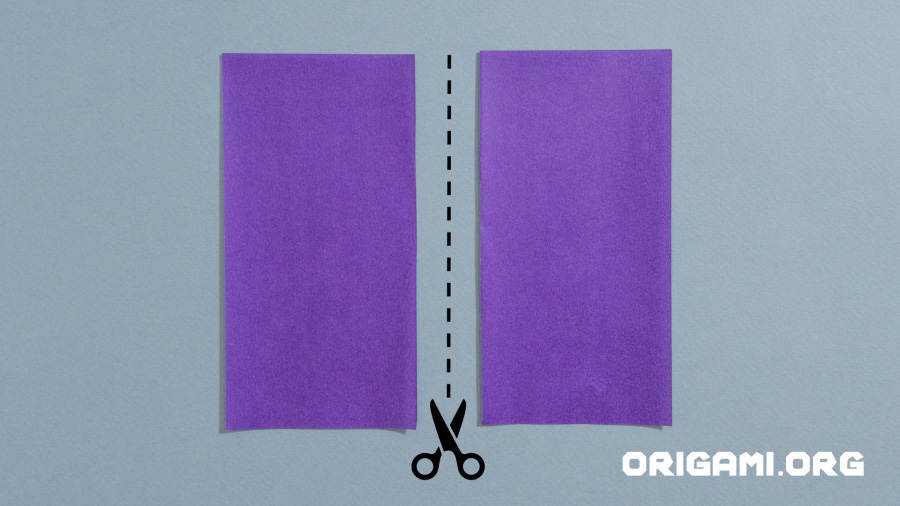
Step 2: Cut the paper in half vertically (if you have used two different coloured pieces of paper, cut both pieces in half and discard one half of each colour)
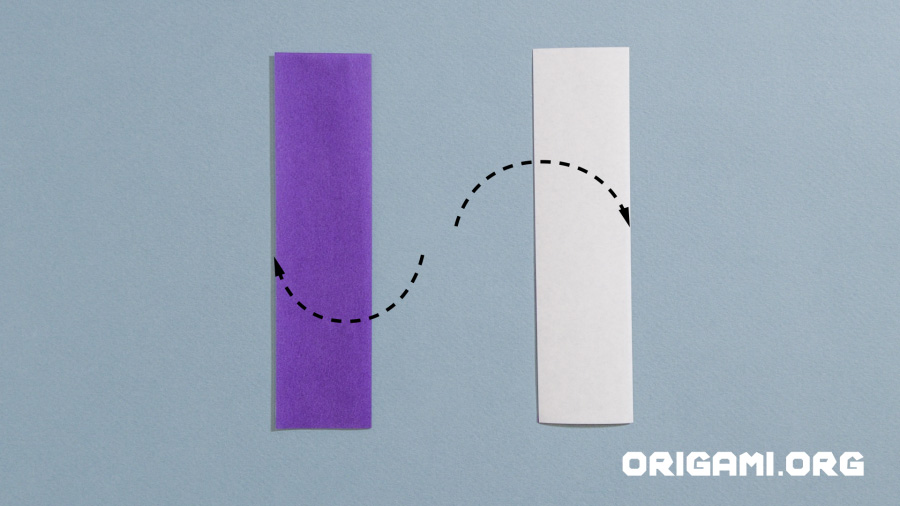
Step 3: Fold each piece of paper in half vertically

Step 4: Fold each piece of paper in half horizontally
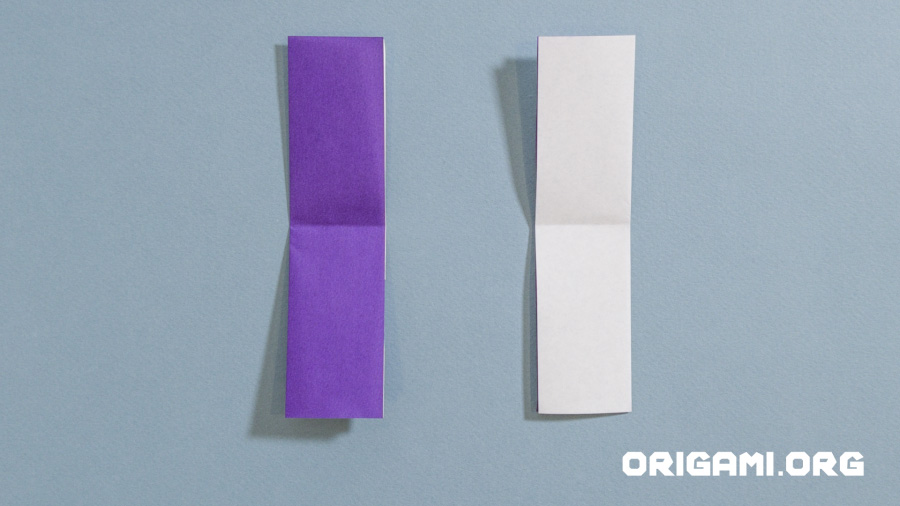
Step 5: Open up the pieces of paper
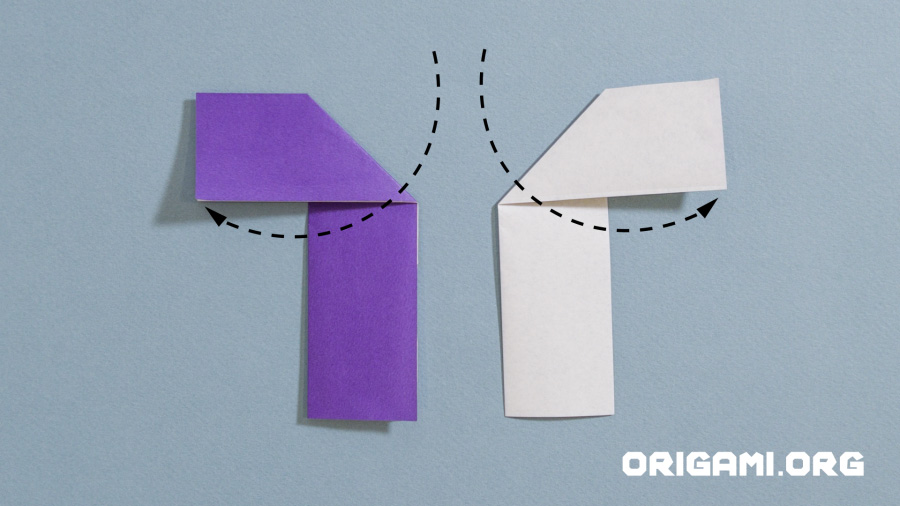
Step 6: Fold the top of each piece of paper down and outwards, so the bottom of the horizontal piece lines up with the central crease line.
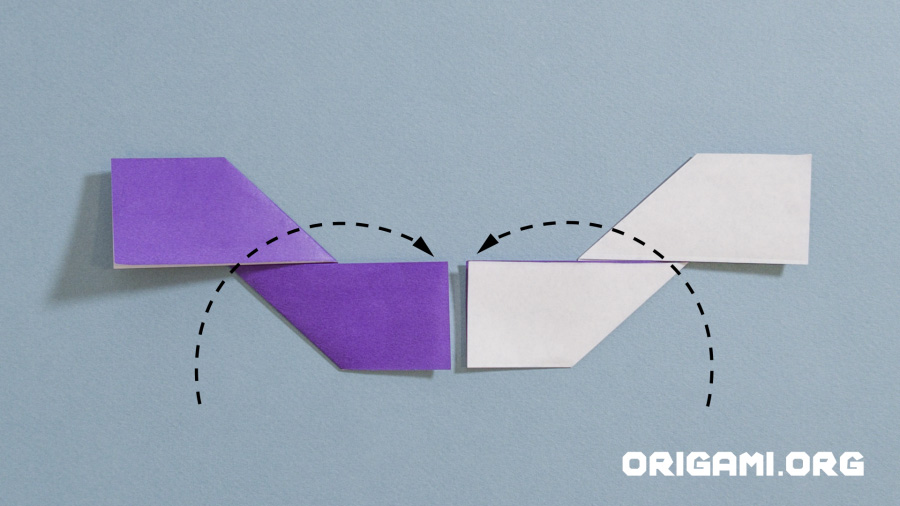
Step 7: Repeat the above steps using the bottom of each piece of paper, folding up and outwards.
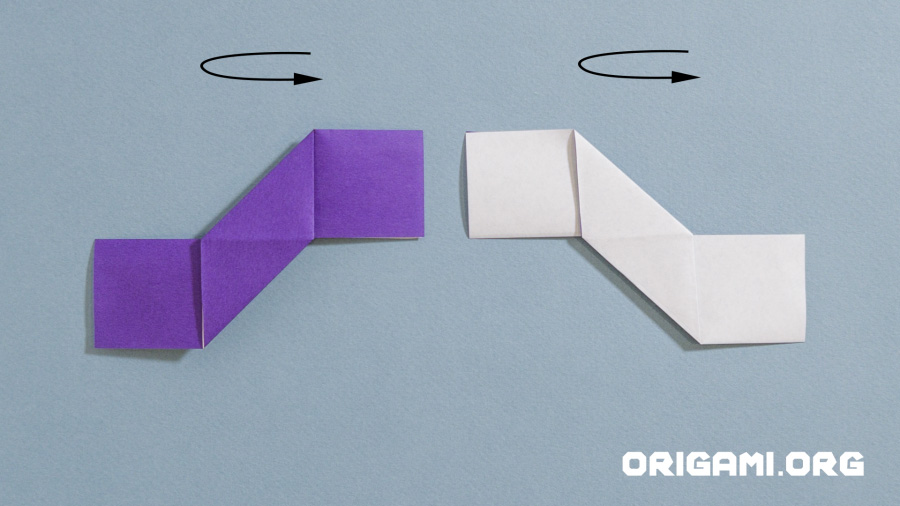
Step 8: Turn each piece of paper over
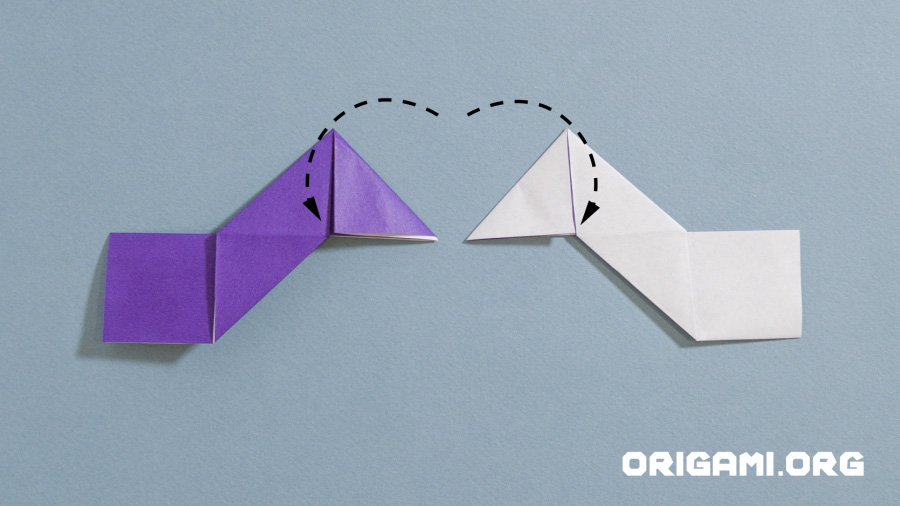
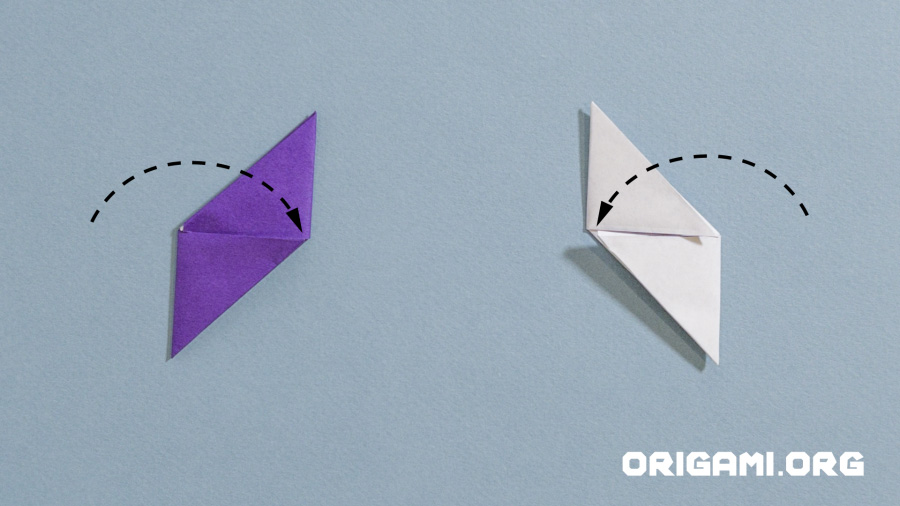
Step 9: Fold each top corner downwards making diagonal creases.
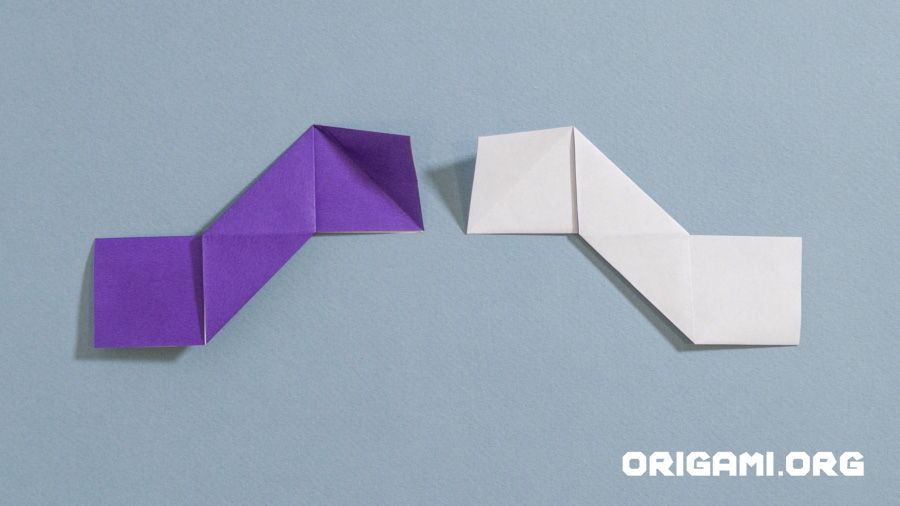
Step 10: Open the newly made creases and your pieces of paper should look like this
Step 11: Repeat the previous step, folding the outside corners upwards making diagonal creases

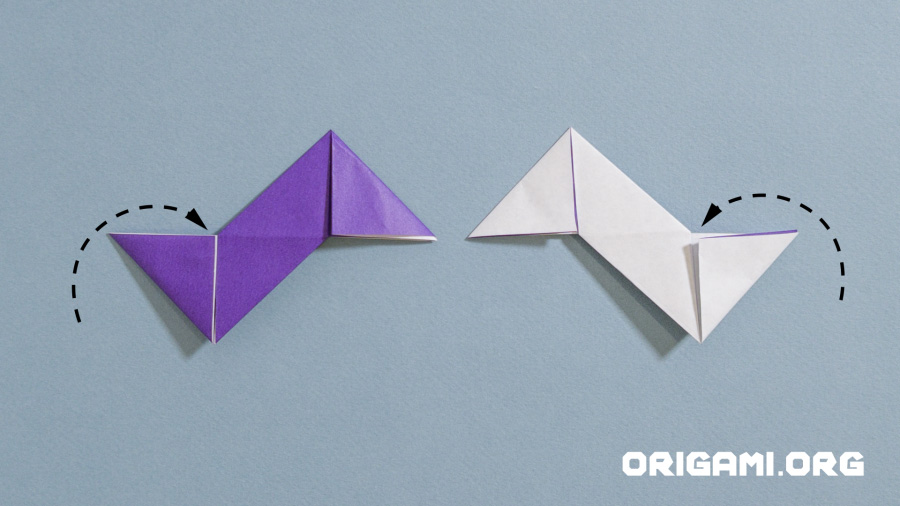
Step 12: Fold the top sections of each piece of paper inwards and press down

Step 13: Once pressed down your paper should look like this
Step 14: Fold the bottom sections of each piece of paper inwards and press down
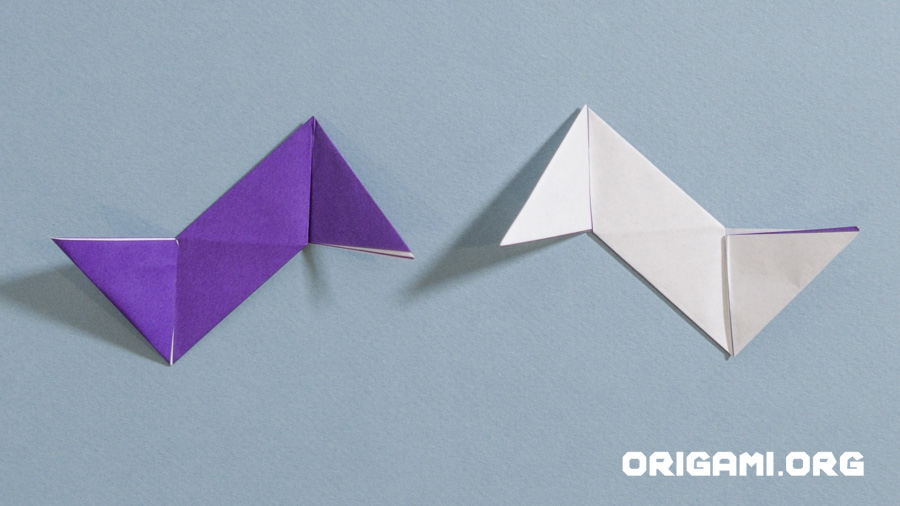
Step 15: Unfold the paper so it looks like this
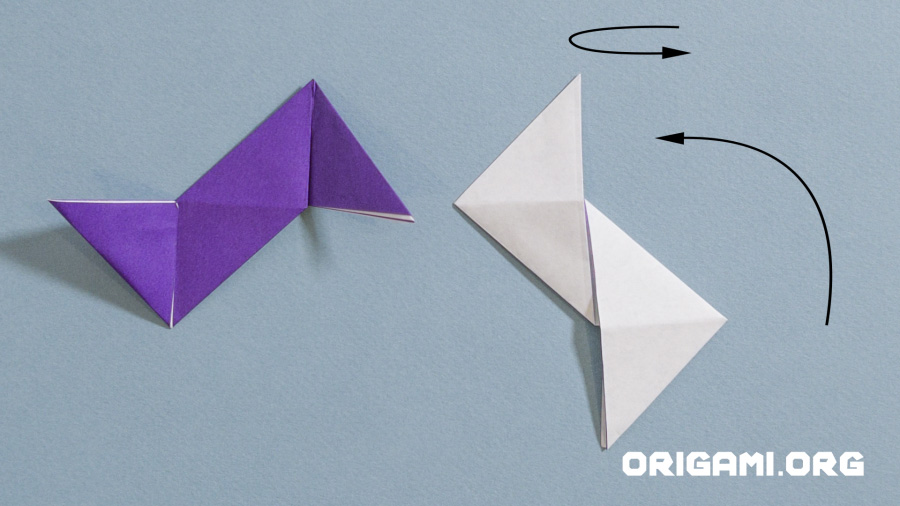
Step 16: Turn over the right piece of paper
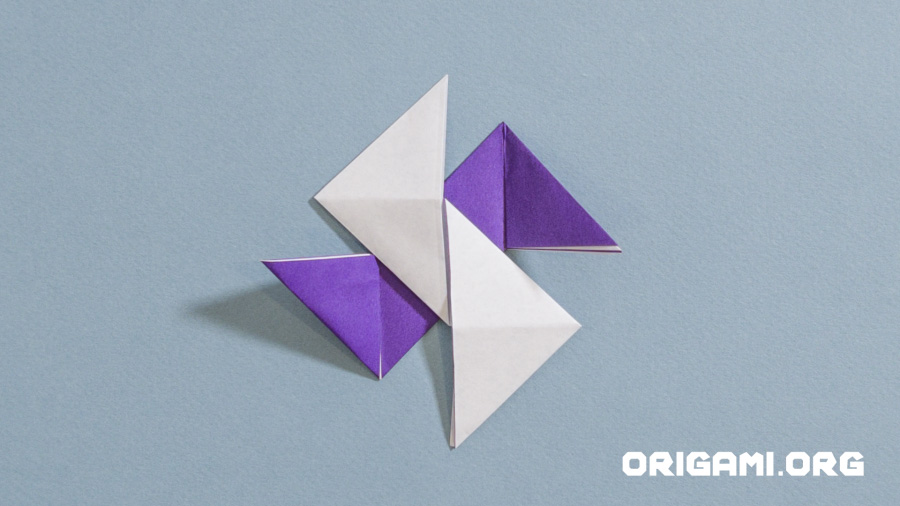
Step 17: Place the right piece (white) of paper on top of the left piece of paper (purple) as shown
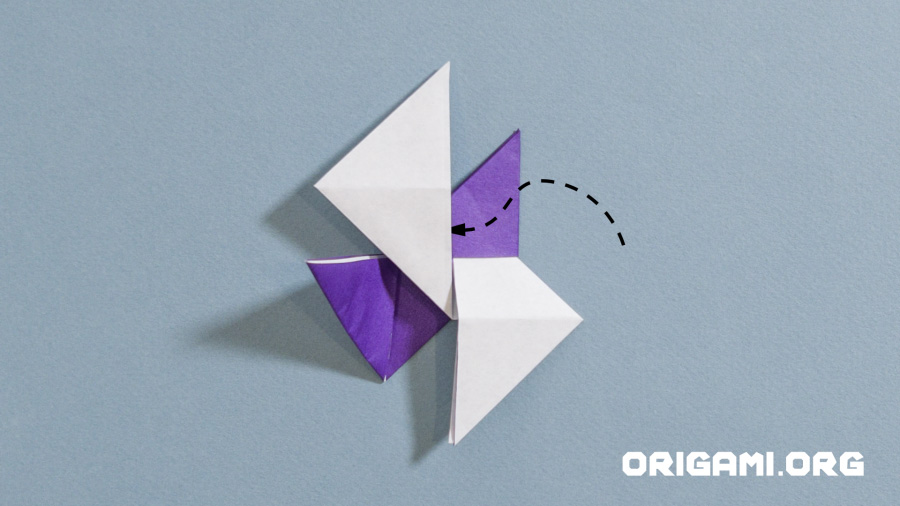
Step 18: Fold the right purple corner into the white open pocket
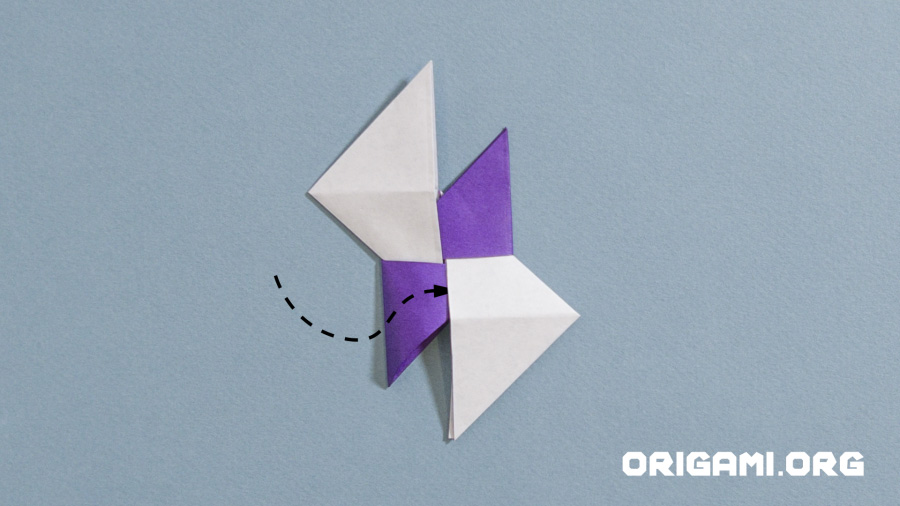
Step 19: Repeat with the left purple corner
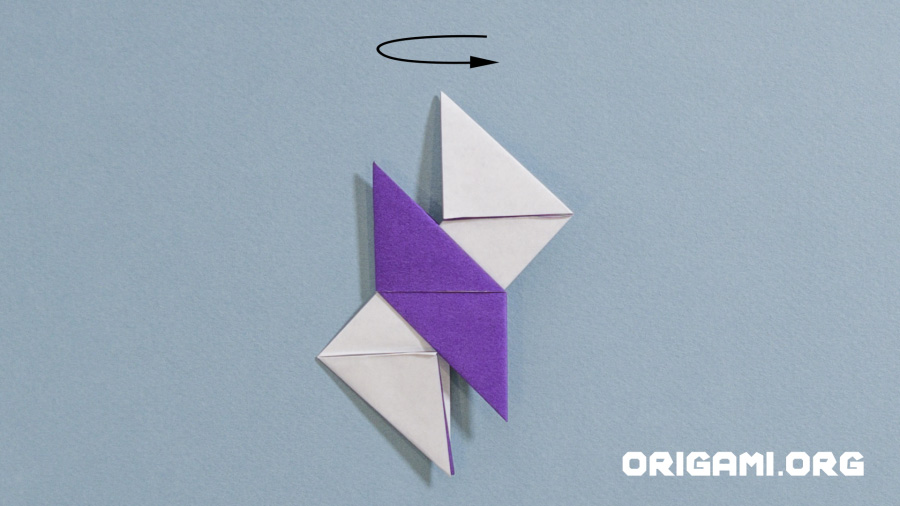
Step 20: Turn the paper over
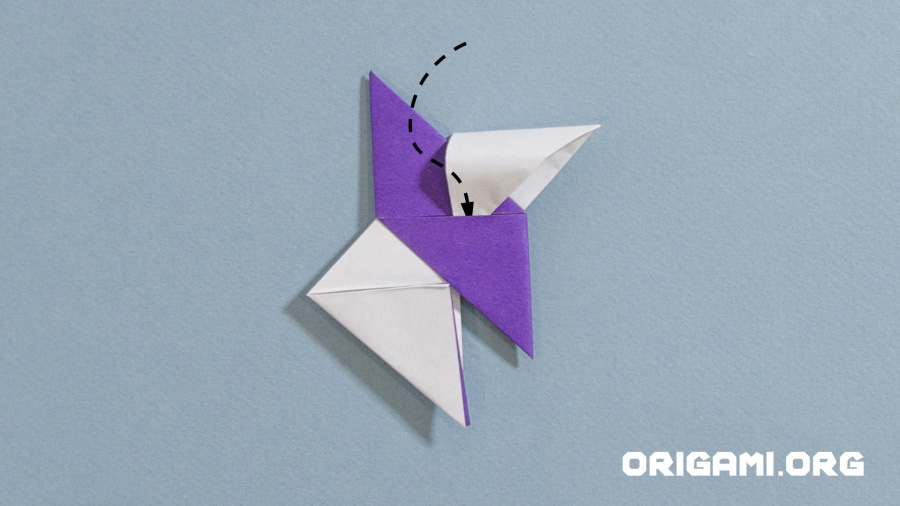
Step 21: Fold the white right corner down over the purple paper into the purple pocket
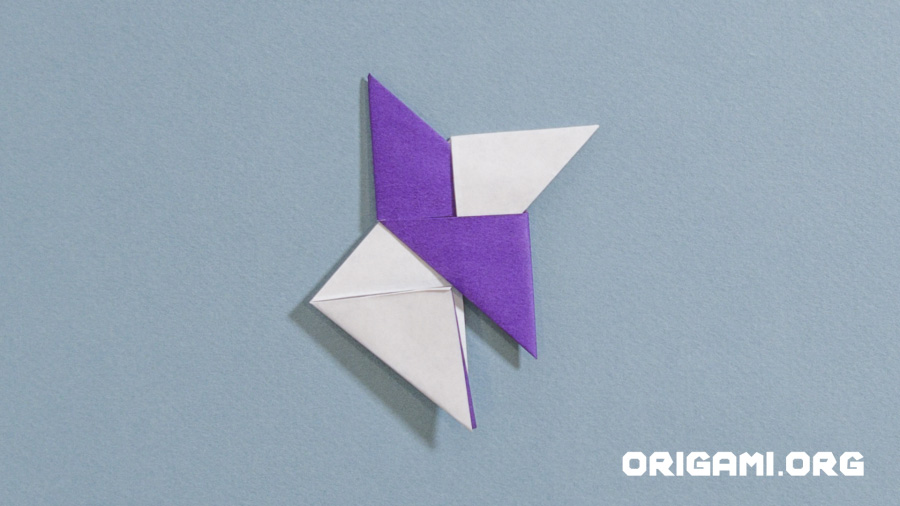
Step 22: Your creation should now look like this
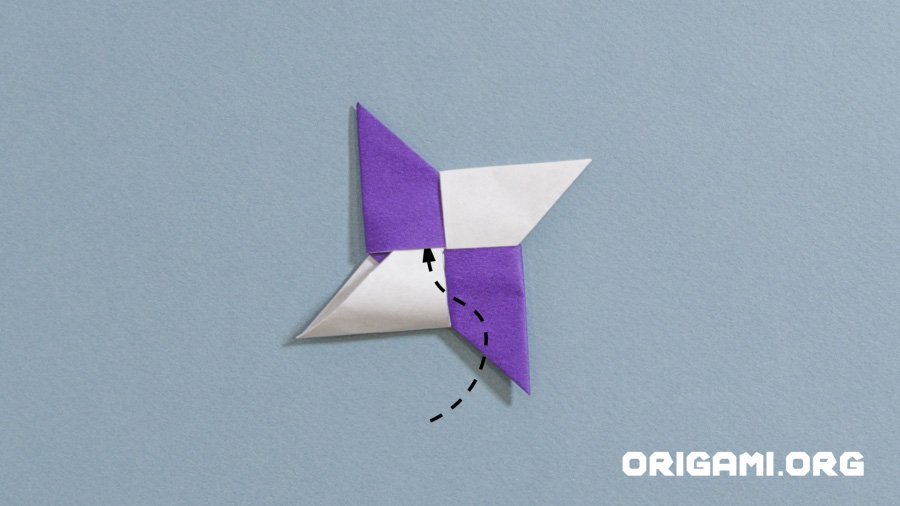
Step 23: Repeat the above step with the white left corner, folding it up and over the purple paper into the purple pocket
Step 24: Ta dah! Your Ninja Star is complete! Why not make some more in different colour combinations?

