Origami Sunflower
Difficulty: Easy
Welcome to the world of origami, where the delicate art of paper folding transforms a simple sheet into a magnificent origami sunflower. In this set of instructions, we’ll embark on a creative journey to craft a stunning paper representation of the radiant sunflower, a symbol of beauty, vitality, and sunshine.
Origami, rooted in Japanese tradition, is an art form that celebrates the transformation of flat, lifeless paper into intricate and lifelike sculptures. Creating an origami sunflower is a delightful blend of art and nature, where the graceful folds of paper mimic the elegance of petals basking in the warmth of the sun.
As you follow our step-by-step guide, you’ll discover the therapeutic and meditative qualities of origami, allowing you to immerse yourself in the creative process and cultivate patience and precision. Whether you’re a novice folder or an experienced origamist, this project offers an opportunity to bring the beauty of nature to your fingertips.
So, select a square sheet of paper, and let’s infuse your day with the vibrant colors and charm of a sunflower through the art of origami. As you fold and sculpt, you’ll capture the essence of this beloved flower, adding a touch of natural elegance to your creative repertoire.

What a cheery, easy to make sunflower! Use different coloured paper for the flower head and it could become any flower you want!
Step 1: We’ll make the sunflower head first!
Start with a piece of origami paper, nice bright yellow would be ideal

Step 2: Fold the bottom of the paper up to the top, creating a horizontal crease line along the centre
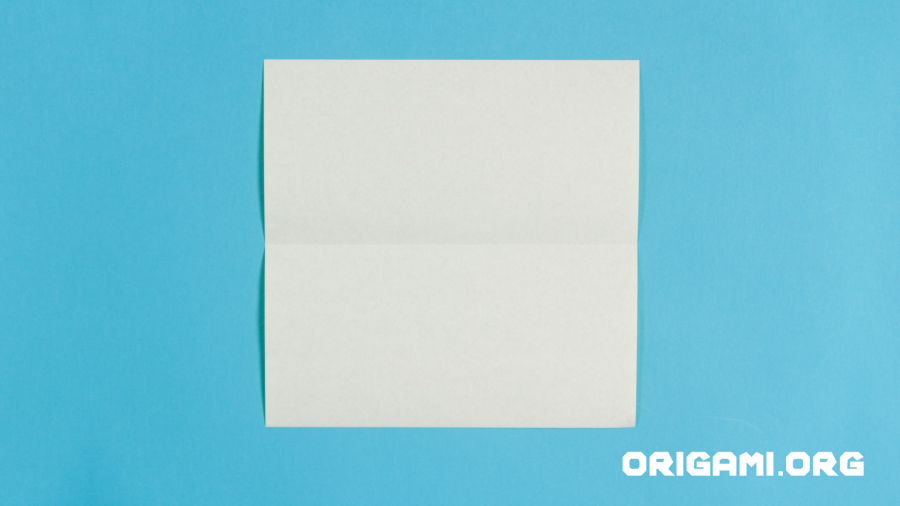
Step 3: Unfold the paper
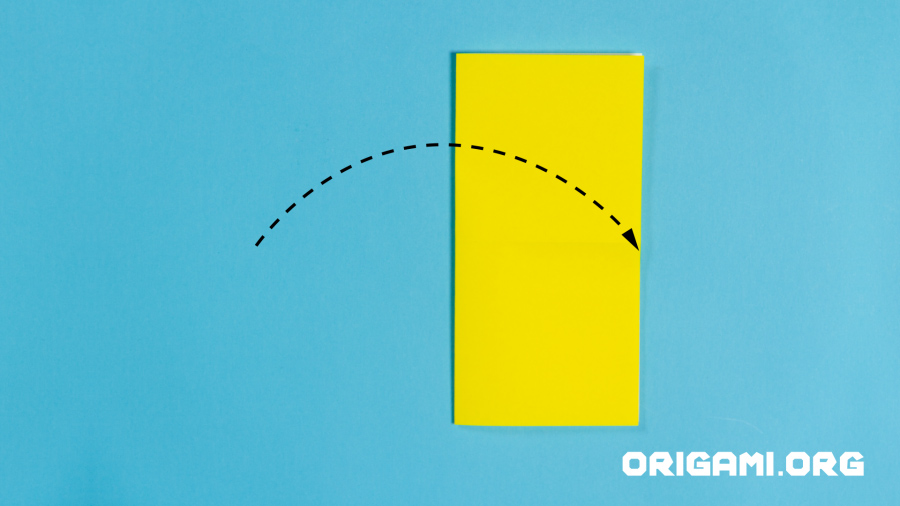
Step 4: Fold the left side over to the right side, creating a vertical crease line along the centre
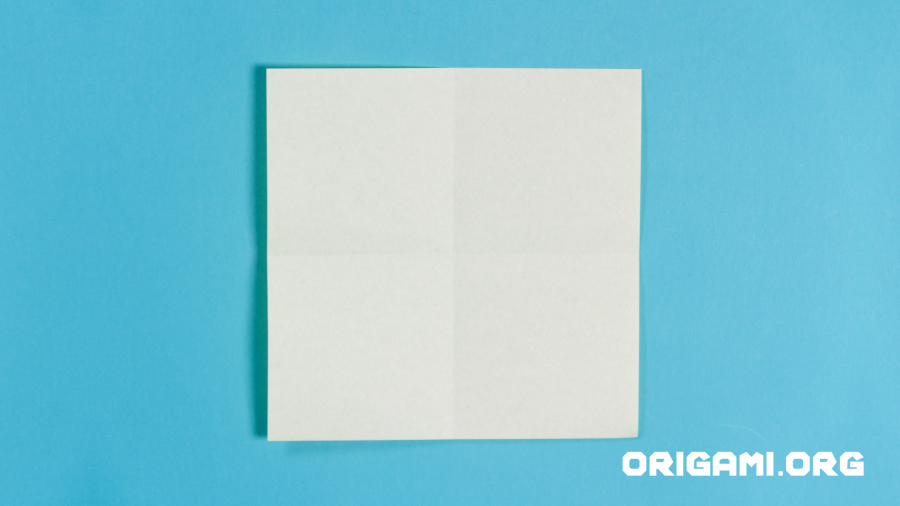
Step 5: Unfold the paper
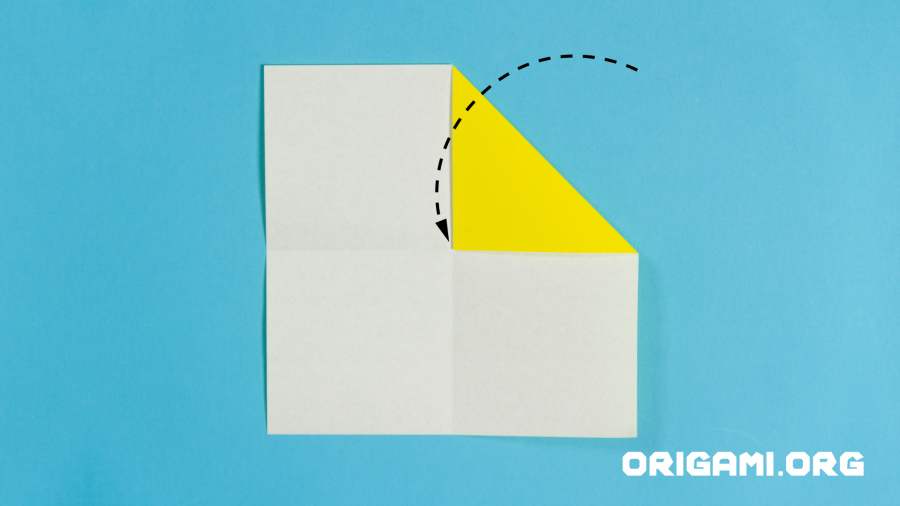
Step 6: Fold the top right corner down to meet the vertical and horizontal crease lines

Step 7: Repeat step 6 with the remaining 3 corners, folding each in to meet the vertical and horizontal crease lines

Step 8: Lift the top right corner upwards and crease leaving a border

Step 9: Repeat step 8 with the remaining 3 corners

Step 10: Turn the paper over

Step 11: Now let’s move onto the sunflower’s stem and leaf
Place your second piece of paper down as shown
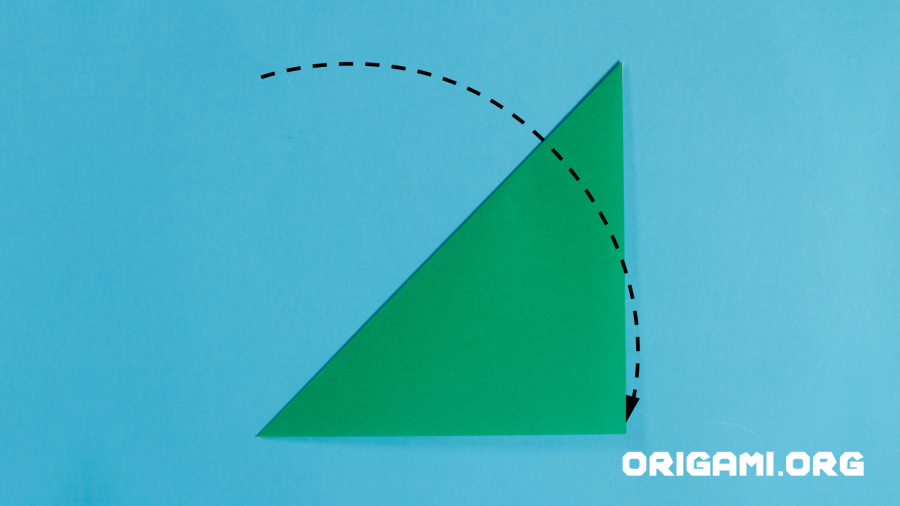
Step 12: Fold the top left corner down to the bottom right corner, creasing along the diagonal fold line

Step 13: Open up the paper
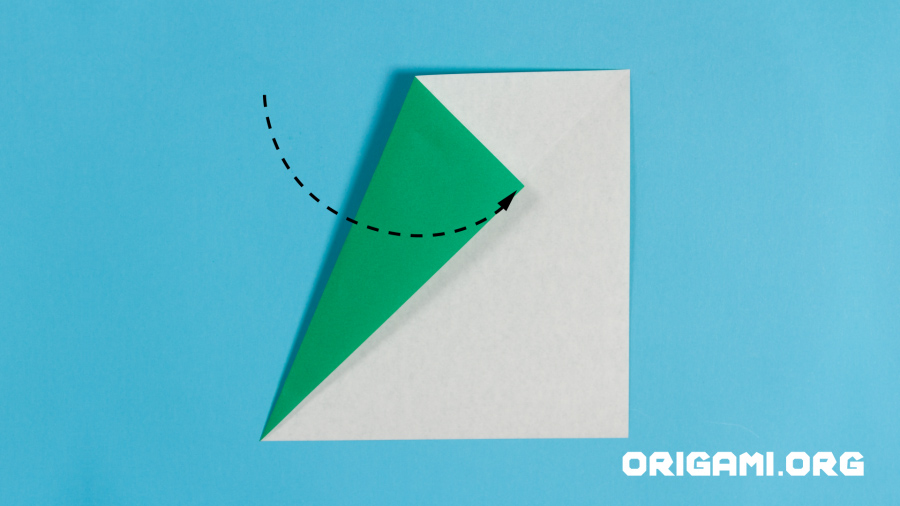
Step 14: Fold the top left corner down to meet the diagonal crease line
Step 15: Repeat step 14 on the right side, folding the bottom right corner up to meet the diagonal crease line
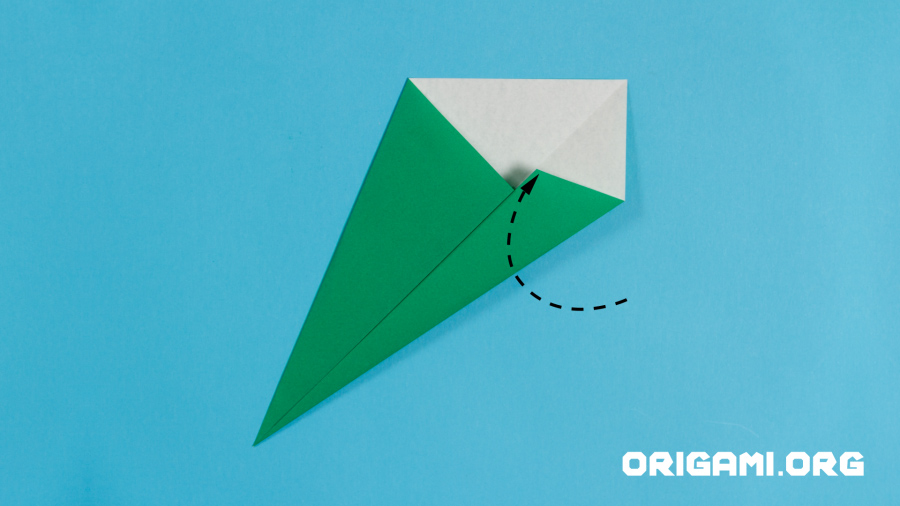
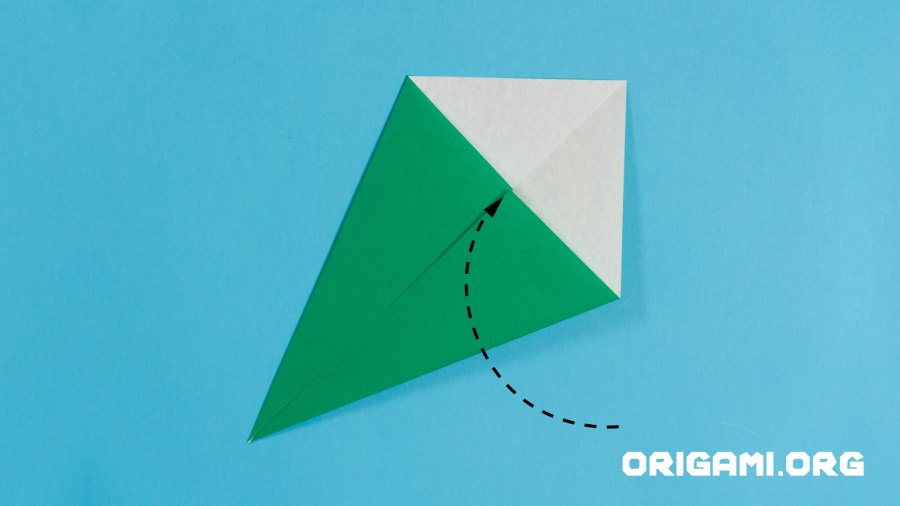
Step 16: Fold the right wing up to meet the centre crease line and press down

Step 17: Fold the bottom tip upwards and to the left, pressing down
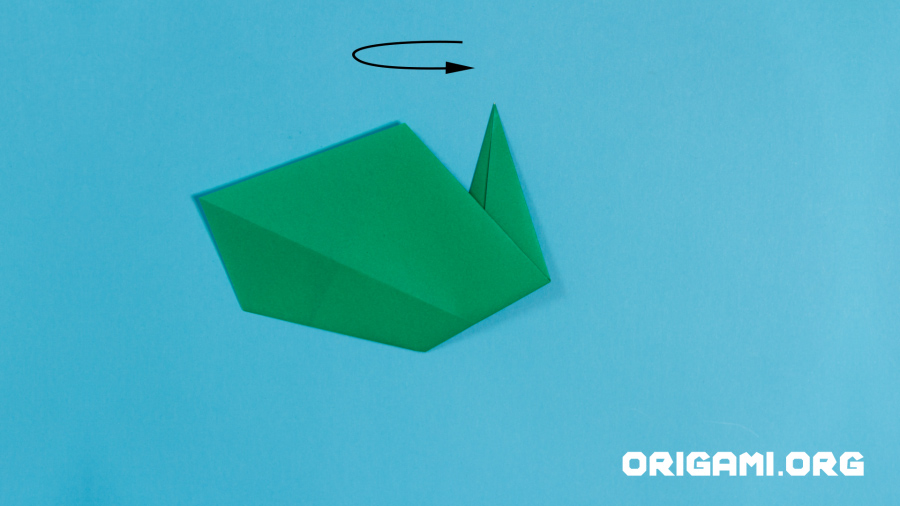
Step 18: Turn the paper over

Step 19: Attach the sunflower head to the stem and your sunflower is complete!


