Origami Flower Bouquet
Difficulty: Easy
This origami flower bouquet is a radiant testament to art and dedication, turning simple paper into a timeless work that captures the beauty of nature. These origami flowers are then delicately arranged together to form a beautiful bouquet that captures the elegance of real flowers but with a unique and artistic twist
Choose the colour flowers you like best – all the same or multi coloured, and select the colour paper wrapper which best suits your blooms!
You’ll need scissors and glue for this origami creation.

Step 1: Let’s make the flower head to begin with!
Start with your origami paper placed in a diamond shape.
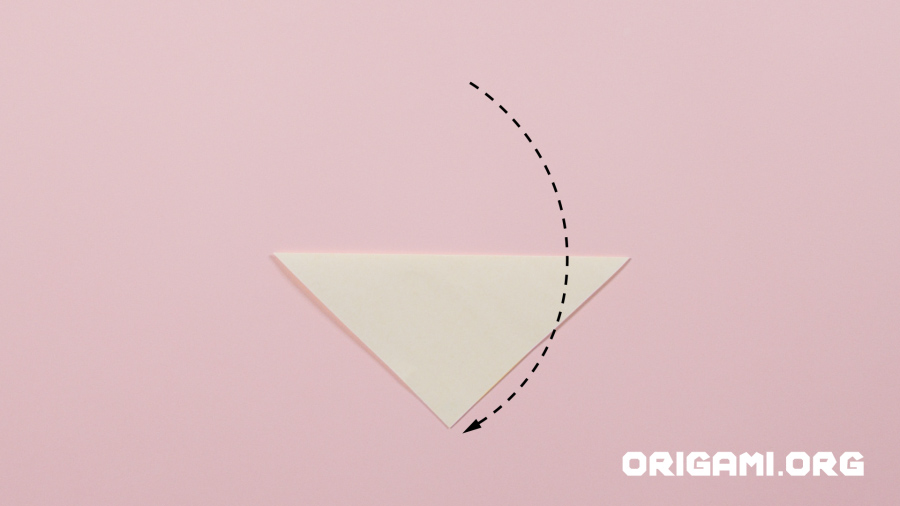
Step 2: Fold the top point down to meet the bottom point

Step 3: Open up the paper

Step 4: Fold the right point over to meet the left point

Step 5: Unfold the paper
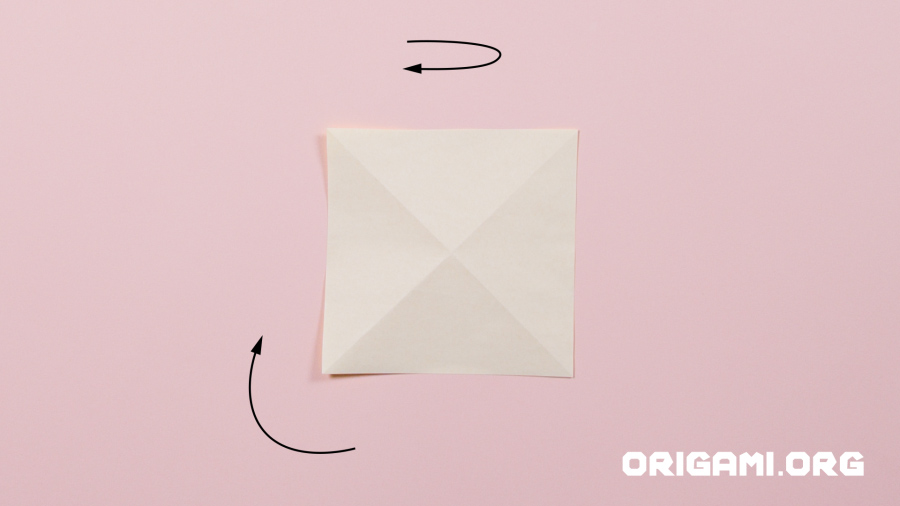
Step 6: Turn the paper over and place it in a square shape

Step 7: Fold the top down to meet the bottom, creasing along the centre horizontal fold line
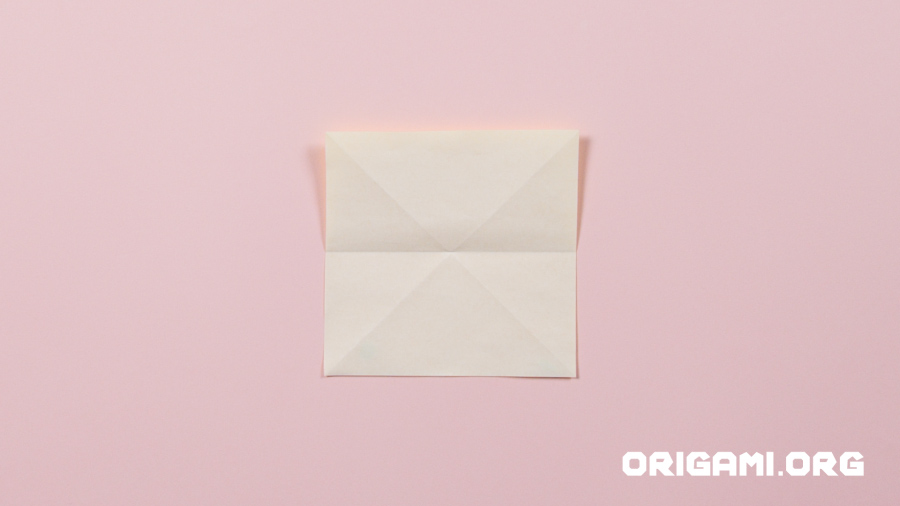
Step 8: Unfold the paper

Step 9: Fold the right side over to meet the left side, creasing along the vertical fold line
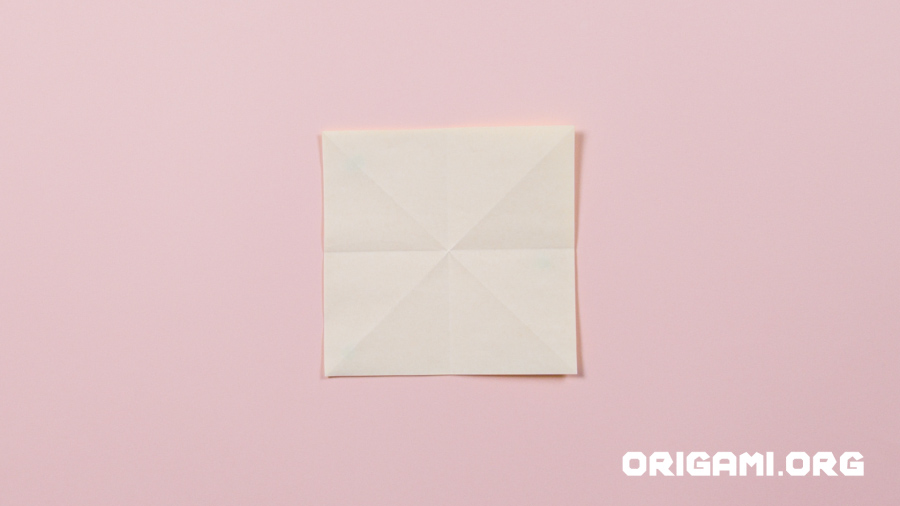
Step 10: Unfold the paper

Step 11: Fold each corner up to meet the top left corner

Step 12: As you fold the paper should lift like this

Step 13: Keep folding and the paper will start to close up like this

Step 14: Once all corners have met the top left corner, your paper should now look like this

Step 15: Twist the paper into a diamond shape (the open end should be pointing upwards)

Step 16: Fold the left and right points inwards until their tips meet in the centre

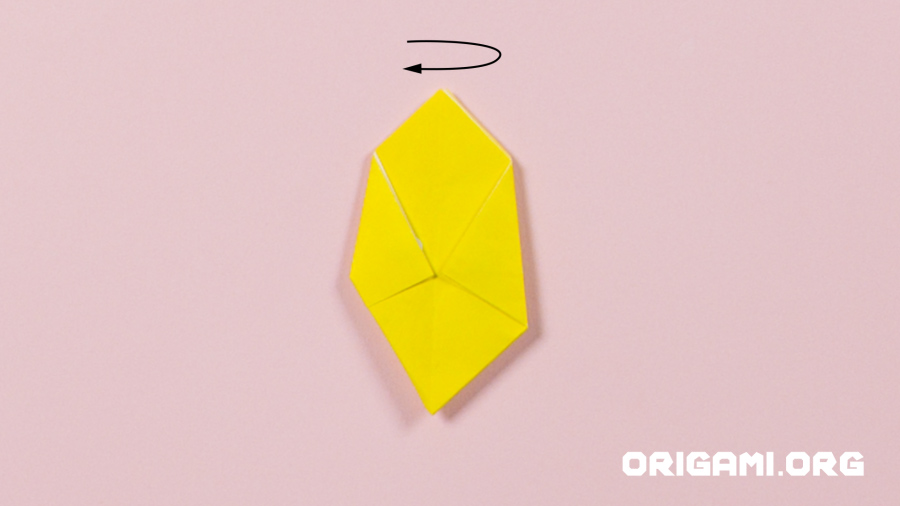
Step 17: Turn the paper over

Step 18: Repeat step 16 by bringing the left and right corners in to meet in the centre

Step 19: Fold the right side over to meet the left (take care only to fold the top layer of paper)

Step 20: When pressed down your paper should look like this

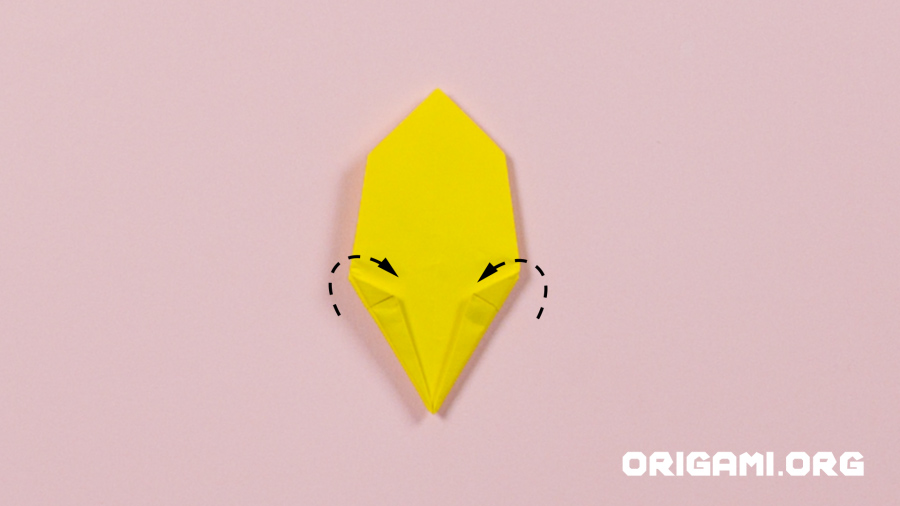
Step 21: Fold the left and right lower sides inwards as shown
Step 22: Turn the paper over

Step 23: Repeat step 19 by folding the right side over to meet the left (take care only to fold the top layer of paper)

Step 24: When pressed down your paper should look like this
Step 25: Repeat step 21 by folding the left and right lower sides inwards as shown
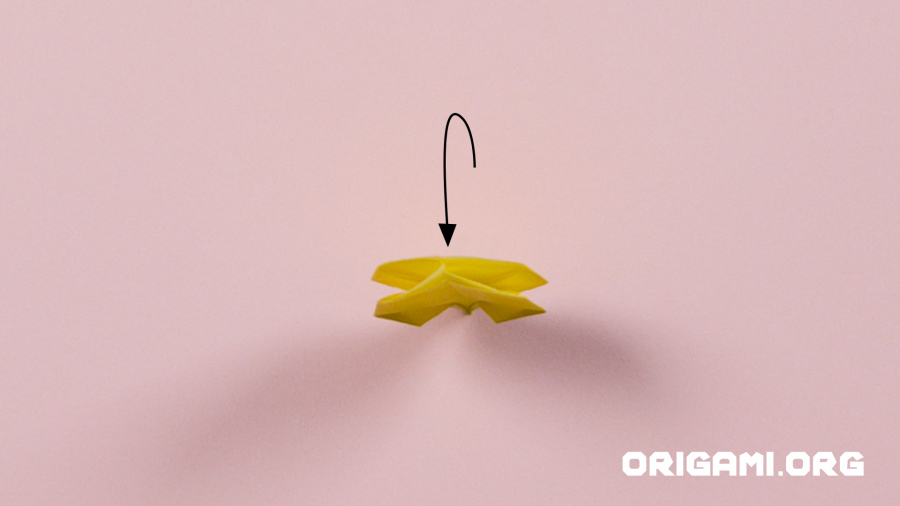
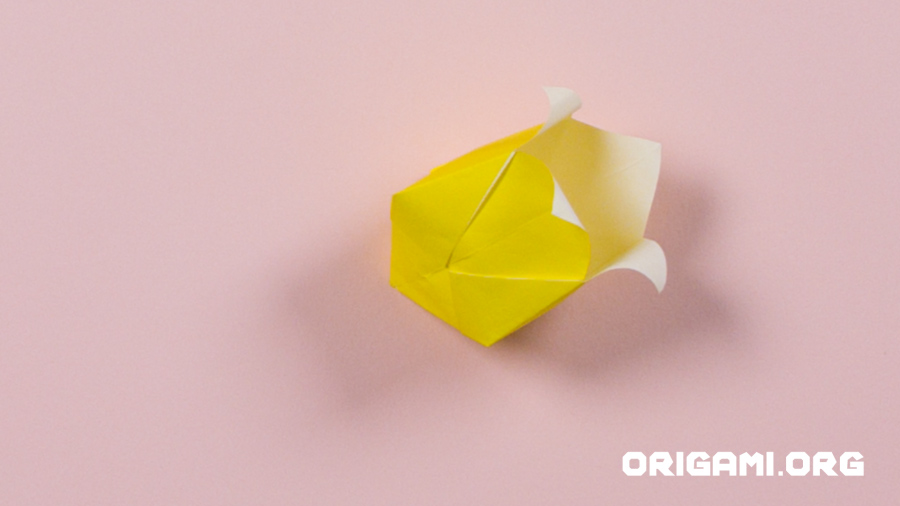
Step 26: Lift and hold your paper by the bottom point so it looks like this
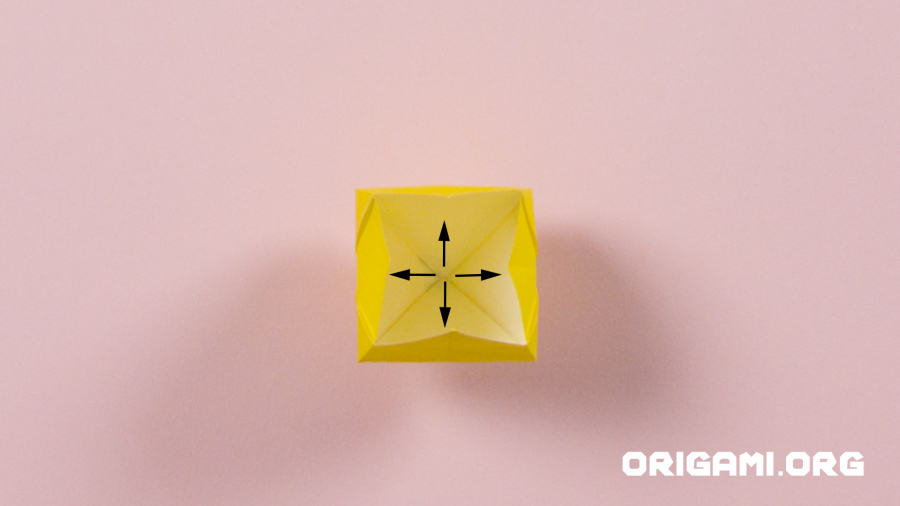
Step 27: Open up the centre of the flower’s head

Step 28: Gently fold the four petals over and outwards creating a slight curl
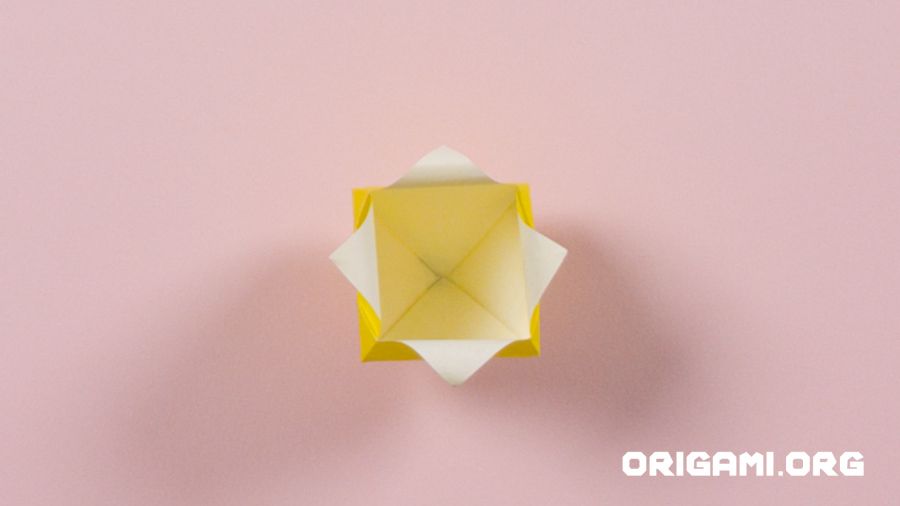
Step 29: Your flower head should now look like this from above
Step 30: Your flower head is now complete!
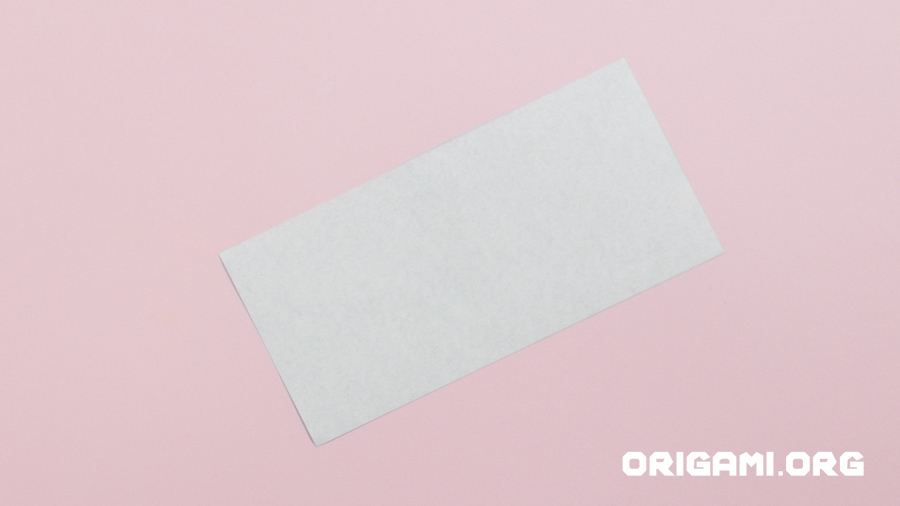
Step 31: Let’s make the flower’s stem now. You’ll need a rectangular piece of origami paper. This one is green on the reverse.
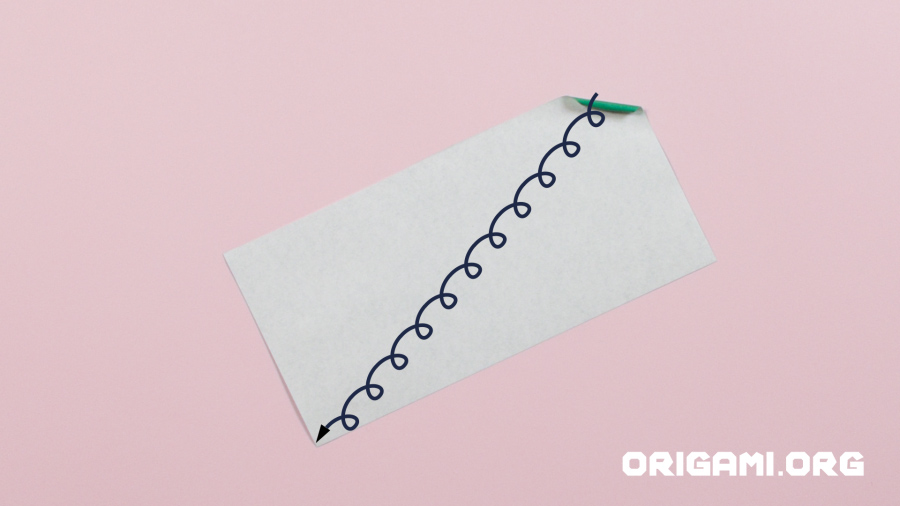
Step 32: Starting in the top right corner, roll the paper diagonally downwards towards the bottom left corner, creating a paper straw
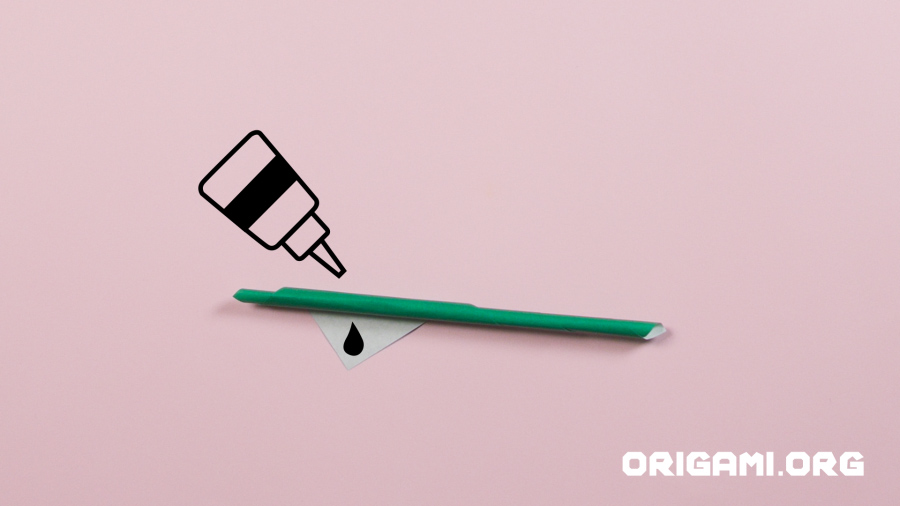
Step 33: You’ll need to glue the last flap of paper to prevent it unrolling

Step 34: Cut the bottom point off the stem so it has a flat bottom
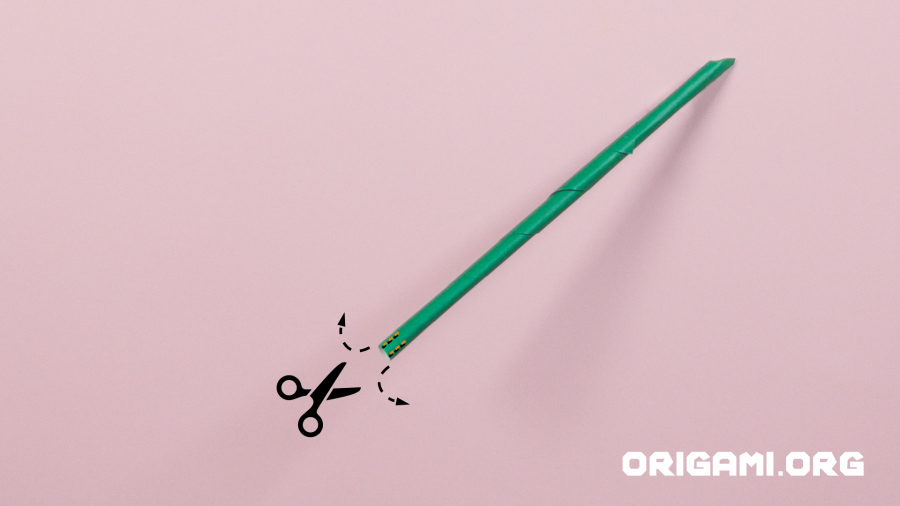
Step 35: Make four little cuts in the end of the stem
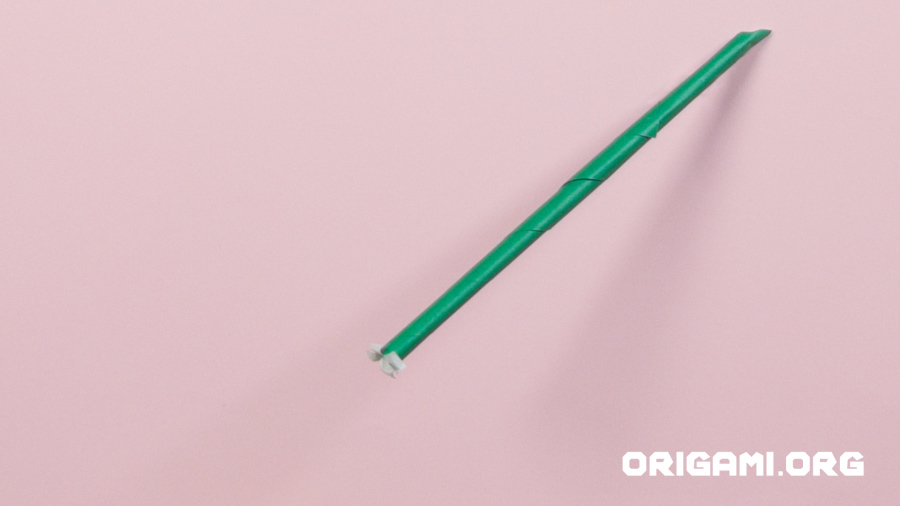
Step 36: Flare out the ends of the stem where you have made the cuts
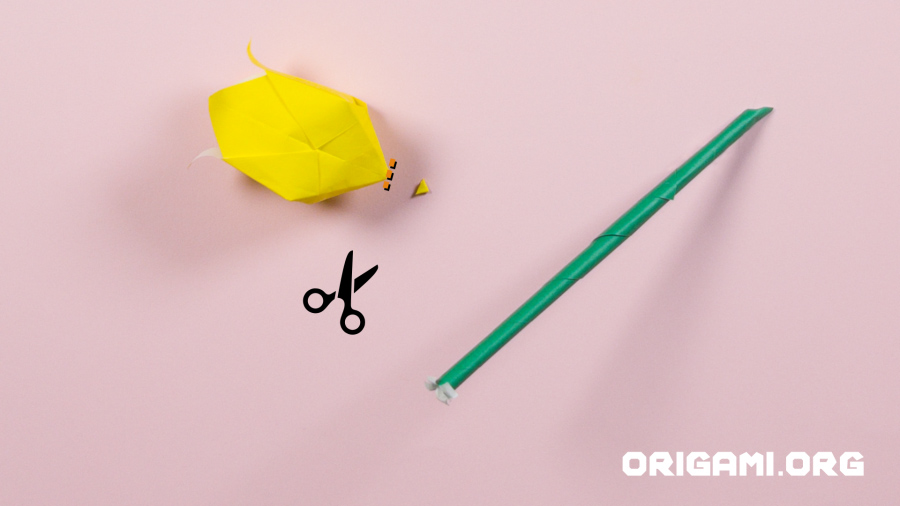
Step 37: Cut off the bottom tip of the flower head – only the very end needs removing so it creates a very small hole
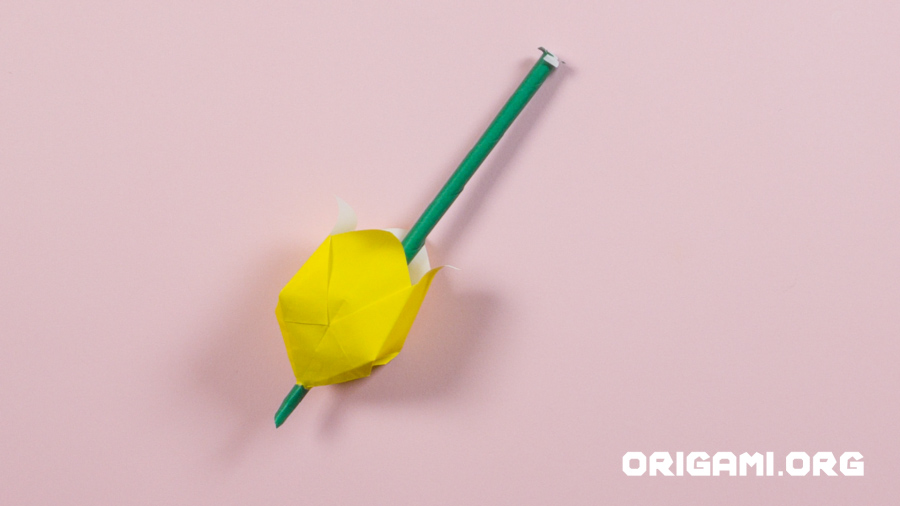
Step 38: Inset the pointed end of the stem into the flower head
Step 39: Keep pushing the stem through the base of the flower head
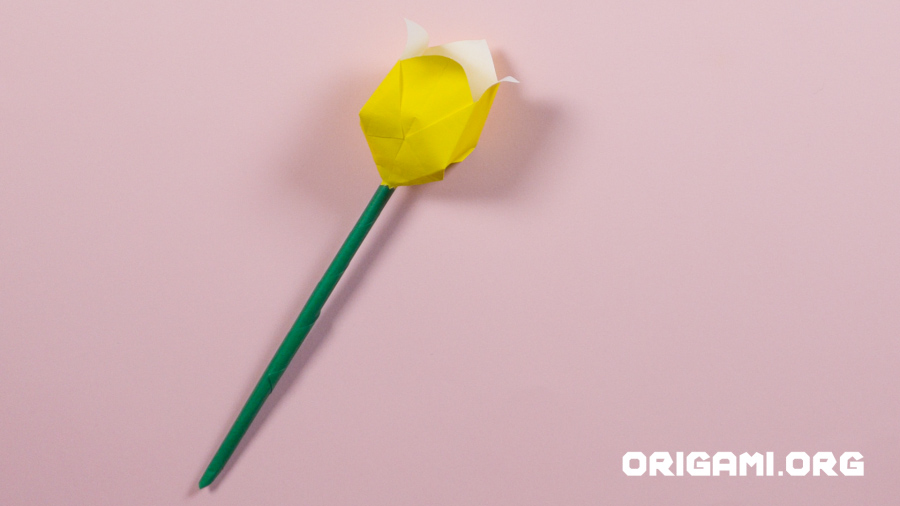
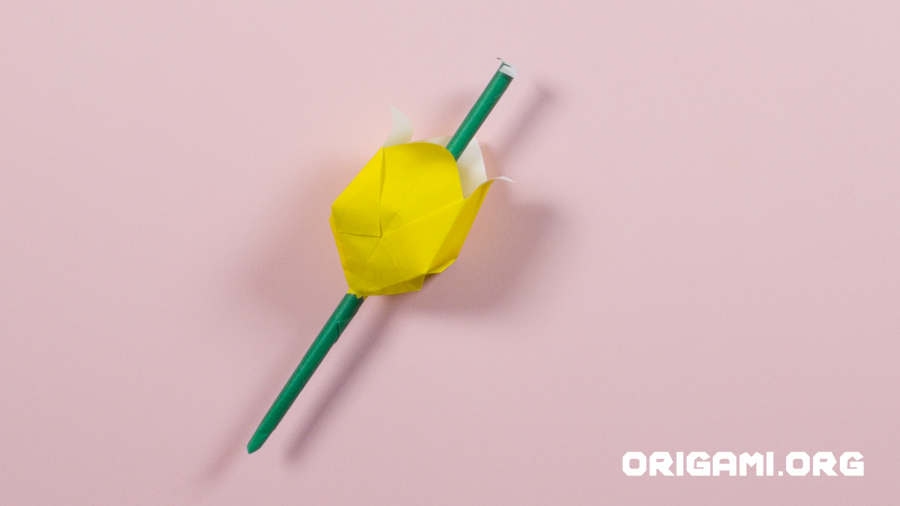
Step 40: Push the stem until the flared end reaches the bottom of the inside of the flower head. Your beautiful flower is now complete!
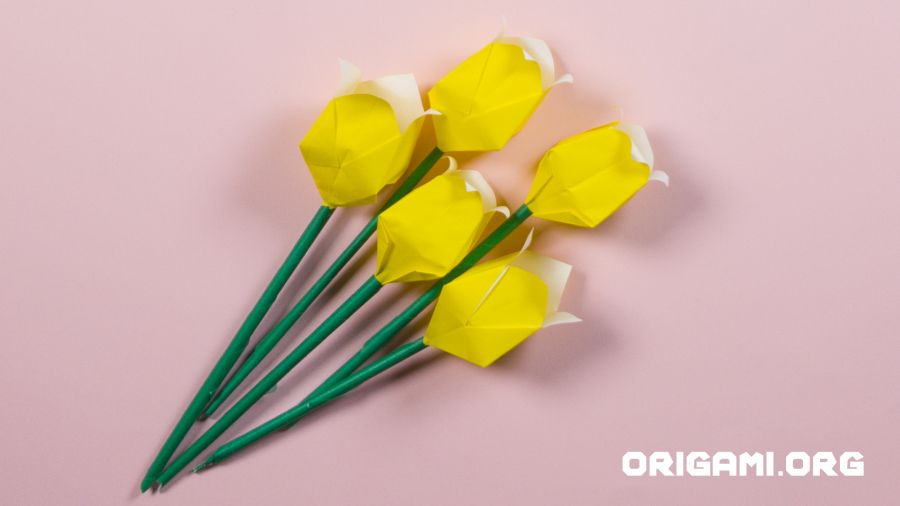
Step 41: Repeat all steps and create another 4 flowers to add to your bouquet

Step 42: Wrap your bouquet in your choice of coloured paper to make a wonderful gift for a friend – who will you give yours to?

