Origami Cornflower
Difficulty: Easy

Did you know less than 10% of all flowers on Earth are blue which makes them extra special? Make you own rare blue origami cornflower by following our simple steps below.
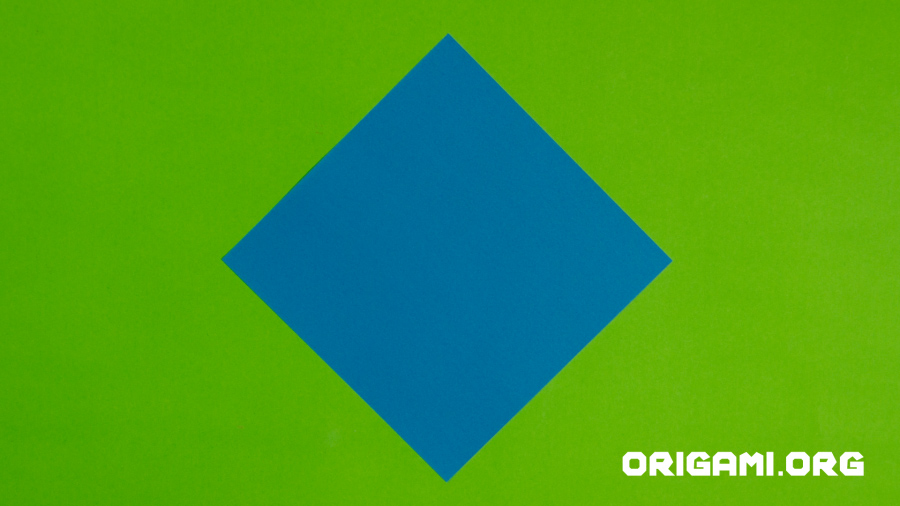
Step 1: We’ve used origami paper which is blue on one side – use paper that is blue (or purple!) on both sides if you’d rather not have the uncoloured paper showing in your final design.
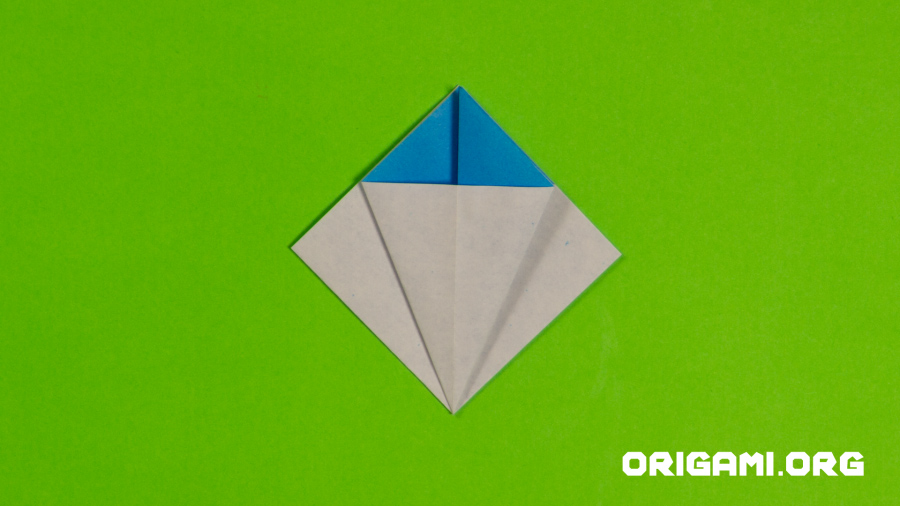
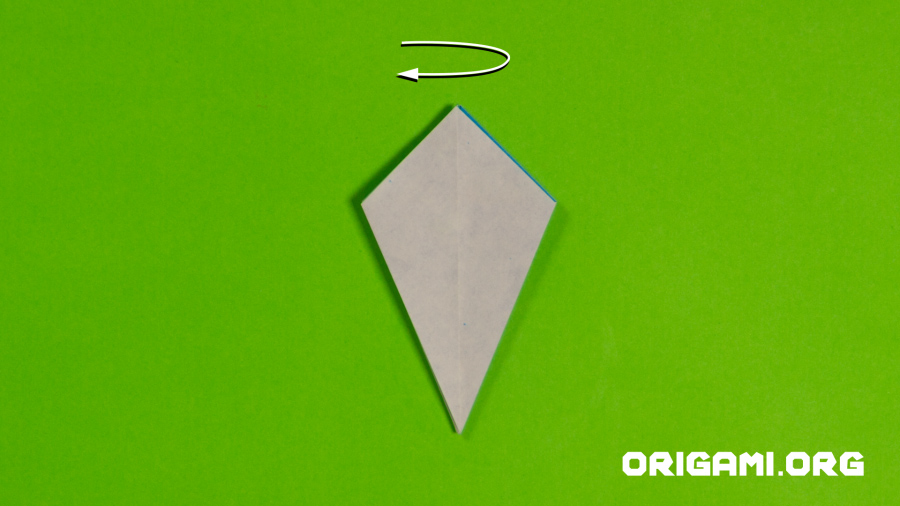
Place your paper in a diamond position
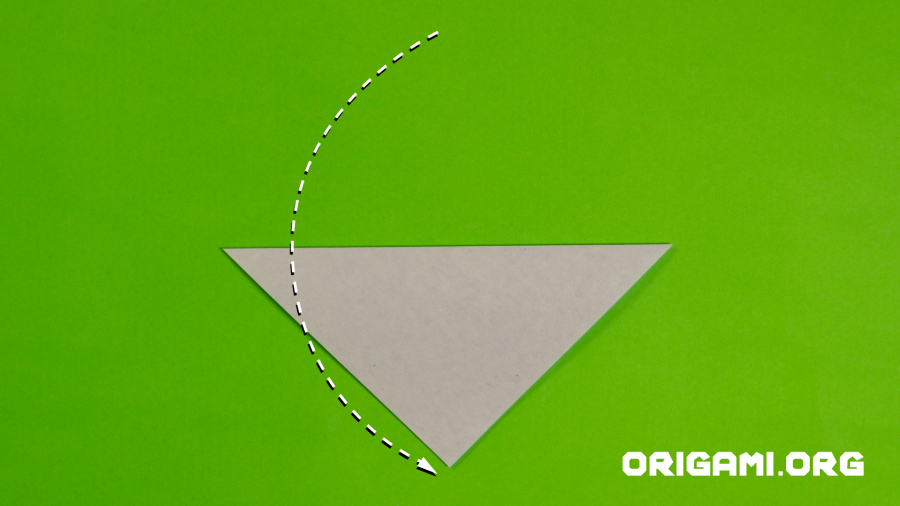
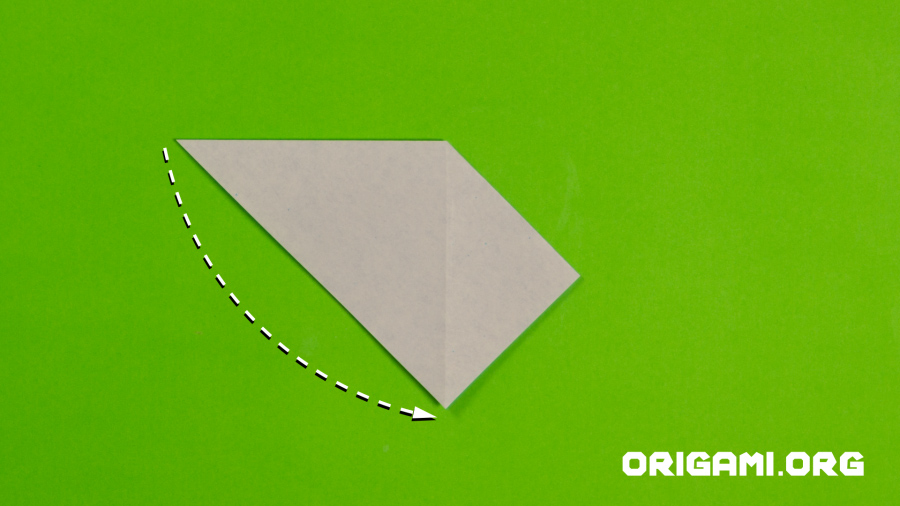
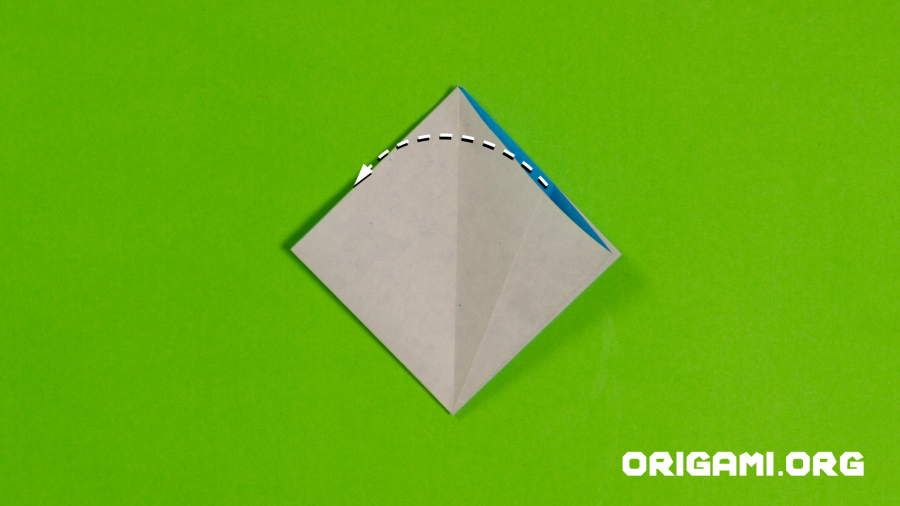
Step 2: Fold the top point down to meet the bottom point
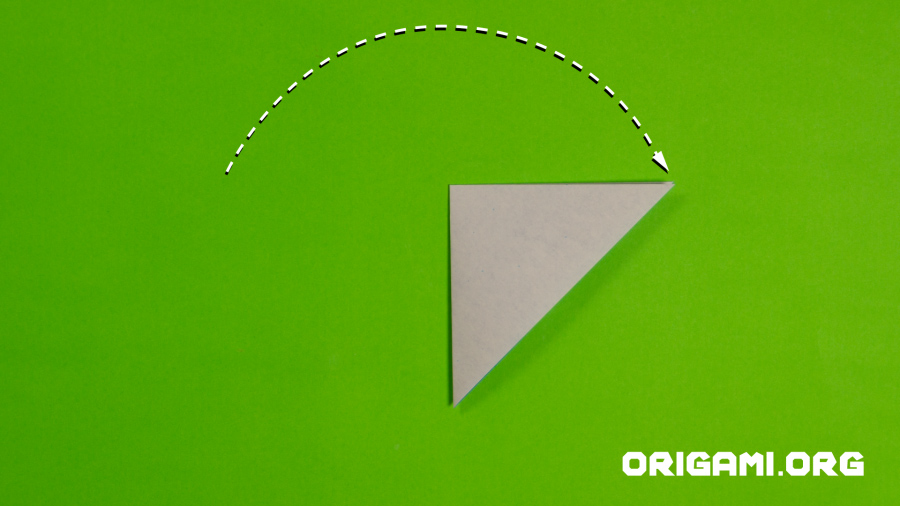
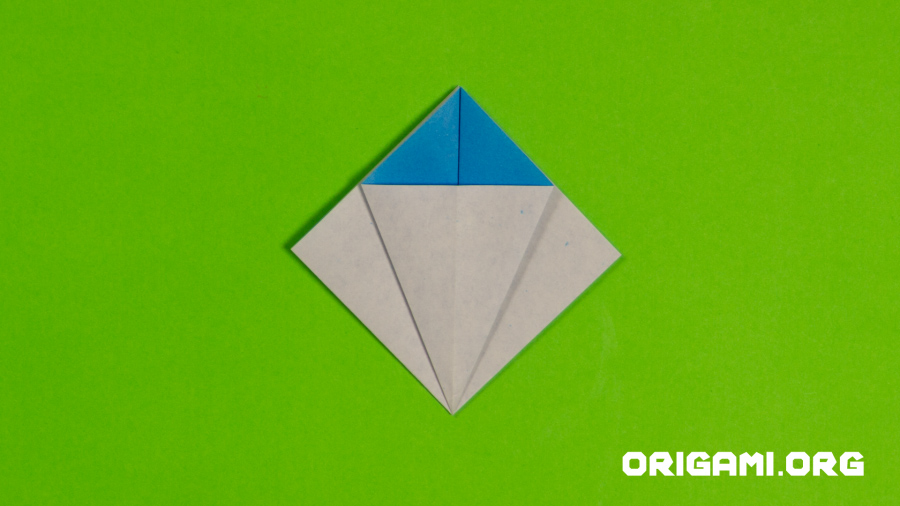
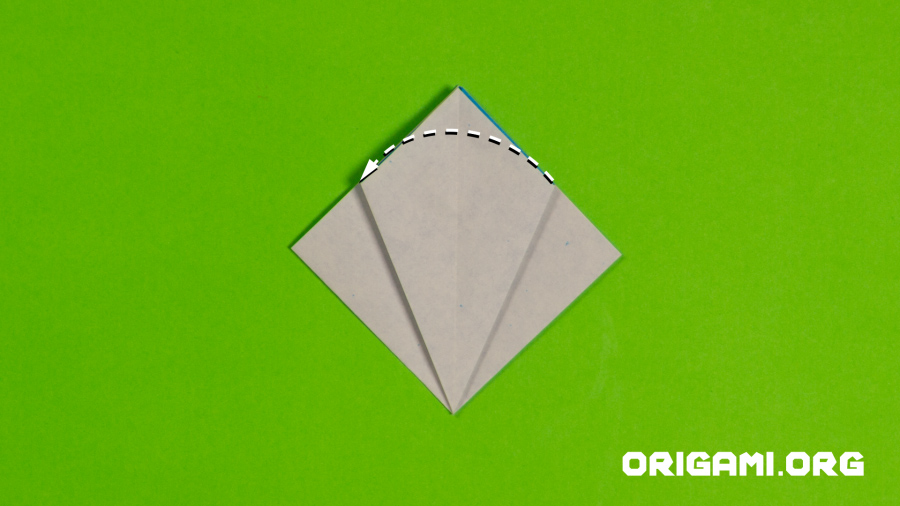
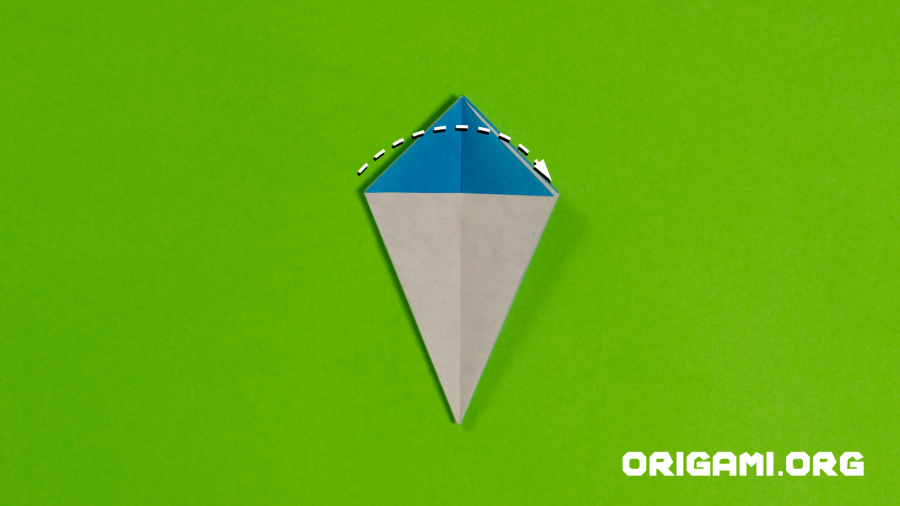
Step 3: Fold the left point over to meet the right point
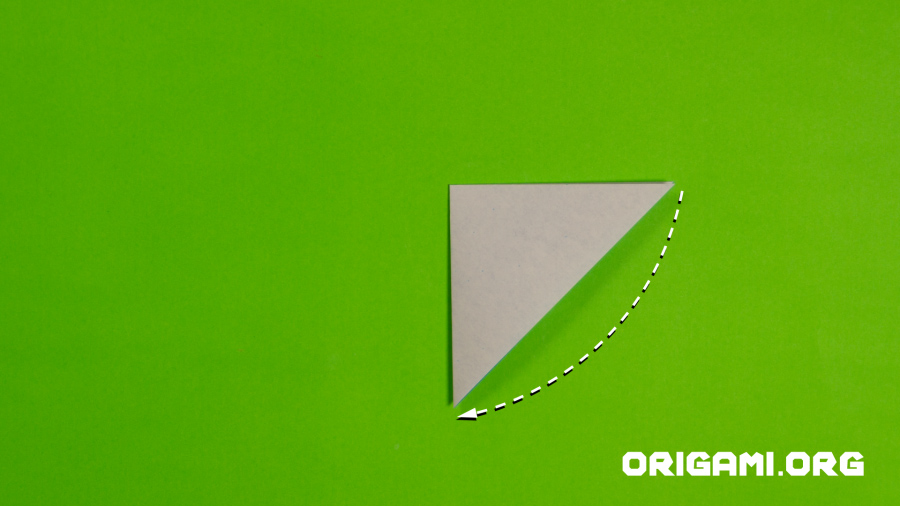
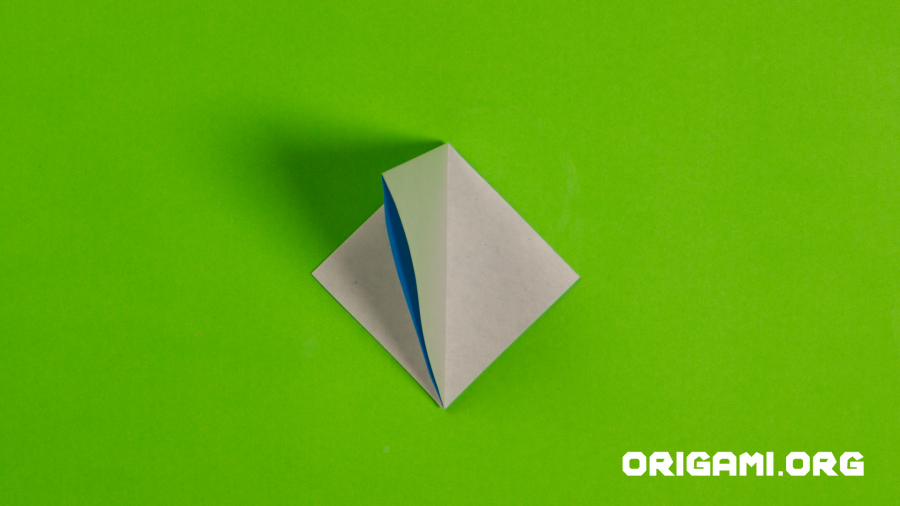
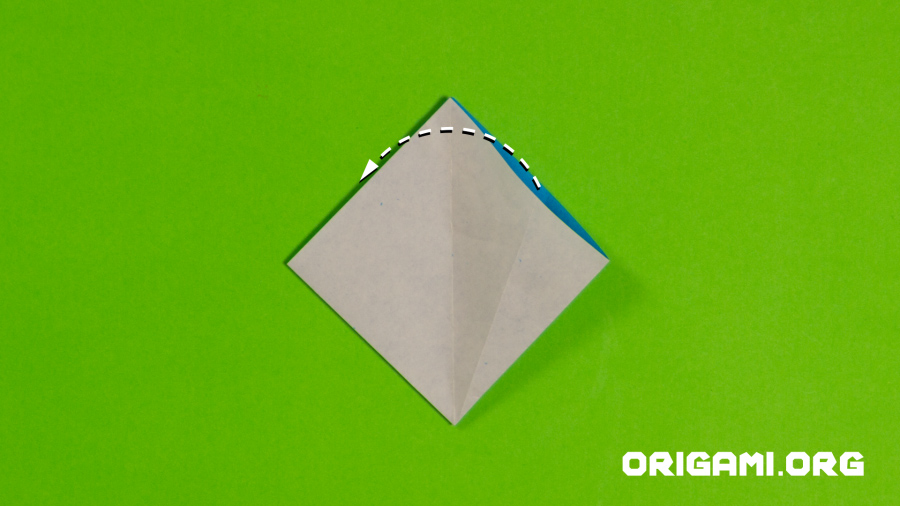
Step 4: Lift the right top layer of paper upwards and open it up
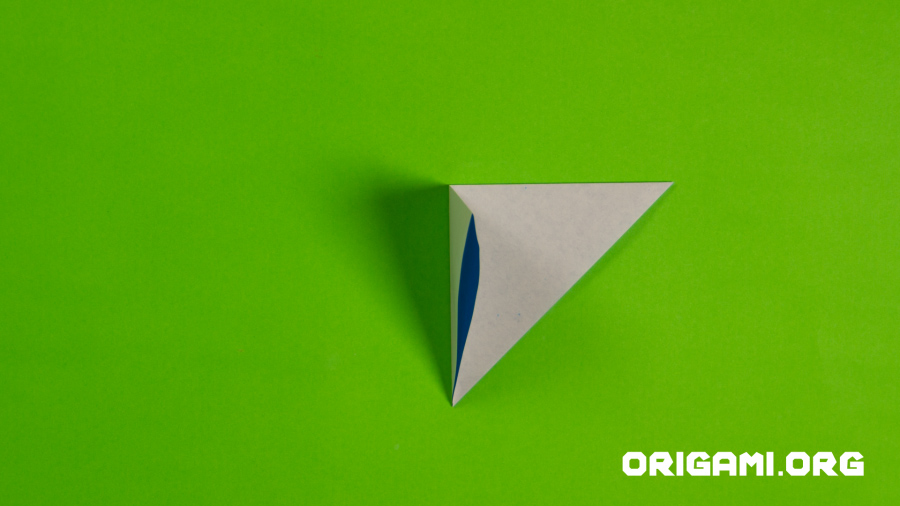
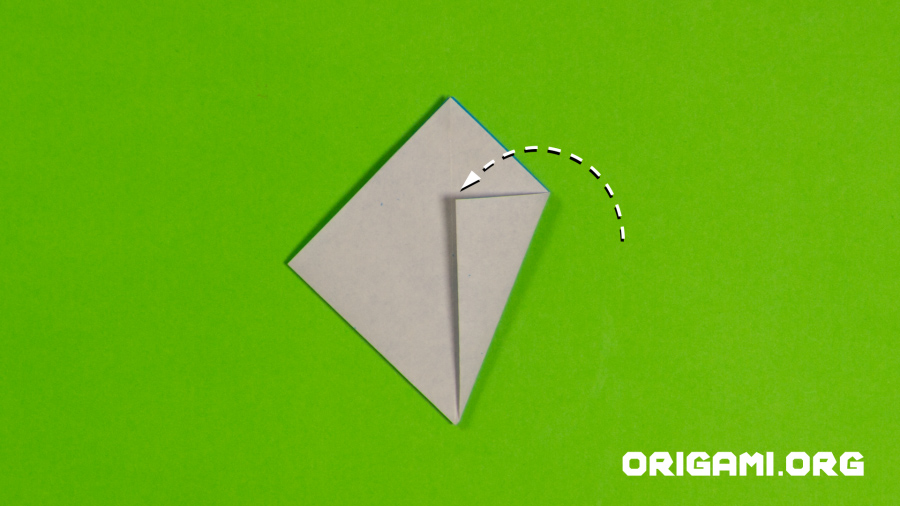
Step 5: This is how your paper should look as you lift the paper and open it up
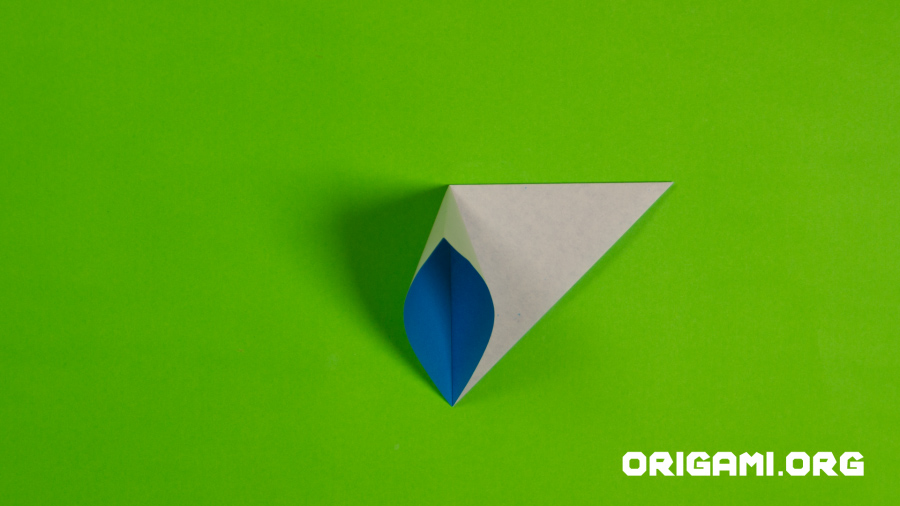
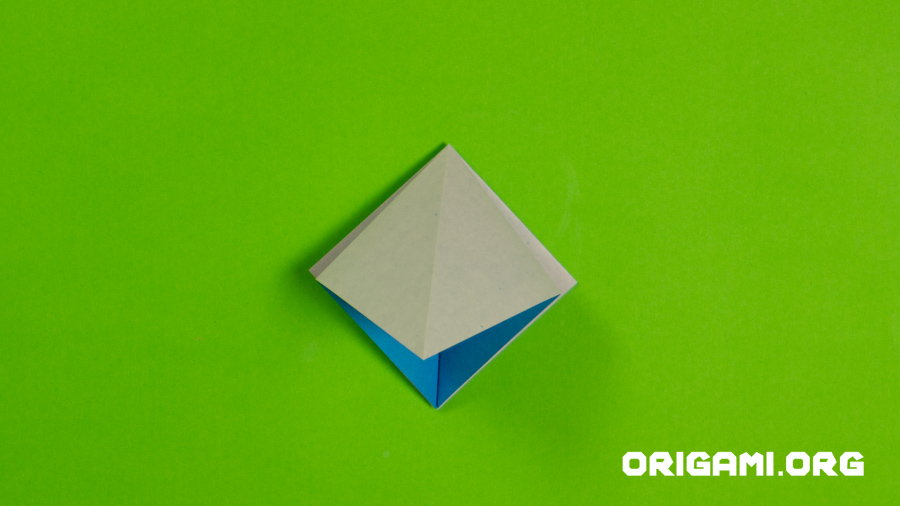
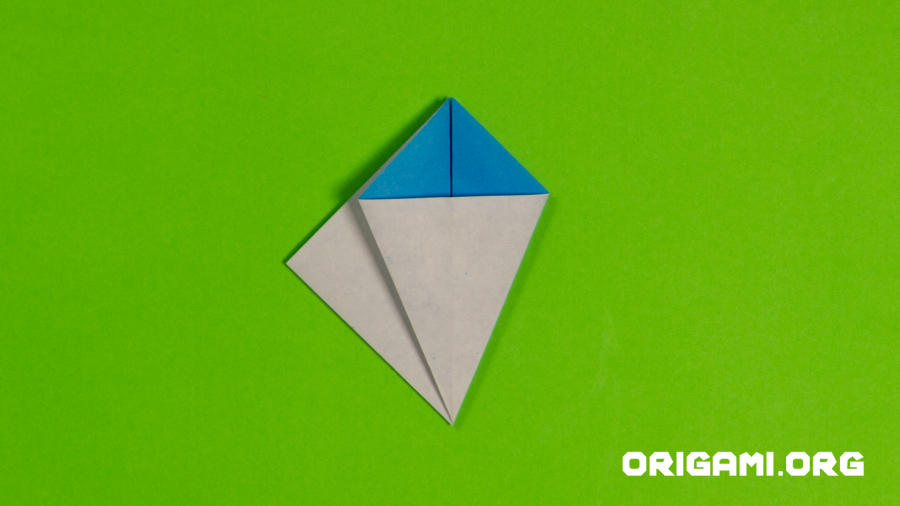
Step 6: Keep opening! As you open, the top point should automatically want to move downwards to meet the bottom point
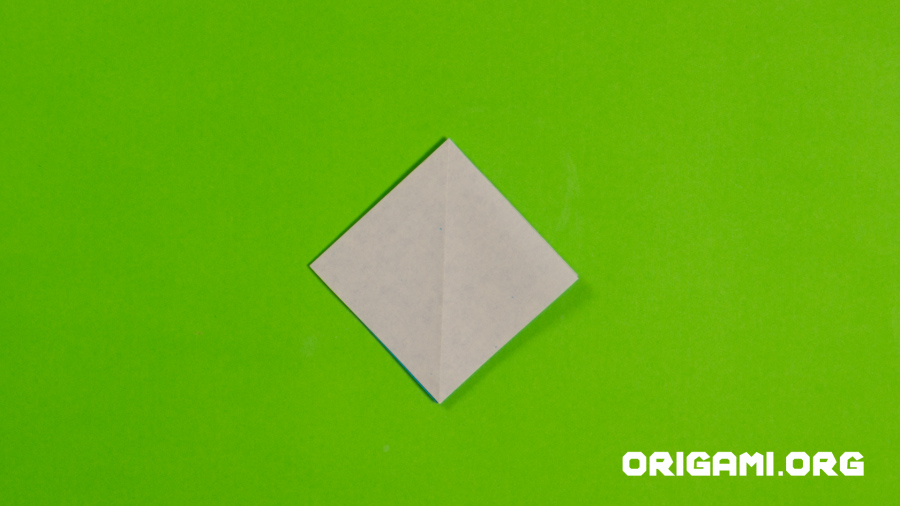
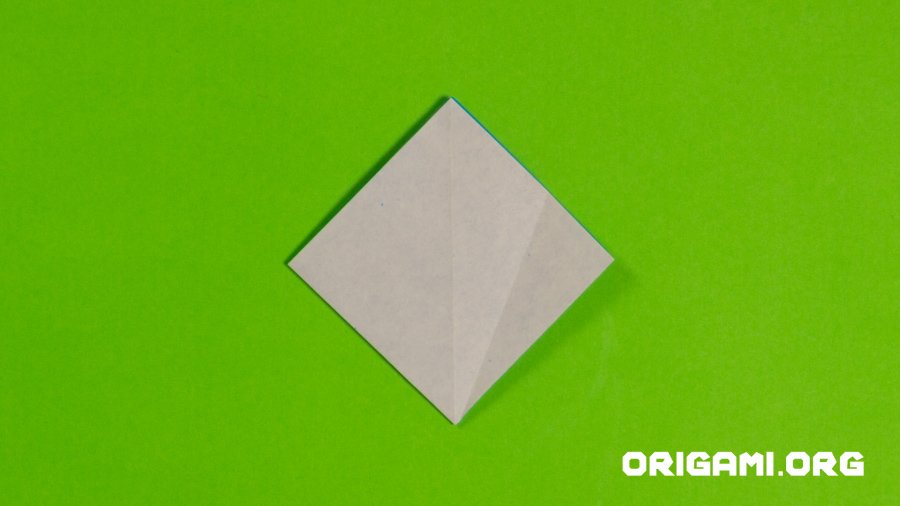
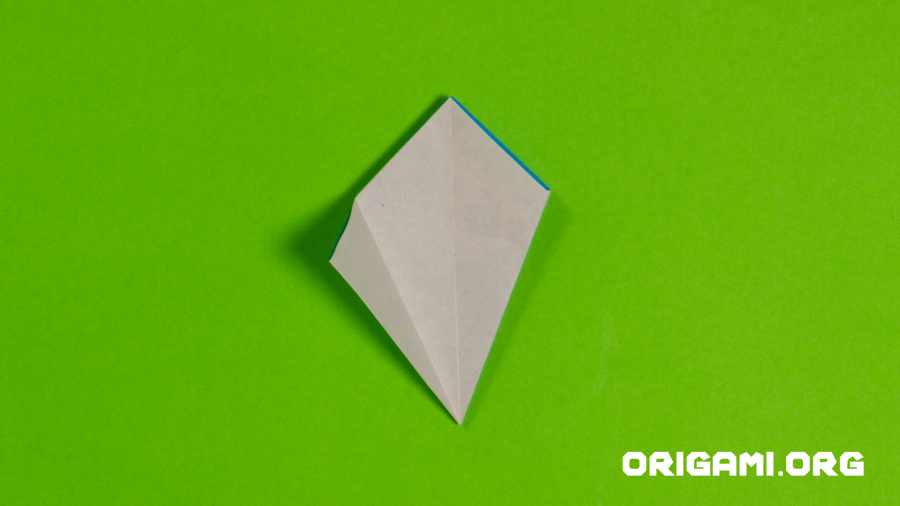
Step 7: Once fully opened and pressed down, your paper should look like this
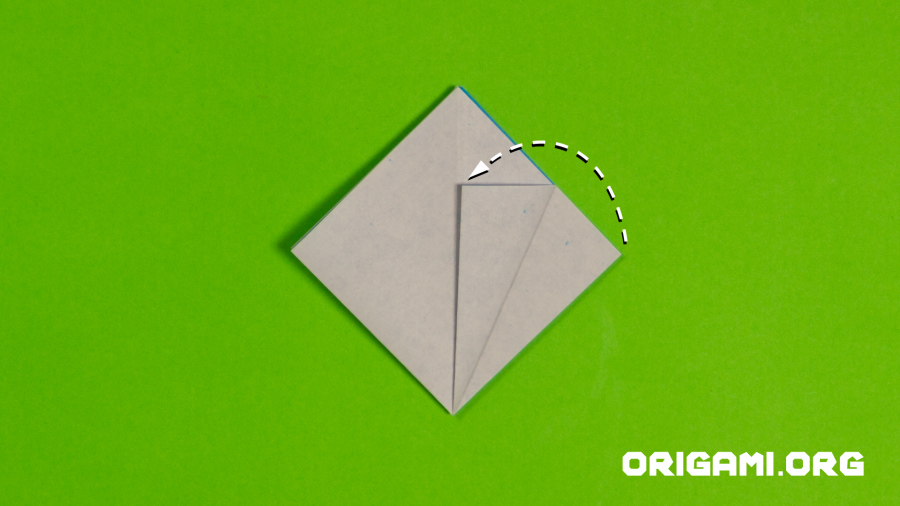
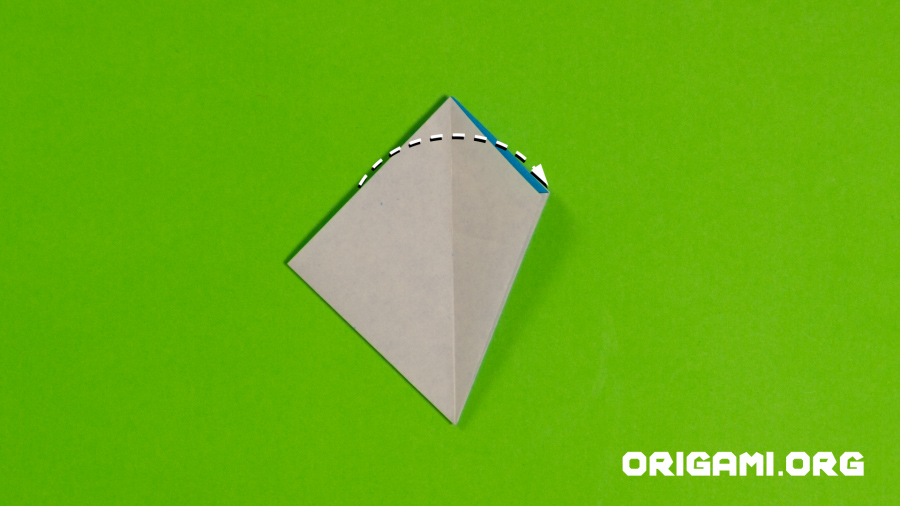
Step 8: Turn the paper over
Step 9: Repeat step 4 on the left side, lifting the left point upwards and opening its insides up
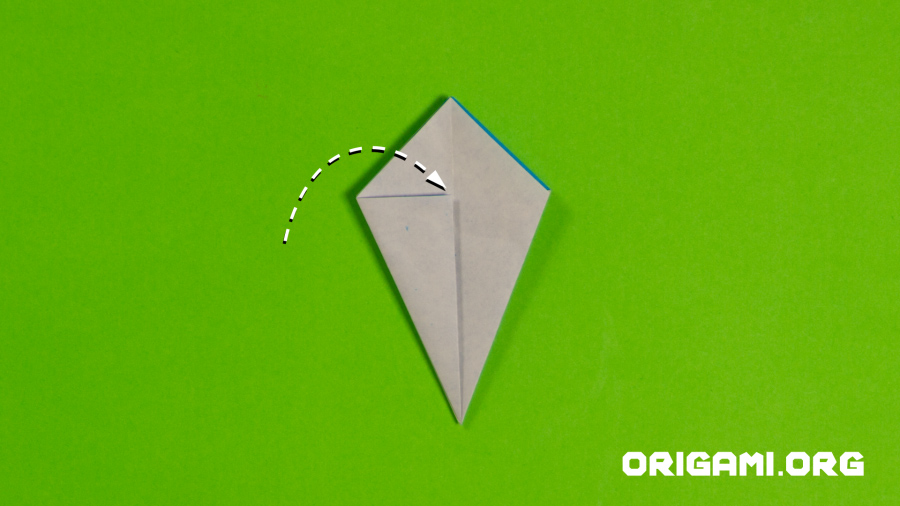
Step 10: Keep opening! As you open, the top point should automatically want to move downwards to meet the bottom point
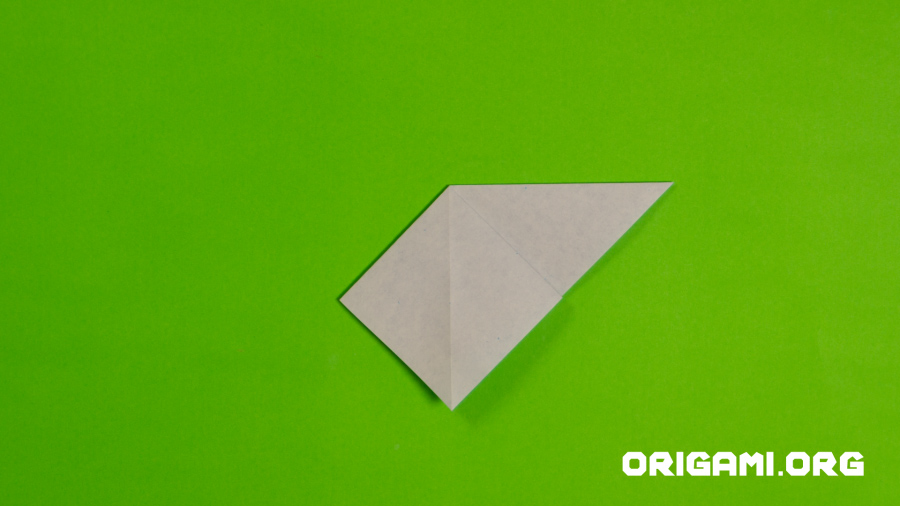
Step 11: Keep folding down!
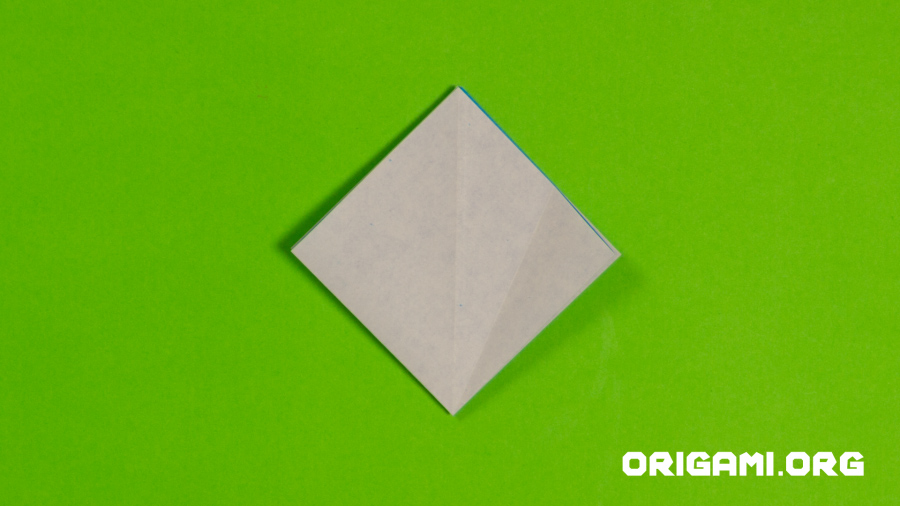
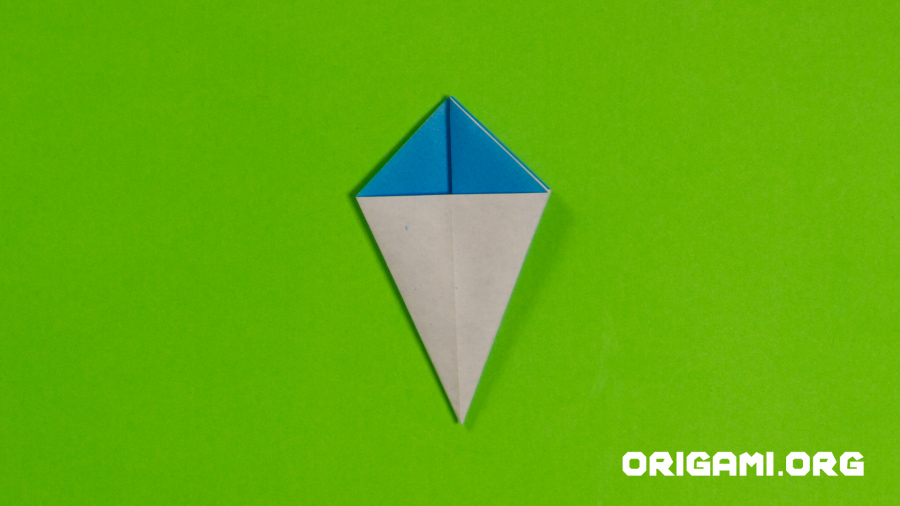
Step 12: When pressed down your paper should now look like this

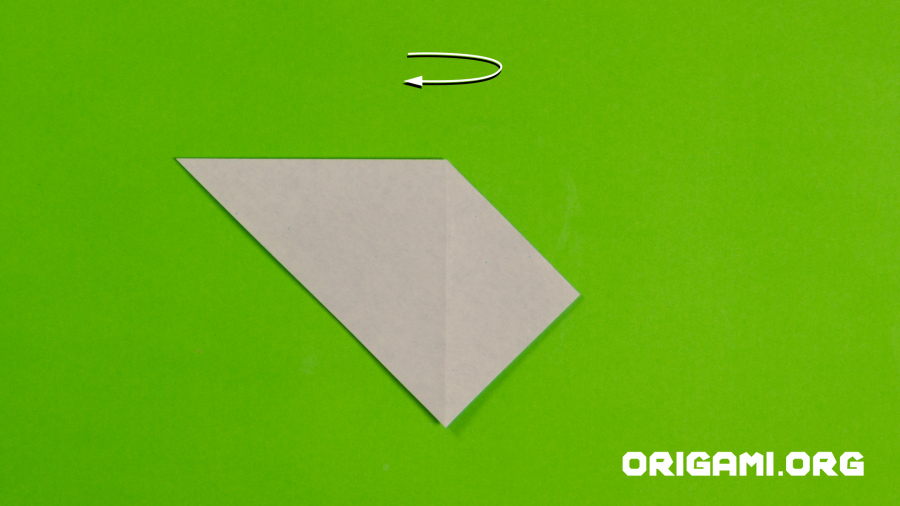
Step 13: Twist the paper around 180 degrees, so the open end is now at the top
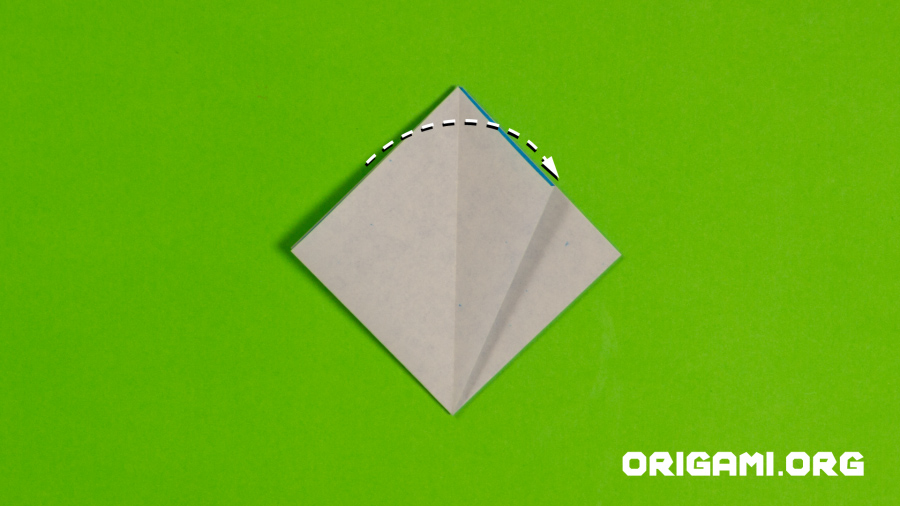
Step 14: Fold the right point over to meet the centre vertical crease line, taking care only to take the top layer of paper
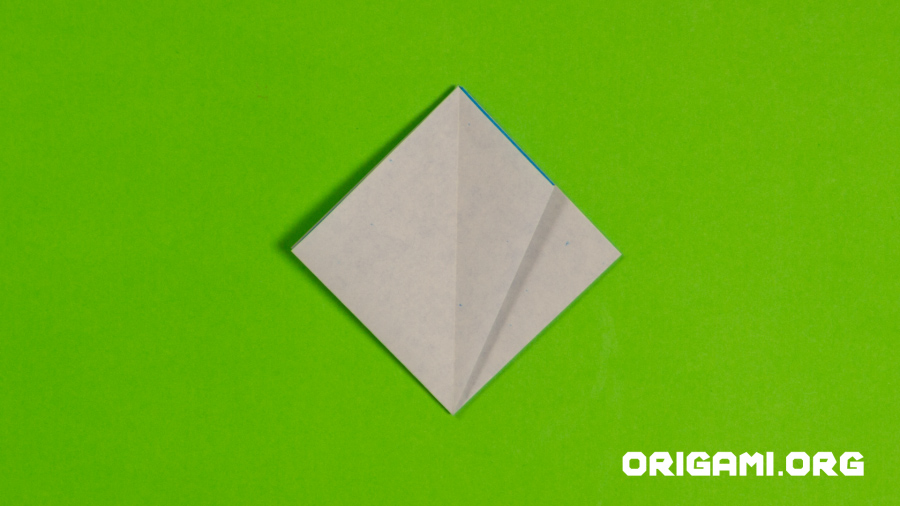
Step 15: Unfold the last crease
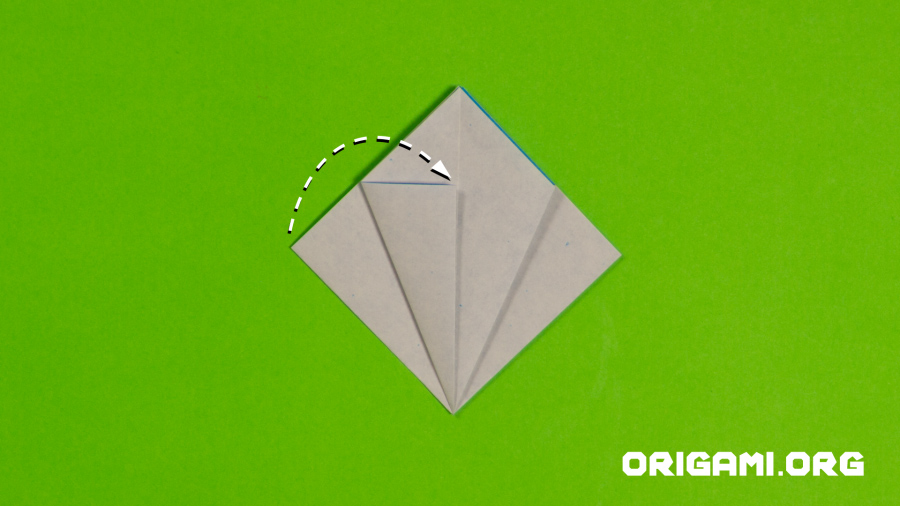
Step 16: Raise the right point and open it up
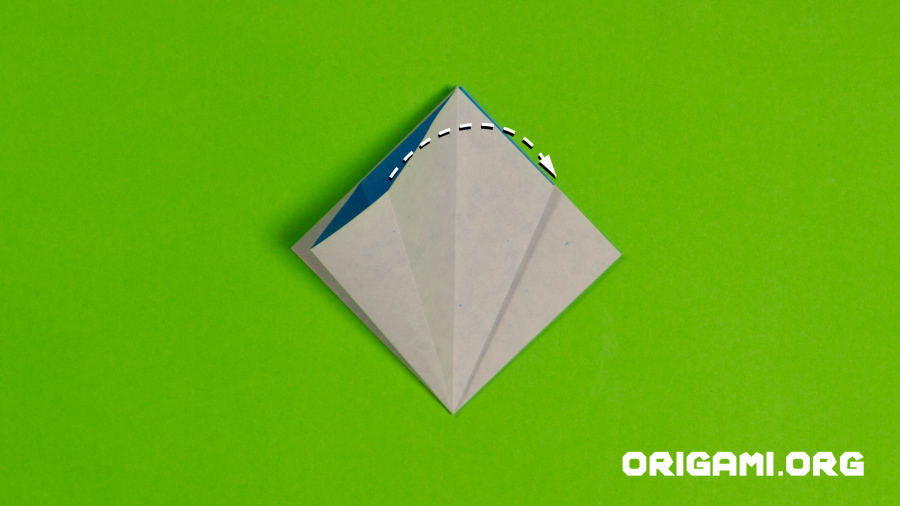
Step 17: When pressed down your paper should look like this
Step 18: Fold the left inner point over to meet the right
Step 19: When pressed down your paper should look like this
Step 20: Fold the left point in to meet the centre vertical

Step 21: Unfold the last crease
Step 22: Raise the left point and open it up
Step 23: When pressed down your paper should look like this
Step 24: Fold the inner right point over to meet the left

Step 25: Turn the paper over so it looks like this
Step 26: Fold the right point in to meet the centre crease line
Step 27: Unfold the last crease
Step 28: Raise the right point and open it up
Step 29: When pressed down your paper should look like this
Step 30: Fold the inner left point over to meet the right
Step 31: Fold the left point over to meet the centre crease line
Step 32: Unfold the last crease

Step 33: Raise the left point and open it up
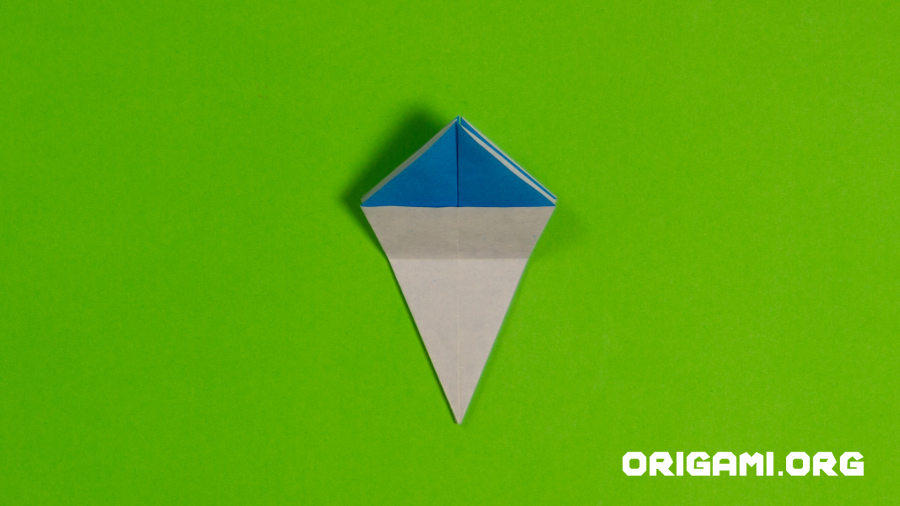
Step 34: When pressed down your paper should look like this
Step 35: Turn your paper over
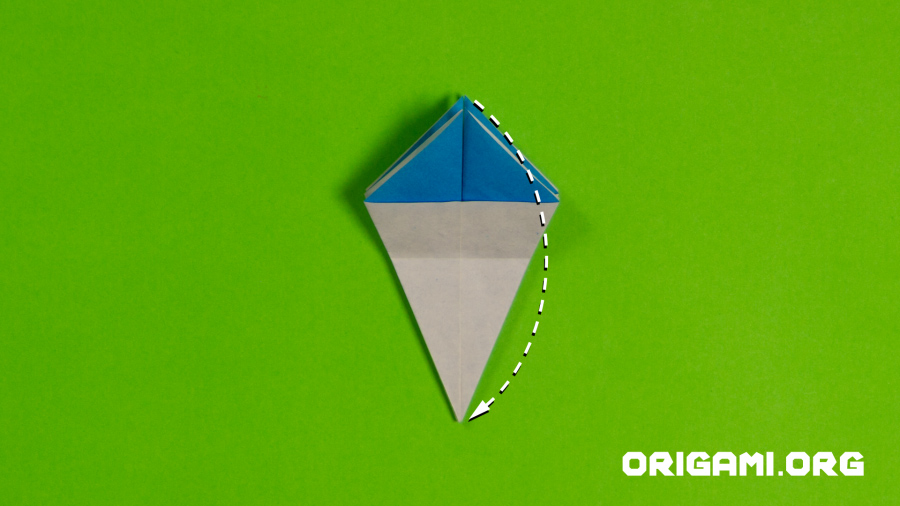
Step 36: Fold the left point over to meet the right
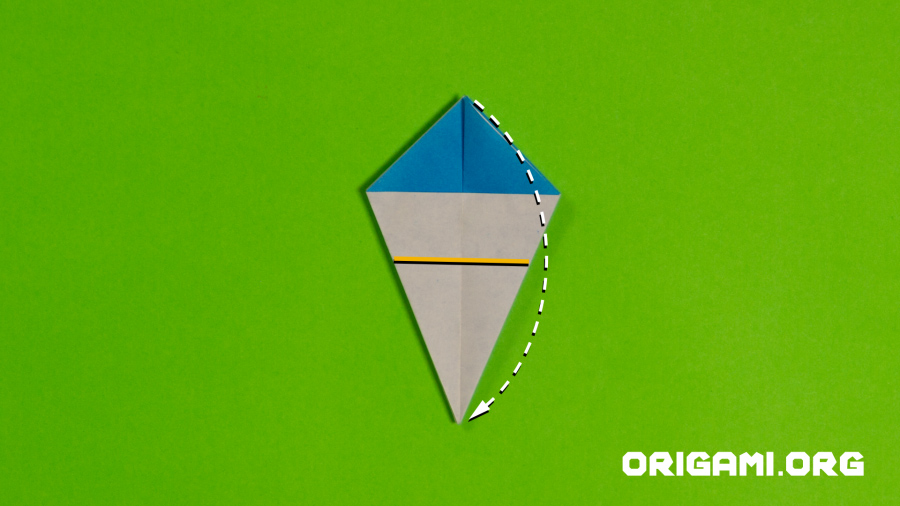
Step 37: Fold the top point down to meet the bottom point, creating the new crease line in yellow
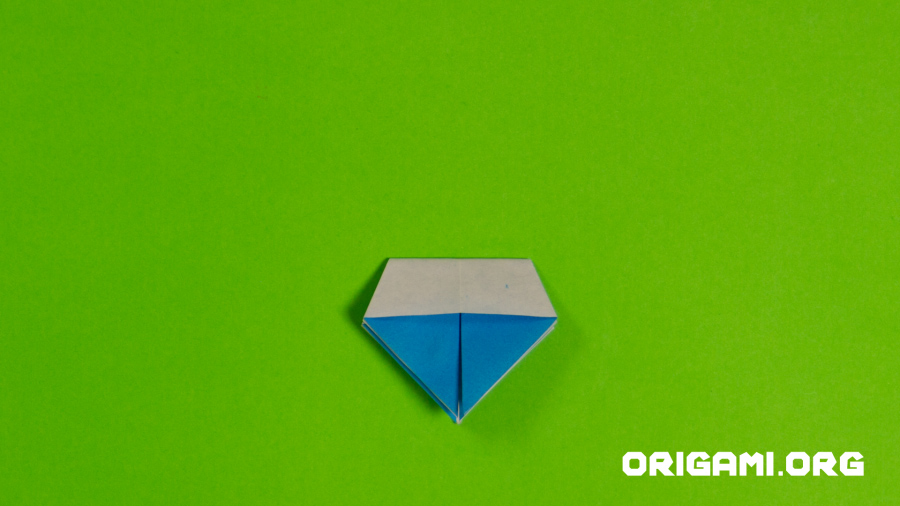
Step 38: When folded down your paper should look like this
Step 39: Unfold the last crease
Step 40: Fold the top layer of paper down to meet the bottom point

