Origami Rose
Difficulty: Easy
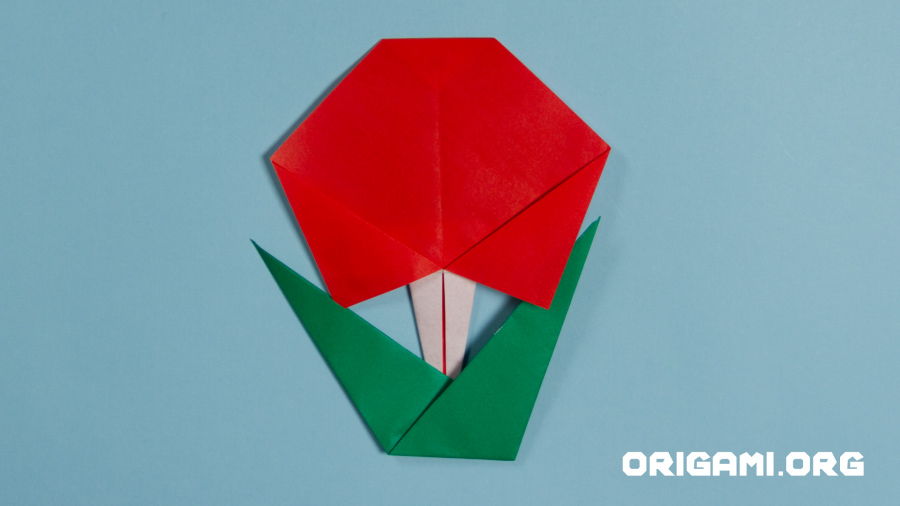
This beautiful red origami rose is a testament to patience, artistry and the transformative power of simple sheets of paper. It is a symbol of love and beauty, frozen in a moment of folded perfection!
Follow our simple steps to create your very own everlasting red rose.

Step 1: Begin with a square sheet of red origami paper placed in a diamond position

Step 2: Fold the left side over to meet the right side

Step 3: Unfold the paper

Step 4: Fold the left and right corners inwards to meet the centre vertical crease line

Step 5: Fold the inner corners downwards so they line up with the outer edges
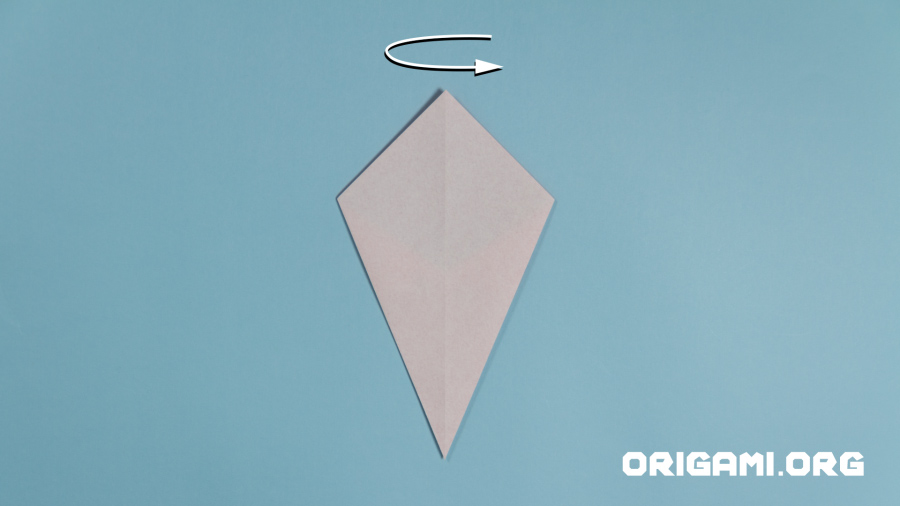
Step 6: Turn the paper over

Step 7: Fold the bottom tip up to meet the top point

Step 8: Fold the top point downwards, creating the crease line indicated in yellow

Step 9: Your paper should now look like this
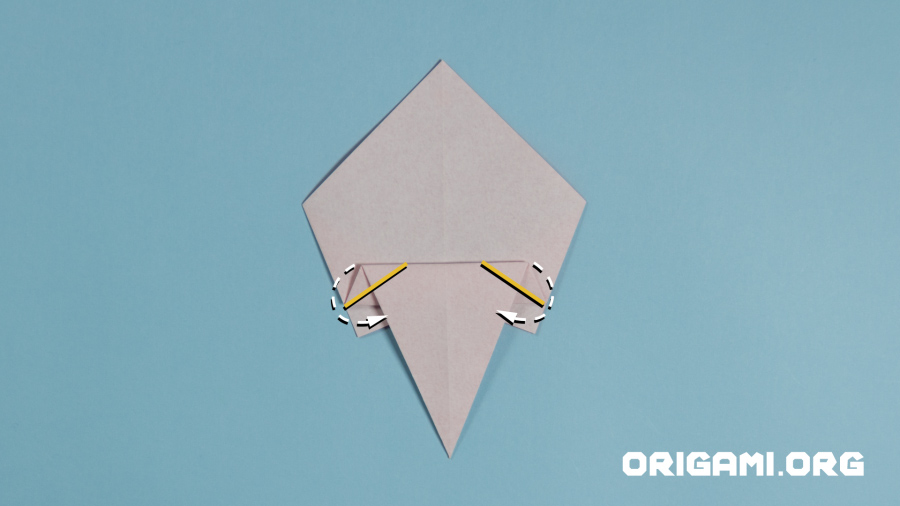
Step 10: Fold the left and right corners downwards and diagonally to meet the horizontal piece of paper. Creasing where indicated in yellow.
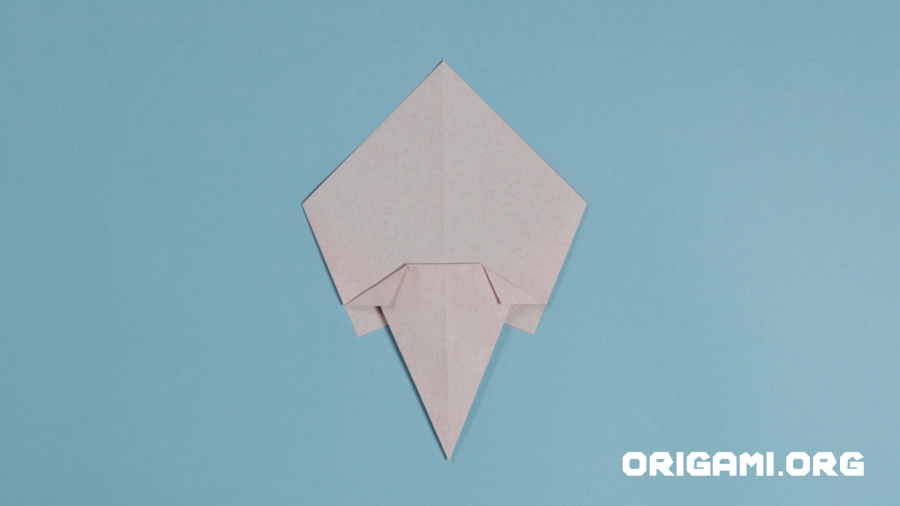
Step 11: Your paper should now look like this

Step 12: Unfold the last creases
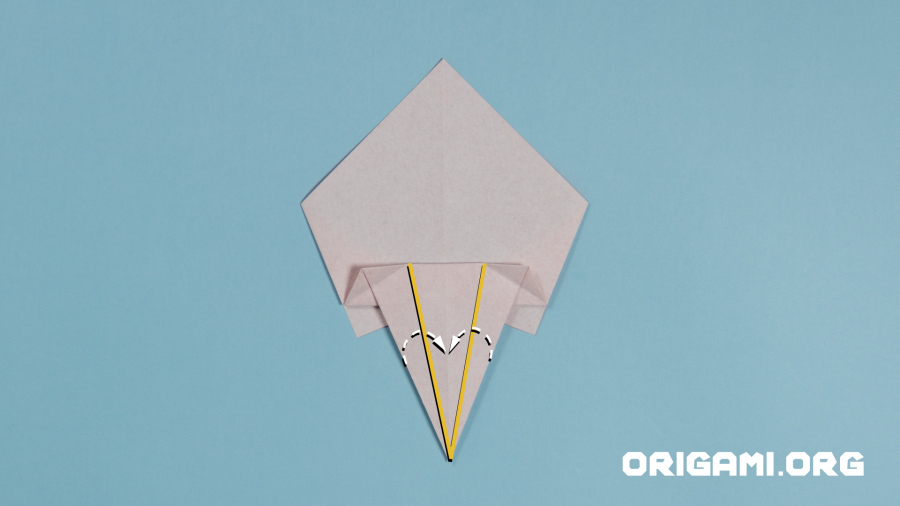
Step 13: Fold the left and right sides of the lower point inwards to meet the centre vertical crease line

Step 14: Once you have flattened down these creases your paper should look like this

Step 15: Fold the top tip downwards

Step 16: Turn the paper over and that’s the head of the rose now completed!

Step 17: Let’s create the rose’s leaves. Start with a square piece of origami paper – green would be perfect! (we’ve used origami paper with colour on only one side). Place the paper in a diamond shape.

Step 18: Fold the top point down to meet the bottom point

Step 19: Open up the paper

Step 20: Fold the top and bottom points in to meet the centre horizontal crease line

Step 21: Fold the top and bottom points in to meet the centre crease line. Your paper should look like this once folded.

Step 22: Fold the paper in half horizontally, bringing the bottom point up to meet the top

Step 23: Fold the right point up and over, creasing where indicated in yellow

Step 24: Your paper should now look like this
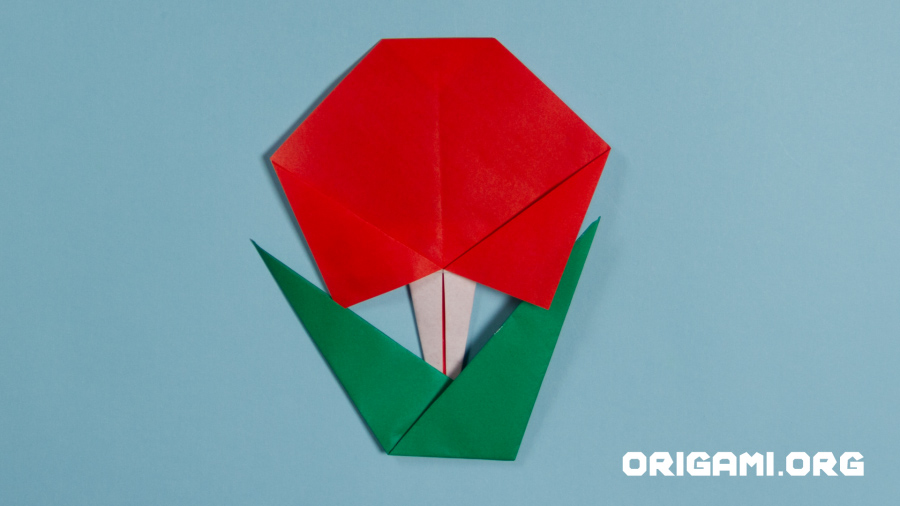
Step 25: Add the head of the rose to the leaves and your beautiful flower is now complete!
Why not make some different sized or coloured roses to create a bouquet?


