Origami Nakamura Lock Plane
Difficulty: Easy
Step 1: Start with a rectangular piece of A4 paper in whatever colour you’d like your plane to be
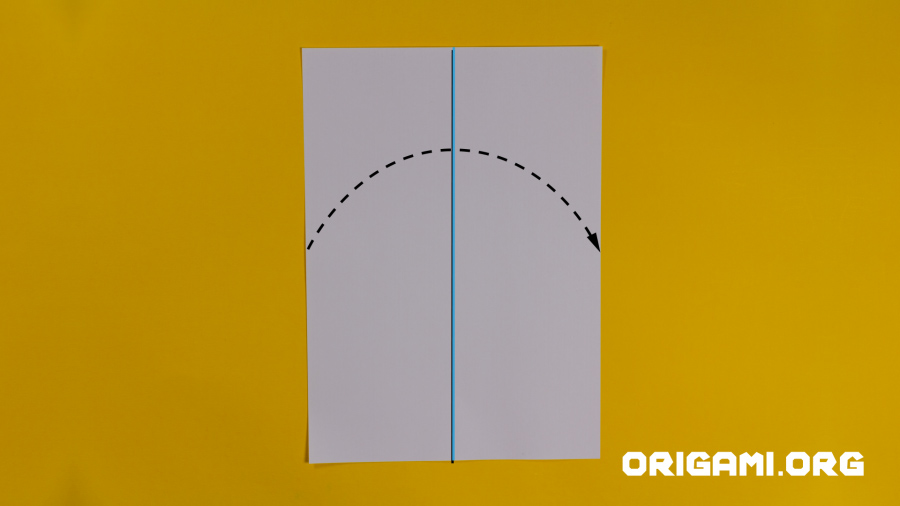
Step 2: Fold the paper in half vertically
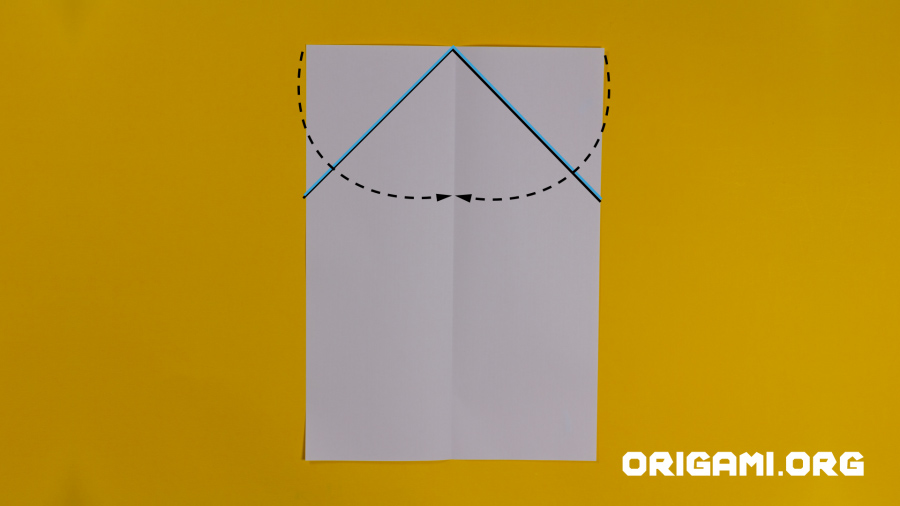
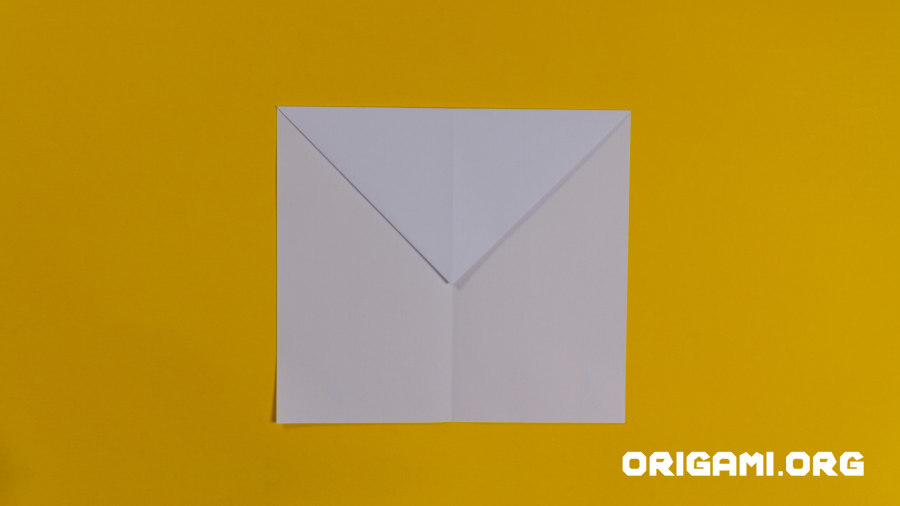
Step 3: Open up the paper and fold the top corners in to meet the centre vertical crease line.
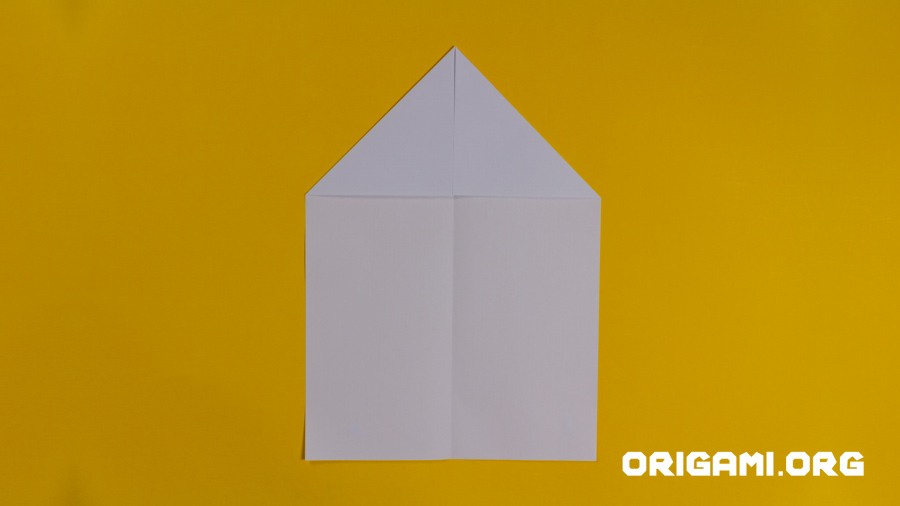
Step 4: Your paper should now look like this
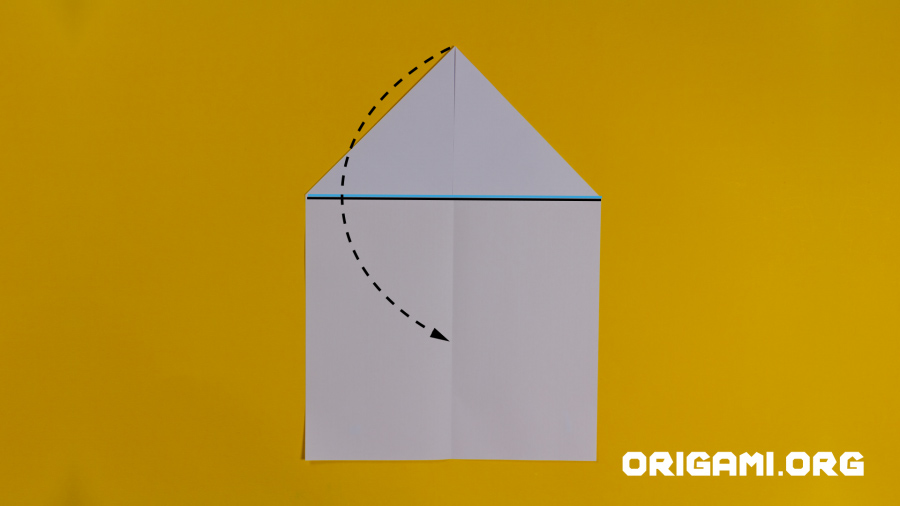
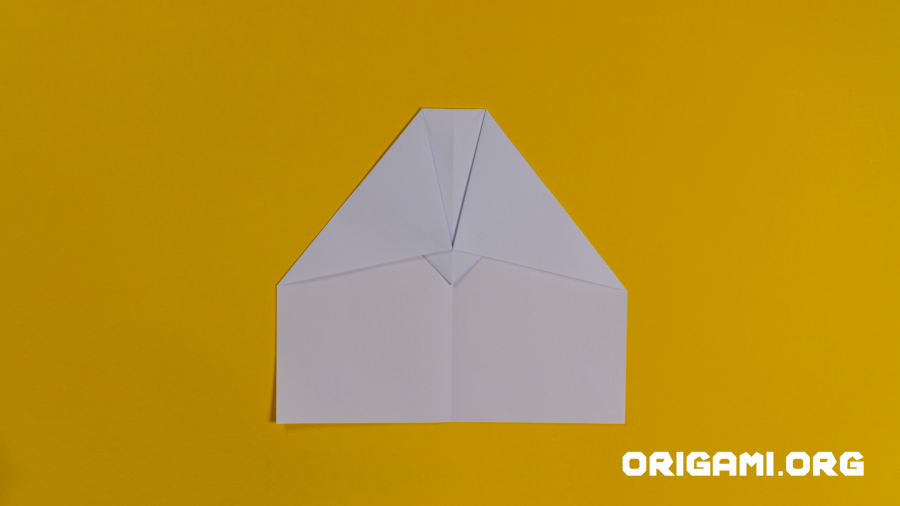
Step 5: Fold the tip of the paper down, creating the crease line indicated in blue
Step 6: Your paper should now look like this

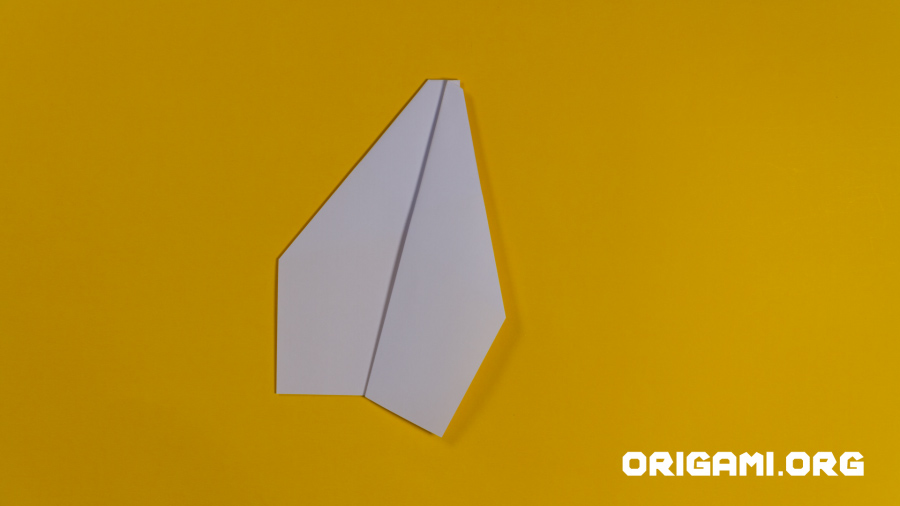
Step 7: Fold the top corners inwards so their tips meet the vertical centre fold line. Crease along the lines indicated in blue.
Step 8: Your paper should now look like this
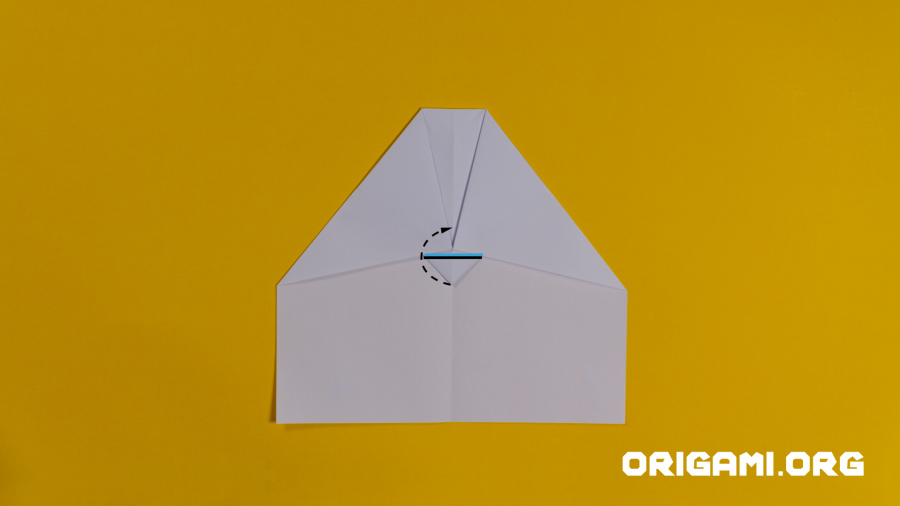
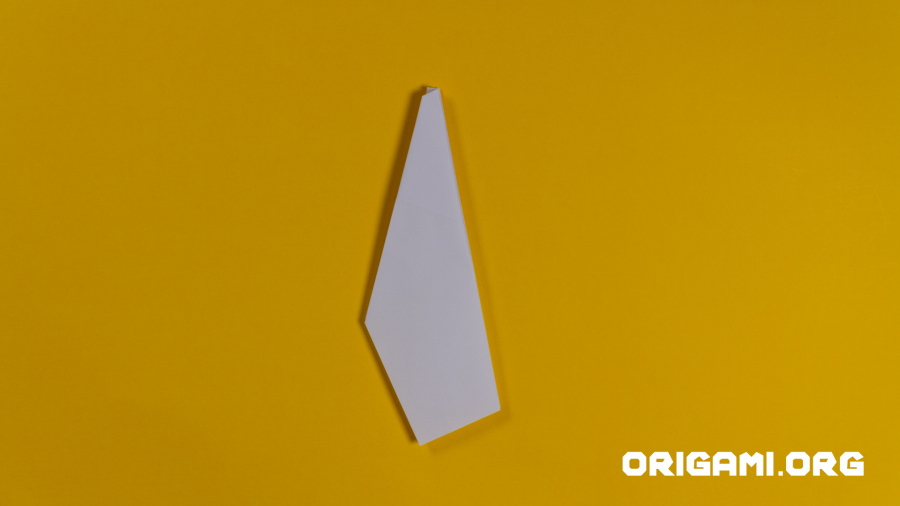
Step 9: Fold the inner tip upwards and crease where shown in blue
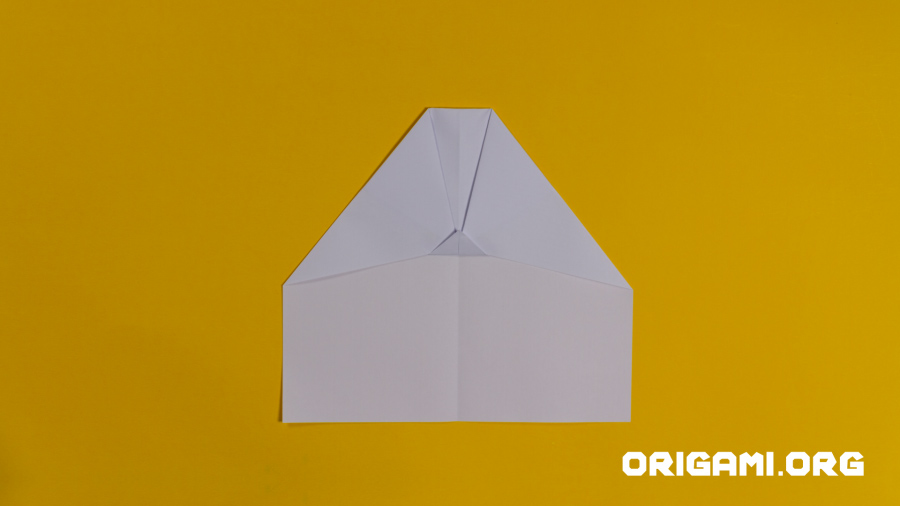
Step 10: Your paper should now look like this
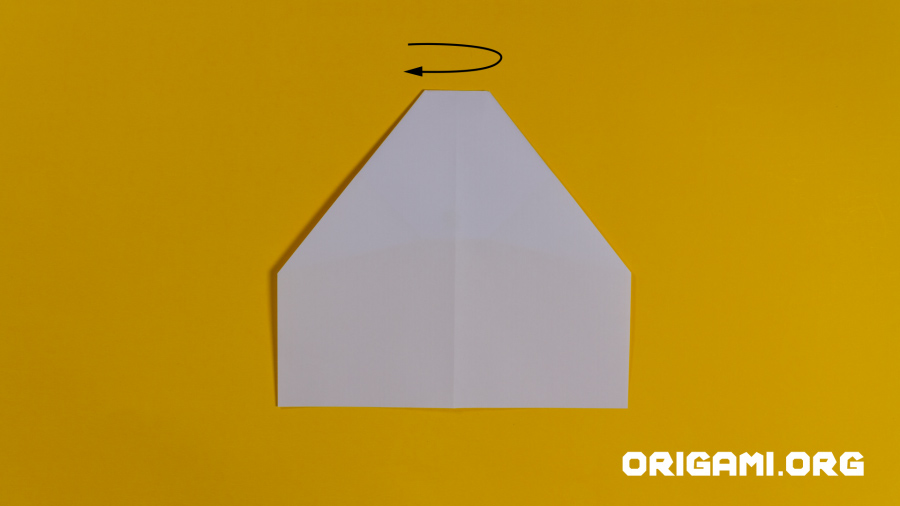
Step 11: Turn the paper over
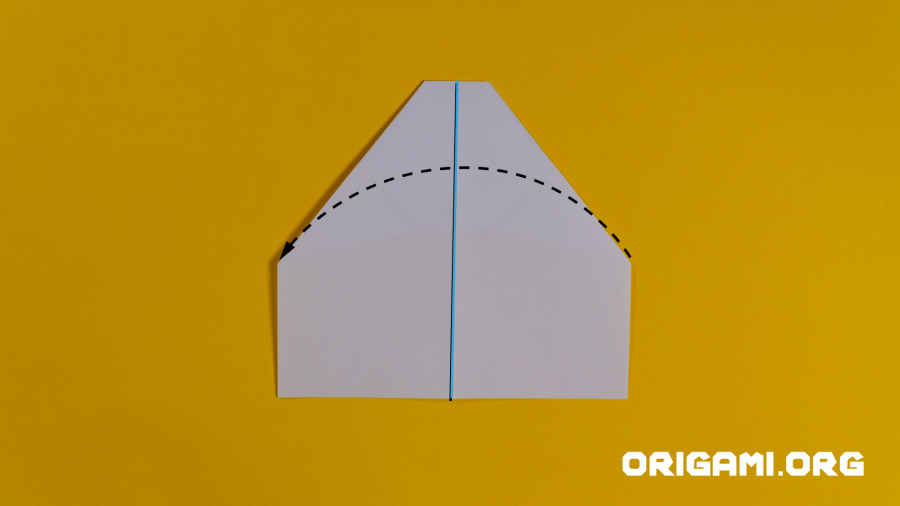
Step 12: Fold the right side over to meet the left side, creasing down the centre vertical line
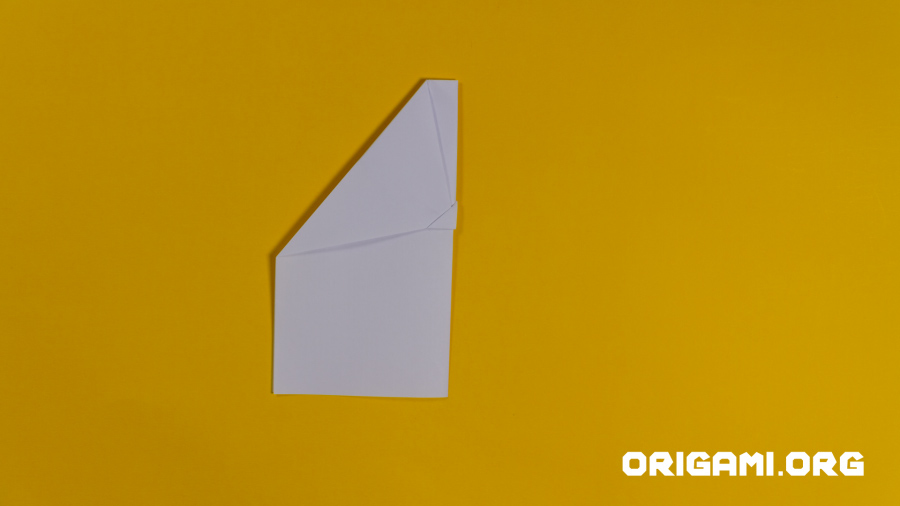
Step 13: Your paper should now look like this
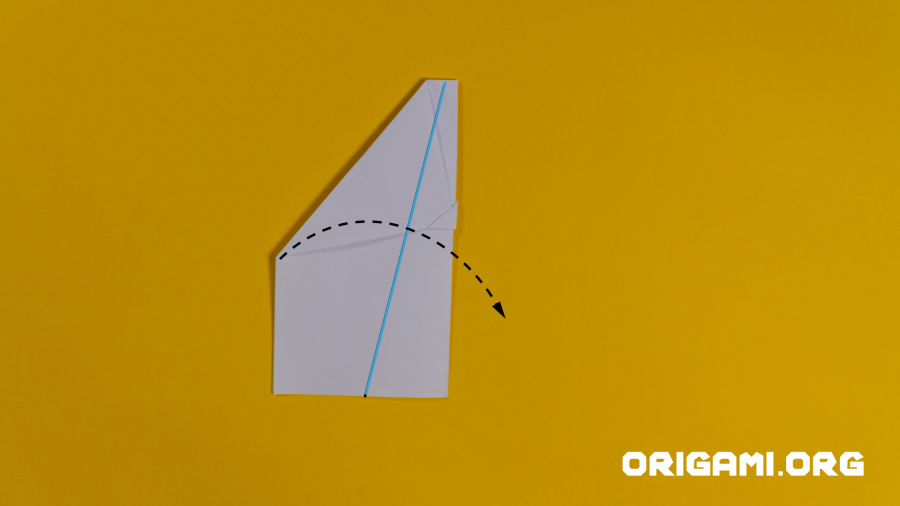
Step 14: Fold the top layer of paper upwards and towards the right side, creasing where indicated in blue
Step 15: Your plane should now look like this

Step 16: Turn the plane over

Step 17: Repeat step 14 by folding the top layer of paper upwards and towards the left side, creasing where indicated in blue
Step 18: Your plane should now look like this
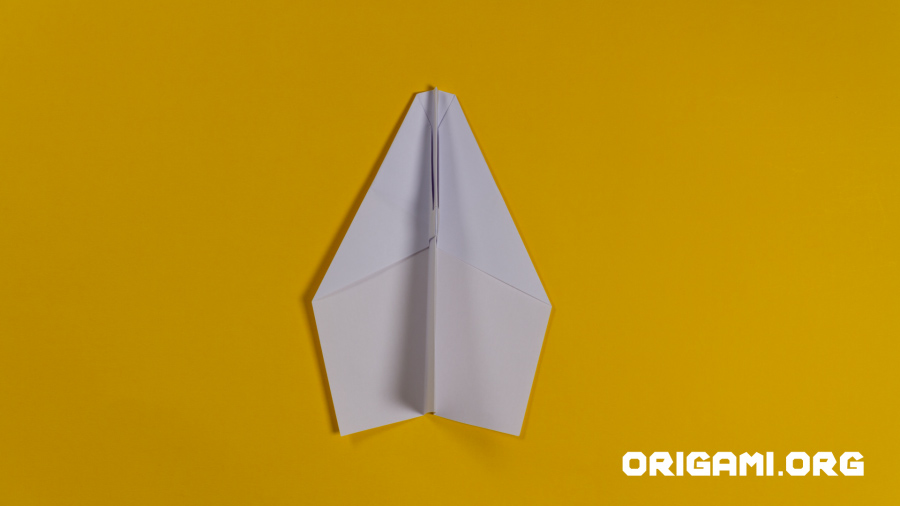
Step 19: Slightly unfold the wings of your plane – this is the underneath view
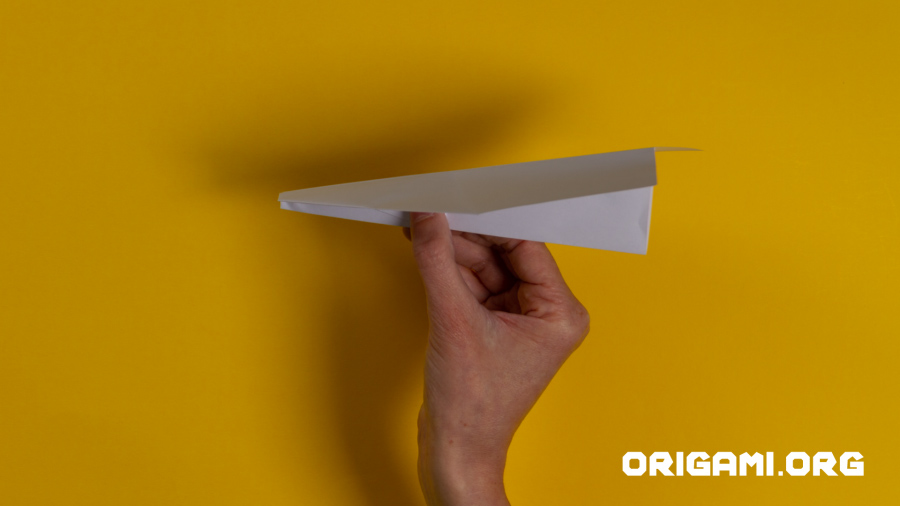
Step 20: Turn your plane over and grip the centre section between your thumb and fingers and your Nakamura Lock plane is ready to fly!


