Origami Tote Bag Folding Instructions
Origami Tote Bag Step 1: Start with a 6 inch square origami paper color side down.

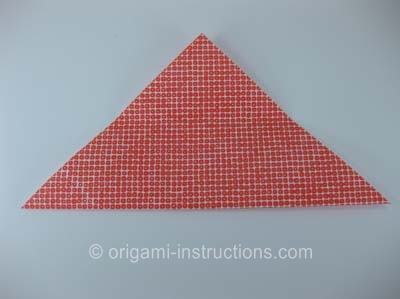
Origami Tote Bag Step 2: Fold in half along the horizontal axis to form a triangle.

Origami Tote Bag Step 3: Fold down just the top flap so that the tip lines up with the bottom. Crease well and unfold.


Origami Tote Bag Step 4: Now, we will fold the left side over, making sure that it lines that with the crease you just made in Step 3.


Origami Tote Bag Step 5: Repeat for the right side, again making sure the it lines up with the crease.

Origami Tote Bag Step 6: Flip the paper over.

Origami Tote Bag Step 7: Fold in half, bringing the right side over to the left.


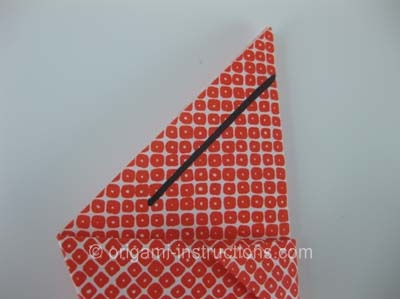
Origami Tote Bag Step 8: Now we need to make a cut. I've drawn a black line on where you should cut the paper. A kid may need adult supervision when using scissors to make this cut.


Origami Tote Bag Step 9: Now unfold the paper.

Origami Tote Bag Step 10: Since we've made the cut, we can now fold the top part of the paper down like in the picture below.


Origami Tote Bag Step 11: Flip paper over and fold down the top part again.


Origami Tote Bag Step 12: And your origami tote bag is ready to be used! Cute, isn't it?


